
Have you ever wondered about the secret to truly fresh, customizable, and additive-free dairy-free milk? It’s simpler than you might think! Today, we’re diving into an incredibly easy homemade nut milk recipe that you can master in just a few straightforward steps, using any nut or seed you prefer.

Discover the Pure Goodness of Homemade Dairy-Free Milk
Dairy-free milk has become a staple in kitchens worldwide, embraced for its versatility, health benefits, and delicious taste. Whether you’re enjoying a glass on its own, frothing it for your morning coffee, or blending it into a vibrant smoothie, plant-based milk offers a fantastic alternative to traditional dairy. While grocery store shelves are brimming with options, making your own nut milk at home is not only incredibly simple but also significantly more affordable and rewarding. You get to control every ingredient, ensuring a pure product free from unwanted additives, sugars, or preservatives.
Many of us have been on a journey with plant-based milks. For years, almond milk was my go-to, a creamy companion for countless recipes and beverages. However, a recent discovery of an almond allergy prompted me to explore other horizons. This unexpected pivot led me to experiment with cashews, and what a delightful surprise it was! It turns out, this versatile recipe shines no matter which nut or seed you choose. From almonds to cashews, hazelnuts to hemp seeds, the fundamental process remains the same, yielding consistently delicious results tailored to your taste and dietary needs.
Why Choose Homemade Nut Milk Over Store-Bought?
The appeal of homemade nut milk extends far beyond just flavor. It offers a multitude of benefits that make it a superior choice for many:
- Unbeatable Freshness and Purity: Store-bought varieties often contain stabilizers, emulsifiers (like carrageenan or gellan gum), and added sugars to achieve desired textures and shelf life. When you make your own, you’re in control. You know exactly what goes into it – usually just nuts and water, with optional natural sweeteners and flavorings.
- Cost-Effective: While the initial cost of quality nuts might seem higher, in the long run, homemade nut milk is significantly cheaper than repeatedly buying cartons from the store, especially if you consume it regularly.
- Customization is Key: Craving a sweeter milk for your desserts? Or a plain, unsweetened version for savory dishes? With homemade, you dictate the sweetness level, the type of nut, and any additional flavorings like vanilla, cinnamon, or dates. This level of personalization is impossible with mass-produced options.
- Environmental Impact: Reducing reliance on single-use cartons contributes positively to the environment. Making your own nut milk means less packaging waste ending up in landfills.
- Nutritional Powerhouse: Freshly made nut milk retains more of the inherent nutrients from the nuts, providing healthy fats, vitamins, and minerals without any processed extras.
Choosing Your Perfect Nut or Seed for Dairy-Free Milk
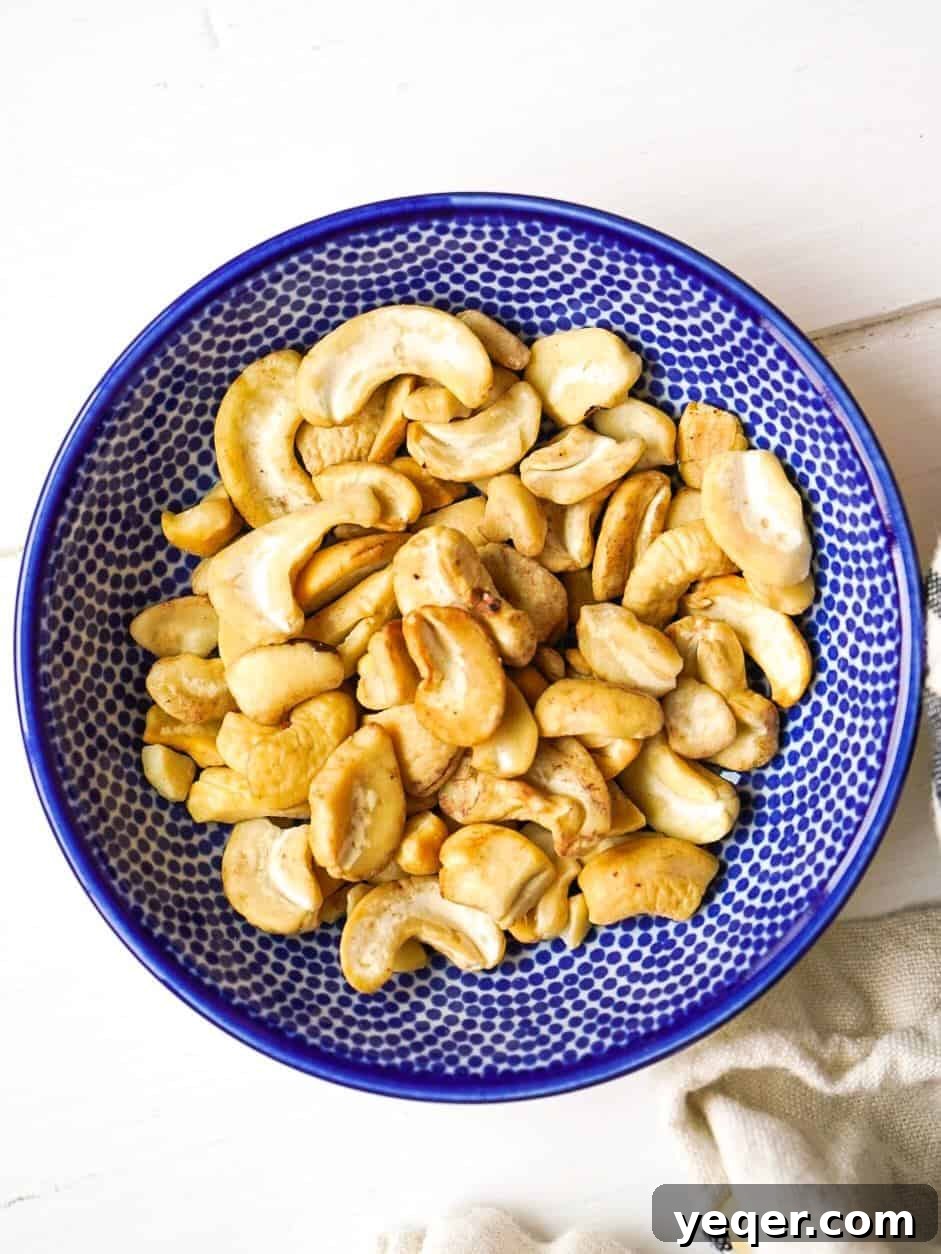
The beauty of this recipe lies in its adaptability. While cashews are highlighted here, feel free to experiment with a variety of nuts and even seeds to find your favorite. Each brings a unique flavor profile and texture:
- Cashews: Often considered the easiest nut for milk due to their soft texture. They produce an incredibly creamy, naturally sweet milk with minimal straining required.
- Almonds: A classic choice, yielding a slightly nutty, robust flavor. Almond milk is excellent for coffee, smoothies, and baking.
- Hazelnuts: For a richer, more indulgent milk reminiscent of Nutella, hazelnuts are a fantastic option. Perfect for chocolate-flavored drinks or desserts.
- Walnuts: Offer a distinct, slightly earthy flavor. Walnut milk pairs well with spices like cinnamon or nutmeg.
- Pecans: Similar to walnuts but with a sweeter, butterier note, pecans make a luxurious milk for special treats.
- Hemp Seeds: Not a nut, but hemp seeds produce a wonderfully smooth, slightly grassy milk that doesn’t require straining, making it even quicker to prepare. It’s also rich in omega-3 fatty acids.
- Sunflower Seeds: A great option for those with nut allergies, sunflower seed milk is mild, creamy, and works well in most applications.
Regardless of your choice, ensure your nuts/seeds are raw and unsalted for the best results. Roasted nuts can impart a stronger, sometimes bitter, flavor to the milk.
Essential Equipment for Crafting Homemade Nut Milk
You don’t need a professional kitchen to make excellent nut milk. A few basic tools will suffice:
- High-Powered Blender: This is arguably the most crucial piece of equipment. A strong blender will efficiently break down the nuts, resulting in a creamier, smoother milk. While a regular blender can work, you might need to blend longer and soak your nuts for an extended period.
- Straining Tool:
- Nut Milk Bag: These are specifically designed for straining plant-based milks. They are finely woven, reusable, and excellent at separating the pulp from the liquid, yielding a smooth, pulp-free milk.
- Cheesecloth: An inexpensive and readily available option. Use a double layer of cheesecloth for effective straining.
- Airtight Container: A glass jar or bottle is perfect for storing your finished nut milk in the refrigerator, helping to maintain its freshness.
Mastering Homemade Nut Milk: The 3 Simple Steps
Making your own nut milk might sound intimidating, but it’s genuinely one of the simplest and most rewarding recipes you can undertake. With no heat required and minimal clean-up, you’ll wonder why you ever bought it from the store.
Step 1: Soak for Success
This initial step is key to achieving a truly creamy and nutrient-rich nut milk. Soaking softens the nuts, making them easier for your blender to process into a smooth liquid. It also aids in digestion by breaking down enzyme inhibitors and phytic acid present in raw nuts.
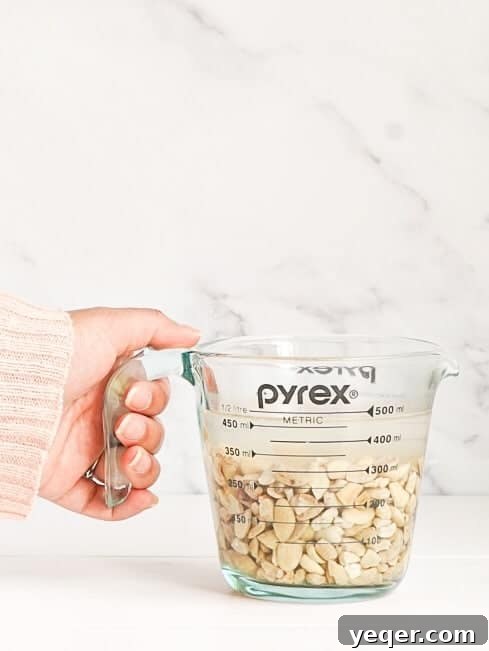
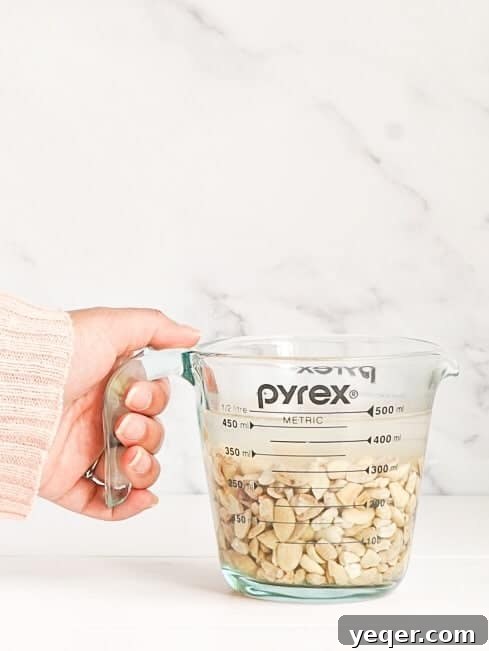
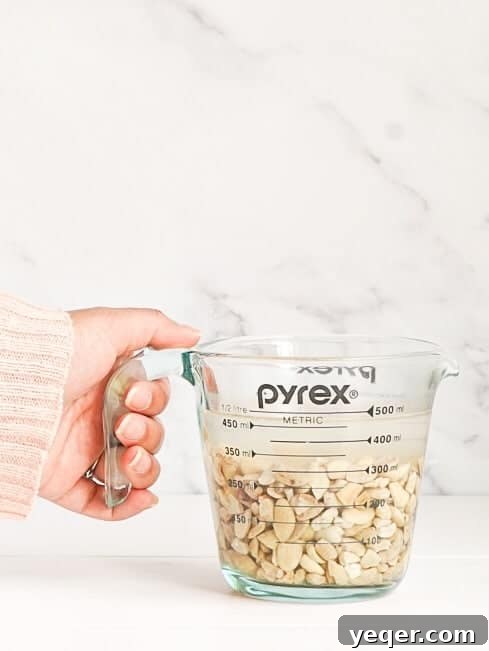
- In a small bowl, add 1 cup of your chosen nuts.
- Cover the nuts with 1-2 cups of warm water.
- Allow them to soak for at least 30 minutes. For harder nuts like almonds, or if you don’t have a high-powered blender, soaking overnight (8-12 hours) in cool water in the refrigerator can yield even creamier results.
- Once soaked, drain the nuts thoroughly and rinse them under cool running water. This removes any phytic acid and ensures a clean, fresh taste.
Step 2: Blend to Perfection
Now, it’s time to transform your softened nuts into a luscious liquid. The ratio of nuts to water can be adjusted based on your desired consistency.
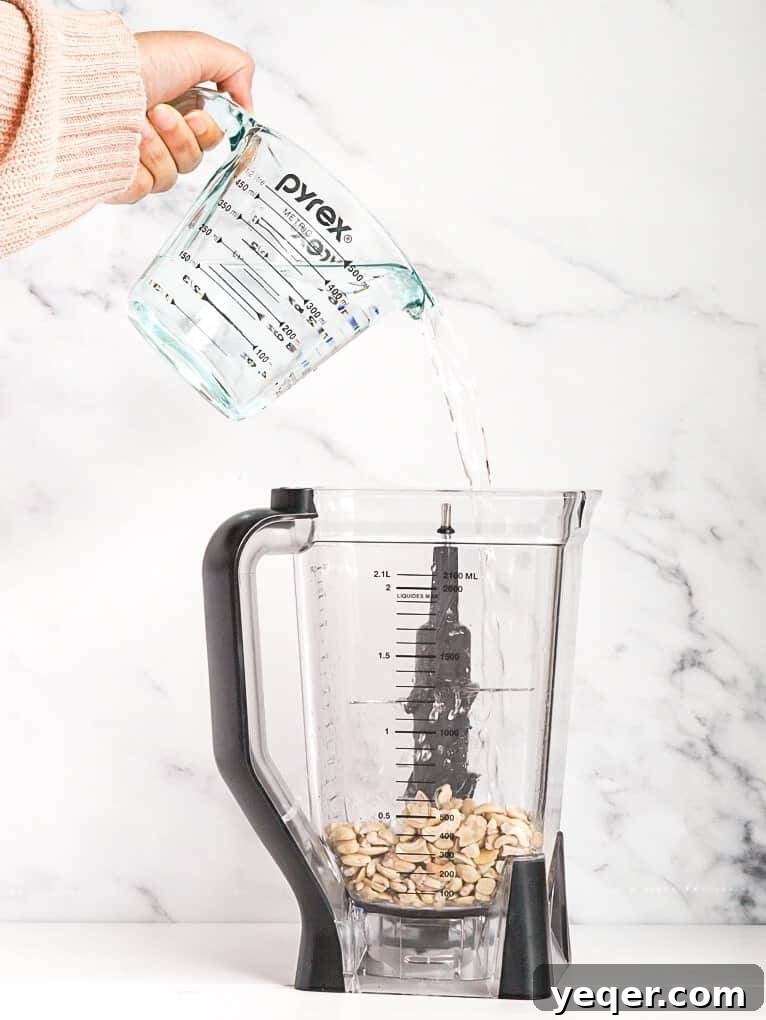
- Add the drained and rinsed nuts to your blender.
- Pour in 4 cups of fresh water.
- If desired, add optional sweeteners like 2 pitted dates or 1-2 tablespoons of maple syrup, and flavorings such as 1 teaspoon of vanilla extract or a pinch of salt to enhance the flavor.
- Blend on high for 1-2 minutes, or until the mixture appears smooth and creamy, with no discernible solid pieces of nut. The longer you blend, the creamier and smoother your milk will be.
Step 3: Strain for Smoothness
This step separates the liquid milk from the fibrous nut pulp, giving you that silky texture.
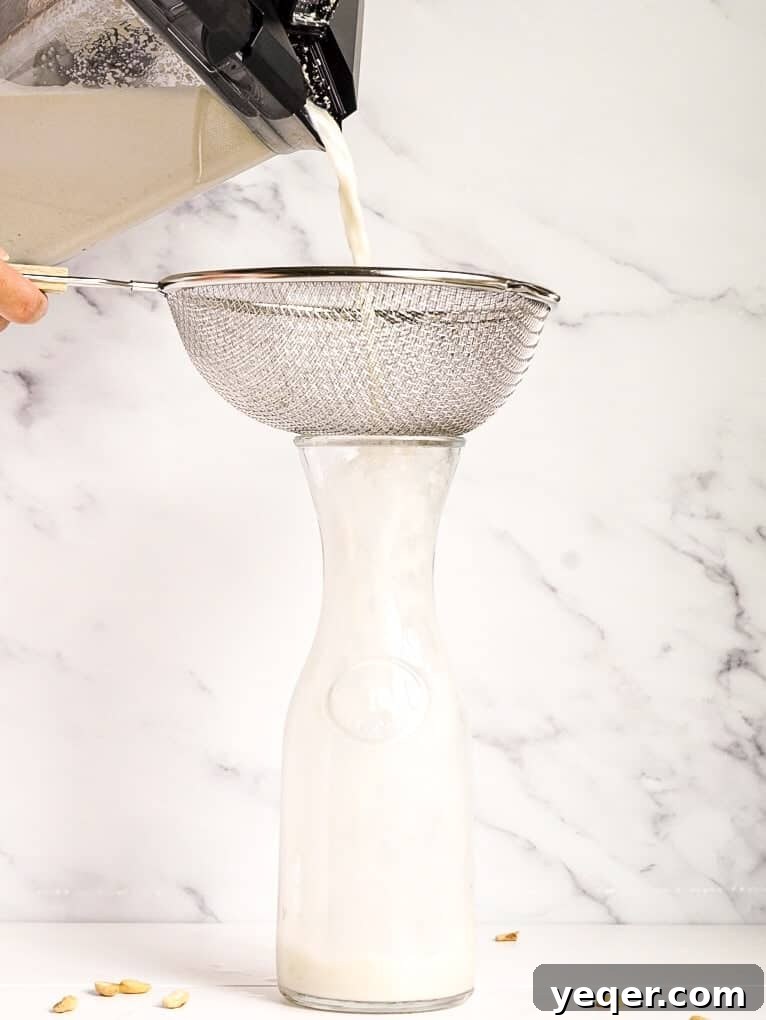
- Place a nut milk bag or a double layer of cheesecloth over a large bowl or a glass container.
- Carefully pour the blended nut mixture into the bag/cheesecloth.
- Gather the edges of the bag/cheesecloth and gently squeeze to extract all the liquid. Continue squeezing until no more milk drips out. The remaining solids are the nut pulp, which can be discarded or repurposed (more on that later!).
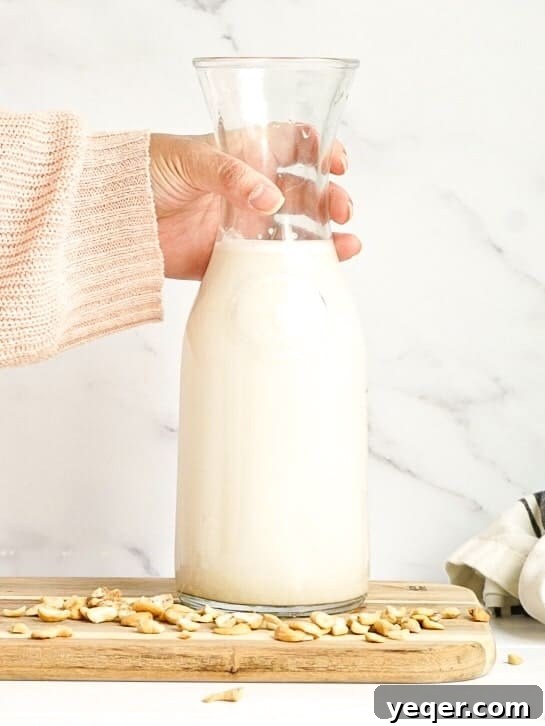
- Transfer your freshly made nut milk into a clean, airtight glass container. Store it in the refrigerator for up to 5-7 days. Remember to give it a good shake before each use, as natural separation is normal.
And just like that, in roughly 30 minutes (mostly passive soaking time), you’ve created your own batch of delicious, wholesome dairy-free milk!
Customizing Your Homemade Nut Milk: Flavor and Sweetness
One of the greatest advantages of making nut milk at home is the ability to tailor it precisely to your palate. Here are some ideas for customization:
- Sweeteners: Beyond dates, consider maple syrup, agave nectar, or a few drops of stevia for a sugar-free option. Adjust the amount to your preference.
- Flavor Boosters: A teaspoon of vanilla extract is a classic addition, but don’t stop there! Try a pinch of cinnamon, cardamom, nutmeg, or even a spoonful of cocoa powder for a chocolatey treat.
- Richness: For an extra creamy milk, reduce the amount of water slightly, or add a tablespoon of raw cashews (even if using another nut) to the blend.
Troubleshooting Common Homemade Nut Milk Issues
While making nut milk is generally straightforward, sometimes issues can arise. Here’s how to address them:
- Gritty Texture: This usually means the nuts weren’t soaked long enough or blended sufficiently. Try blending for an extra minute or two, or ensuring your next batch of nuts has a longer soak time. A finer mesh straining bag can also help.
- Too Thin or Watery: If your milk lacks creaminess, you might have used too much water. Reduce the water in your next batch, or for an immediate fix, blend in a few more soaked cashews.
- Separation: Natural separation of homemade nut milk is completely normal, as there are no emulsifiers. Just give it a good shake before using.
- Short Shelf Life: Ensure your storage container is airtight and thoroughly clean. Contamination can shorten shelf life. If you’re using warm water to soak, make sure to rinse the nuts thoroughly with cold water before blending.
Creative Ways to Enjoy Your Fresh Dairy-Free Milk
Now that you have a fresh batch of homemade nut milk, what will you use it for? The possibilities are endless!
- Lattes and Coffee: Elevate your morning routine by using your nut milk in lattes, cappuccinos, or simply a splash in your coffee. Cashew milk, in particular, froths beautifully.
- Baking and Desserts: Homemade nut milk is an excellent substitute for dairy milk in most baked goods. It adds moisture and richness to cakes, cookies, pancakes, and these delightful vegan blueberry muffins.
- Smoothies and Shakes: Create incredibly creamy and nutritious smoothies. Its neutral base allows the flavors of your fruits and vegetables to shine.
- Cereal and Oatmeal: A classic pairing, pour it over your favorite cereal or stir it into a warm bowl of oatmeal for a wholesome breakfast.
- Savory Dishes: Don’t limit yourself to sweet applications! Use unsweetened nut milk in creamy soups, sauces, mashed potatoes, or even vegan mac and cheese for a dairy-free twist.
- Puddings and Custards: It makes a fantastic base for homemade chia seed puddings, rice puddings, or creamy custards.
When all else fails, a tall, cold glass of homemade nut milk is a refreshing treat on its own. I promise, once you try this fresh, pure version, you’ll be hooked!
Easy Homemade Nut Milk Recipe
- Author: Salima Benkhalti
- Prep Time: 30 minutes
- Total Time: 30 minutes
- Yield: 6–8 servings
- Category: Milk
- Method: Blended
- Cuisine: American
Ingredients
- 1 cup nuts (almonds, cashews, or whatever nut you like)
- 4 cups water
- 1 tsp salt (optional)
- 1 tsp vanilla extract (optional sweetener/flavoring)
- 2 dates (pitted, optional sweetener)
Instructions
- In a small bowl, add your nuts and 1 cup of warm water. Soak for 30 minutes (or overnight for harder nuts or extra creaminess).
- Drain the nuts from the warm water and rinse thoroughly. In a blender, combine the drained nuts, 4 cups fresh water, dates, salt, and vanilla extract (if using). Blend for 1-2 minutes or until all solids are completely broken up and the mixture is smooth and creamy.
- Strain your milk through a piece of double-lined cheesecloth or a nut milk bag into a glass container. Store in the fridge for up to 1 week. Make sure to shake well before using.
Notes
Special tools you will need:
- Cheesecloth or nut milk bag
- A high-power blender (recommended for best results)
Optional additions for flavor: a pinch of cinnamon, a tablespoon of maple syrup, or cocoa powder for chocolate milk.
Happy cooking!
Salima