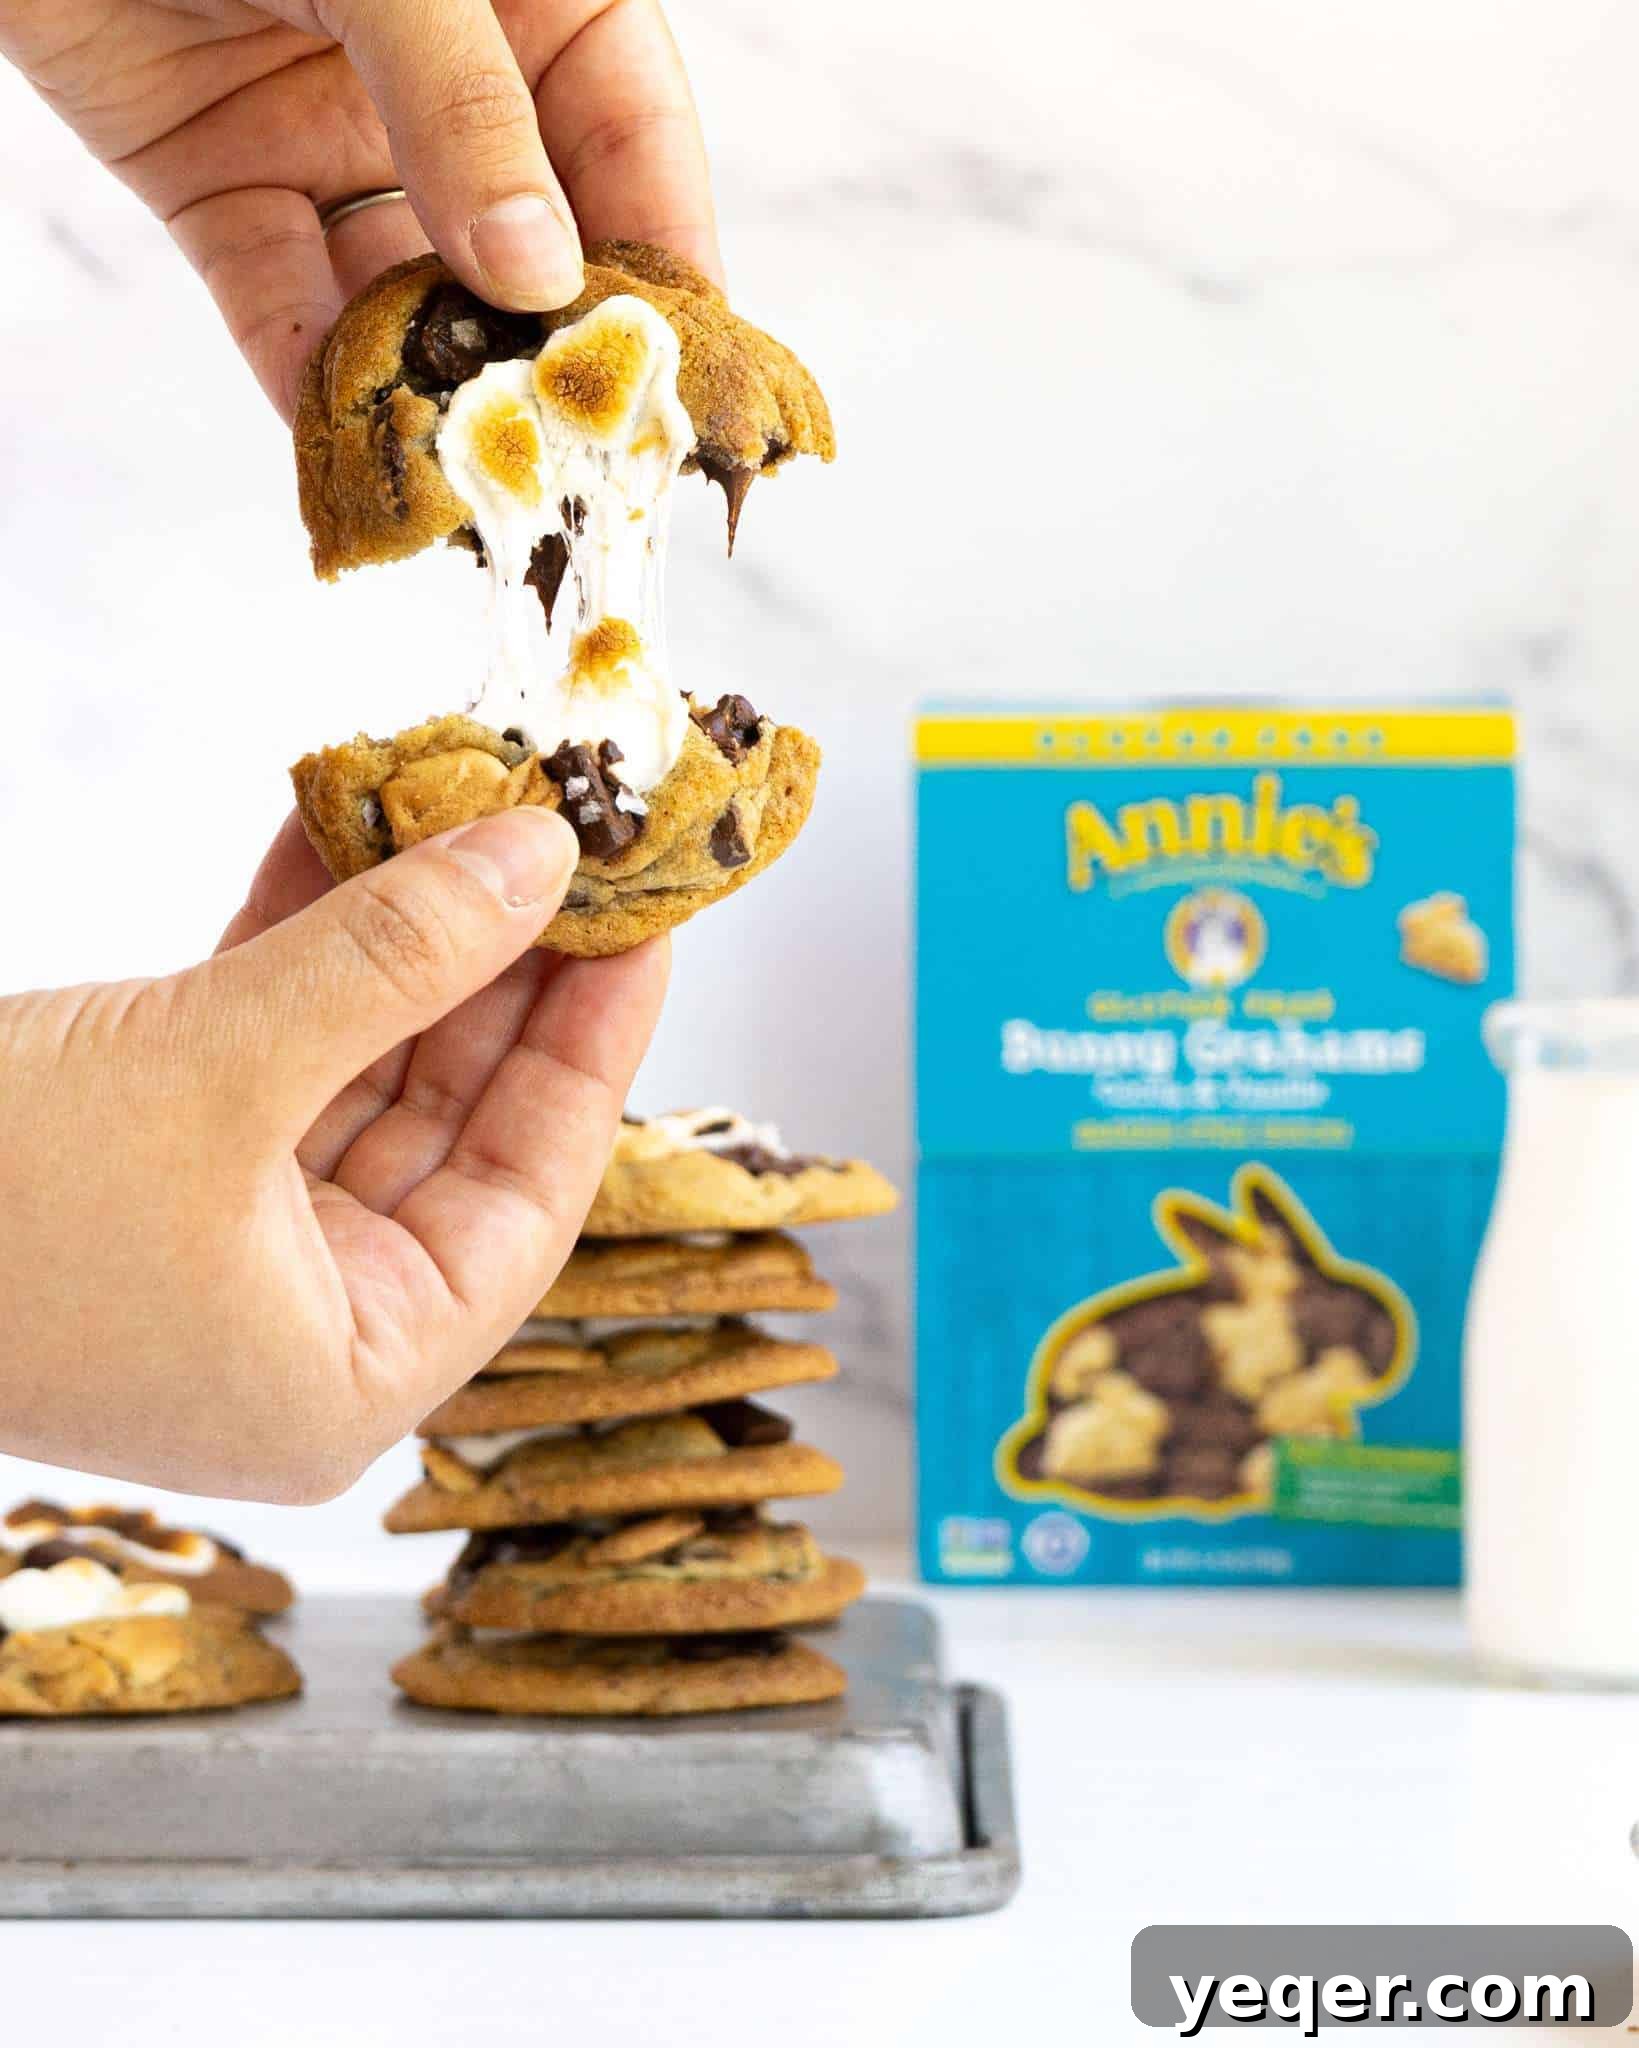
Indulge in Irresistible Gluten-Free S’mores Cookies: Your New Favorite Summer Treat
Today I’m partnering with Annie’s and The Feed Feed to share my favorite summer dessert, gluten free S’mores cookies!
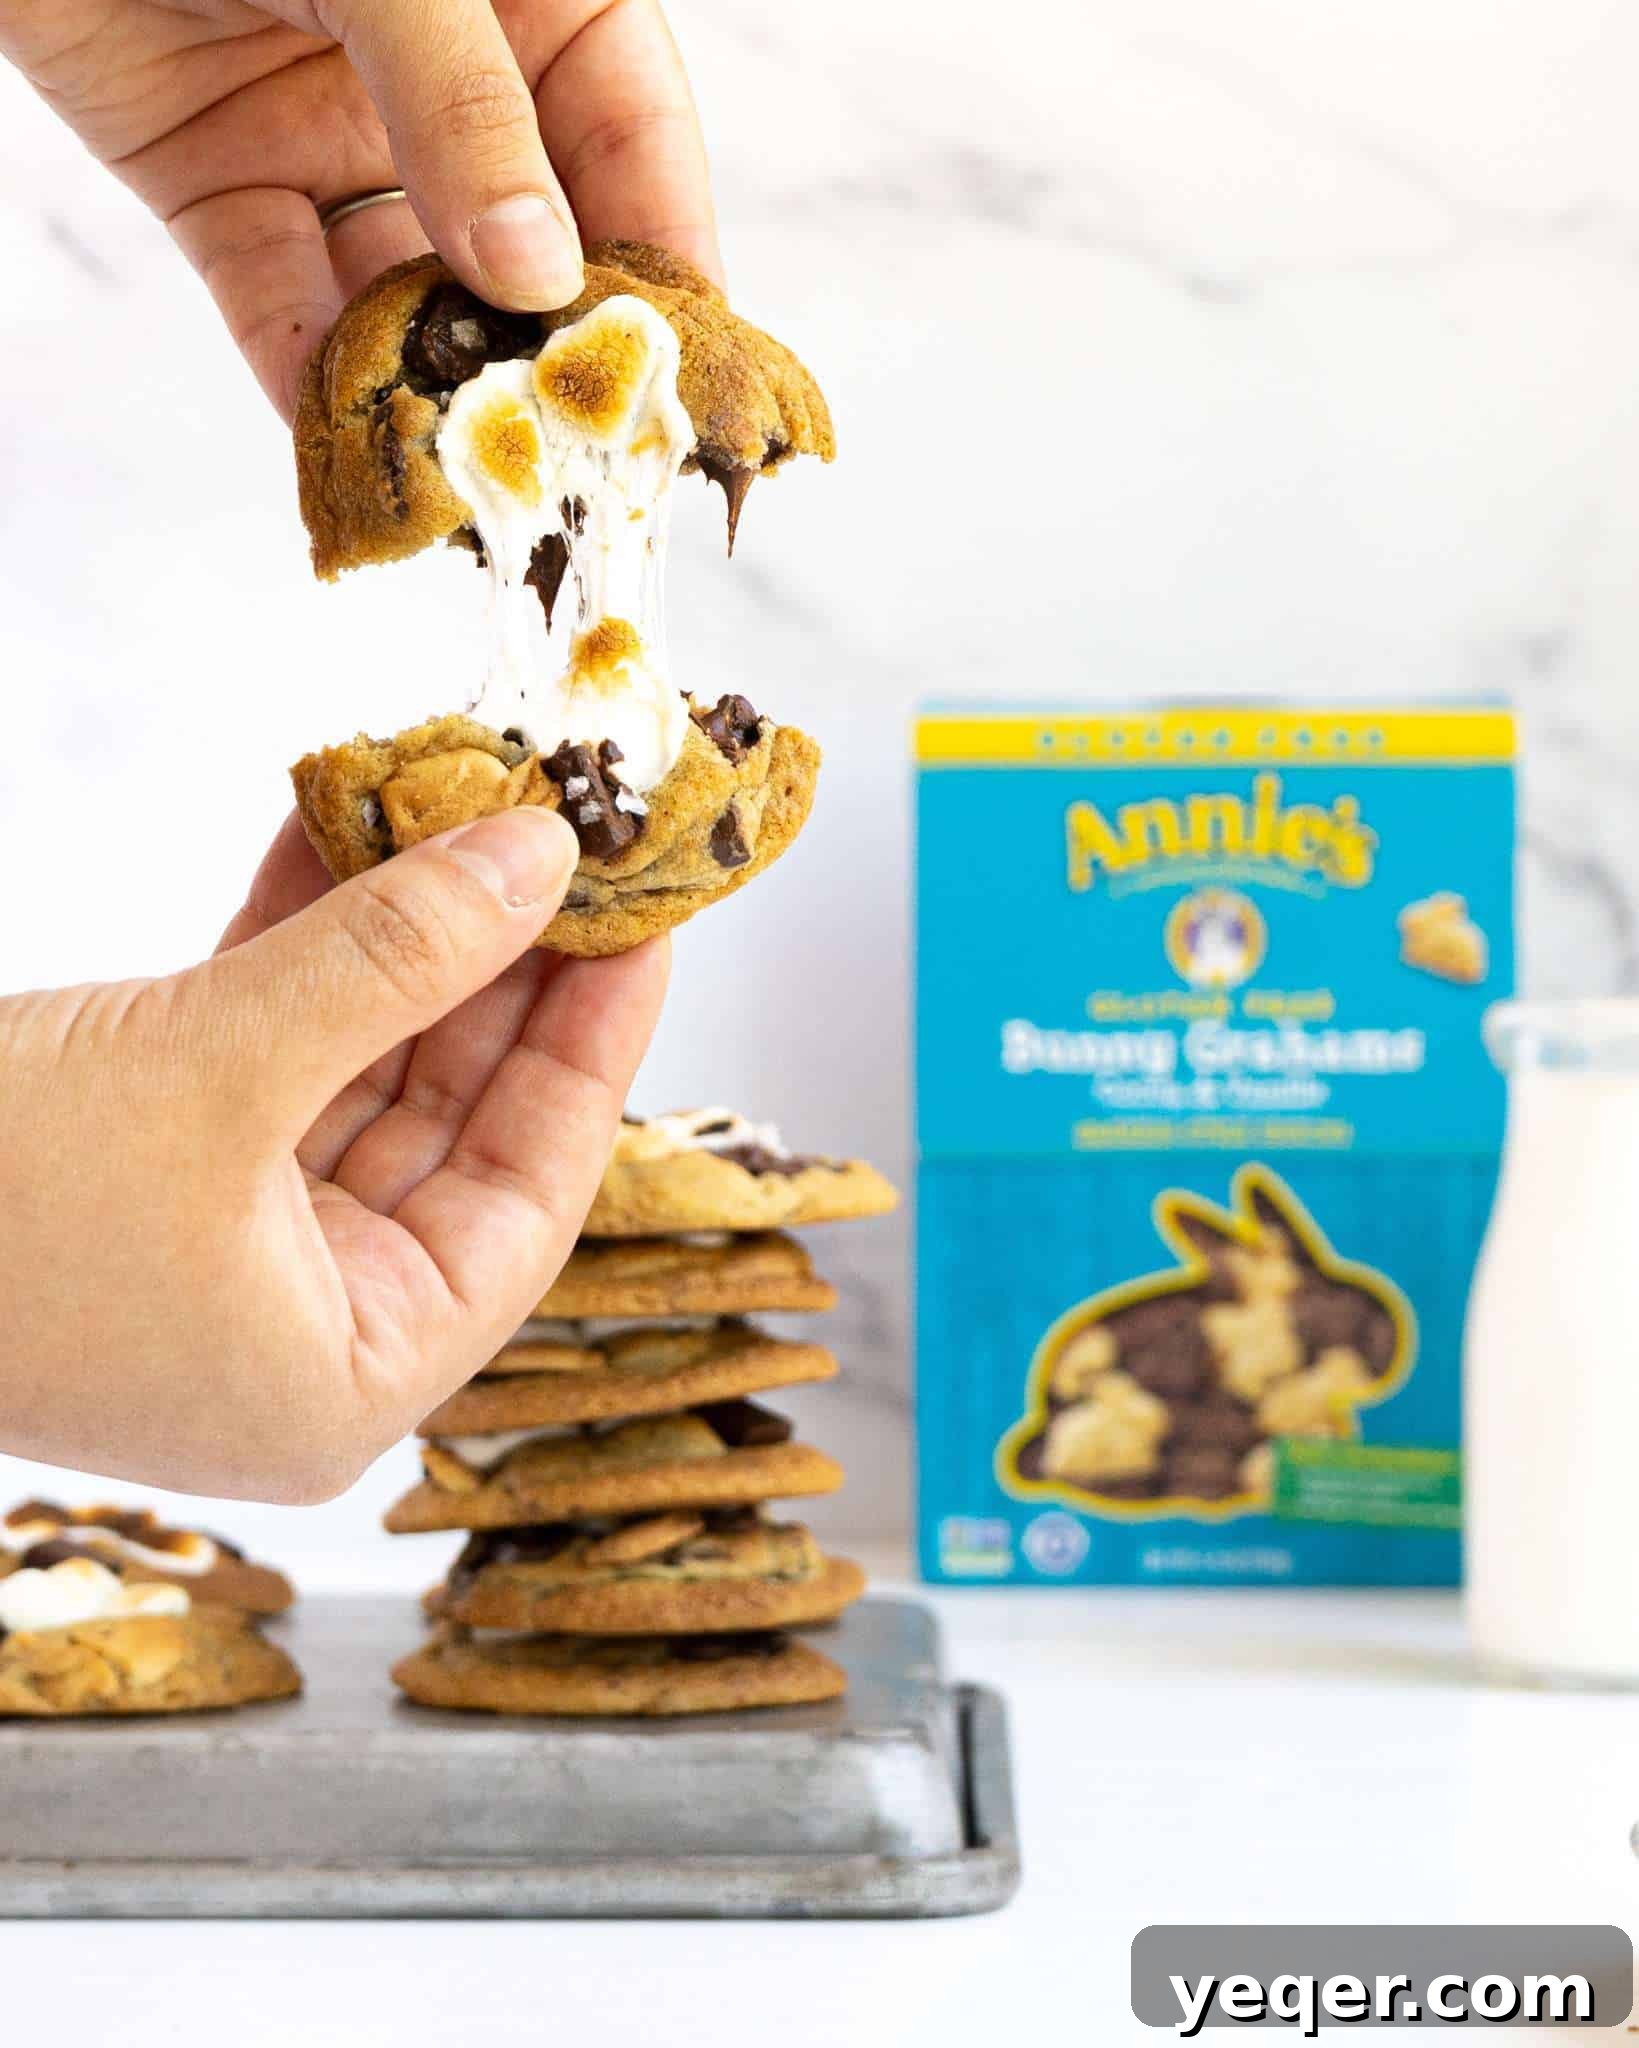
This post is sponsored by The Feed Feed and Annie’s. All thoughts are originally mine.
There’s something inherently magical about S’mores. The sticky sweetness of toasted marshmallows, the rich melted chocolate, and the satisfying crunch of graham crackers – it’s a symphony of textures and flavors that defines summer nights. But what if you could capture all that campfire charm in a convenient, mess-free, and delightfully chewy cookie? Better yet, what if that cookie was also gluten-free, ensuring everyone can enjoy this classic indulgence?
Today, I’m thrilled to partner with two incredible organizations, Annie’s and The Feed Feed, to bring you a recipe that will revolutionize your summer dessert repertoire: my absolute favorite Gluten-Free S’mores Cookies. This isn’t just any cookie; it’s a celebration of classic flavors made accessible and incredibly delicious, proving that gluten-free baking can be just as, if not more, satisfying. Get ready to bake a treat that will disappear almost as fast as you can make them!
Our Journey with Annie’s: A Legacy of Wholesome Goodness
My connection with Annie’s goes way back to my childhood. Growing up, our local food co-op was a treasure trove of wholesome, delicious products, and Annie’s mac and cheese was a constant staple in our pantry. It was the comfort food of my youth, a reliable source of simple, yet incredibly satisfying meals. The vibrant packaging and delicious taste always brought a smile to my face. Decades later, my shopping habits haven’t changed much. I still frequent local co-ops, and Annie’s products continue to fill my kitchen, especially their ever-expanding range of fantastic gluten-free options. Their commitment to organic ingredients and natural flavors resonates deeply with my own cooking philosophy, making them a brand I trust and love.
Annie’s has always stood out for its dedication to producing food that is both good for you and good for the planet. They prioritize ingredients free from artificial flavors, synthetic colors, and preservatives, which is something I deeply appreciate as a home cook. This ethos extends to their gluten-free line, where quality is never compromised. You can discover Annie’s extensive product line online or locate them effortlessly at your nearest co-op. Their dedication to quality and taste makes them a standout choice for home cooks seeking both deliciousness and peace of mind.
For this specific S’mores cookie recipe, we’re leveraging the deliciousness of Annie’s gluten-free bunny grahams. These delightful little crackers are not just for snacking; they provide the perfect crumbly, slightly sweet base that’s crucial for achieving that authentic S’mores experience in every single bite. Their size and texture are ideal for incorporating directly into cookie dough, ensuring a consistent burst of graham cracker flavor throughout the cookie, without the hassle of crushing traditional graham crackers by hand. These bunny grahams bring a playful element and a reliable gluten-free foundation to our cookies.
Savor the S’mores Experience, Minus the Mess
Anyone who has indulged in the classic S’mores experience knows it’s a delightful ritual, but also undeniably messy. Picture this: gooey, molten marshmallow stubbornly clinging to skewers, chocolate bits melting onto fingers and faces, and graham cracker crumbs seemingly multiplying across every surface. While these moments are part of the charm, they’re not always practical, especially when entertaining or seeking a quick, satisfying treat.
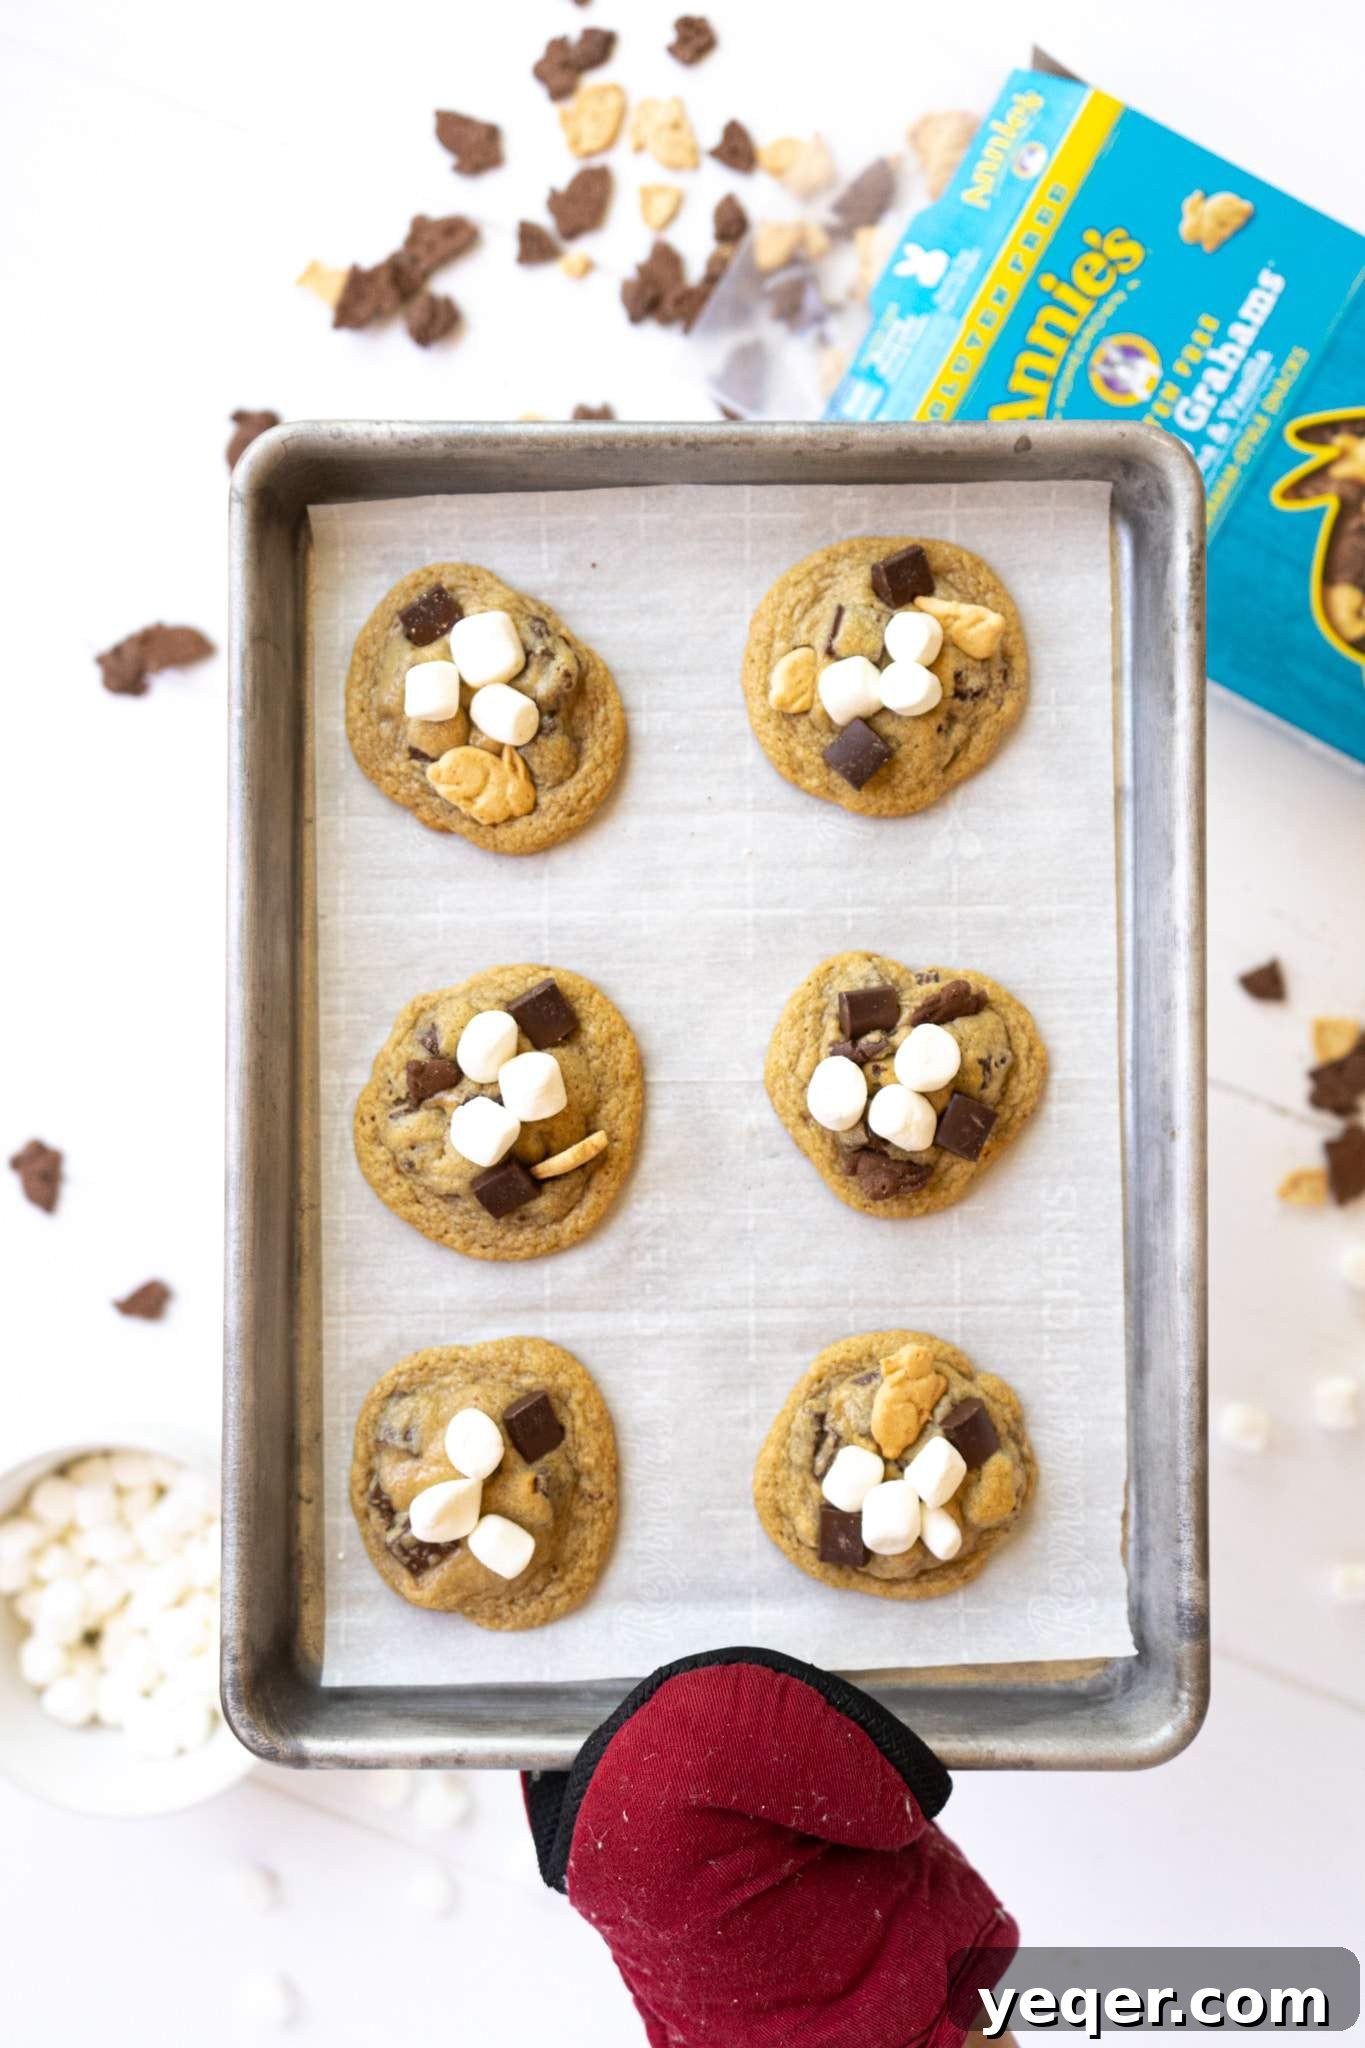
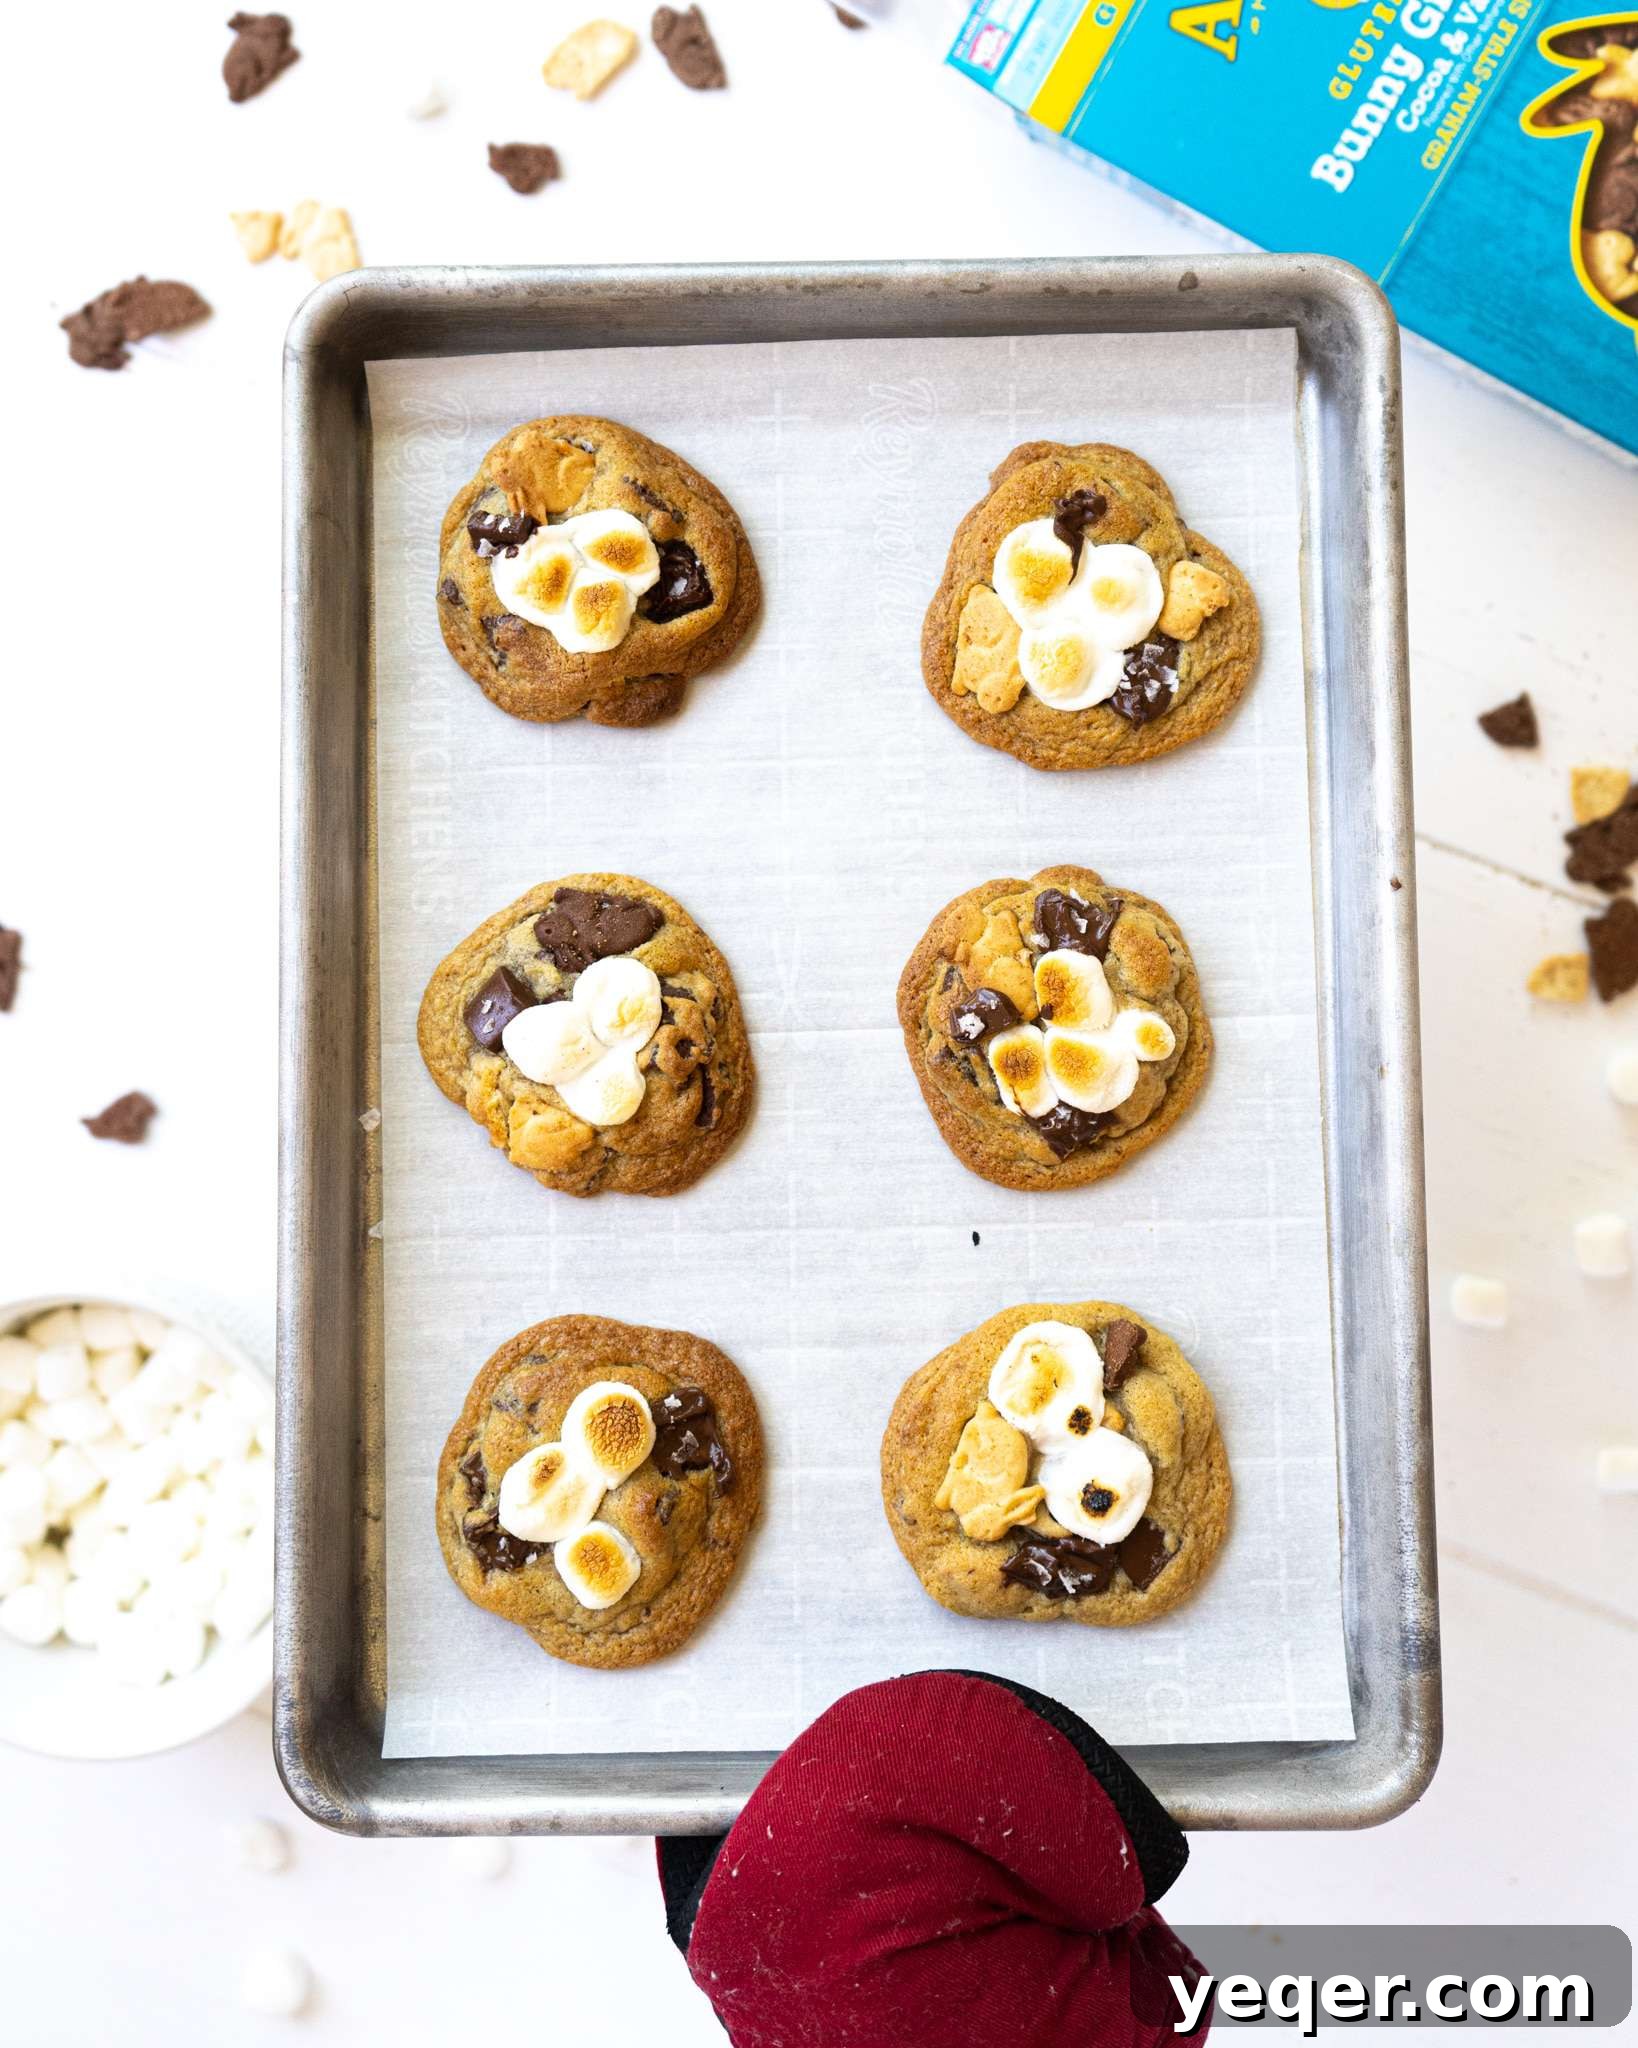
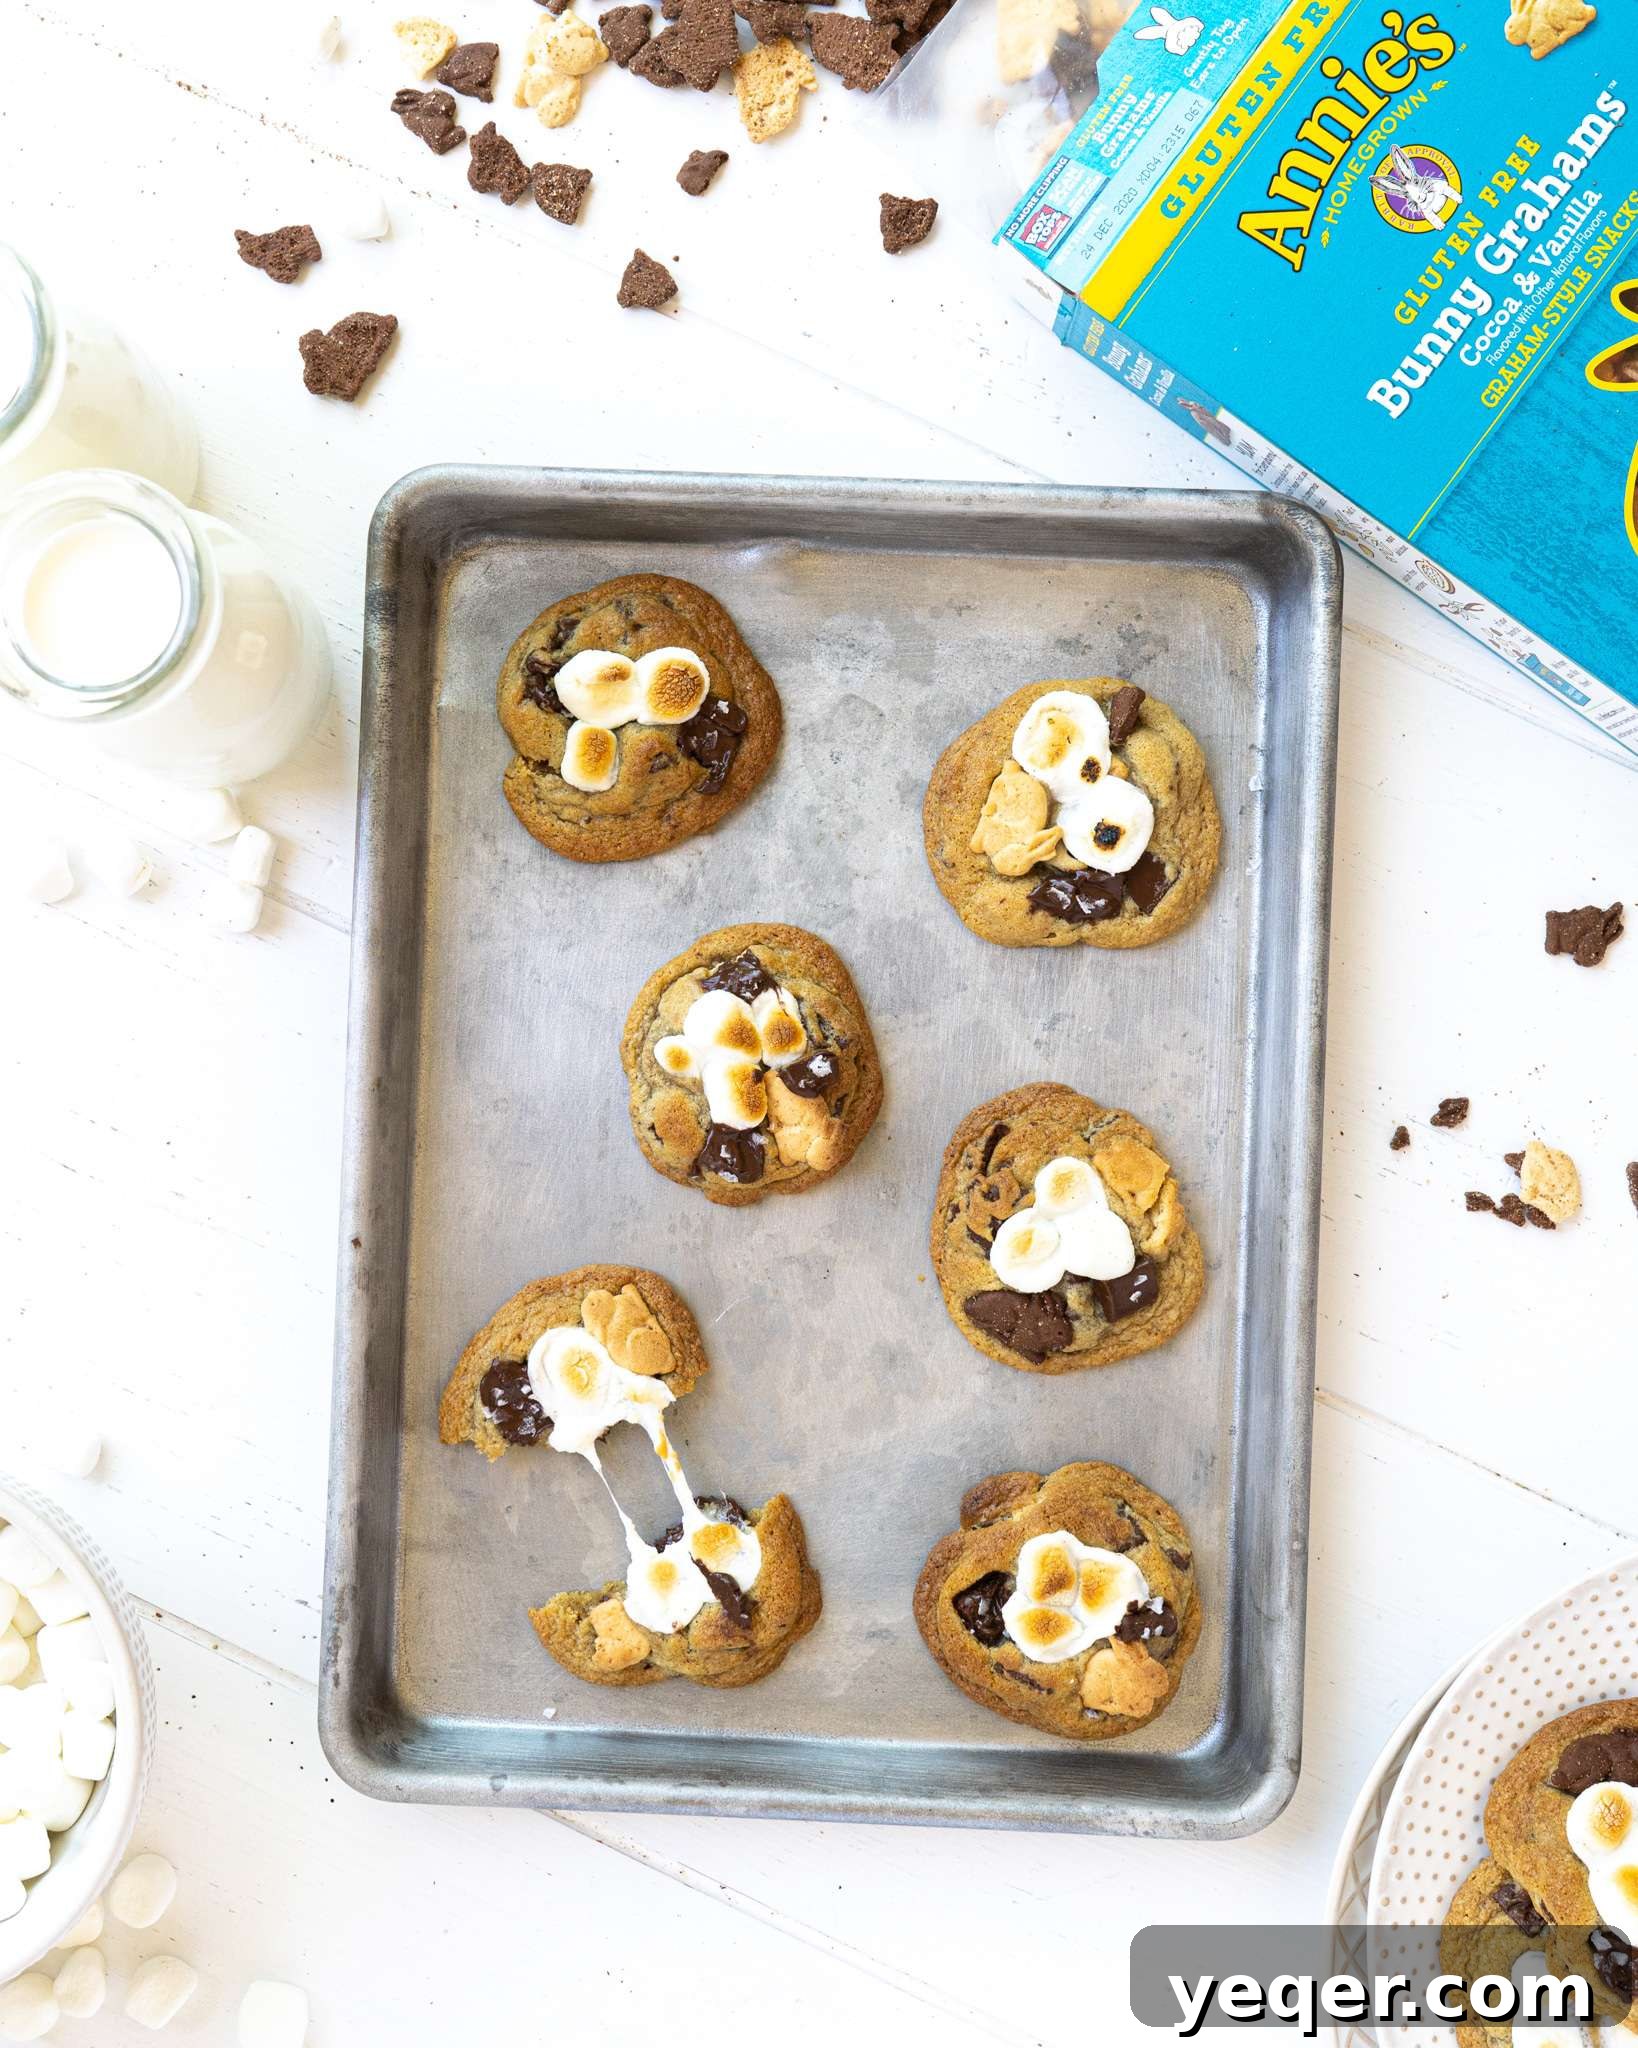
This is precisely where these Gluten-Free S’mores Cookies shine! They deliver all the beloved flavors and textures of a traditional S’more – the golden-brown toasted marshmallow, the rich, melty chocolate, and the comforting crunch of graham crackers – all neatly packaged into a handheld cookie. No sticky fingers, no dropped marshmallows, and minimal crumbs. Just pure S’mores bliss, bite after delicious bite. They offer the ultimate convenience for picnics, parties, travel snacks, or simply a cozy evening at home without the campfire cleanup.
Moreover, one of the greatest advantages of this recipe is its simplicity. You won’t need any specialized equipment or fancy tools to create these masterpieces. Basic kitchen essentials – mixing bowls, a spatula, and a baking sheet – are all that stand between you and a batch of these incredible cookies. This makes it an ideal recipe for bakers of all skill levels, from beginners eager to try their hand at gluten-free treats to seasoned pros looking for a fuss-free dessert that tastes utterly amazing.
Why Go Gluten-Free with S’mores Cookies?
For many, gluten sensitivity or celiac disease means carefully navigating dessert options. Traditional S’mores, with their graham cracker base, are typically off-limits, which can be disheartening when everyone else is enjoying a classic summer treat. This recipe is a game-changer, offering a genuinely delicious and inclusive way to enjoy a beloved classic without feeling left out. By using Annie’s gluten-free bunny grahams and a high-quality gluten-free flour blend, we ensure that the cookies maintain the perfect texture and flavor profile without compromise.
You won’t miss the gluten in these cookies; instead, you’ll discover a rich, chewy, and satisfying treat that stands proudly on its own. The combination of ingredients works harmoniously to create a cookie that’s moist, flavorful, and perfectly reminiscent of a traditional S’more. Beyond dietary needs, these cookies simply taste fantastic. The careful balance of ingredients, from the specific blend of sugars to the inclusion of both chocolate chunks and mini marshmallows, creates a complex flavor experience that will appeal to everyone, regardless of their dietary preferences. It’s about enjoying great food that happens to be gluten-free, rather than making a sacrifice.
Crafting Your Perfect Gluten-Free S’mores Cookies: A Step-by-Step Guide
Achieving bakery-quality S’mores cookies at home is simpler than you might think. With a few key ingredients and some straightforward steps, you’ll be enjoying these delightful treats in no time. Precision in baking often leads to the best results, so let’s break down everything you need to know to make these cookies a smashing success. Pay close attention to the details, and you’ll be rewarded with perfectly golden, chewy, and gooey S’mores cookies.
Gluten Free S’mores Cookies
- Author: Salima Benkhalti
- Prep Time: 20 minutes
- Cook Time: 10 minutes
- Total Time: 30 minutes
- Yield: 32–36 cookies
- Category: Cookies, Dessert, Summer
- Method: Baked, Broiled
- Cuisine: American
- Diet: Gluten Free
Essential Ingredients for S’mores Cookie Perfection
- 2 ½ cups gluten free flour blend (ensure it contains xanthan gum or add ¼ tsp separately)
- ¼ tsp salt
- 1 tsp baking soda
- 1 cup unsalted butter (2 sticks), softened to room temperature
- ½ cup granulated white sugar
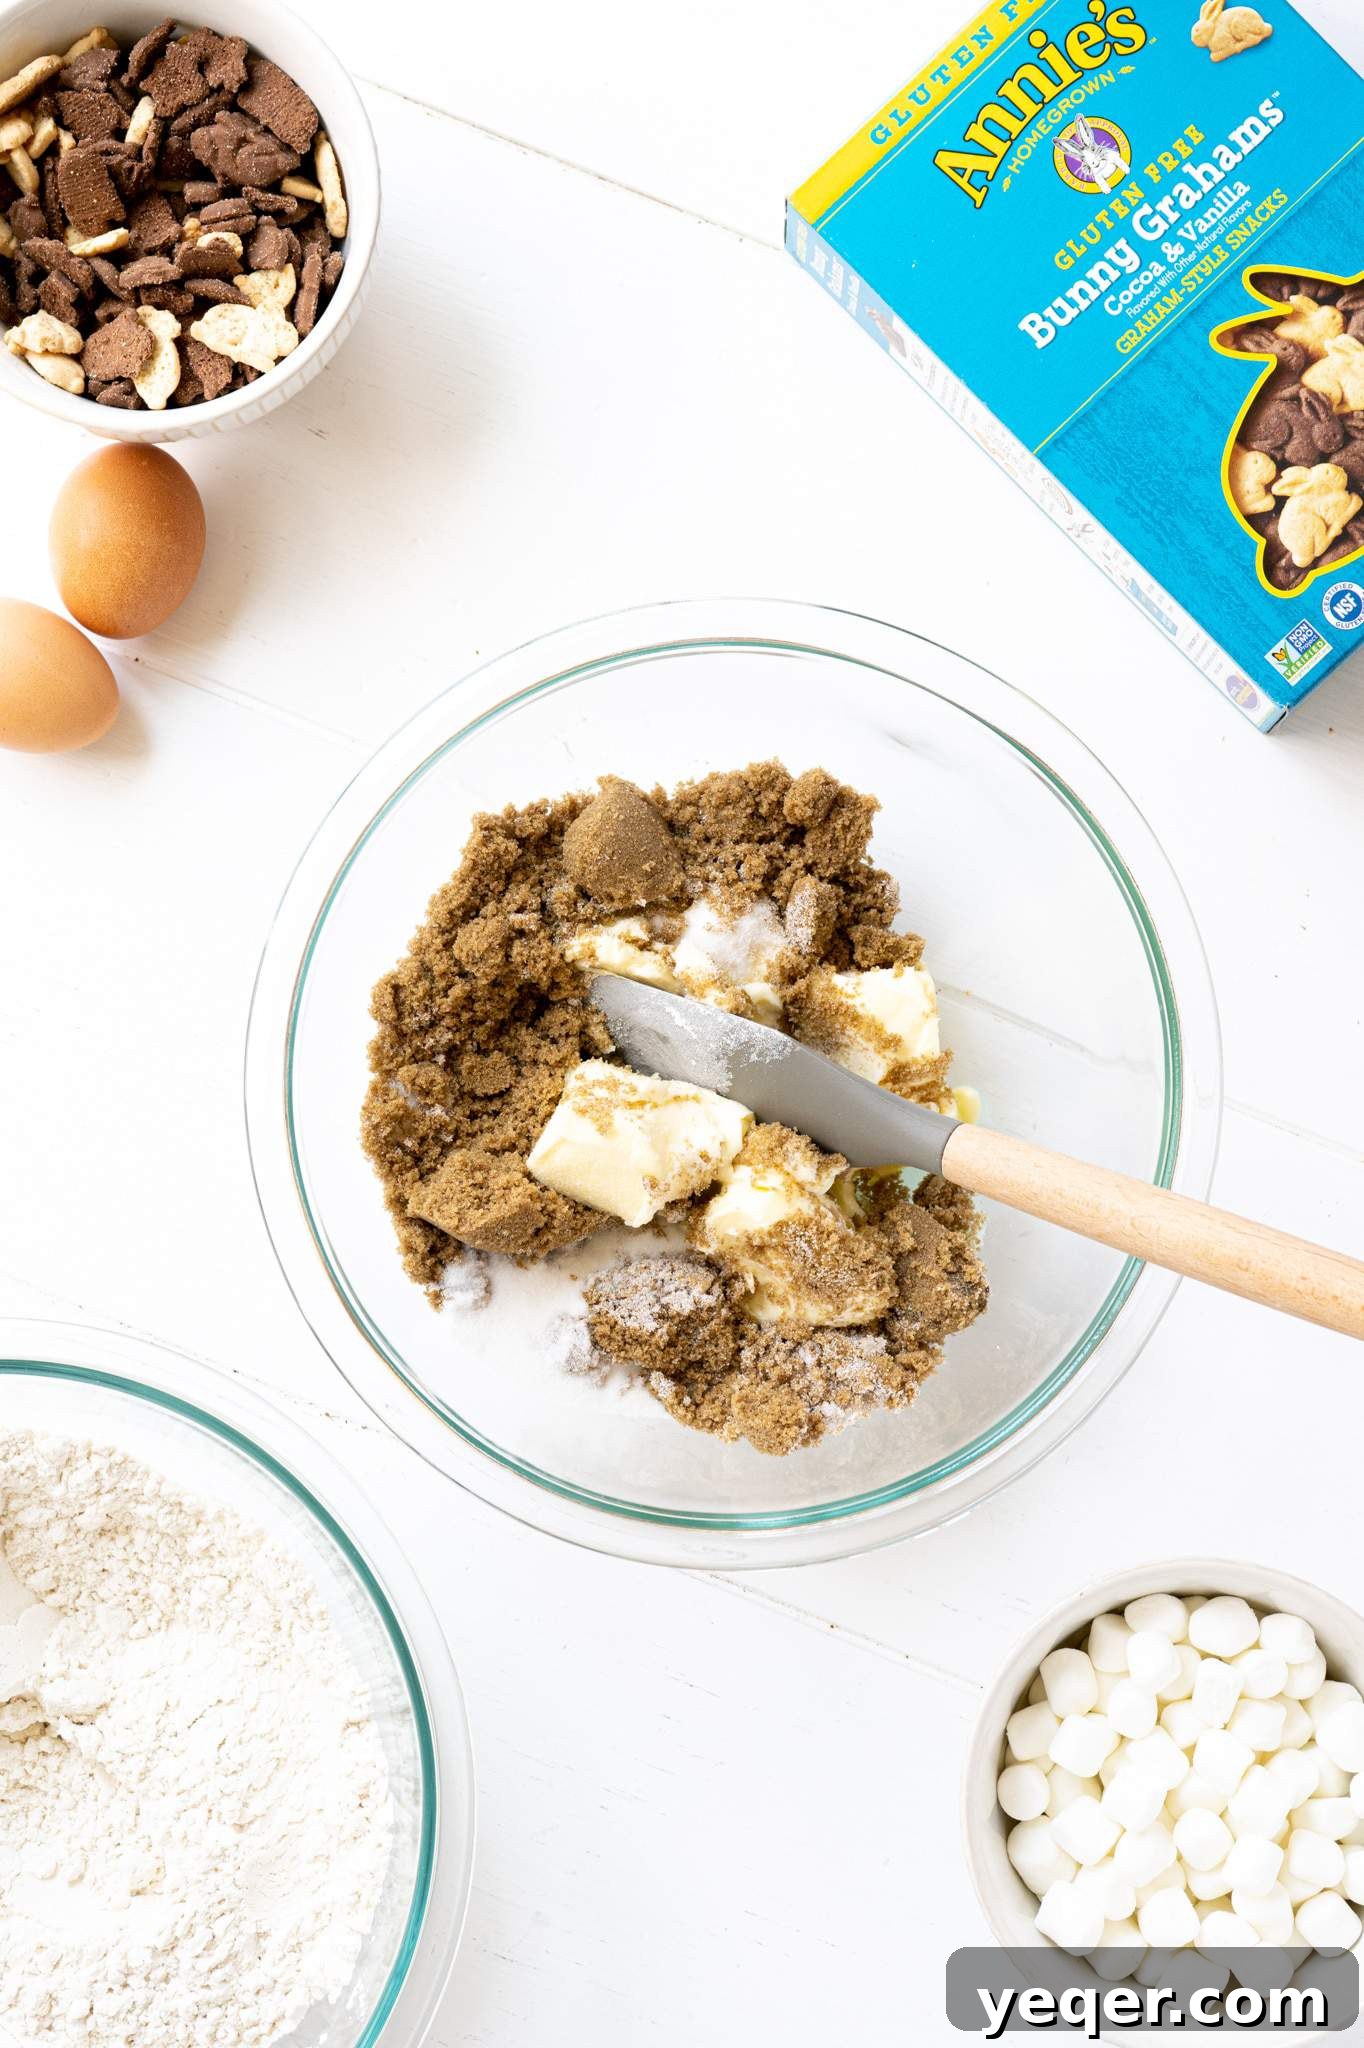
- 1 cup packed light brown sugar
- 2 large eggs, at room temperature
- 1 tsp pure vanilla extract
- 2 cups semi-sweet chocolate chunks or chips
- 2 cups Annie’s Gluten-Free Graham Bunnies, lightly crushed
- 1 cup mini marshmallows
- 1 tbsp flake salt (for optional garnish and flavor enhancement)
Easy-to-Follow Instructions
- Prepare Your Oven and Dry Ingredients: Preheat your oven to a steady 350°F (175°C). Line several baking sheets with parchment paper for easy cleanup and even baking – this is crucial for preventing sticking and ensuring even heat distribution. In a medium-sized mixing bowl, whisk together the gluten-free flour blend, baking soda, and salt. Make sure these dry ingredients are thoroughly combined to ensure a consistent rise and flavor throughout your cookies.
- Cream Butter and Sugars: In a larger mixing bowl, ideally using a stand mixer with a paddle attachment or a hand mixer, combine the softened butter, white sugar, and brown sugar. Beat on medium speed for about 2 minutes, or until the mixture is light, fluffy, and all sugar clumps have disappeared. This creaming process incorporates air, which contributes significantly to the cookies’ light and chewy texture. Ensure your butter is truly at room temperature for the best results.
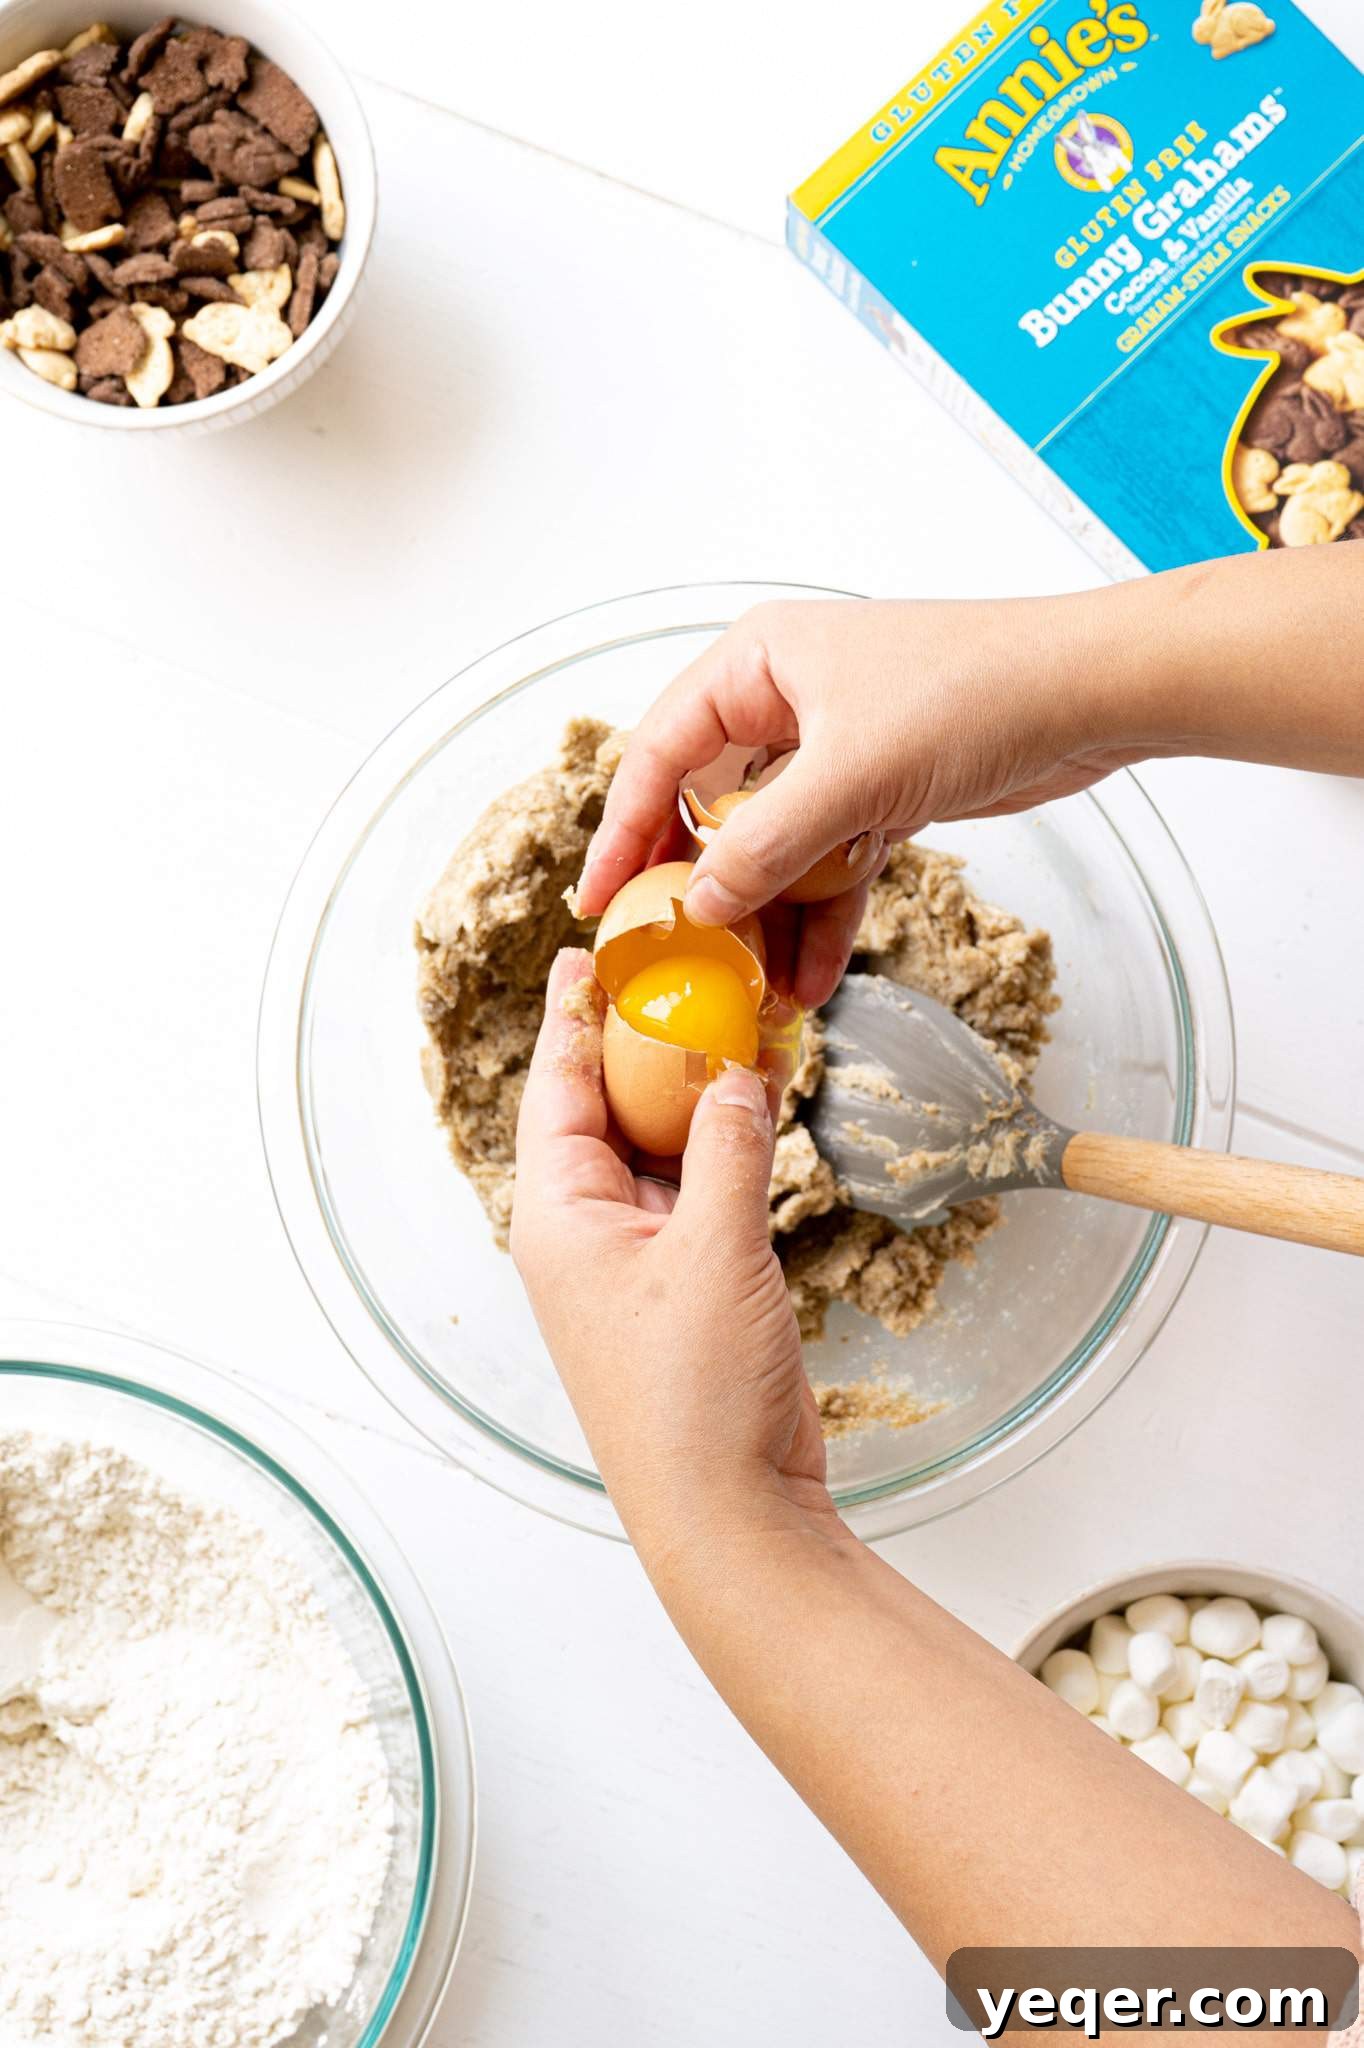
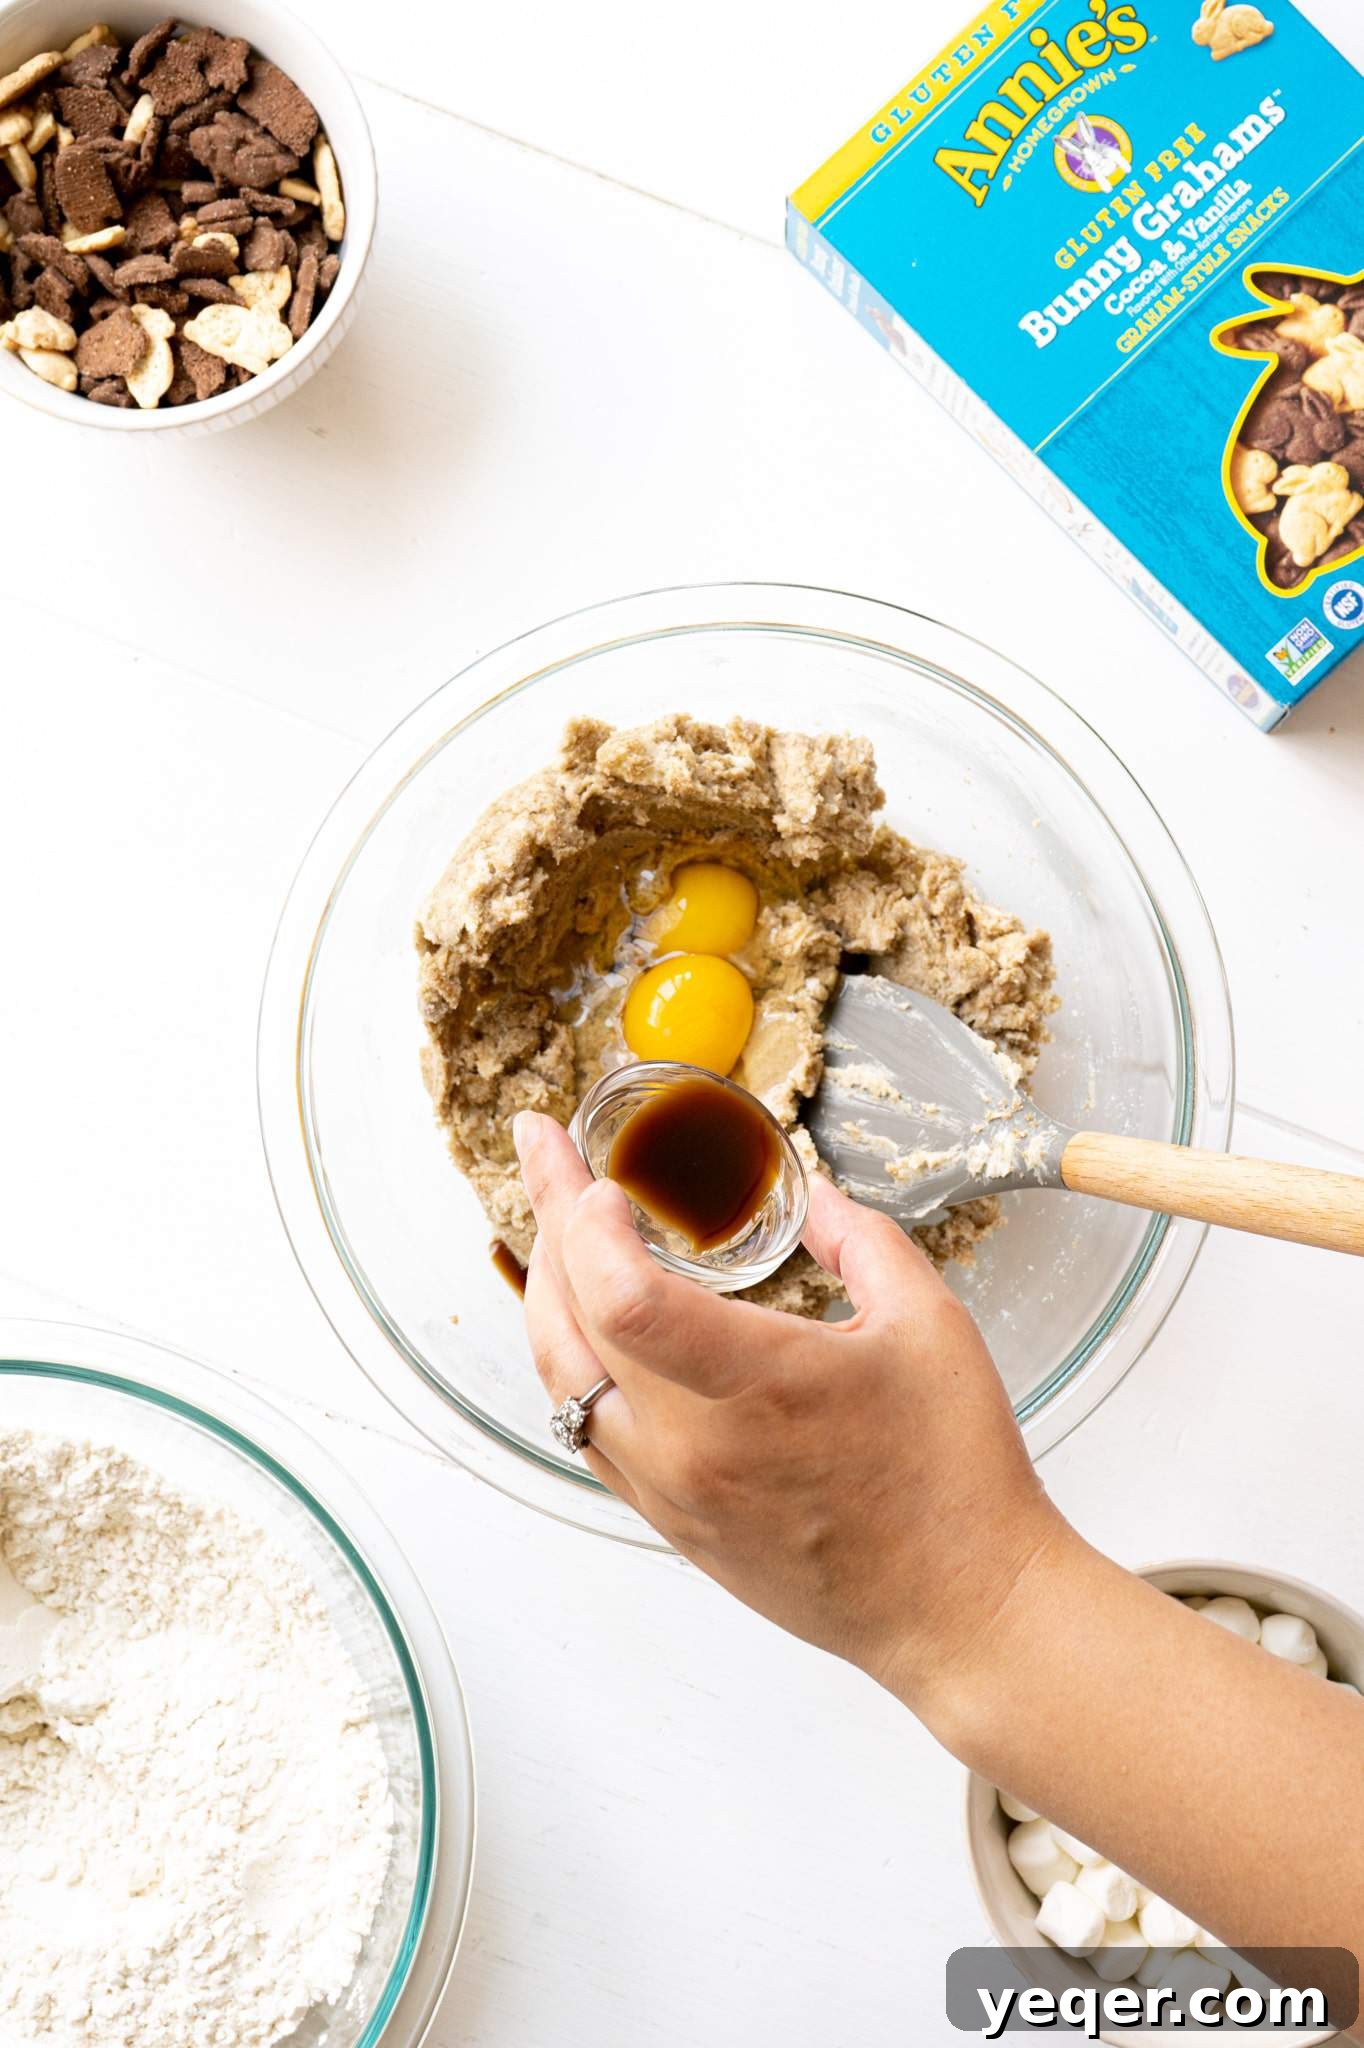
- Incorporate Wet Ingredients: Add the two eggs one at a time, beating well after each addition until fully incorporated into the butter-sugar mixture. Follow with the pure vanilla extract, mixing until just combined. Be careful not to overmix at this stage, as excessive beating after eggs are added can sometimes lead to tougher cookies.
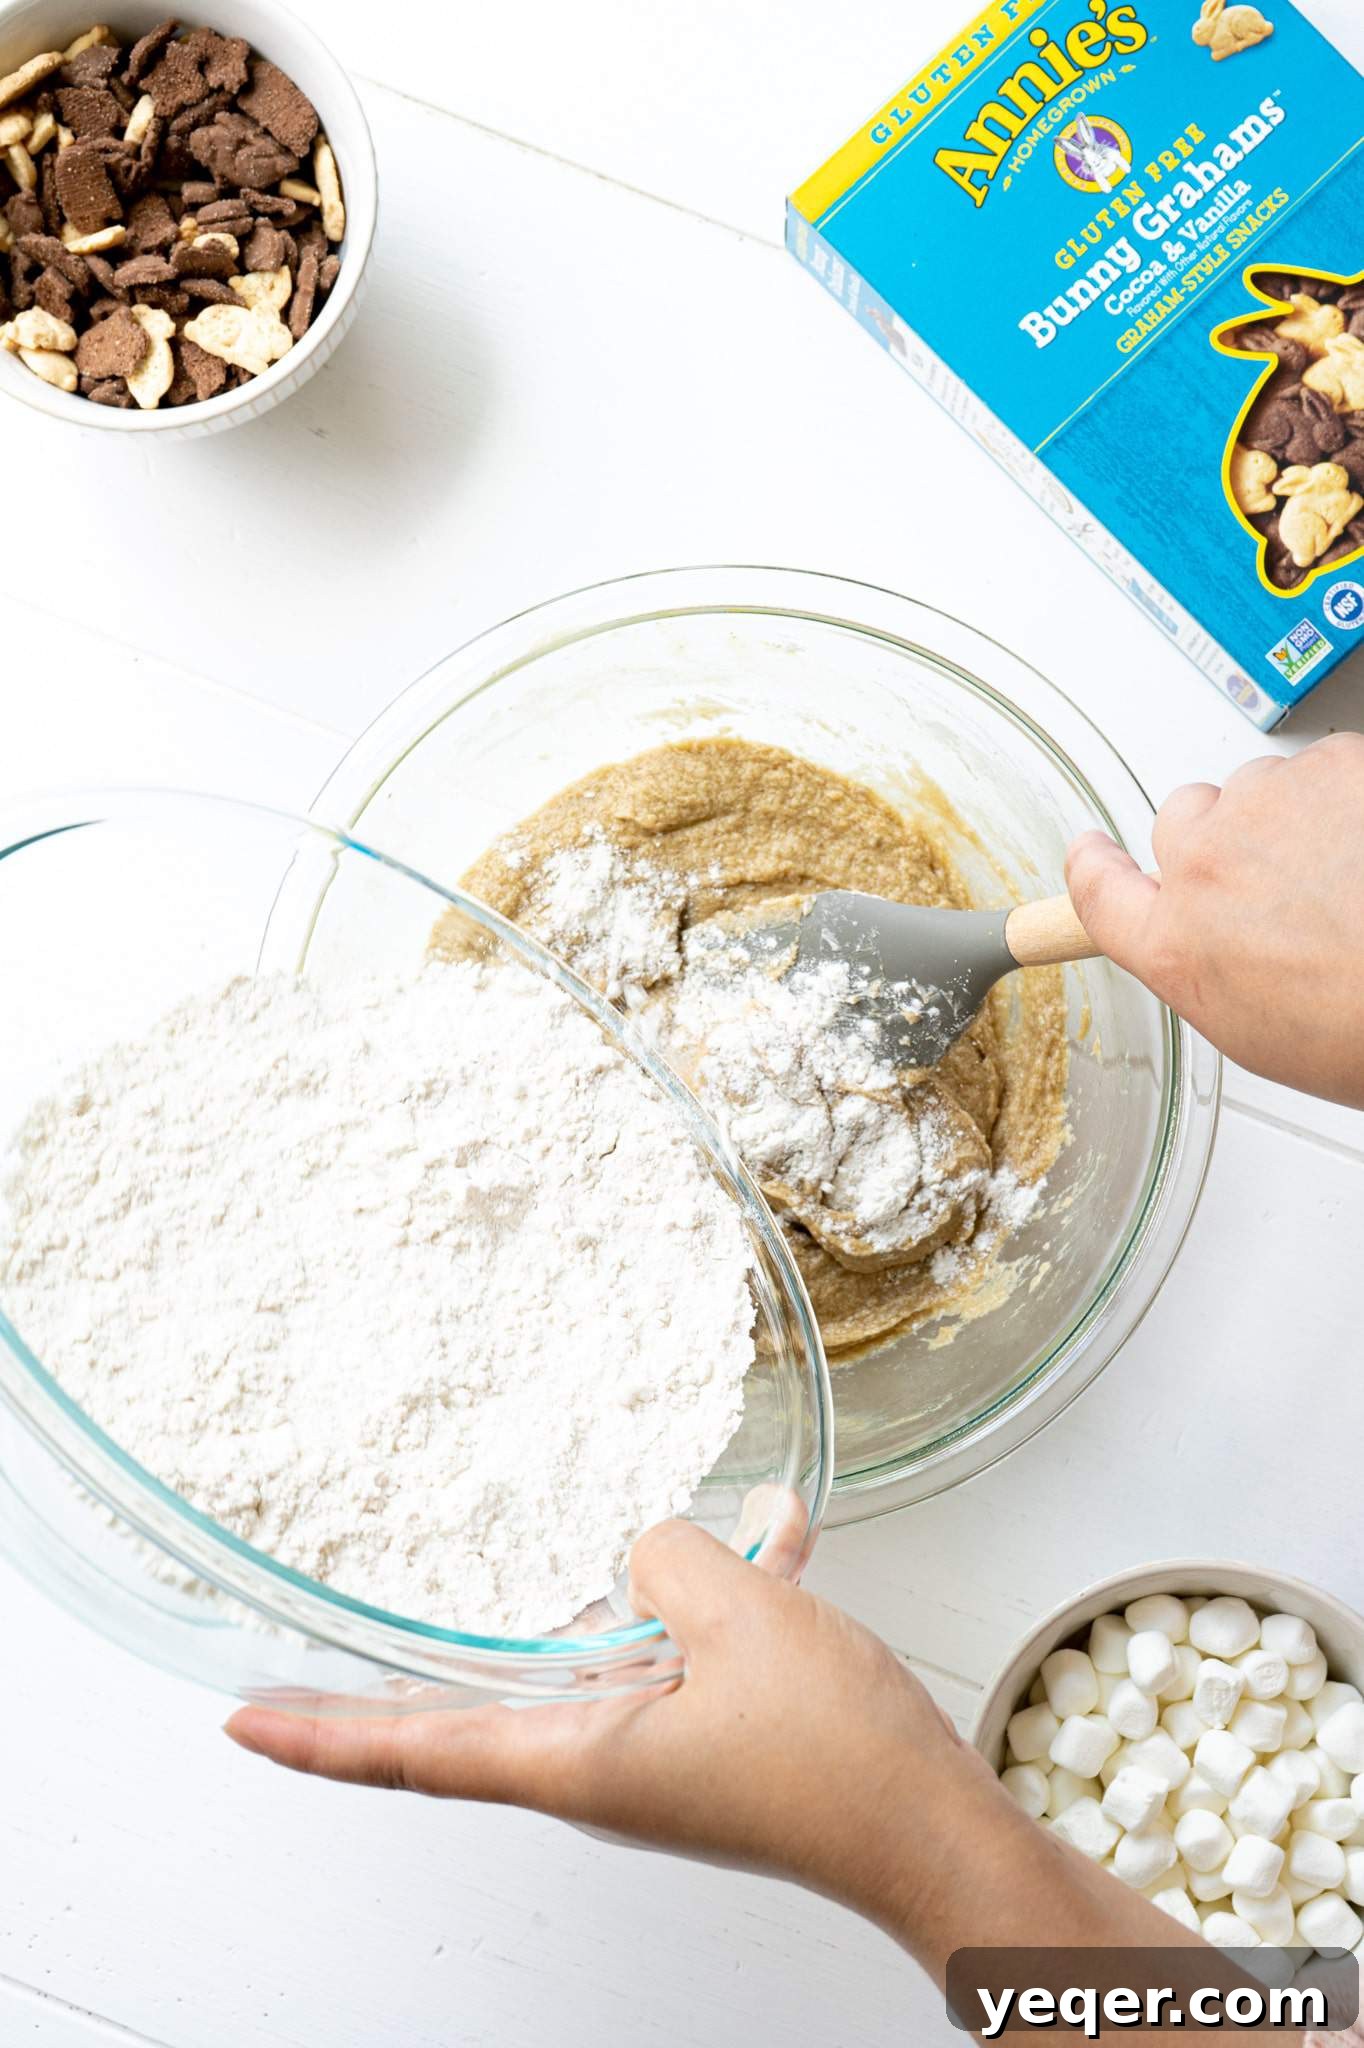
- Combine Wet and Dry Mixtures: Gradually add the flour mixture to the wet ingredients, about half a cup at a time. Mix on low speed until just combined and a cohesive dough forms. Avoid overmixing once the flour is added, as it can develop the gluten-free flour’s starches too much, potentially leading to a denser, less tender cookie. Stop mixing as soon as no dry streaks of flour remain.
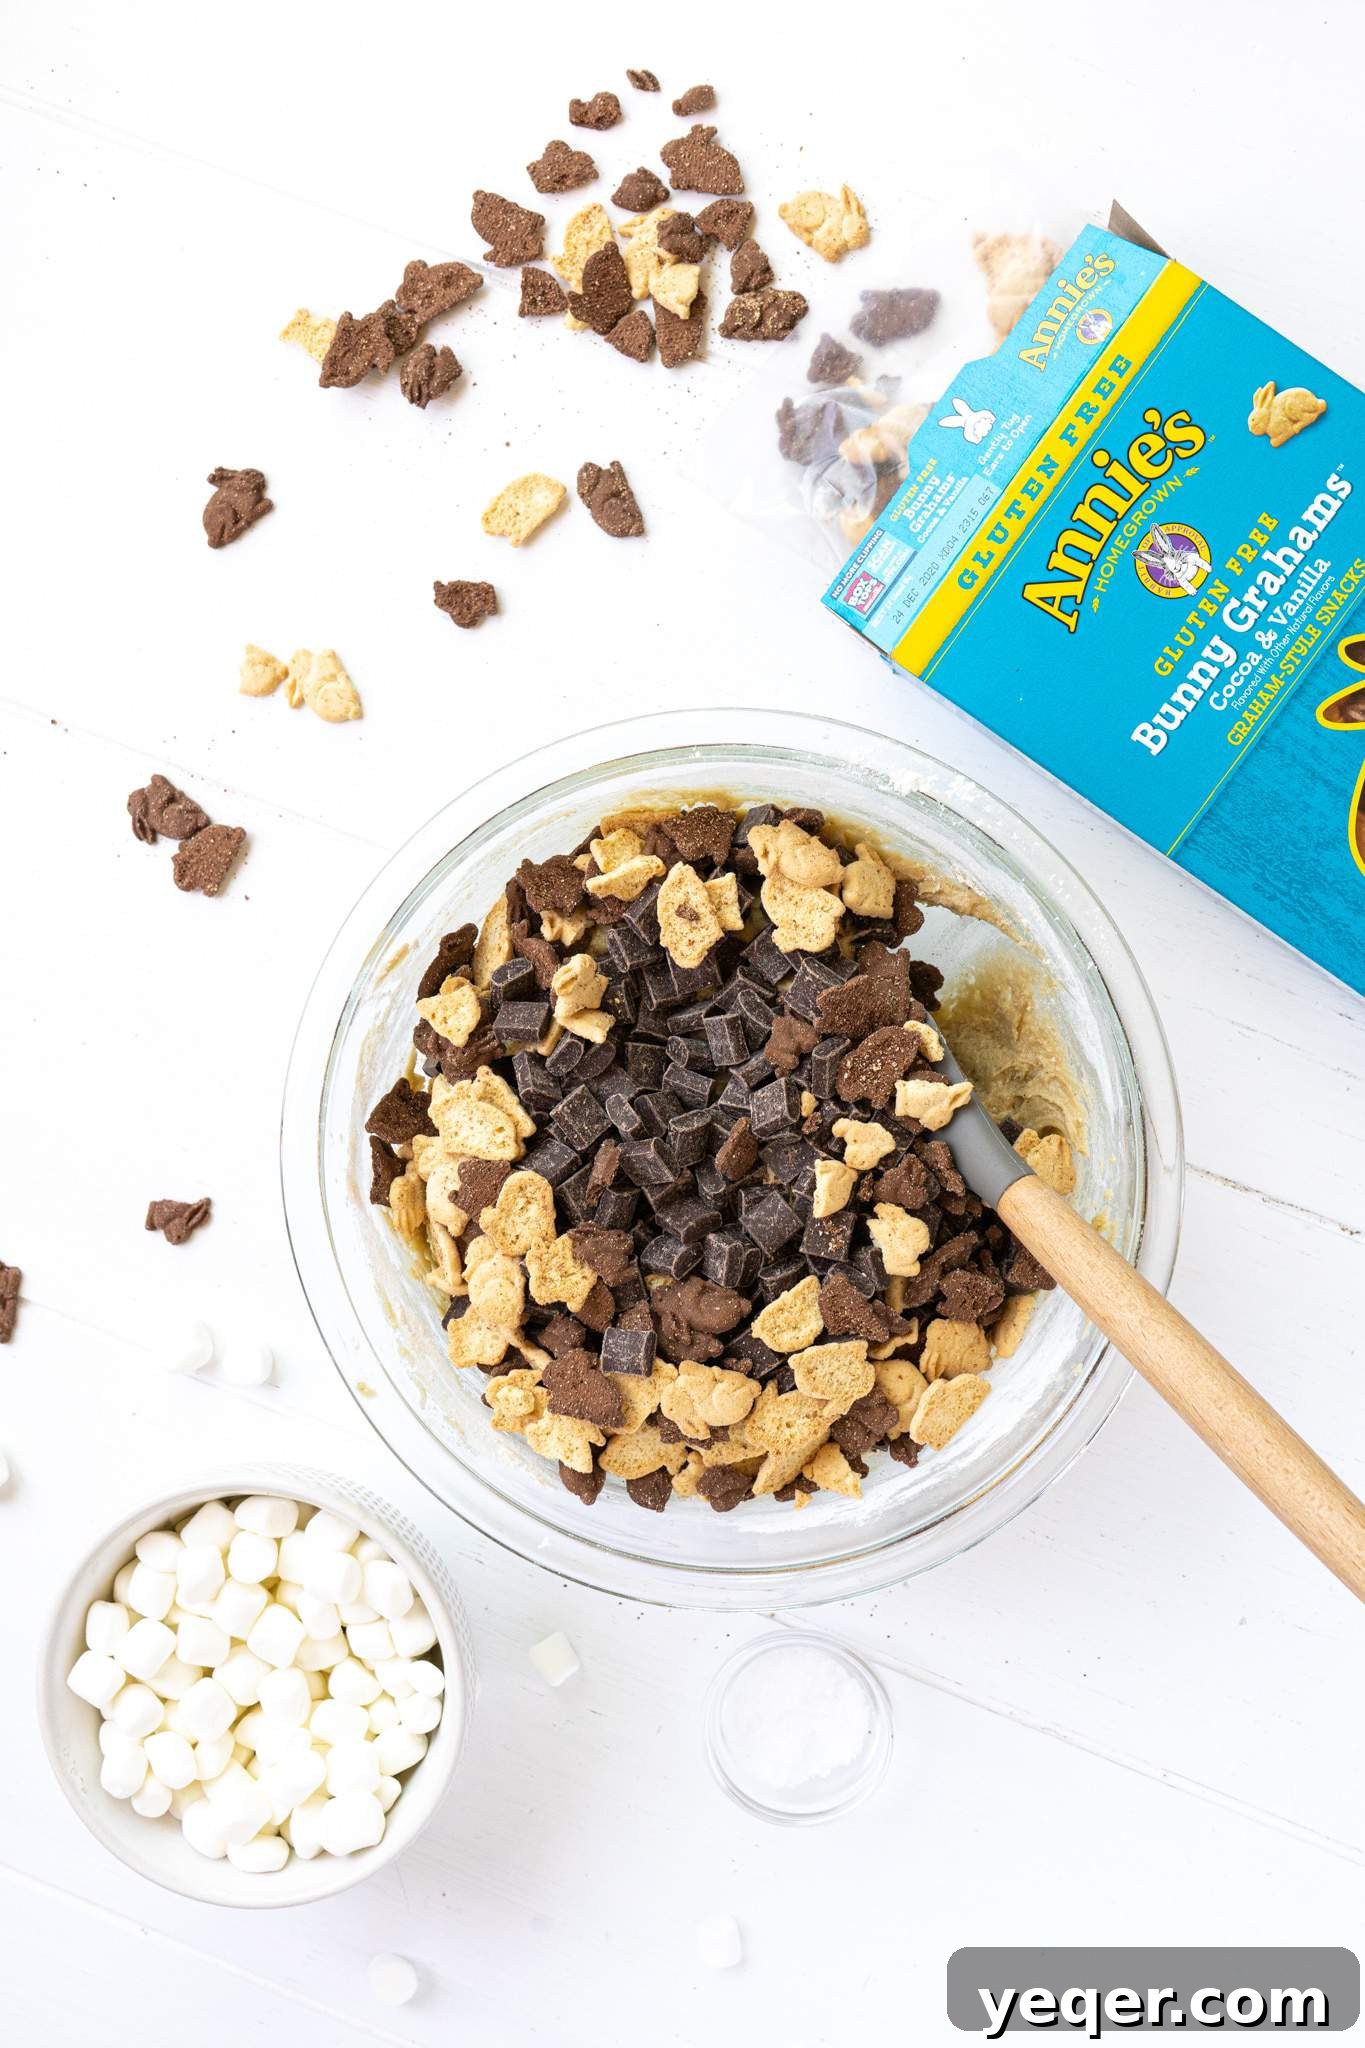
- Fold in the Goodies: Gently fold in the Annie’s Graham Bunnies and chocolate chunks. Reserve the mini marshmallows for later. The goal here is to distribute these mix-ins evenly throughout the dough without crushing the grahams too much, ensuring a delightful texture in every bite.
- Chill the Dough: Cover the bowl with plastic wrap and chill the cookie dough in the refrigerator for at least 15 minutes. This chilling period is crucial for preventing the cookies from spreading too much during baking, ensuring they retain their shape, develop deeper flavors, and achieve a wonderfully chewy texture.
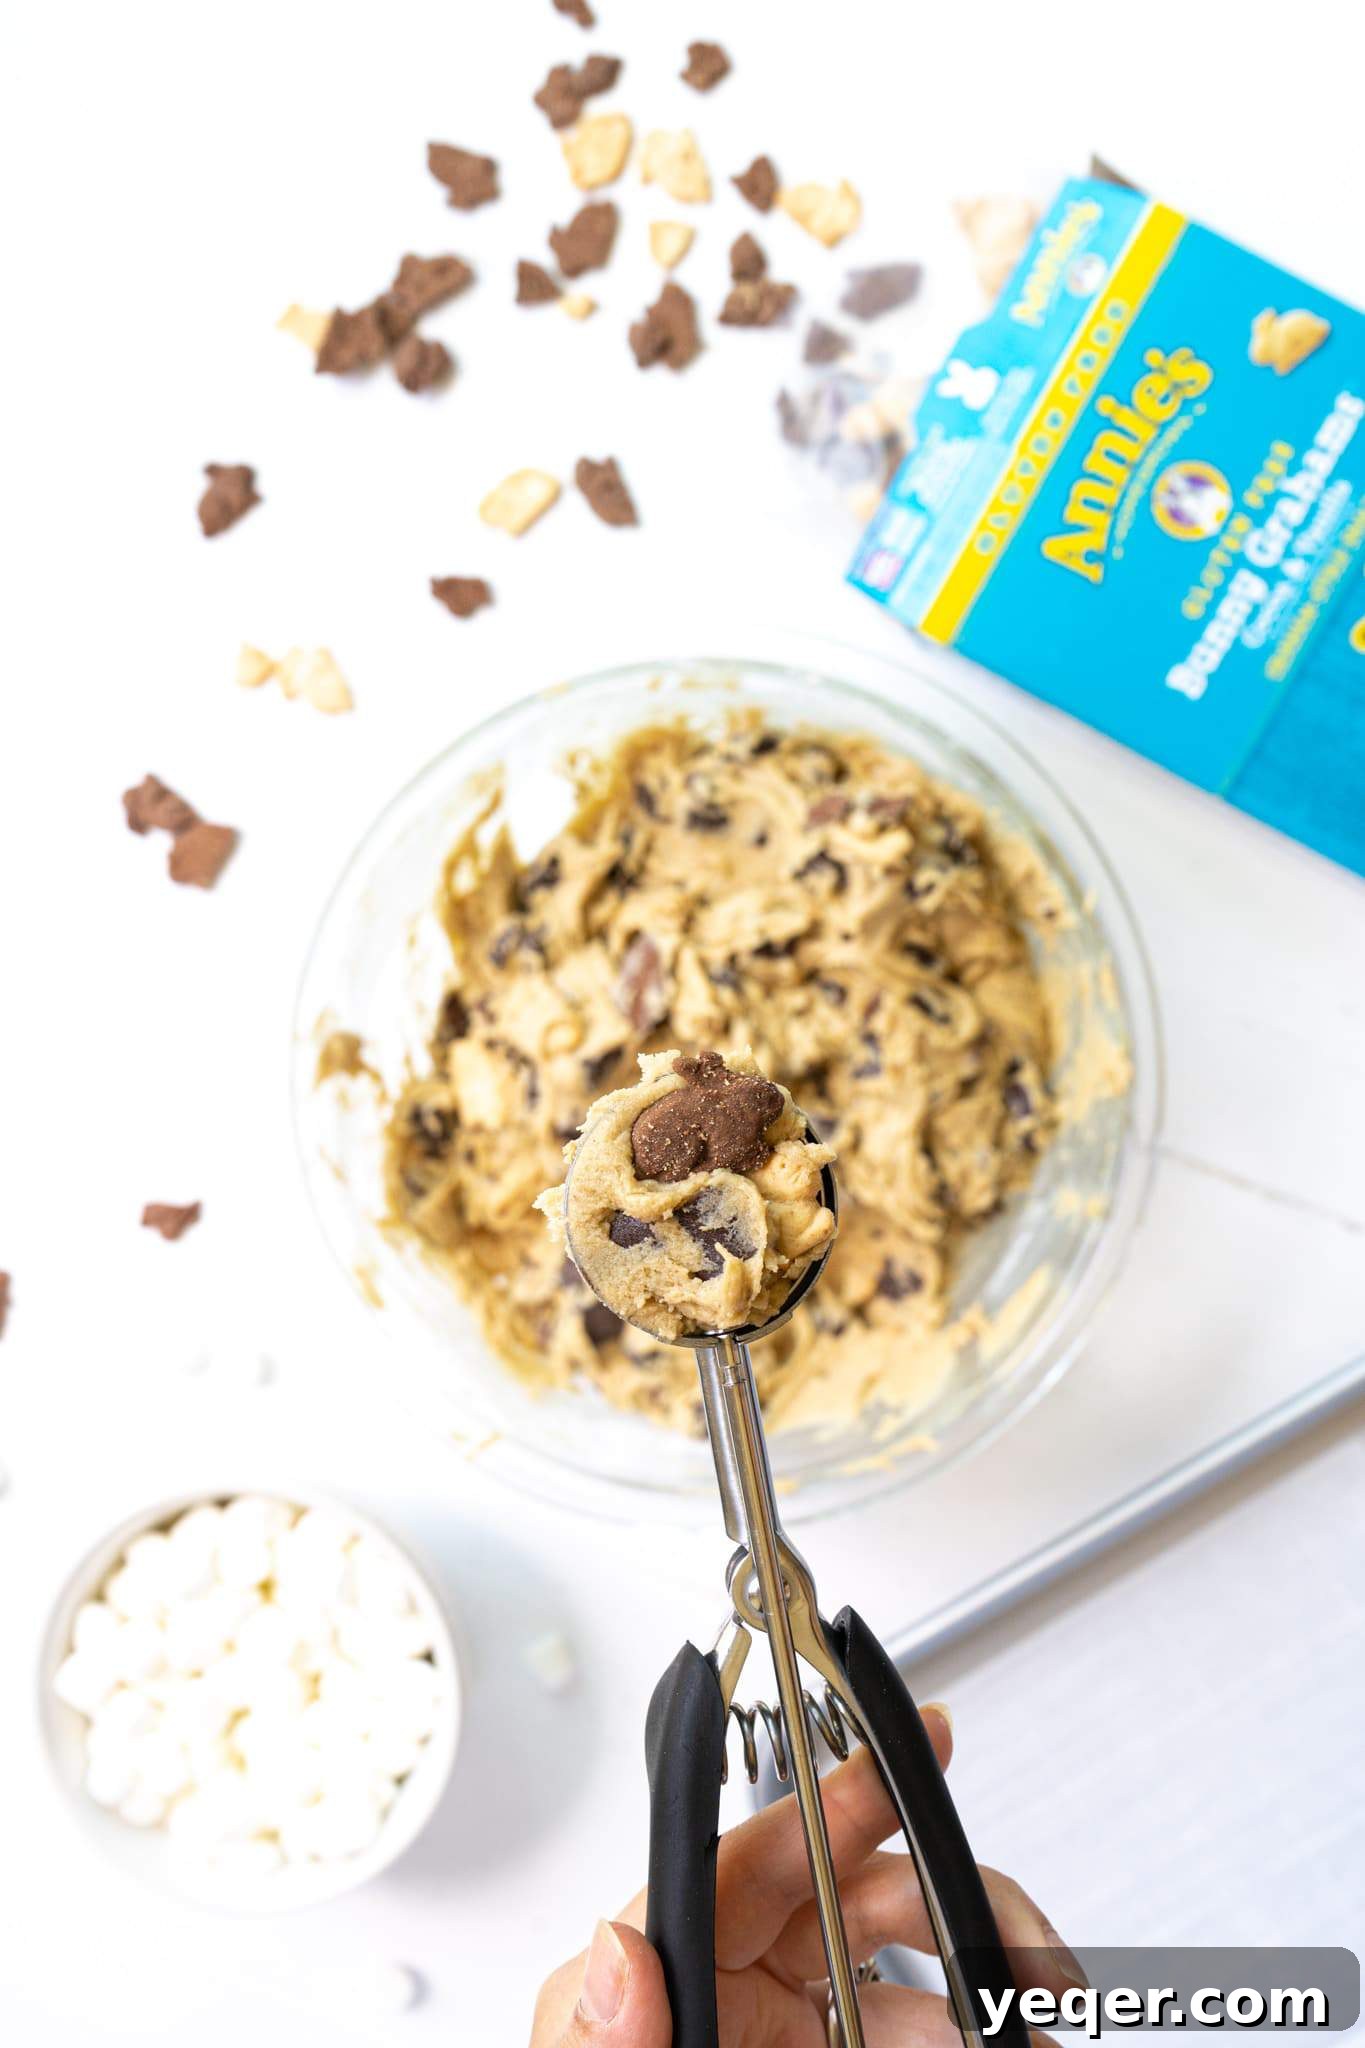
- Scoop and Bake: Using a cookie scooper (about 2 tablespoons in size) or your hands, form uniform balls of dough. This consistency in size helps ensure even baking. Arrange them on the prepared parchment-lined baking sheets, leaving enough space (about 2 inches) between each cookie for spreading.
- Initial Bake: Bake for 6-8 minutes, or until the edges are just set and lightly golden, but the centers still appear soft and slightly underdone. This partial bake is key to achieving that perfect chewy texture before the final marshmallow topping.
- Add Marshmallows and Broil: Carefully remove the baking sheets from the oven. Immediately switch your oven to the BROIL setting (typically High). Quickly top each partially baked cookie with a small cluster of mini marshmallows. If desired, sprinkle with a pinch of flake salt for an extra touch of gourmet flavor that complements the sweetness.
- The Final Toast: Place the baking sheets back into the oven under the broiler. Watch them *very closely* – this step happens quickly! Broil for just 30 seconds to 1 minute, or until the marshmallows puff up and turn a beautiful golden brown. Over-broiling can lead to burnt marshmallows, so vigilance is absolutely key to perfectly toasted tops.
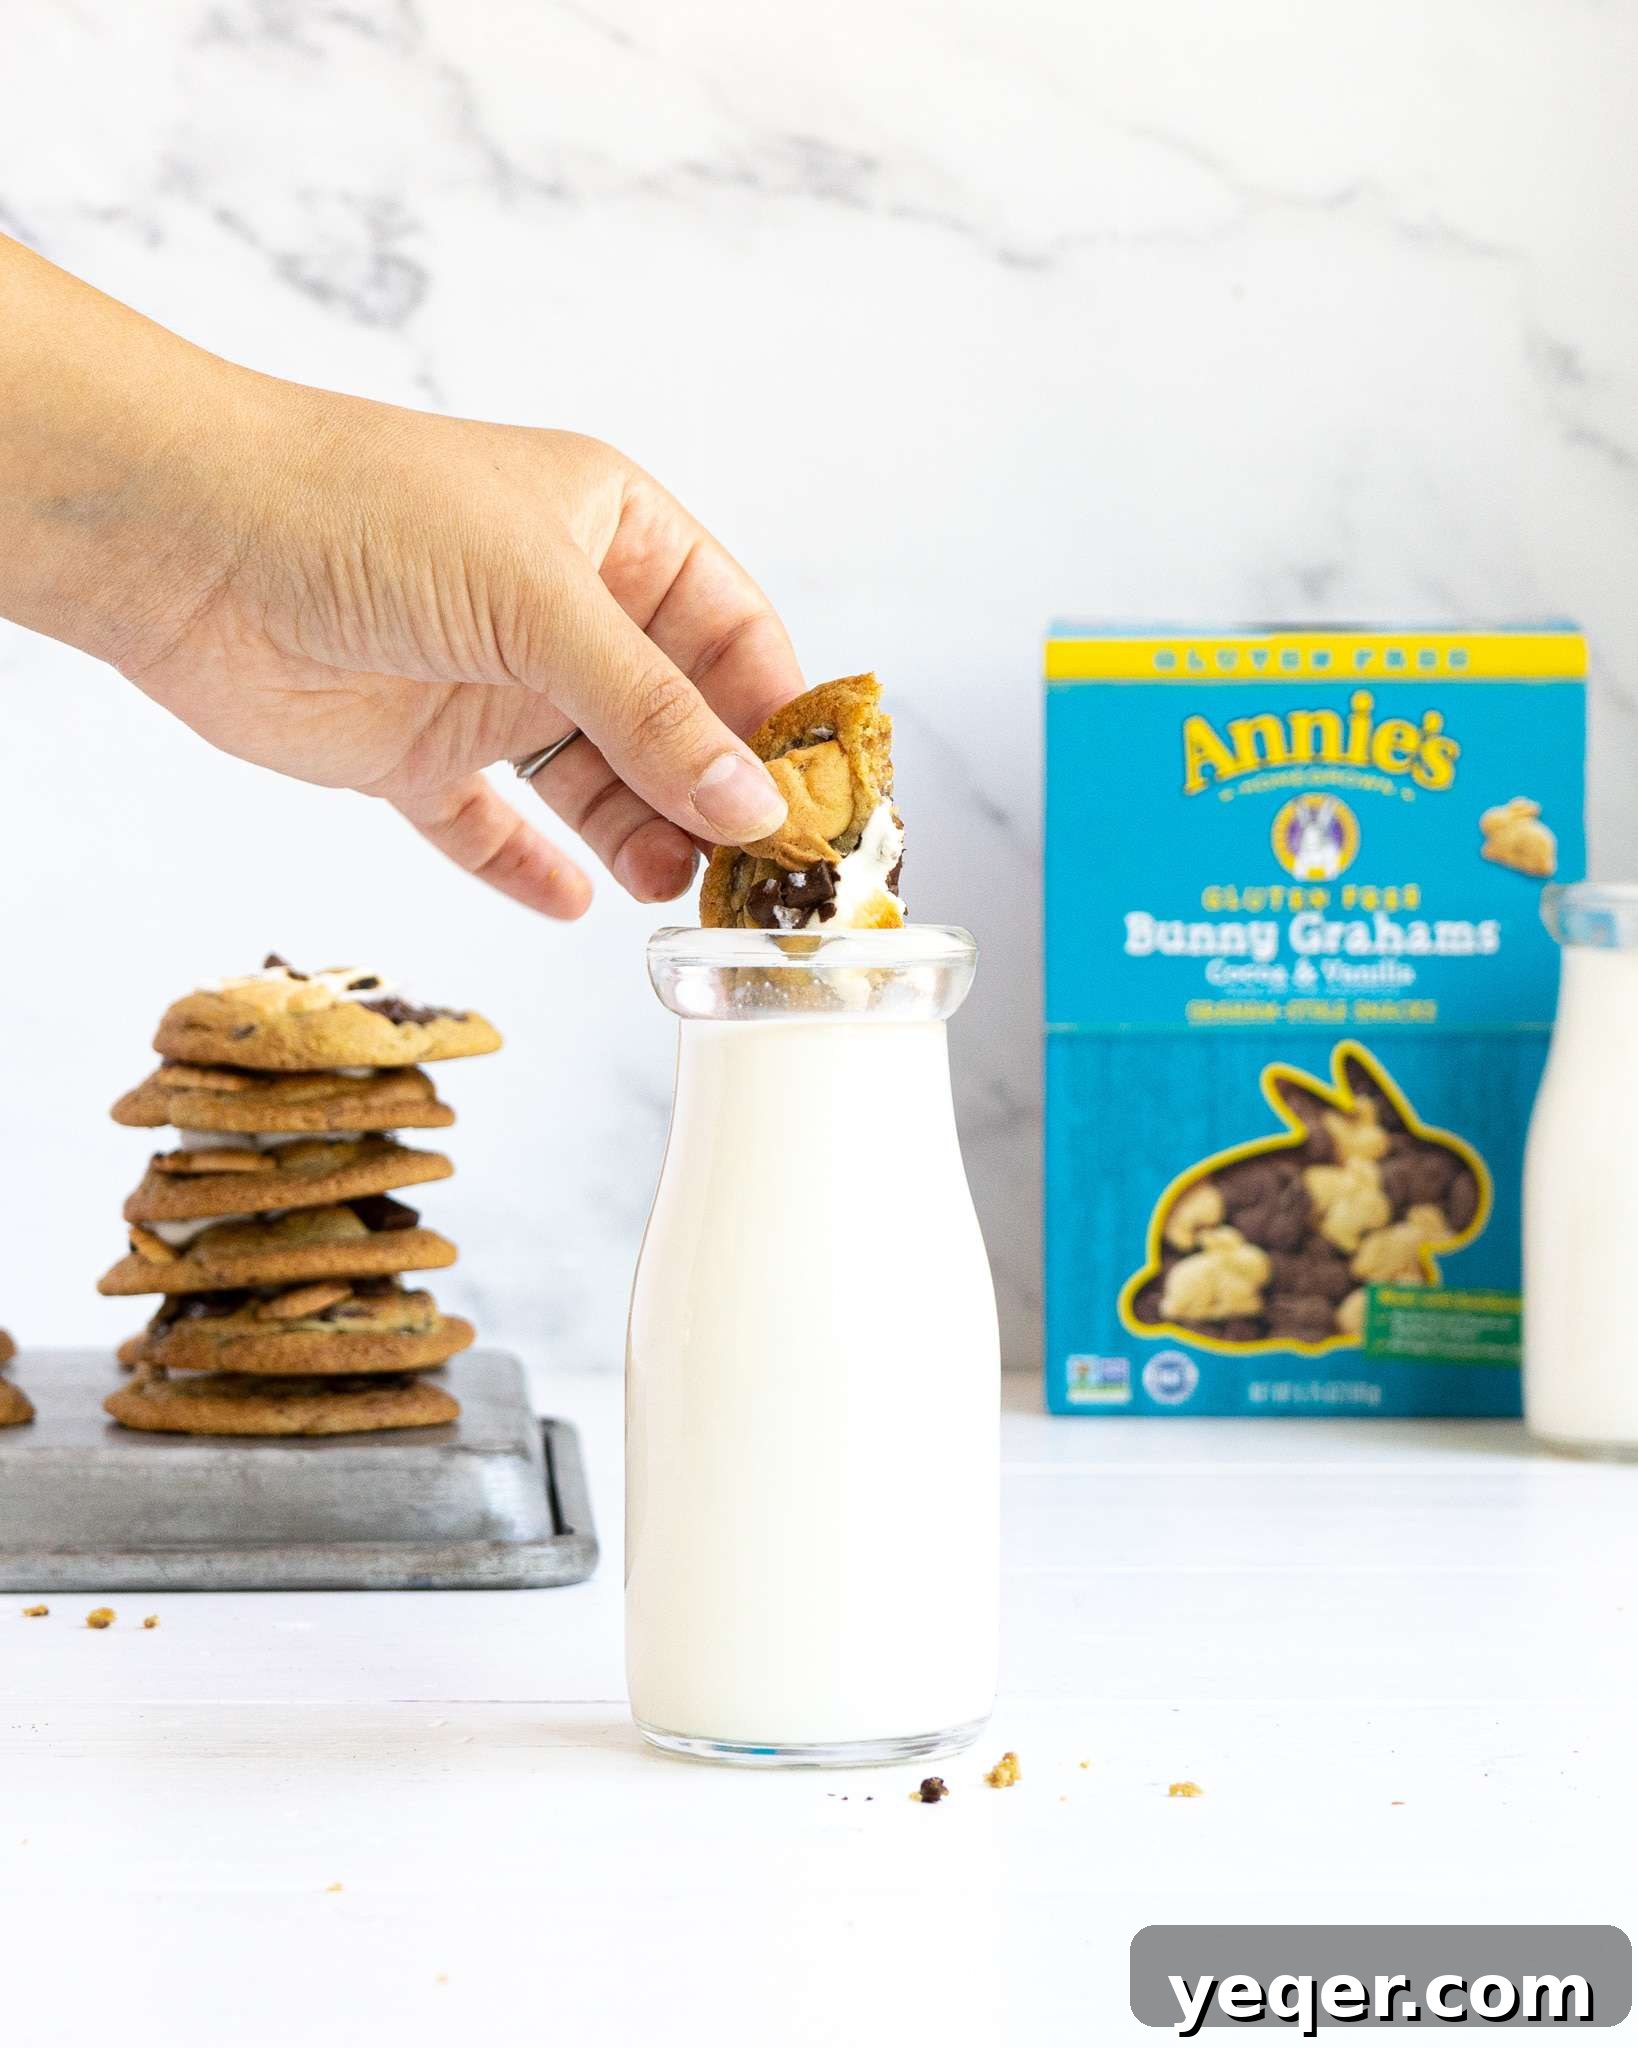
- Cool and Enjoy: Once removed from the oven, let the cookies cool on the baking sheet for at least 10 minutes before carefully transferring them to a wire rack to cool completely. This resting period allows the cookies to set, firm up, and the marshmallows and chocolate to solidify slightly, preventing them from falling apart. Enjoy them warm for the ultimate gooey experience, or once cooled for a chewier bite. These cookies pair wonderfully with a cold glass of milk!
Smart Baking: Scaling Your S’mores Cookie Recipe
As much as I adore a fresh batch of homemade cookies, sometimes having two dozen (or more!) sweet treats in a household of two can be a delightful, yet challenging, temptation. We’ve all been there – the cookies call your name from the counter, making it hard to resist eating just one more. That’s why I’m always looking for ways to adapt recipes to fit different household sizes or occasions without compromising on quality or flavor.
The beauty of this particular Gluten-Free S’mores Cookie recipe lies in its remarkable adaptability. The original recipe calls for common measurements like 2 eggs, 2 sticks of butter, and proportional amounts of other ingredients, making it an ideal candidate for simple adjustments. If you’re baking for a smaller group, or simply want a more modest batch, you can effortlessly cut this recipe in half without compromising on flavor or texture. Halving the ingredients means you’ll still get a generous dozen to a dozen and a half delicious cookies, perfect for a quiet evening, a small gathering, or just when a moderate sweet craving strikes. Just remember to halve all components, including eggs (you might need to whisk an egg and use half, or opt for a single larger egg if available to simplify).
This flexibility ensures that you can always enjoy these incredible S’mores cookies, whether you’re baking for a crowd or just for yourself and a loved one, without feeling overwhelmed by an abundance of leftovers (unless that’s precisely your goal, of course!). Feel free to experiment with the scaling, but always keep the ratios consistent for the best outcome.
Preserving the Joy: Freezing S’mores Cookie Dough for Later
For those who know my kitchen, it’s no secret that my freezer is often stocked with various types of cookie dough, ready for spontaneous baking sessions. The convenience of fresh-baked cookies at a moment’s notice is unparalleled, and these Gluten-Free S’mores Cookies are excellent candidates for this prep-ahead strategy, with a slight modification to ensure perfect results.
While these cookies can certainly be frozen and baked at a later date, the process isn’t quite as straightforward as with some other cookie doughs, primarily due to our star ingredient: marshmallows. Marshmallows, when frozen and then baked from raw dough, tend to lose their signature airy texture and might not achieve that perfect gooey, toasted finish. To circumvent this, the key is to freeze the cookie dough *without* the marshmallows. Prepare your dough as instructed through step 5 (folding in the graham bunnies and chocolate chunks). Then, scoop the dough into individual balls and place them on a parchment-lined baking sheet. Freeze until solid – this usually takes about 1-2 hours. Once firm, transfer the frozen dough balls to an airtight freezer-safe bag or container, labeling with the date.
When you’re ready to bake, simply arrange the frozen dough balls on a prepared baking sheet. You don’t need to thaw them! Proceed with step 8 of the original recipe (initial bake). Keep in mind that baking frozen cookie dough will naturally require an extended cook time. You’ll need to add an additional 4-6 minutes to the initial baking period, or until the edges are golden and the centers are almost set. Once they’ve reached this stage, continue with step 9 and 10 – adding the mini marshmallows and briefly broiling them to perfection. This method ensures your marshmallows will be perfectly toasted and gooey, just as they should be, even after being frozen, allowing you to enjoy fresh, warm S’mores cookies whenever the craving strikes.
Bake, Share, and Savor!
These Gluten-Free S’mores Cookies are more than just a dessert; they’re an invitation to create joyful moments, whether shared around a campfire, at a summer barbecue, a family get-together, or simply enjoyed as a comforting treat at home on a quiet evening. With the wholesome goodness of Annie’s gluten-free bunny grahams and this easy-to-follow recipe, you’re set to bake a batch of cookies that are sure to become a cherished favorite. Their irresistible combination of chewy cookie, rich melty chocolate, and perfectly toasted marshmallow makes them truly unforgettable and a delightful twist on a classic.
We hope you love baking and sharing these delightful cookies as much as we do. They truly embody the spirit of summer in every delicious bite. Happy cooking!