
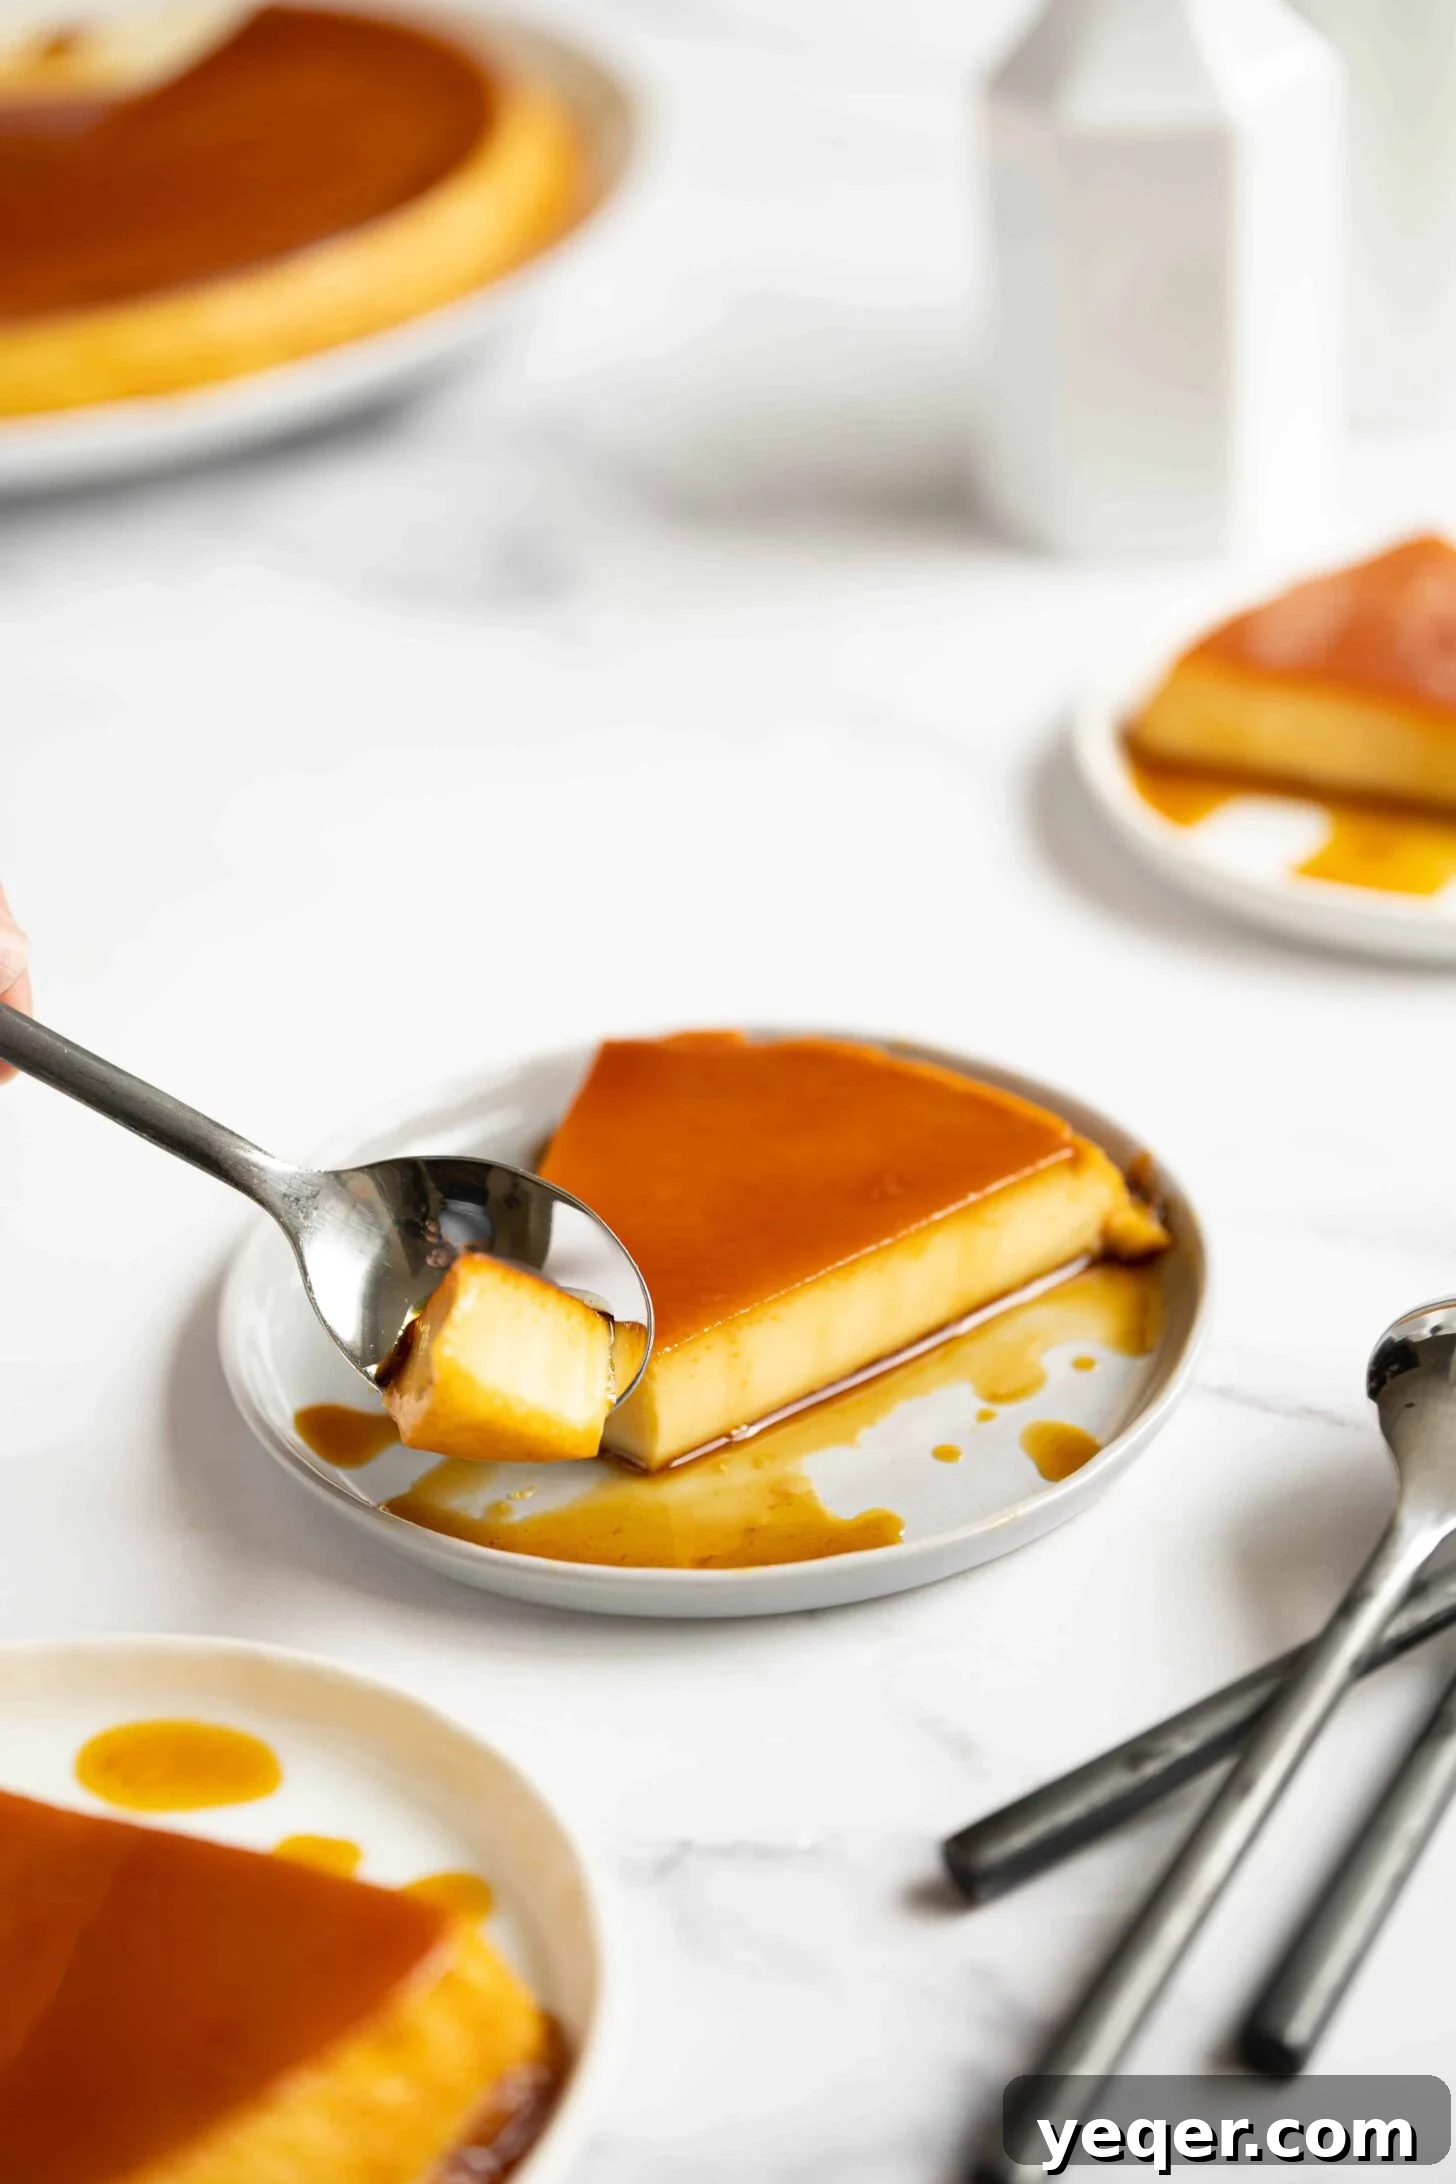
Welcome to a culinary journey into the heart of Puerto Rico, where we unveil the cherished recipe for my mom’s authentic Puerto Rican Flan. This exquisite dessert is a testament to the island’s rich gastronomic heritage, offering a symphony of textures and flavors. Imagine a lusciously creamy custard, perfectly smooth and delicate, crowned with a shimmering layer of homemade, golden caramel. It’s a dish that not only impresses with its elegant presentation but also delights with its surprisingly simple preparation. Whether you’re a seasoned baker or a curious beginner, this classic recipe promises a rewarding experience, culminating in a sweet treat that evokes warmth, tradition, and pure bliss.
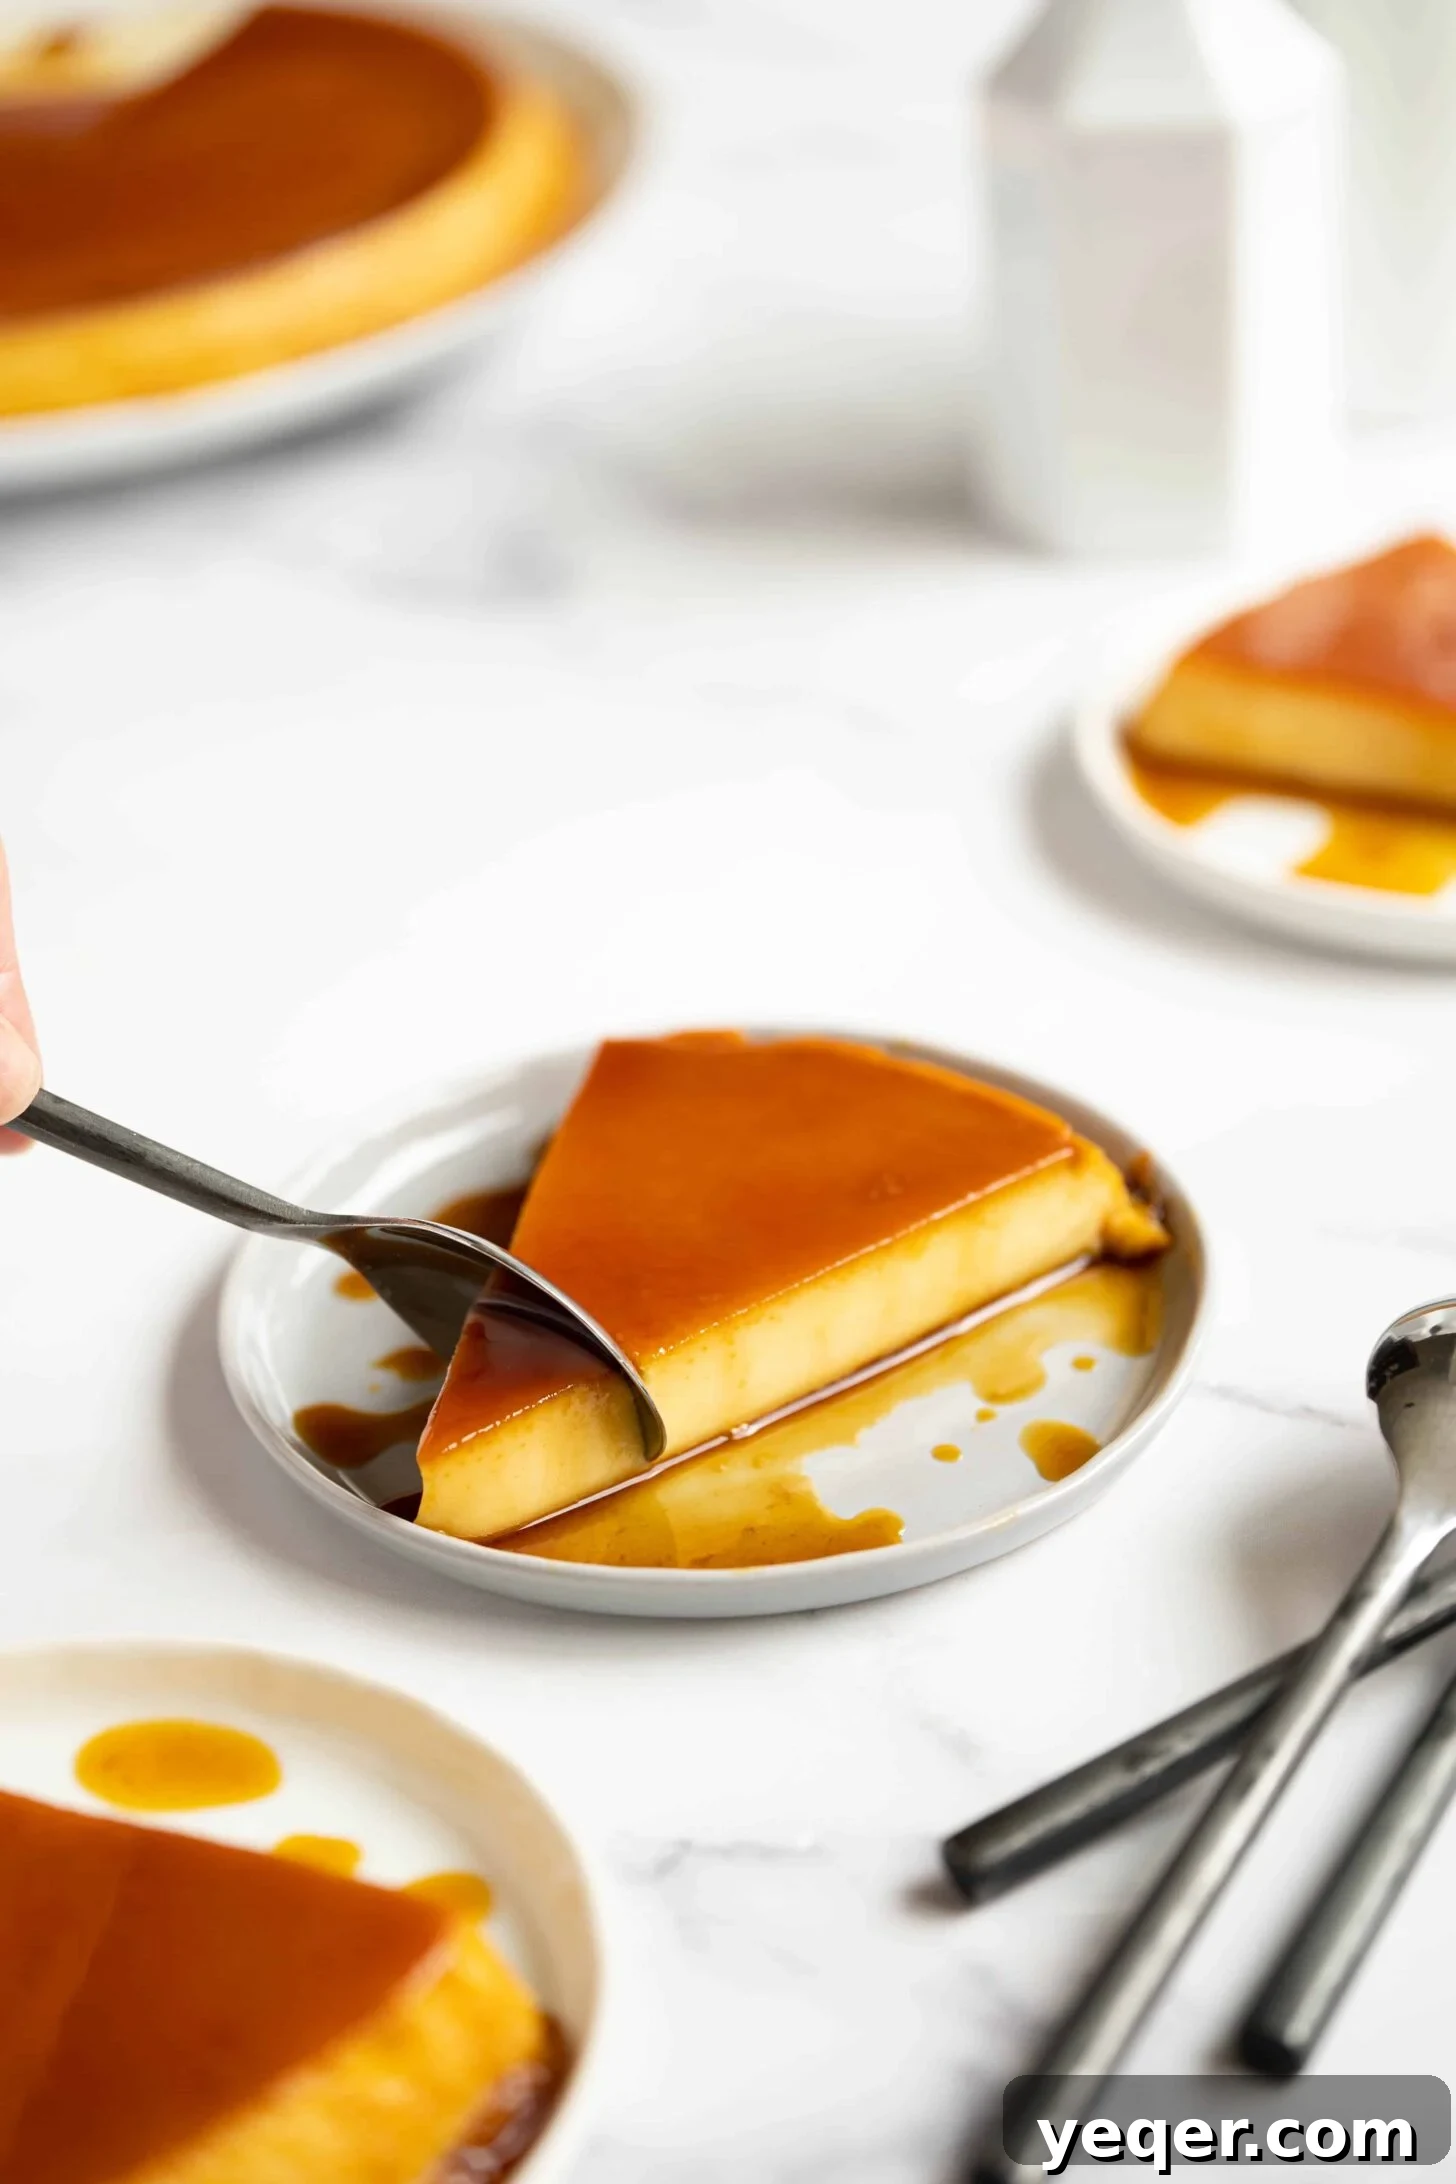
Flan, often referred to as an egg custard, holds a special place in the culinary landscape of Puerto Rico and indeed, across Latin America and Spain. This beloved dessert is typically crafted from a harmonious blend of fundamental ingredients: rich milk, creamy evaporated milk, fresh eggs, and granulated sugar. The magic truly happens as this velvety custard mixture is carefully poured over a base of expertly caramelized sugar. Once baked to perfection in a water bath, the dessert is then inverted, dramatically revealing its glistening, amber caramel topping that cascades down the sides, creating an irresistible visual and taste experience. The result is a perfect balance: a light, silky smooth custard complemented by the deep, sweet notes of the rich caramel. It’s a dessert that speaks of tradition, comfort, and pure indulgence.
If you find yourself enchanted by the sweet allure of this classic flan, I highly recommend exploring other delightful variations like my Puerto Rican-style Flancocho, a mesmerizing vanilla flan cake that combines two desserts into one, or the seasonal charm of Flan de Calabaza (Pumpkin Flan). Each offers a unique twist on the traditional, promising another memorable sweet adventure.
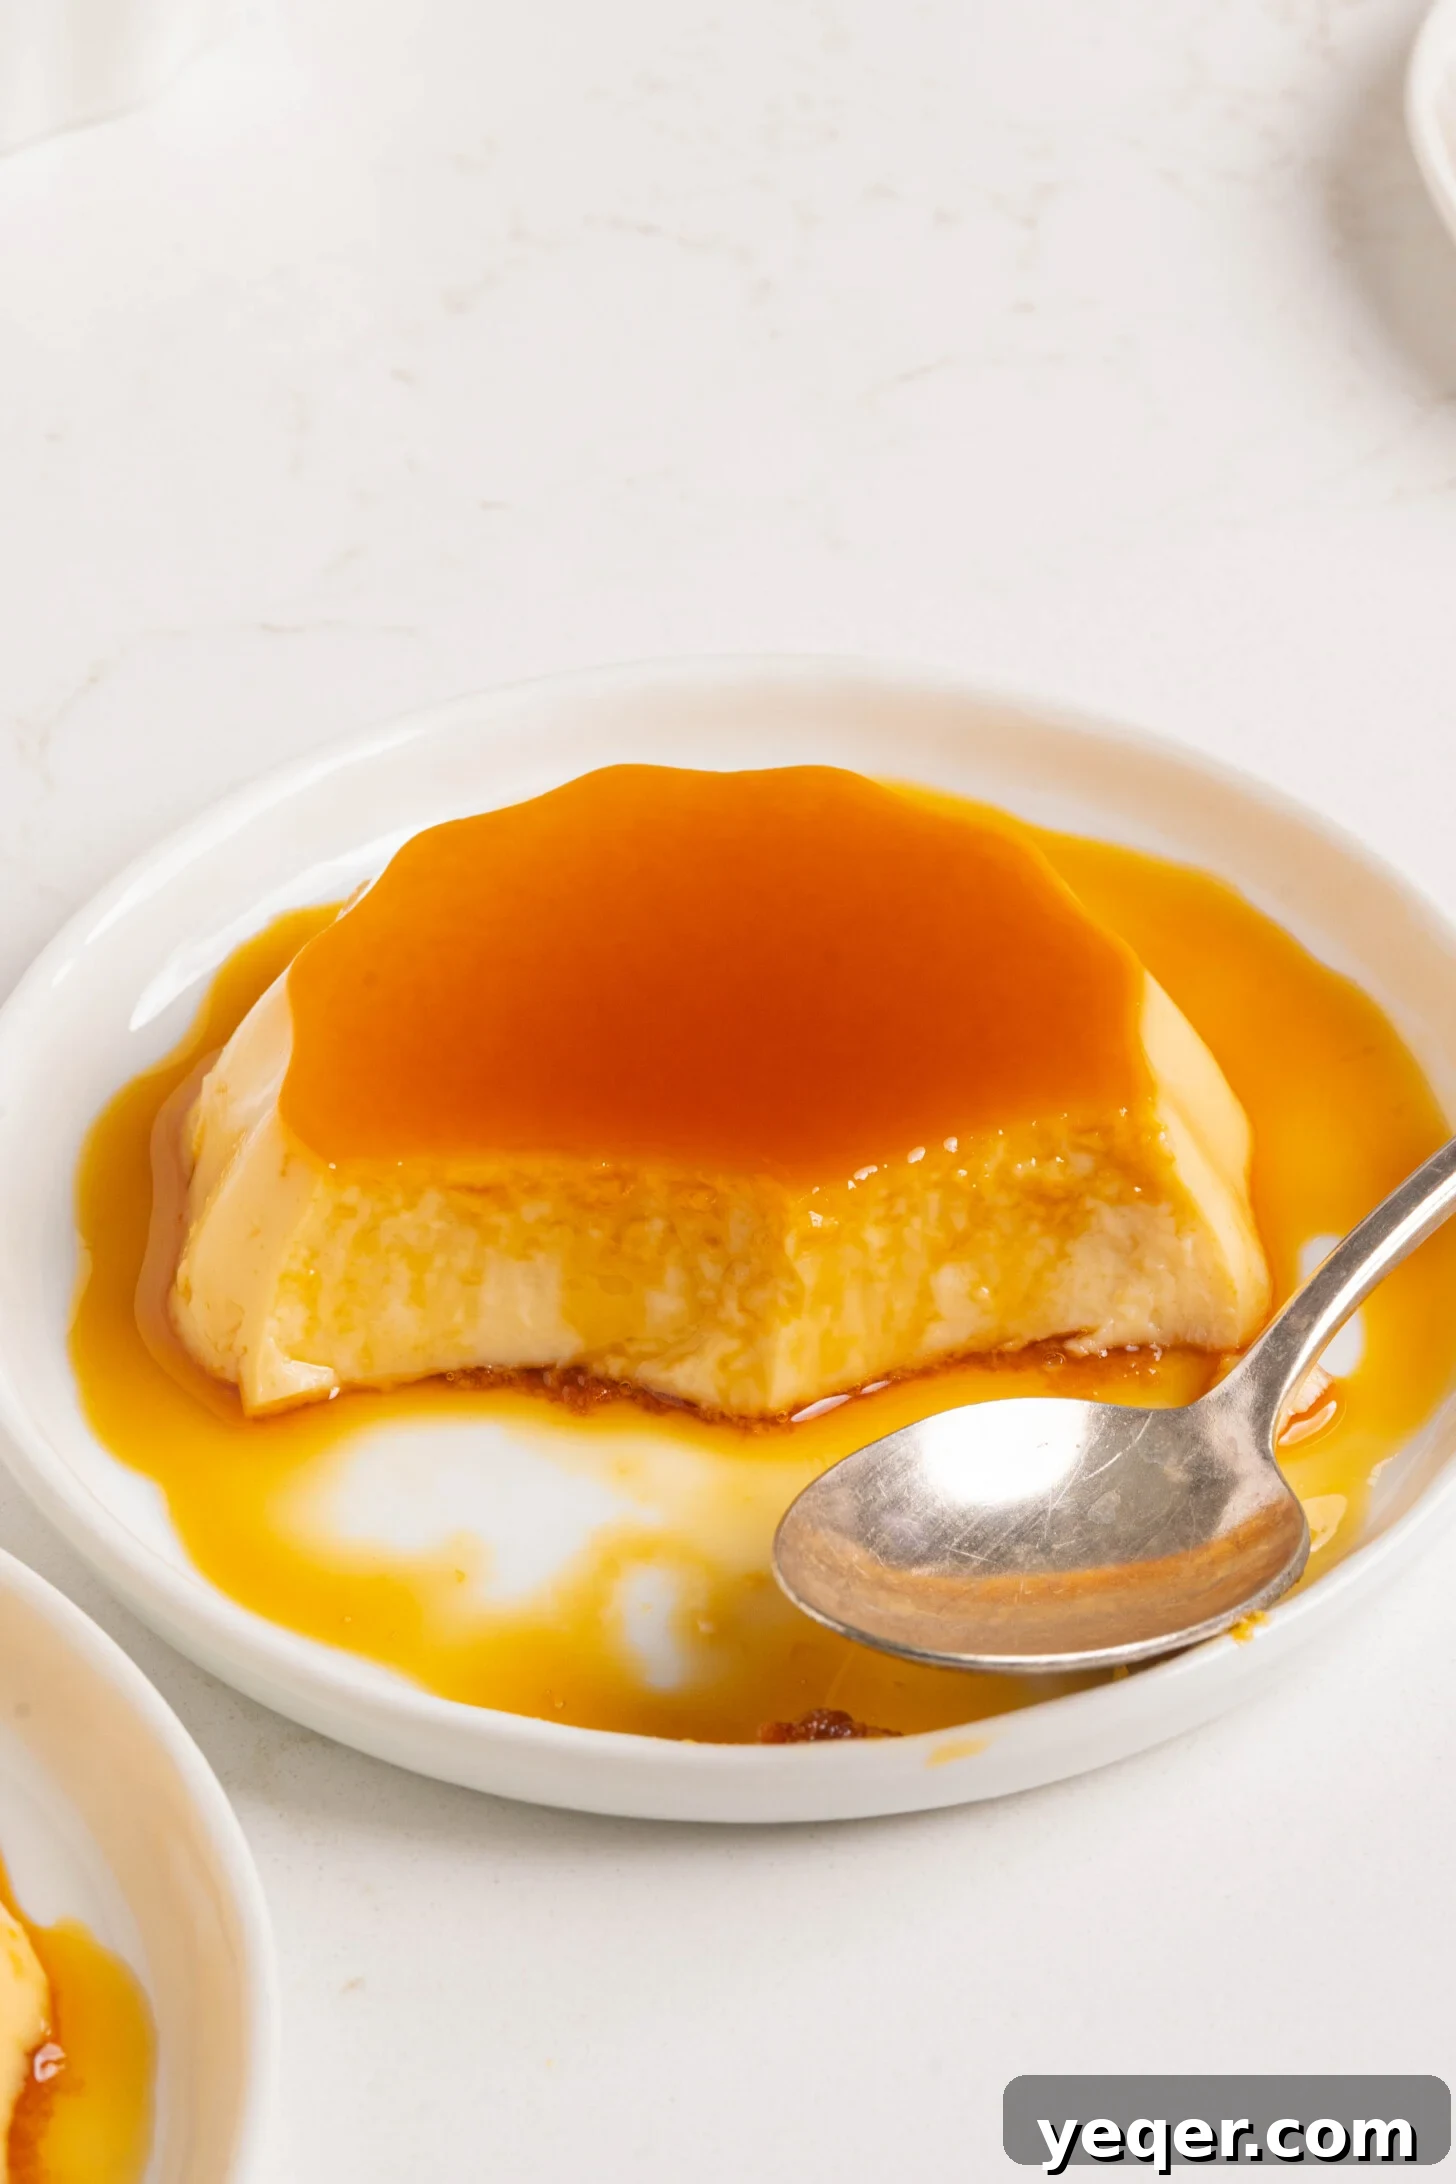
Featured Review
My wife made this for me and it is the best flan I’ve ever had.
Tony
Crafting the Perfect Caramel for Your Flan
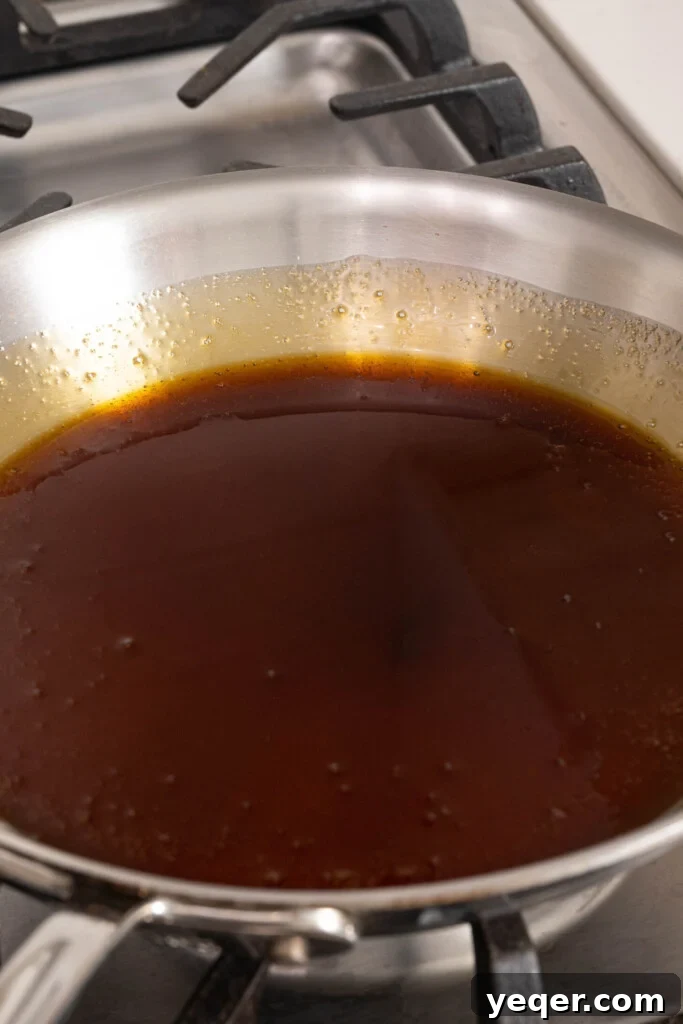
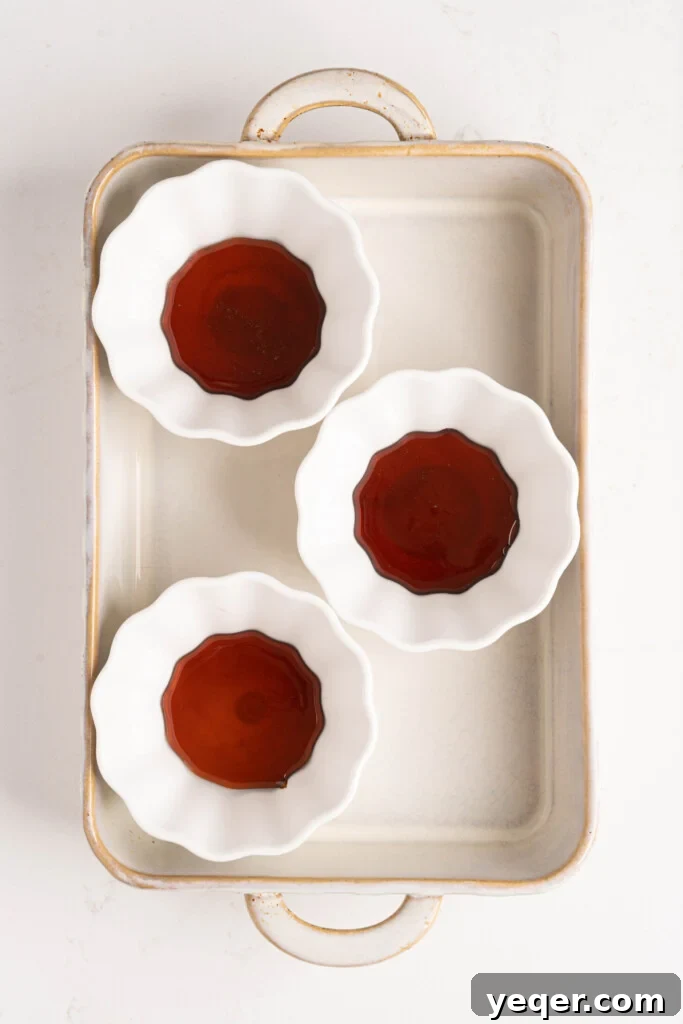
The foundation of an exceptional flan lies in its caramel topping. This golden, bittersweet layer not only adds a crucial flavor dimension but also creates that signature glossy finish when the flan is inverted. Achieving the perfect caramel requires patience and attention, but the process is surprisingly straightforward. Here’s how to master this essential first step:
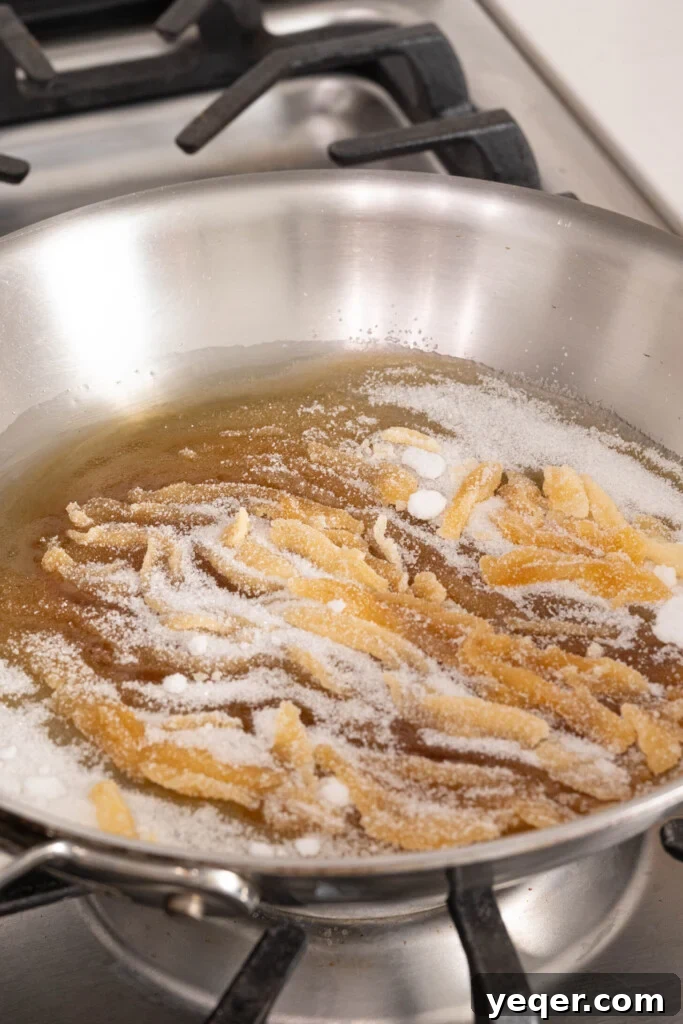
Important Safety Note: Always exercise extreme caution when preparing and handling caramel. It reaches incredibly high temperatures and can cause severe burns if it comes into contact with skin. Work slowly and deliberately to ensure your safety in the kitchen.
Tips for Caramel Success:
- Patience is Key: Don’t rush the melting process. Medium-low heat ensures a slow, even melt, preventing sugar from burning in spots while other parts are still granular.
- No Stirring (Mostly): While it’s okay to gently tilt the pan or occasionally use a heatproof spatula to encourage even melting, excessive stirring can introduce air and lead to crystallization.
- Watch the Color: The ideal caramel for flan is a light to medium golden brown. A darker caramel will taste bitter, while too light will lack depth. Remove it from heat just before it reaches your desired shade, as it will continue to cook slightly from residual heat.
- Even Coating: Swirling the hot caramel immediately after pouring is crucial. Work quickly but carefully, as the caramel will set rapidly as it cools.
Creating the Velvety Flan Filling & Baking to Perfection
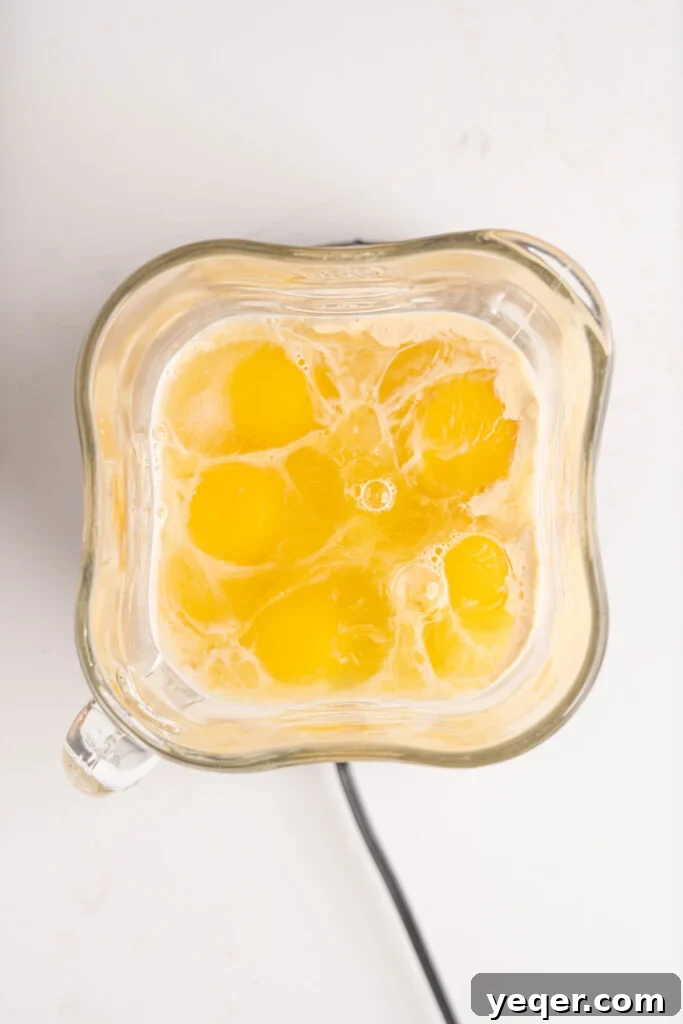
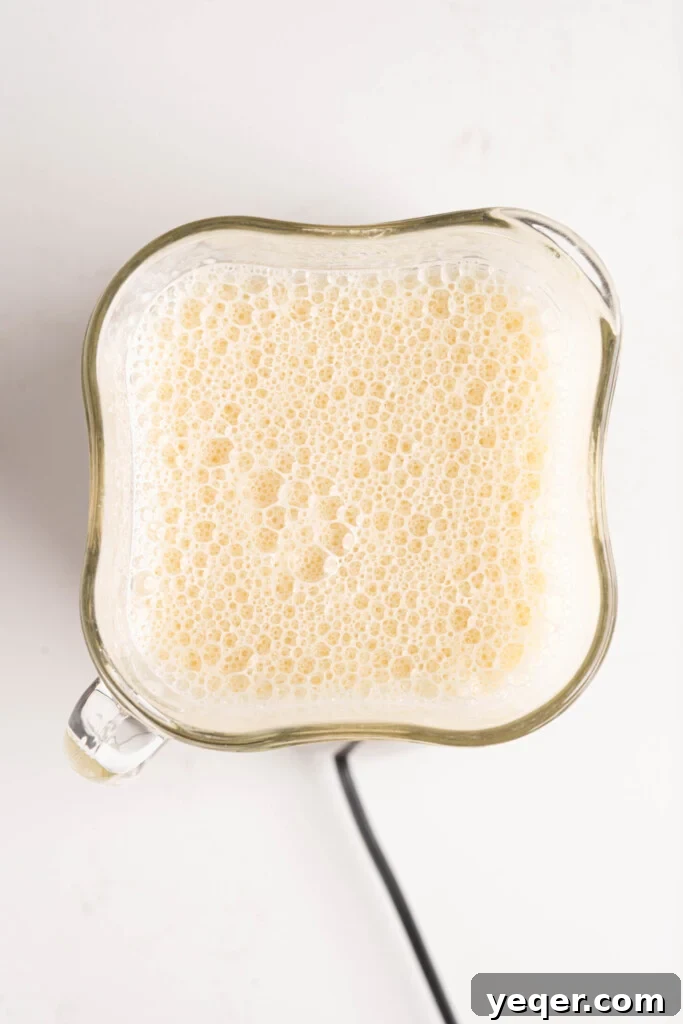
With your caramel base ready, the next step is to prepare the luscious custard filling, the very heart of your Puerto Rican flan. This part of the process is straightforward, requiring just a few simple ingredients and a blender for ultimate smoothness. The secret to a perfectly cooked flan lies in a gentle baking method: the water bath.
The Essential Water Bath Technique: To create a water bath, carefully place your baking dish (or individual ramekins) containing the flan mixture inside a larger, oven-safe roasting pan. Pour warm or hot water into the larger pan until it reaches approximately halfway to two-thirds up the sides of your flan dish(es). Crucially, ensure the water level is not so high that it might spill into the flan during baking.
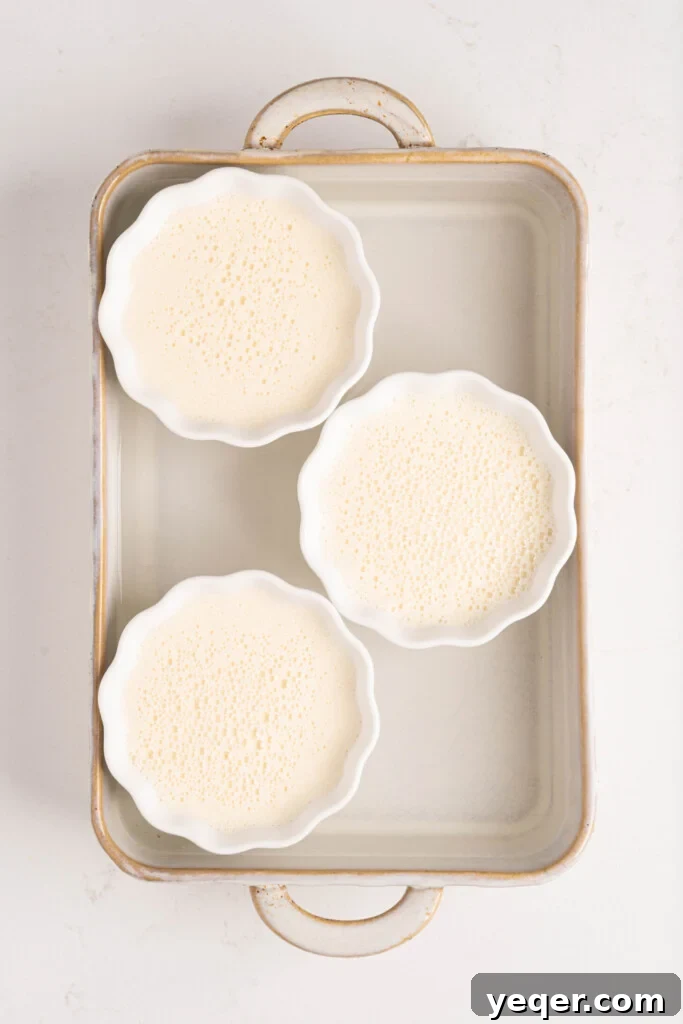
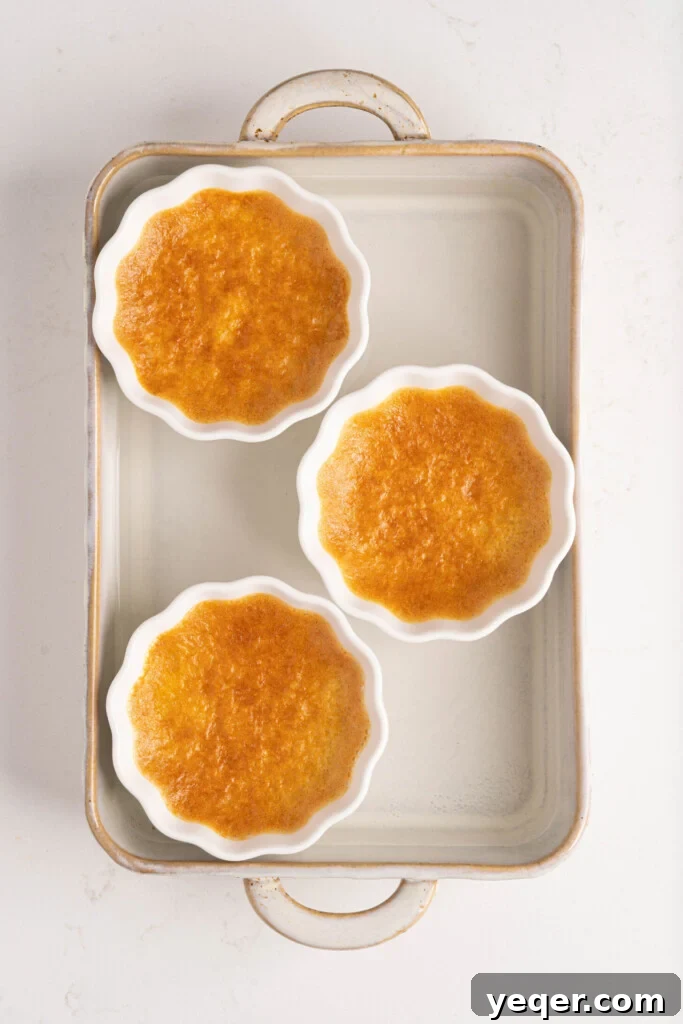
The water bath technique is crucial for achieving the flan’s signature silky-smooth texture. It provides a gentle, even heat, preventing the edges from cooking too quickly or the custard from curdling. This slow and steady cooking environment ensures a uniform, creamy consistency throughout.
The Grand Finale: Unmolding and Serving Your Flan
The moment of truth for any flan is the unmolding – the dramatic flip that reveals the golden caramel topping. This step, while exciting, requires a little finesse and confidence to ensure a perfect presentation. After all your hard work, you want your beautiful flan to emerge flawlessly!
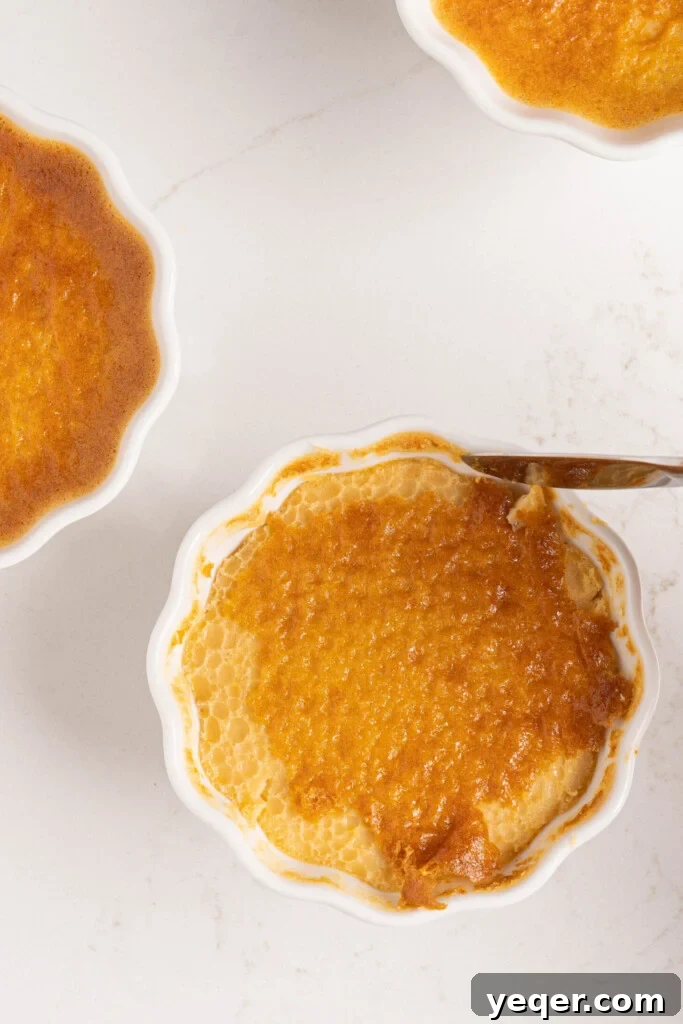
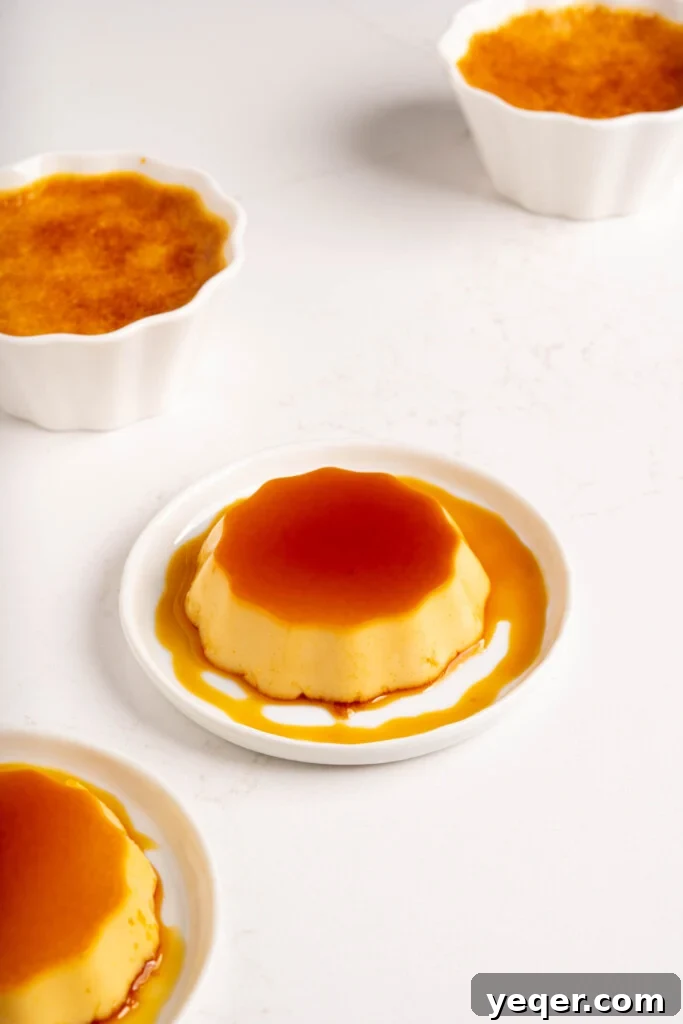
Troubleshooting a Stubborn Flan: If your flan seems reluctant to budge, don’t panic! Gently shake the dish, tap lightly on the bottom, or even place the bottom of the baking dish in a shallow pan of warm water for a minute or two to loosen the caramel. Patience and a gentle approach are key to a successful flip.
Essential Tips for Flan Perfection: Avoiding Common Pitfalls
Making a superb flan is an achievable goal, but being aware of common mistakes can save you from culinary heartbreak. Here are a few crucial “what not to do” guidelines to ensure your flan turns out beautifully every time:

- Don’t Overcook the Caramel: Caramel can transition from perfectly golden to burnt and bitter in a matter of seconds. Always cook it over low to medium-low heat and maintain constant vigilance. Aim for a light golden-amber color, and remove it from the heat just before it reaches your desired shade, as it will continue to darken slightly from residual heat.
- Don’t Be Careless with Hot Caramel: As reiterated, molten sugar is incredibly hot and can cause severe burns. Keep children and pets away from the stovetop, use oven mitts or thick kitchen towels for handling hot pans, and pour with precision.
- Don’t Rush the Cooling and Setting Process: Flan needs ample time to cool completely and chill thoroughly in the refrigerator (ideally several hours or overnight). Attempting to unmold a warm or insufficiently chilled flan will result in a messy, broken dessert. The cooling time allows the custard to firm up and the caramel to liquefy slightly, ensuring a clean release and a smooth cascade.
- Don’t Forget to Loosen the Edges: Before flipping, always run a thin knife or spatula around the perimeter of the flan. This critical step breaks any suction or adhesion between the custard and the dish, greatly increasing your chances of a successful, intact unmolding.
- Don’t Overbake the Custard: An overbaked flan will have a tough, rubbery, or curdled texture. The ideal doneness is when the edges are set, but the center still has a slight, delicate jiggle when gently shaken. It should not be liquid, but rather like a firm jello.
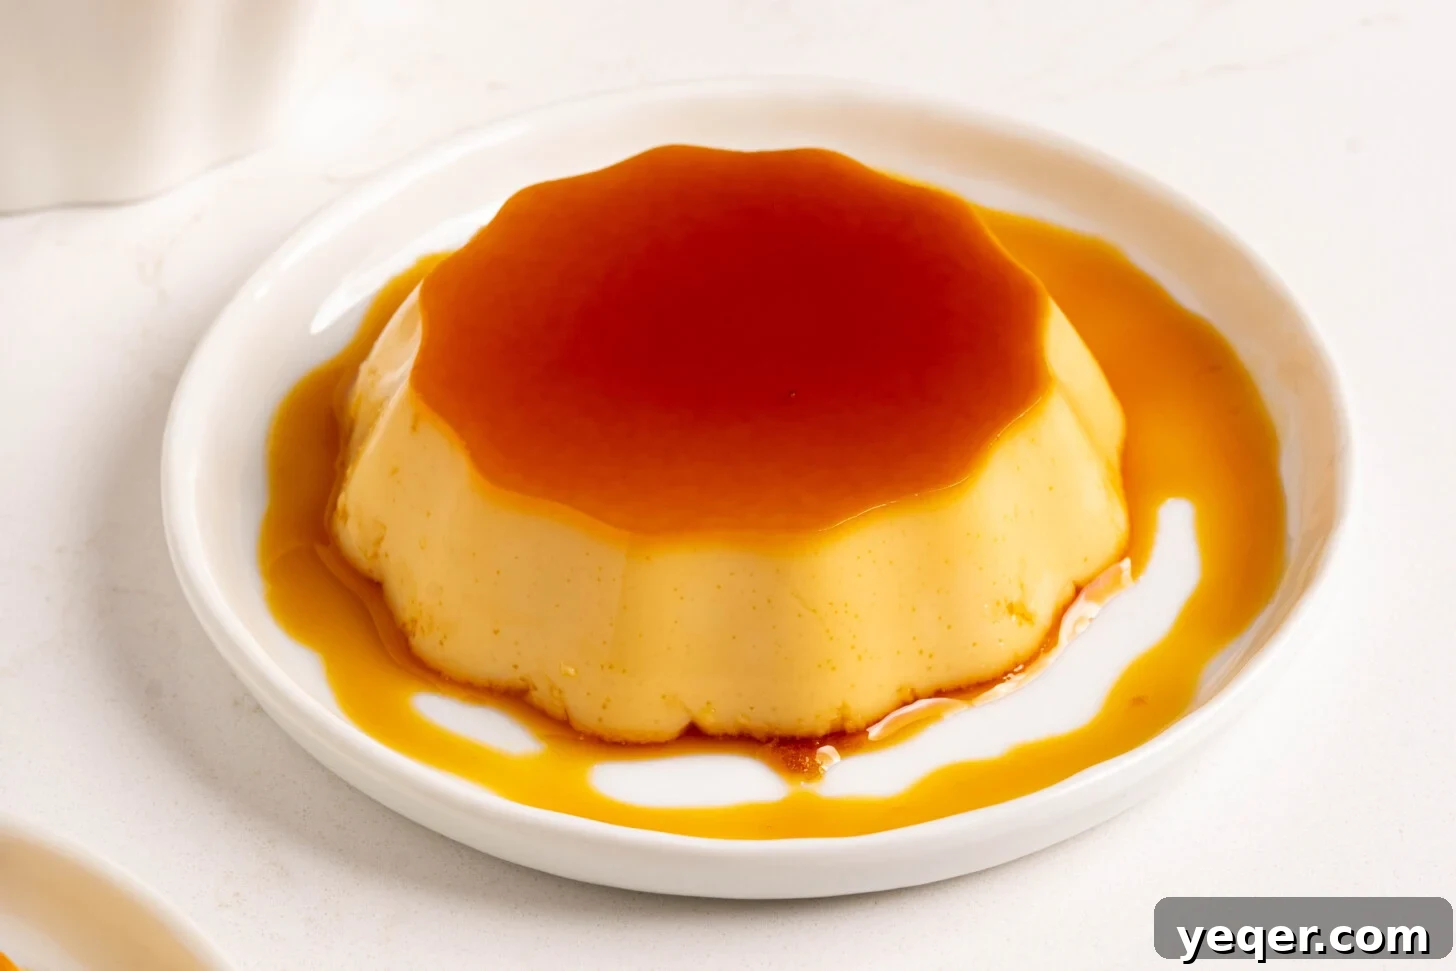
Explore More Delicious Flan Creations
While this traditional Puerto Rican Flan recipe stands as a beloved staple, representing the most common version found in “panaderias” (Puerto Rican or Spanish bakeries) across the island, the world of flan is wonderfully diverse. Many Latin cultures, and even various regions within Spain, boast their unique interpretations of this classic dessert. These variations can range from subtle differences in ingredients and cooking methods to entirely distinct flavor profiles. Discovering these diverse flan recipes is a delightful journey for any dessert enthusiast!
Beyond geographical and cultural distinctions, the culinary creativity extends to a myriad of flavor combinations for flan. From tropical fruit infusions to rich chocolate layers, the possibilities are endless. Here are a few more tempting flan recipes to broaden your horizons and satisfy your sweet cravings:
Frequently Asked Questions About Puerto Rican Flan
What is the difference between flan and crème brûlée?
While both are custard desserts, the key differences lie in their preparation and topping. Flan features a soft, creamy custard baked with a caramel base, which becomes a luscious topping when inverted. Crème brûlée, on the other hand, typically has a richer, denser custard (often made with heavy cream) and is topped with a layer of granulated sugar that is torched to create a brittle, caramelized crust just before serving.
Can I make flan ahead of time?
Absolutely! Flan is an ideal make-ahead dessert. In fact, it often tastes even better the next day, as the flavors have more time to meld and the custard fully sets. You can prepare and bake the flan, then store it, covered, in the refrigerator for up to 3-4 days before serving. Just make sure it’s completely chilled before attempting to unmold it.
Why did my caramel burn or crystallize?
Caramel burning usually happens if the heat is too high or if it’s left unattended for too long. Always use medium-low heat and keep a close eye on the sugar. Crystallization occurs when sugar particles are introduced back into the melting sugar, causing it to clump. To prevent this, avoid stirring initially, ensure your pan is clean, and if using water, make sure it’s thoroughly mixed from the start.
Why is my flan watery or curdled?
A watery flan usually indicates it was underbaked. The center should jiggle like firm gelatin, not liquid. Curdled flan, conversely, is often a sign of overbaking, causing the proteins in the eggs to seize up. It can also happen if the custard is cooked at too high a temperature, which the water bath helps prevent.
What kind of baking dish should I use for flan?
You can use either a single large flan mold (like a 9-inch round pan or a special flan pan with a lid), a standard 8×8 or 9×13 inch oven-safe baking dish, or individual ramekins. The most important thing is that your chosen vessel is oven-safe up to 350°F (177°C) and can comfortably fit within a larger pan for the water bath. Metal, ceramic, or glass dishes all work well.
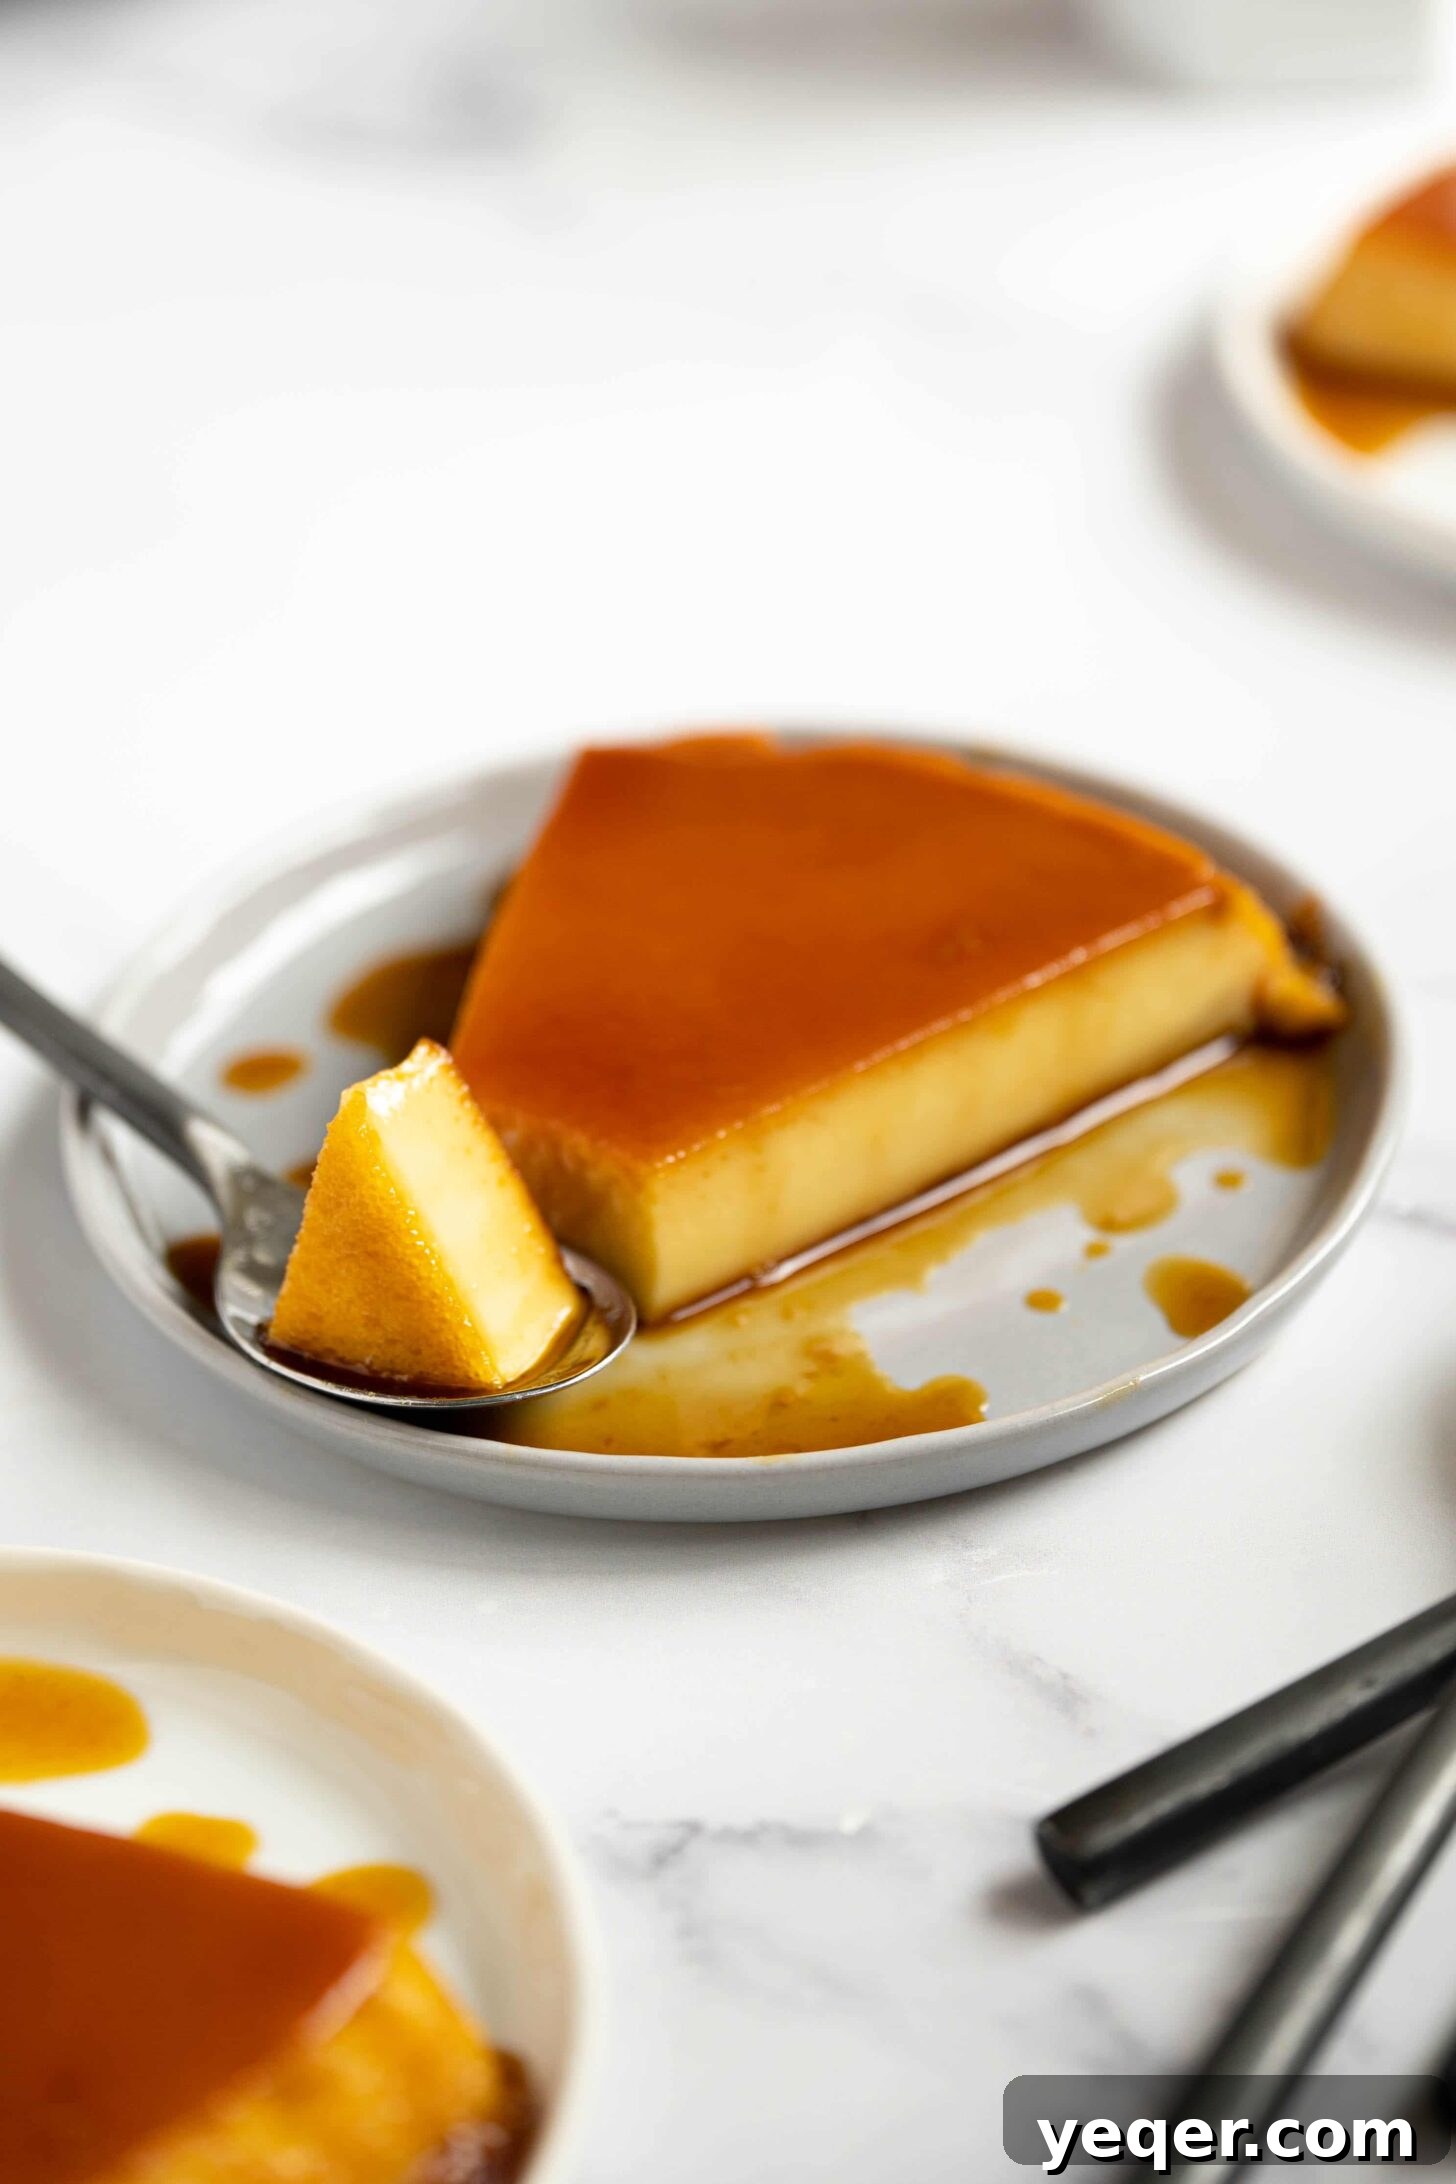
Making homemade Puerto Rican Flan is more than just following a recipe; it’s about connecting with tradition, mastering a classic technique, and ultimately, creating a truly special dessert. The combination of its creamy texture and the rich, sweet caramel is simply irresistible, making it a perfect ending to any meal or a delightful treat for any occasion. We hope you enjoy bringing this authentic taste of Puerto Rico into your home!
Buen provecho,

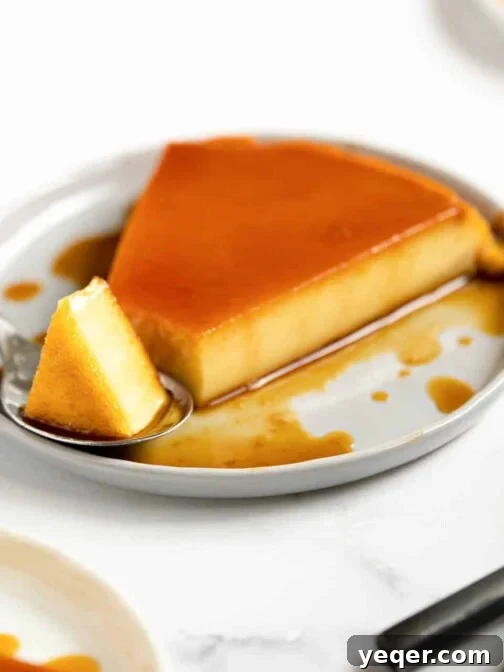
Classic Puerto Rican Flan Recipe
5 Stars 4 Stars 3 Stars 2 Stars 1 Star
4.7 from 15 reviews
Author: Salima Benkhalti
Prep Time: 30 minutes
Cook Time: 1 hour
Total Time: 1 hour 30 minutes
Yield: 8 servings 1x
Category: Puerto Rican, Dessert, Custard, Flan
Method: Baked
Cuisine: Puerto Rican, Latin
Diet: Gluten Free
Description
Today we’re making my mom’s Puerto Rican Flan recipe. This classic dessert consists of a lusciously creamy custard filling topped with homemade caramel. It’s both impressive to share and surprisingly easy to make!
Ingredients
Units
Scale
For the caramel:
- 1 cup granulated sugar
For the custard filling:
- 1 (12oz) can evaporated milk
- 1 cup milk
- 1/2 tbsp vanilla extract
- a pinch of salt
- 5 eggs
- 1/2 cup white granulated sugar
Instructions
- Prepare the Caramel: Pour the granulated sugar into a clean, heavy-bottomed pan. Place it over medium-low heat. Keep a close watch on the sugar as it slowly melts, occasionally swirling the pan or gently stirring with a heatproof spatula to ensure even melting and prevent burning. This process can take up to 20-30 minutes. The goal is a beautiful light golden-amber liquid.
- Transfer Caramel to Baking Dish(es): Once the sugar has fully melted and achieved a light golden color, immediately and very carefully pour the hot caramel into your oven-safe baking dish or individual ramekins. Working quickly, tilt and swirl the dish(es) to evenly coat the entire bottom surface and slightly up the sides. Set aside to cool and harden.
- Blend the Custard Filling: In a blender, combine all the remaining ingredients for the custard filling: evaporated milk, regular milk, vanilla extract, a pinch of salt, eggs, and white granulated sugar. Blend on high speed until the mixture is completely smooth and velvety. For an extra silky flan, you can strain the mixture through a fine-mesh sieve at this point to remove any tiny egg chalazae or foam. Pour this smooth custard mixture into your prepared baking dish(es), directly over the set caramel.
- Bake in a Water Bath: Preheat your oven to 350°F (177°C). Carefully place your flan-filled baking dish(es) inside a larger, oven-safe roasting pan. Pour warm water into the larger pan until it reaches about halfway to two-thirds up the sides of the flan dish(es). This creates a crucial water bath. Transfer the assembly to the preheated oven and bake for approximately 60-80 minutes (cooking time will vary based on dish size). The flan is ready when the edges are set, but the center still exhibits a slight, delicate jiggle, similar to gelatin, and is no longer liquid.
- Cool, Chill, Loosen & Flip: Once baked, carefully remove the flan from the oven and, importantly, remove the flan dish(es) from the hot water bath to prevent further cooking. Allow the flan to cool completely at room temperature, then transfer it to the refrigerator to chill thoroughly for at least 4 hours, or ideally, overnight. Before serving, run a thin spatula or knife carefully around the entire edge of the flan to loosen it from the dish. Place your chosen serving platter firmly over the top of the baking dish. With a confident, swift motion, invert the flan onto the platter, allowing the magnificent caramel sauce to drizzle generously over the top. Slice, serve chilled, and enjoy this classic Puerto Rican delight!
Equipment
Flan Pan
Buy Now →
Flan Ramekins
Buy Now →
Ninja Blender
Buy Now →
Sauté Pan
Buy Now →
Spatulas
Buy Now →
Roasting Pan (16 x 10.3-Inch)
Buy Now →
Notes
* You can use either a large baking dish or small ramekins. Just make sure the baking vessel is oven safe for 350°F.