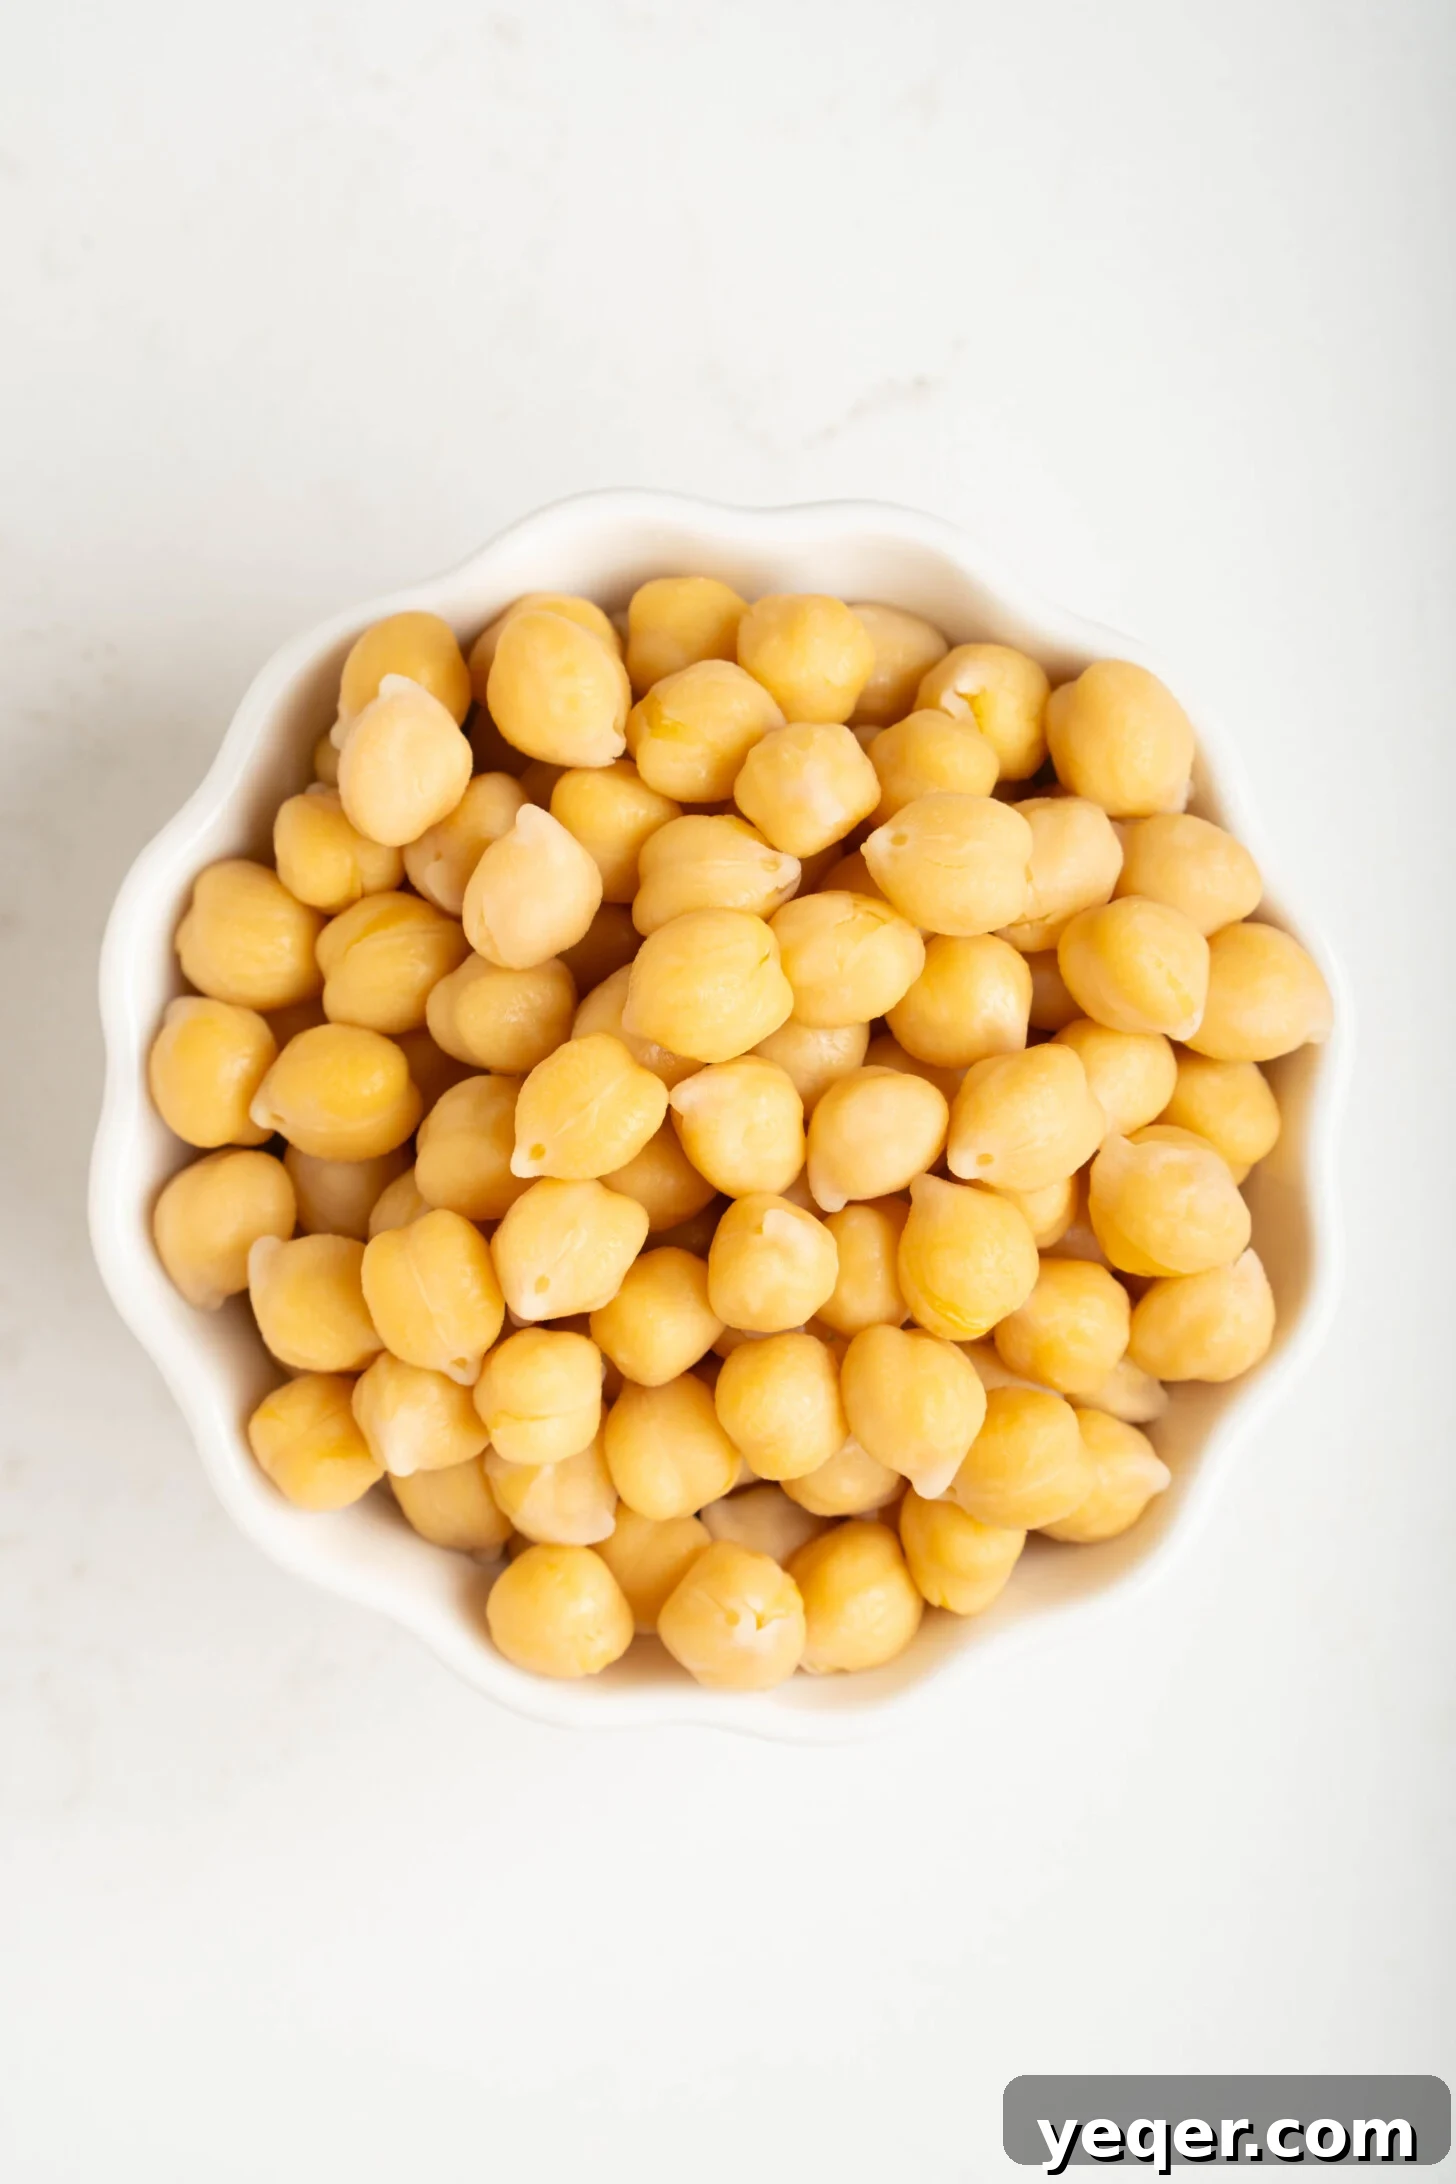
Mastering Dried Chickpeas: Your Essential Guide to Soaking and Boiling
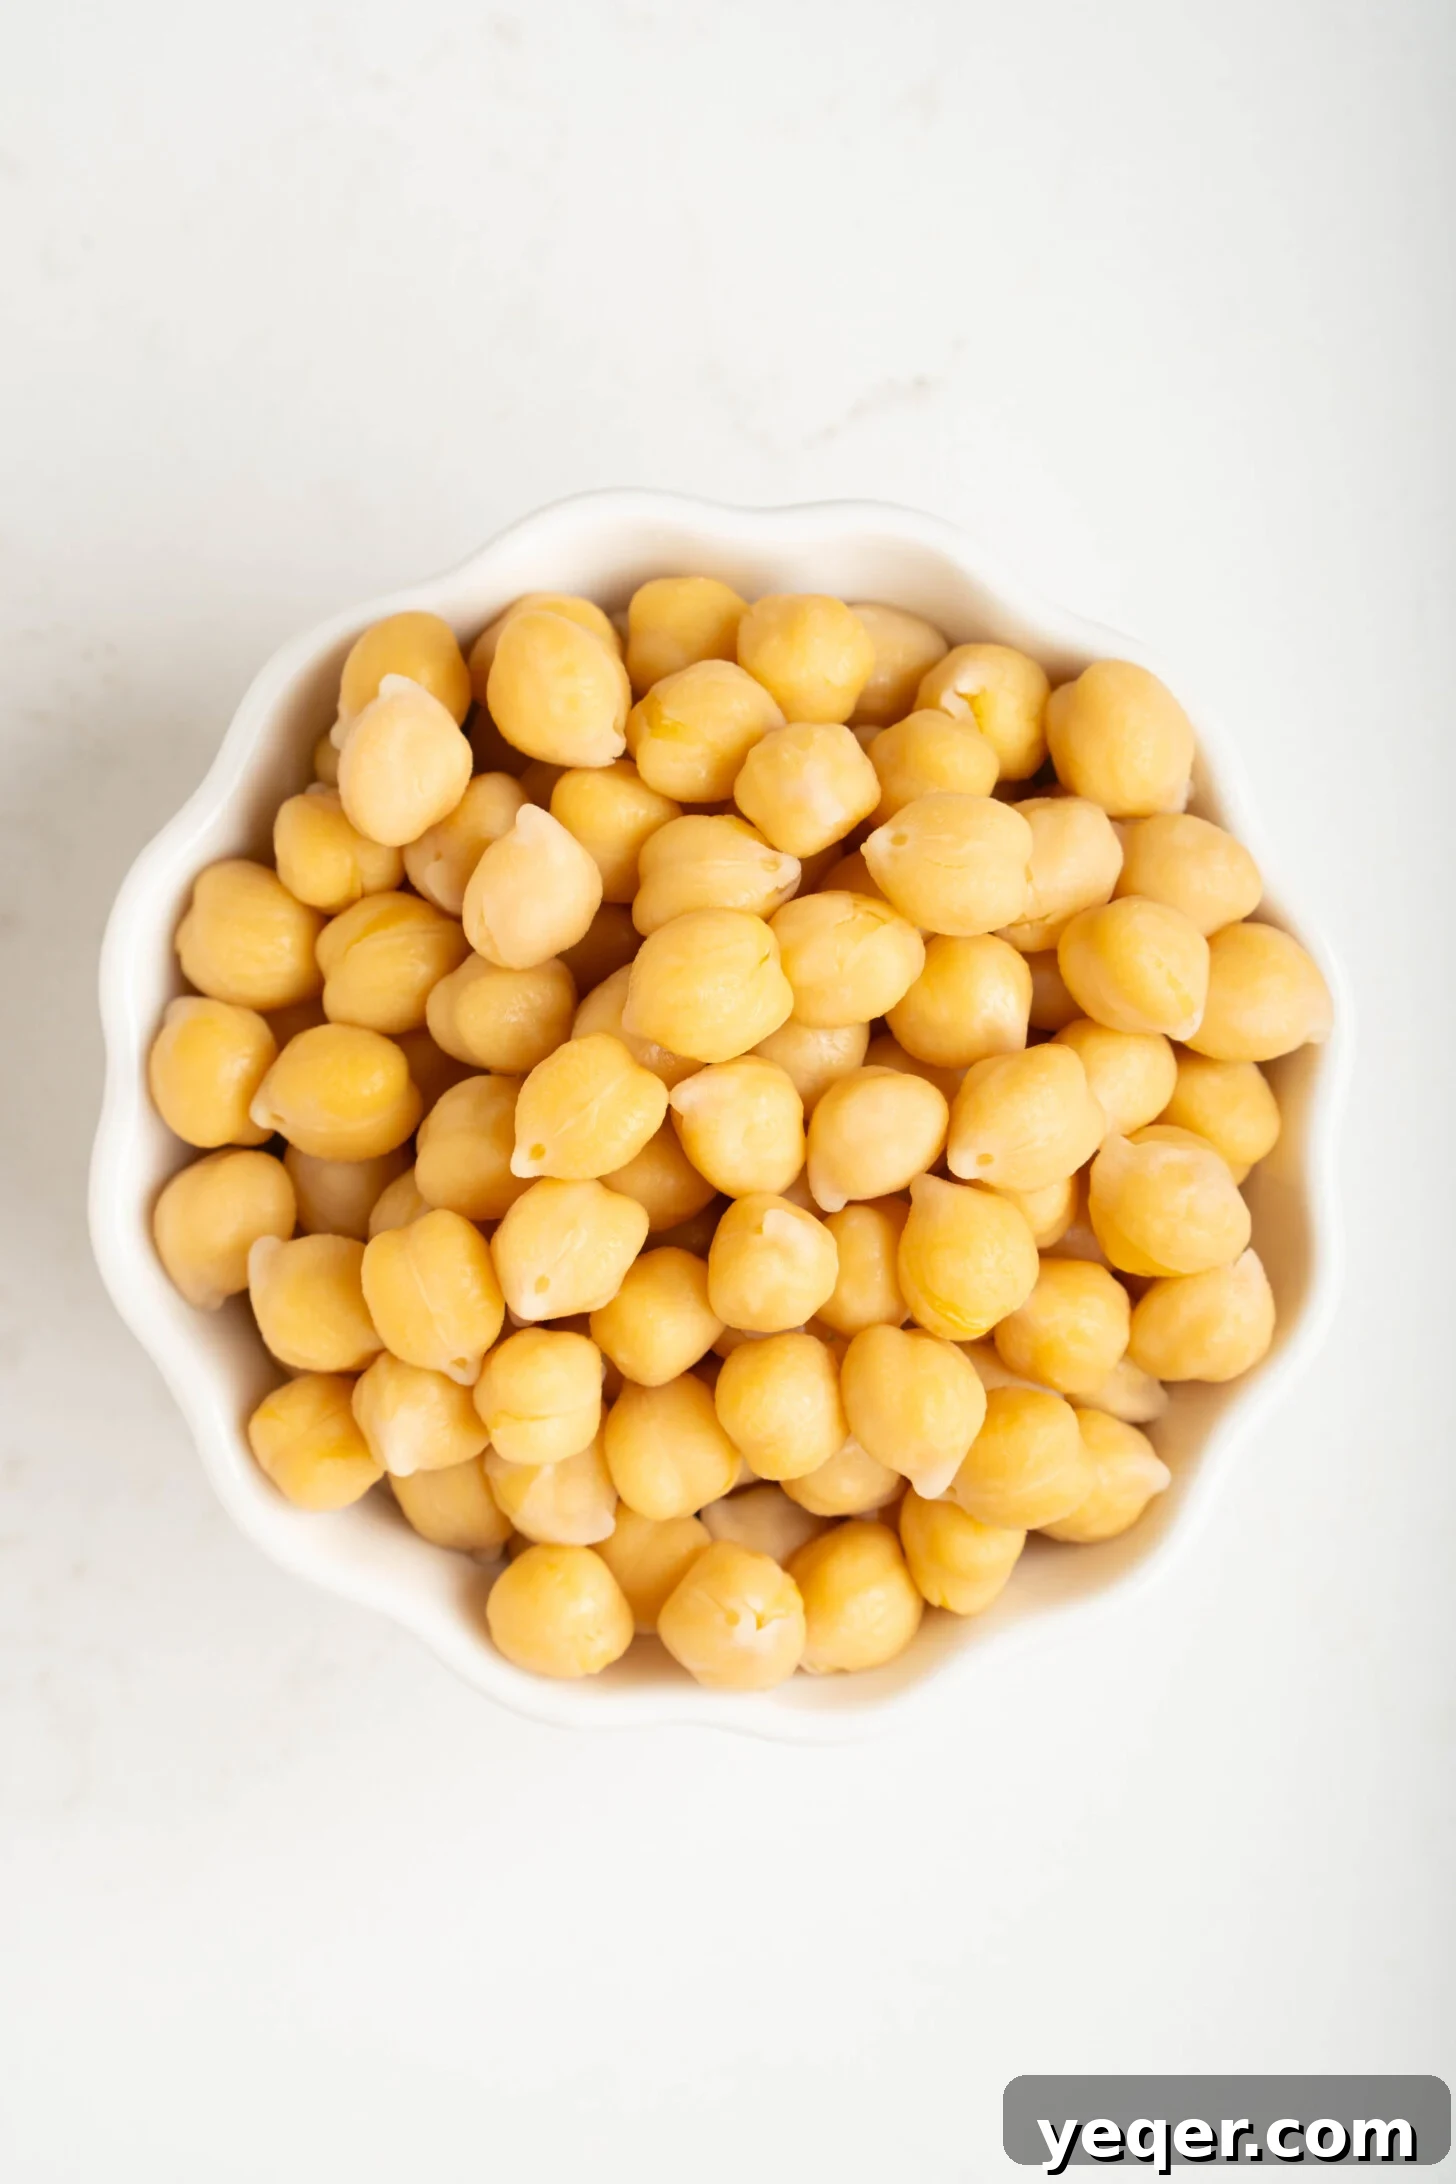
In the culinary world, convenience often dictates our choices. It's a common scenario: you need chickpeas for a recipe, and your hand instinctively reaches for a can. There's absolutely no shame in that! Canned chickpeas are undeniably practical for those busy weeknights. However, a little planning ahead can unlock a world of flavor, superior texture, and significant savings when you learn how to cook dried chickpeas from scratch. This comprehensive guide will walk you through an effortless soak and boil method, yielding approximately 3 cups of perfectly cooked chickpeas from just one cup of dried ones. Whether you prefer the classic stovetop approach, the speed of an Instant Pot, or the efficiency of a pressure cooker, we've got you covered.
Why Choose Dried Chickpeas Over Canned?
While canned chickpeas offer unparalleled convenience, opting for dried varieties comes with a host of advantages that seasoned home cooks swear by. Once you integrate this simple practice into your routine, the perceived "daunting" task transforms into a rewarding experience. Here's why making the switch is worth it:
- Unbeatable Flavor & Texture: This is arguably the most compelling reason. Chickpeas cooked from dried beans have a distinctly creamier, smoother texture and a richer, more nuanced flavor compared to their canned counterparts. This difference is especially noticeable in dishes like hummus, where the texture is paramount. Imagine a hummus so velvety, it practically melts in your mouth – that's the magic of homemade, from-scratch chickpeas.
- Cost-Effectiveness: Dried chickpeas are significantly more economical. A single bag of dried chickpeas can cost a fraction of what you'd pay for multiple cans, providing a much larger yield. Over time, these savings add up, making it a budget-friendly choice for any kitchen.
- Reduced Waste: By choosing dried beans, you contribute to a more sustainable kitchen. Eliminating the need for metal cans reduces household waste, making it an environmentally conscious decision.
- Control Over Ingredients: When you cook chickpeas yourself, you control exactly what goes into them. Canned chickpeas often contain added sodium and sometimes preservatives. Cooking them at home means you can adjust salt levels to your preference and ensure a pure, additive-free product.
- Enhanced Digestibility: Soaking dried chickpeas helps break down complex sugars, which can make them easier to digest for some people and reduce the likelihood of gas and bloating.
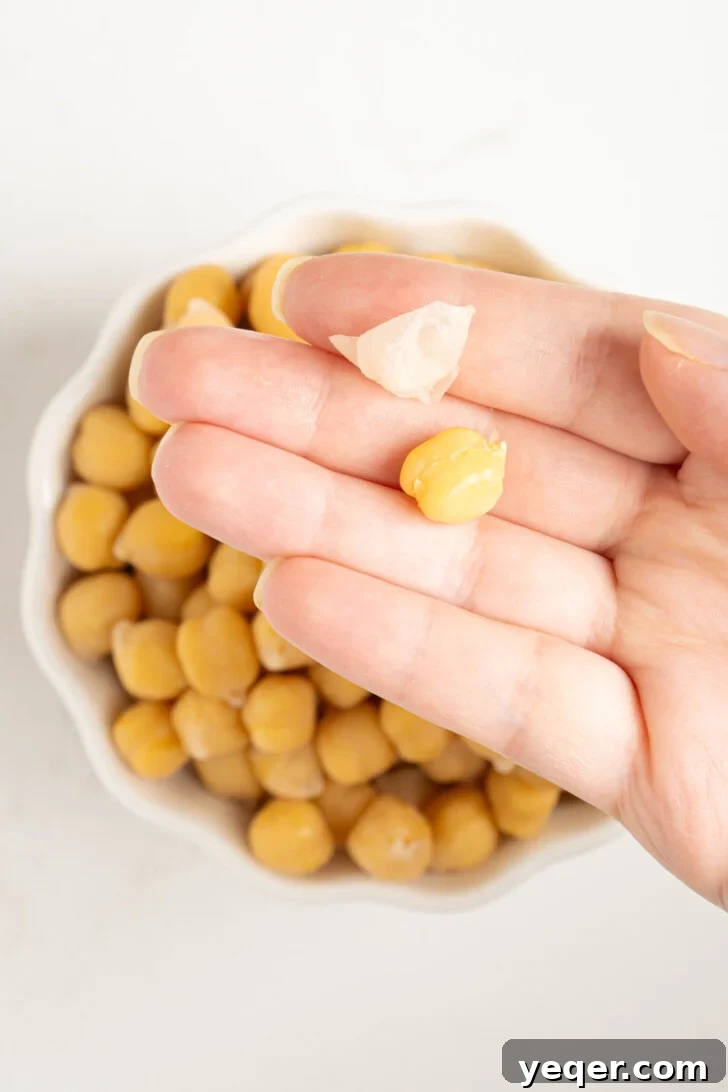
My grandmother, a master of Moroccan cuisine, always made large batches of chickpeas from scratch. I vividly recall sitting with my cousins, meticulously peeling the skins off the cooked garbanzo beans. This extra step, while time-consuming, yields an incredibly smooth and luxurious texture, particularly desired for the silkiest hummus. The peels come off quite easily once cooked, so if you have a bit of extra time and are aiming for that ultra-creamy consistency, give it a try!
Whether you're preparing a hearty Chickpea Soup, a refreshing 15-Minute Chickpea Salad, or a flavorful Moroccan Stewed Chickpeas, the superior creamy texture of home-cooked chickpeas will elevate your dishes to new heights.
Simple Ingredients for Superior Chickpeas
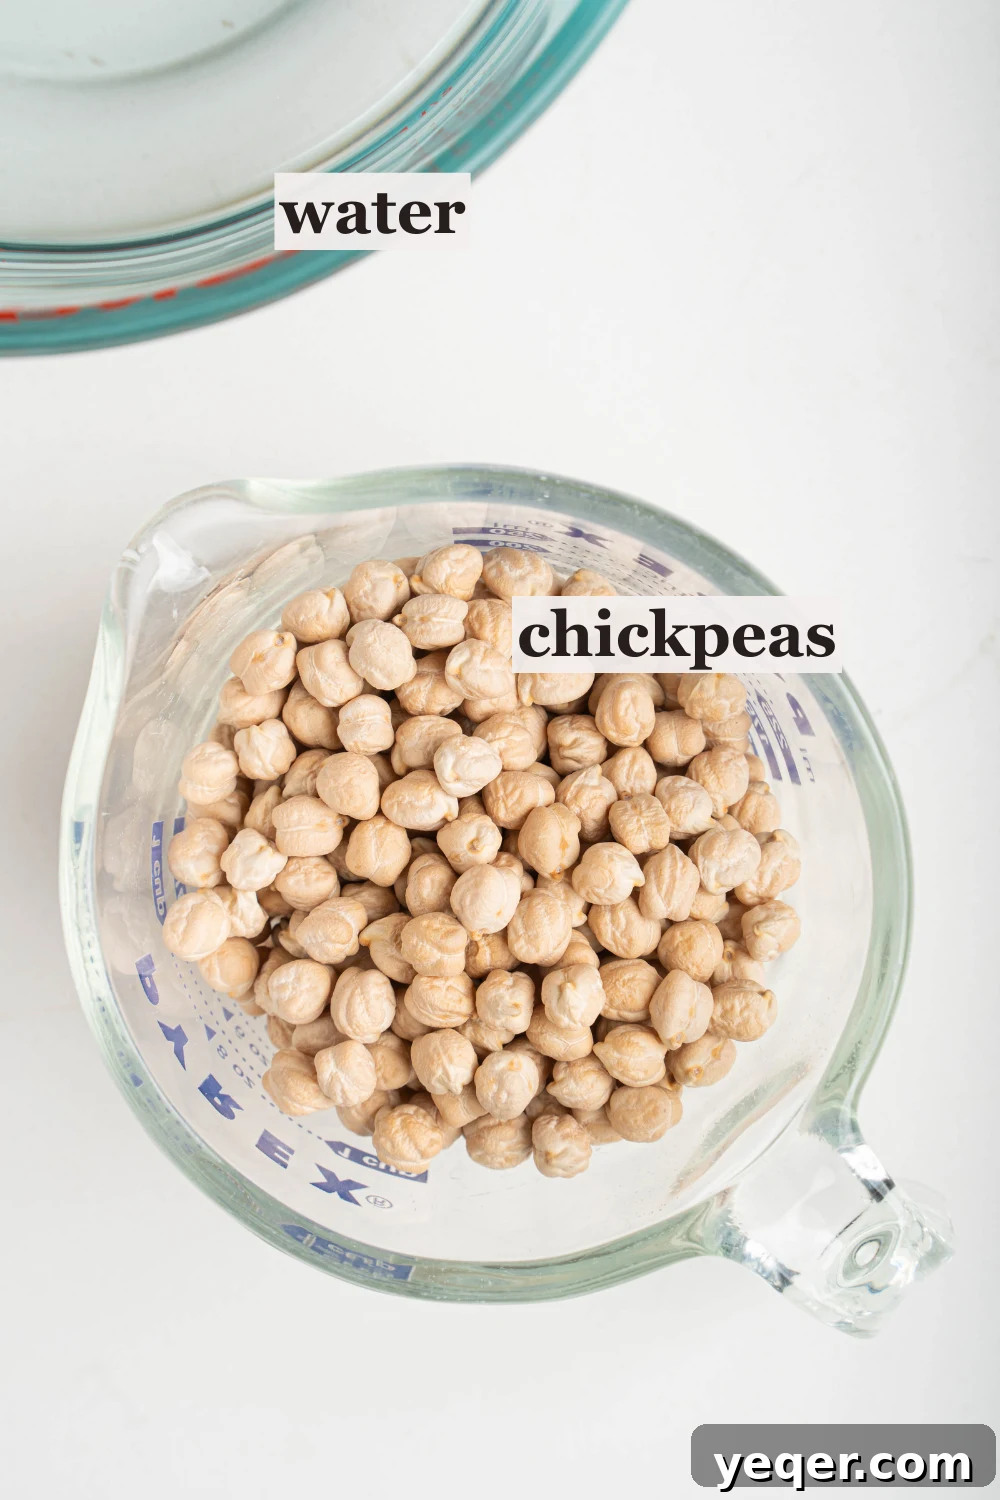
The beauty of cooking dried chickpeas lies in its simplicity. You truly only need two main ingredients:
- Dried Chickpeas (Garbanzo Beans): Look for fresh, unblemished chickpeas for the best results. One cup of dried chickpeas will expand significantly after soaking and cooking, yielding about 3 cups of prepared beans.
- Water: Plenty of fresh, clean water for both soaking and boiling.
Beyond these essentials, you have the option to infuse your chickpeas with additional flavors during the cooking process. Consider adding aromatics like half an onion, a few cloves of garlic (smashed), a bay leaf, or even a sprig of fresh rosemary or thyme to the boiling liquid. For an even richer taste, you can boil them in vegetable broth or stock instead of water. Remember, salt is best added towards the end of the cooking process to prevent hardening the beans, though some chefs prefer to add it during the final simmering stage for maximum flavor absorption.
Detailed Step-by-Step Instructions for Perfectly Cooked Chickpeas
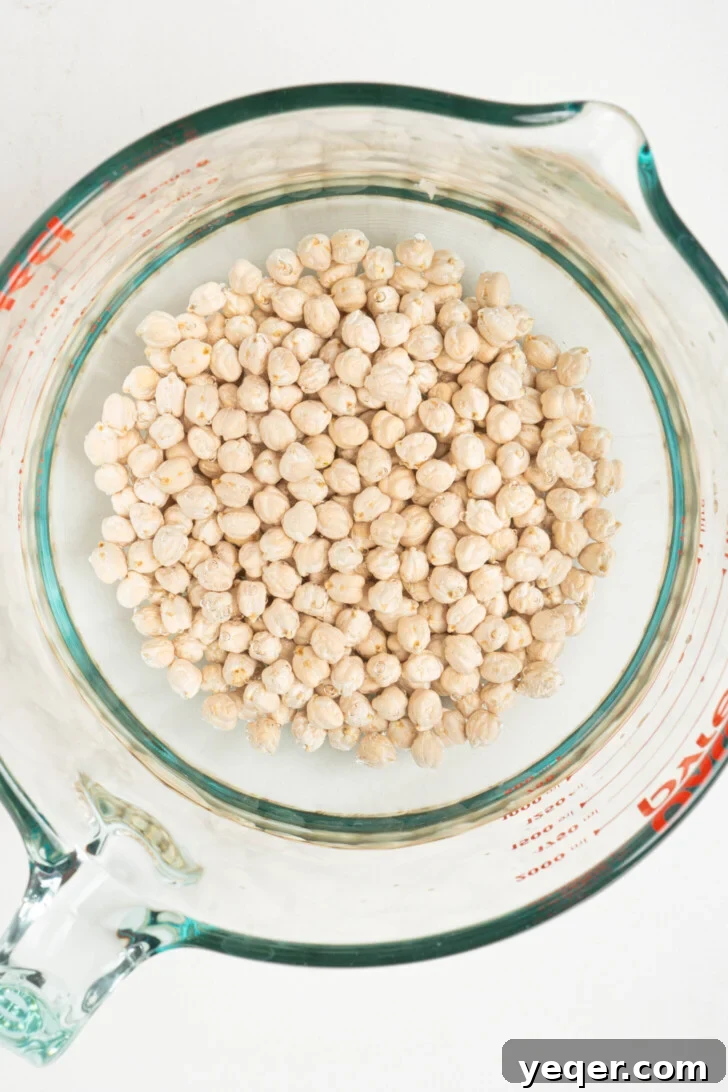
Feel free to add some onion, garlic, and herbs to the liquid you boil the garbanzo beans in if you’d like to add flavor. You could also boil them in broth or stock to add even more flavor.
1. The Essential Soak (Overnight Method)
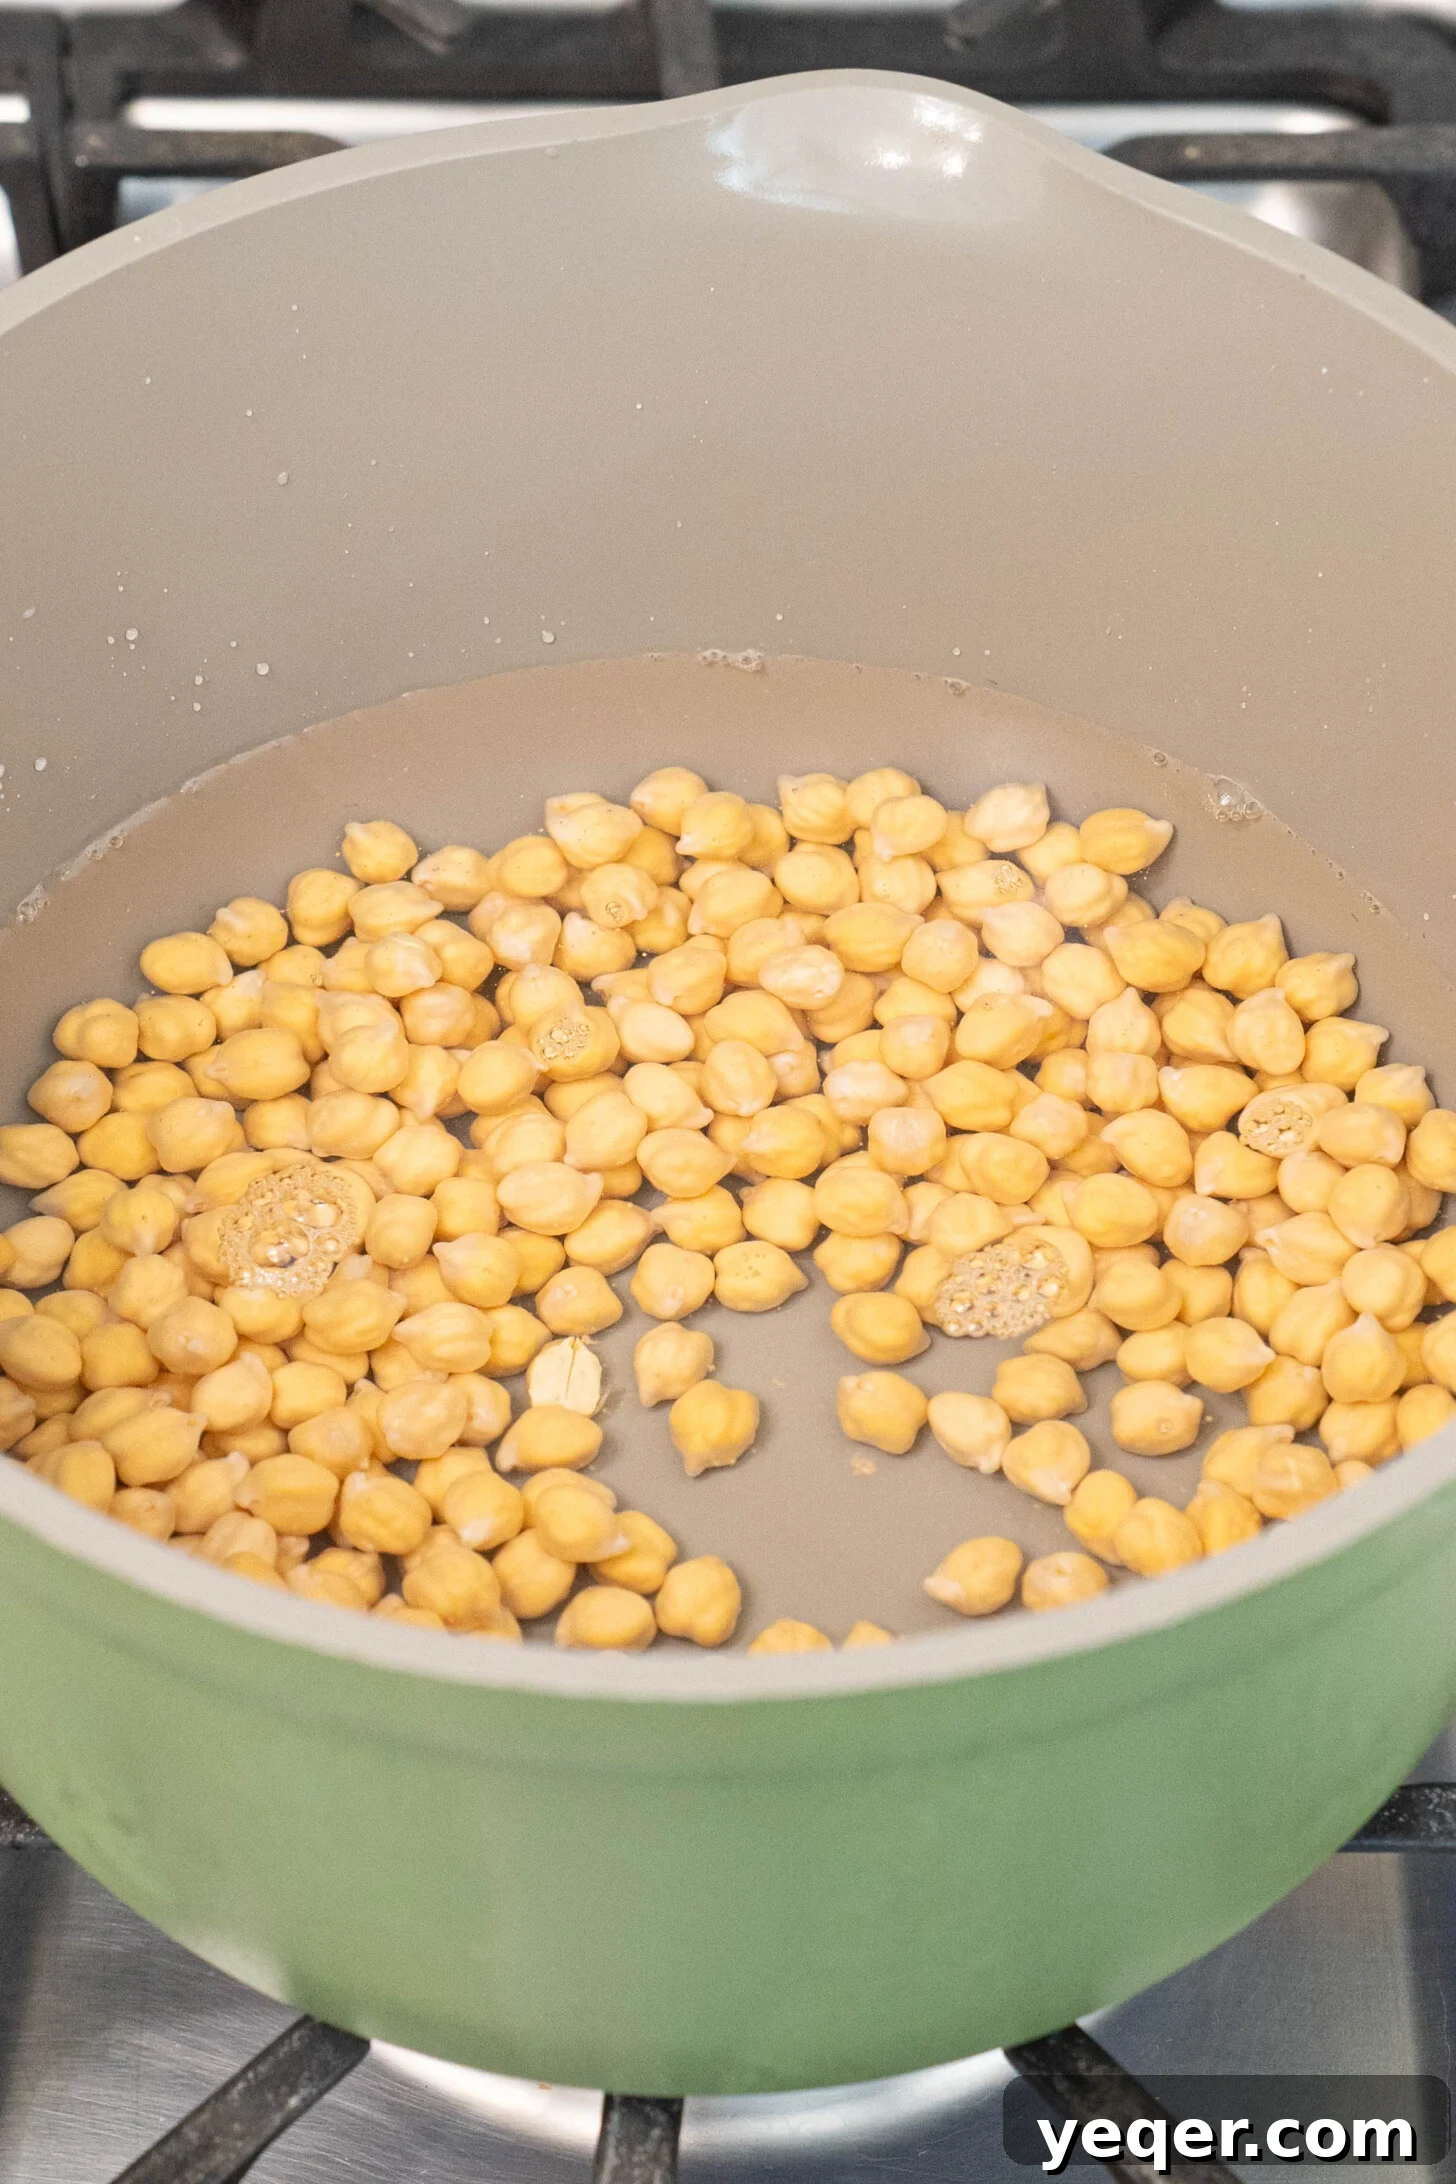
Soaking is a crucial first step for two primary reasons: it significantly reduces cooking time and helps to break down oligosaccharides, complex sugars that can cause digestive discomfort. For every 1 cup of dried chickpeas, place them in a large bowl and add at least 4 cups of fresh, cold water. The chickpeas will expand considerably, so ensure there's ample room and water to cover them by several inches. Let them soak overnight, or for a minimum of 8 hours, at room temperature. This method is stress-free as it doesn't require timers and ensures the chickpeas are thoroughly rehydrated.
Quick Soak Method (Alternative)
If you forgot to soak your chickpeas overnight, don't despair! A quick soak method can save the day. Place the dried chickpeas in a large pot and cover them with water (again, about 4 cups of water per 1 cup of chickpeas). Bring the water to a rolling boil for 2-3 minutes. Then, remove the pot from the heat, cover it, and let the chickpeas sit for 1 hour. After this, proceed with the draining and rinsing steps as usual.
2. Drain and Rinse Thoroughly
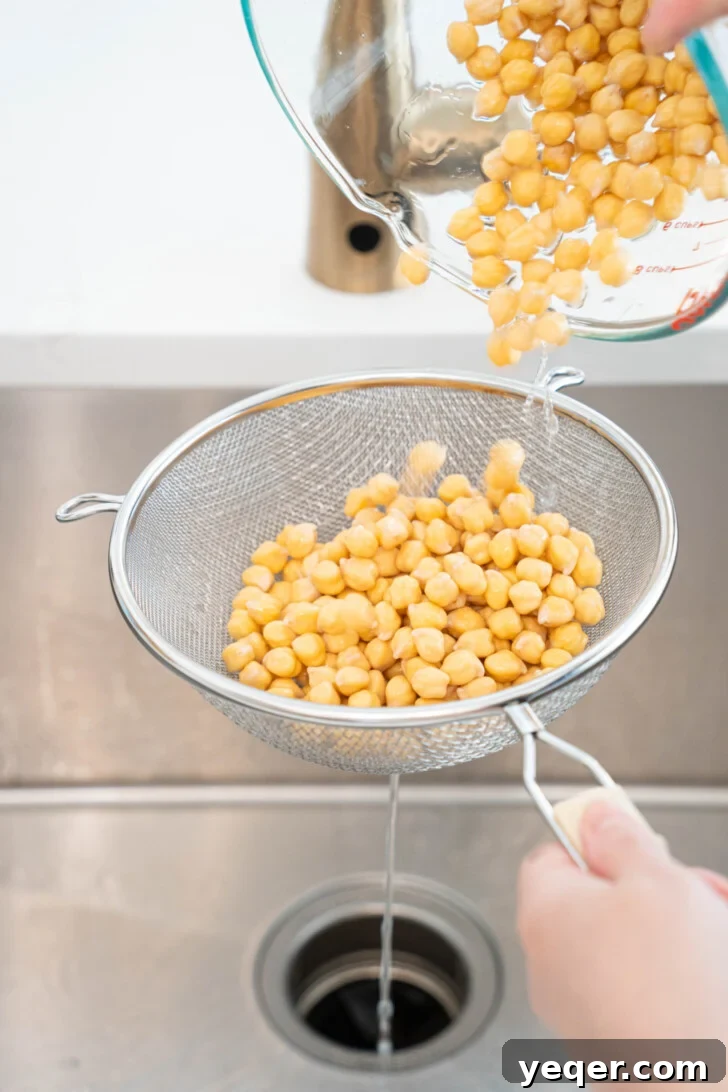
Once your chickpeas have fully soaked, whether overnight or using the quick soak method, you’ll notice they have almost doubled in size. Carefully drain all the soaking water. This water contains those indigestible sugars that soaking helps to release, so it's important to discard it. Give the soaked chickpeas a good rinse under cold running water in a colander. This step ensures cleanliness and further aids in digestibility.
3. Cooking Your Chickpeas (Stovetop Method)
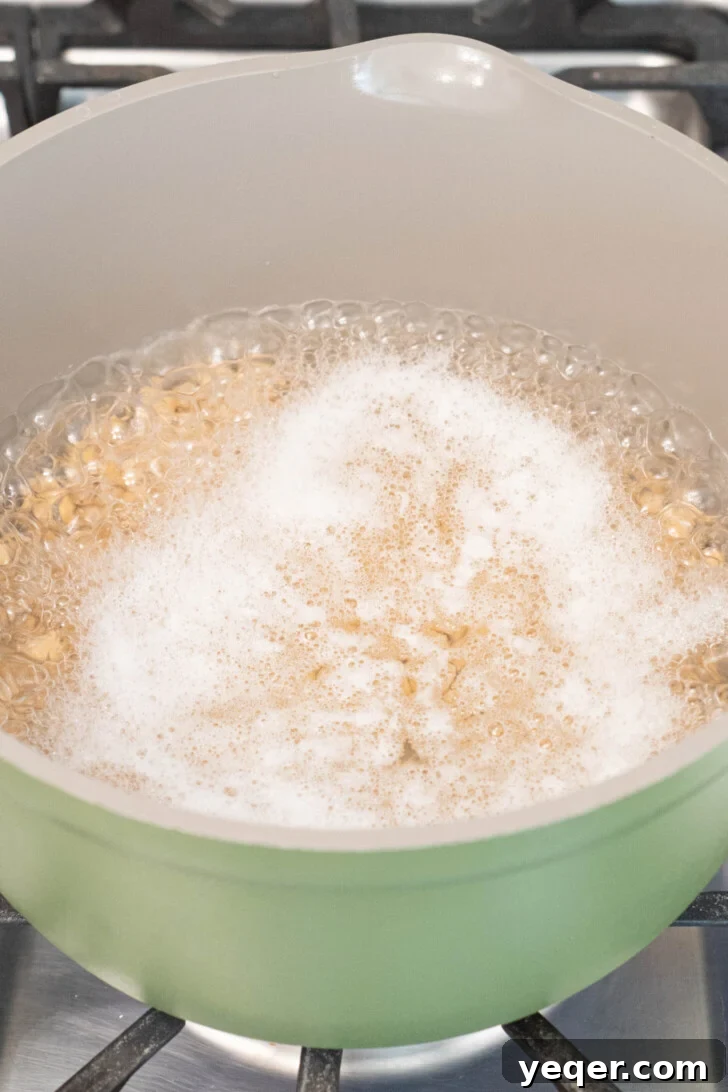
Transfer the rinsed chickpeas to a large, heavy-bottomed pot. Cover them with fresh water, ensuring they are submerged by at least 2-3 inches (this will require roughly 6 cups of water for 1 cup of dried chickpeas). If you plan to add flavorings like onion, garlic, or herbs, this is the time to do so. Bring the water to a rolling boil over high heat. Once boiling, reduce the heat to a gentle simmer, cover the pot, and cook for 45 minutes to 1 hour, or until the chickpeas reach your desired tenderness. The cooking time can vary based on the age and variety of the chickpeas, so taste-test regularly. They should be tender, creamy, and easily mashable.
4. Enjoy Your Perfectly Cooked Chickpeas!
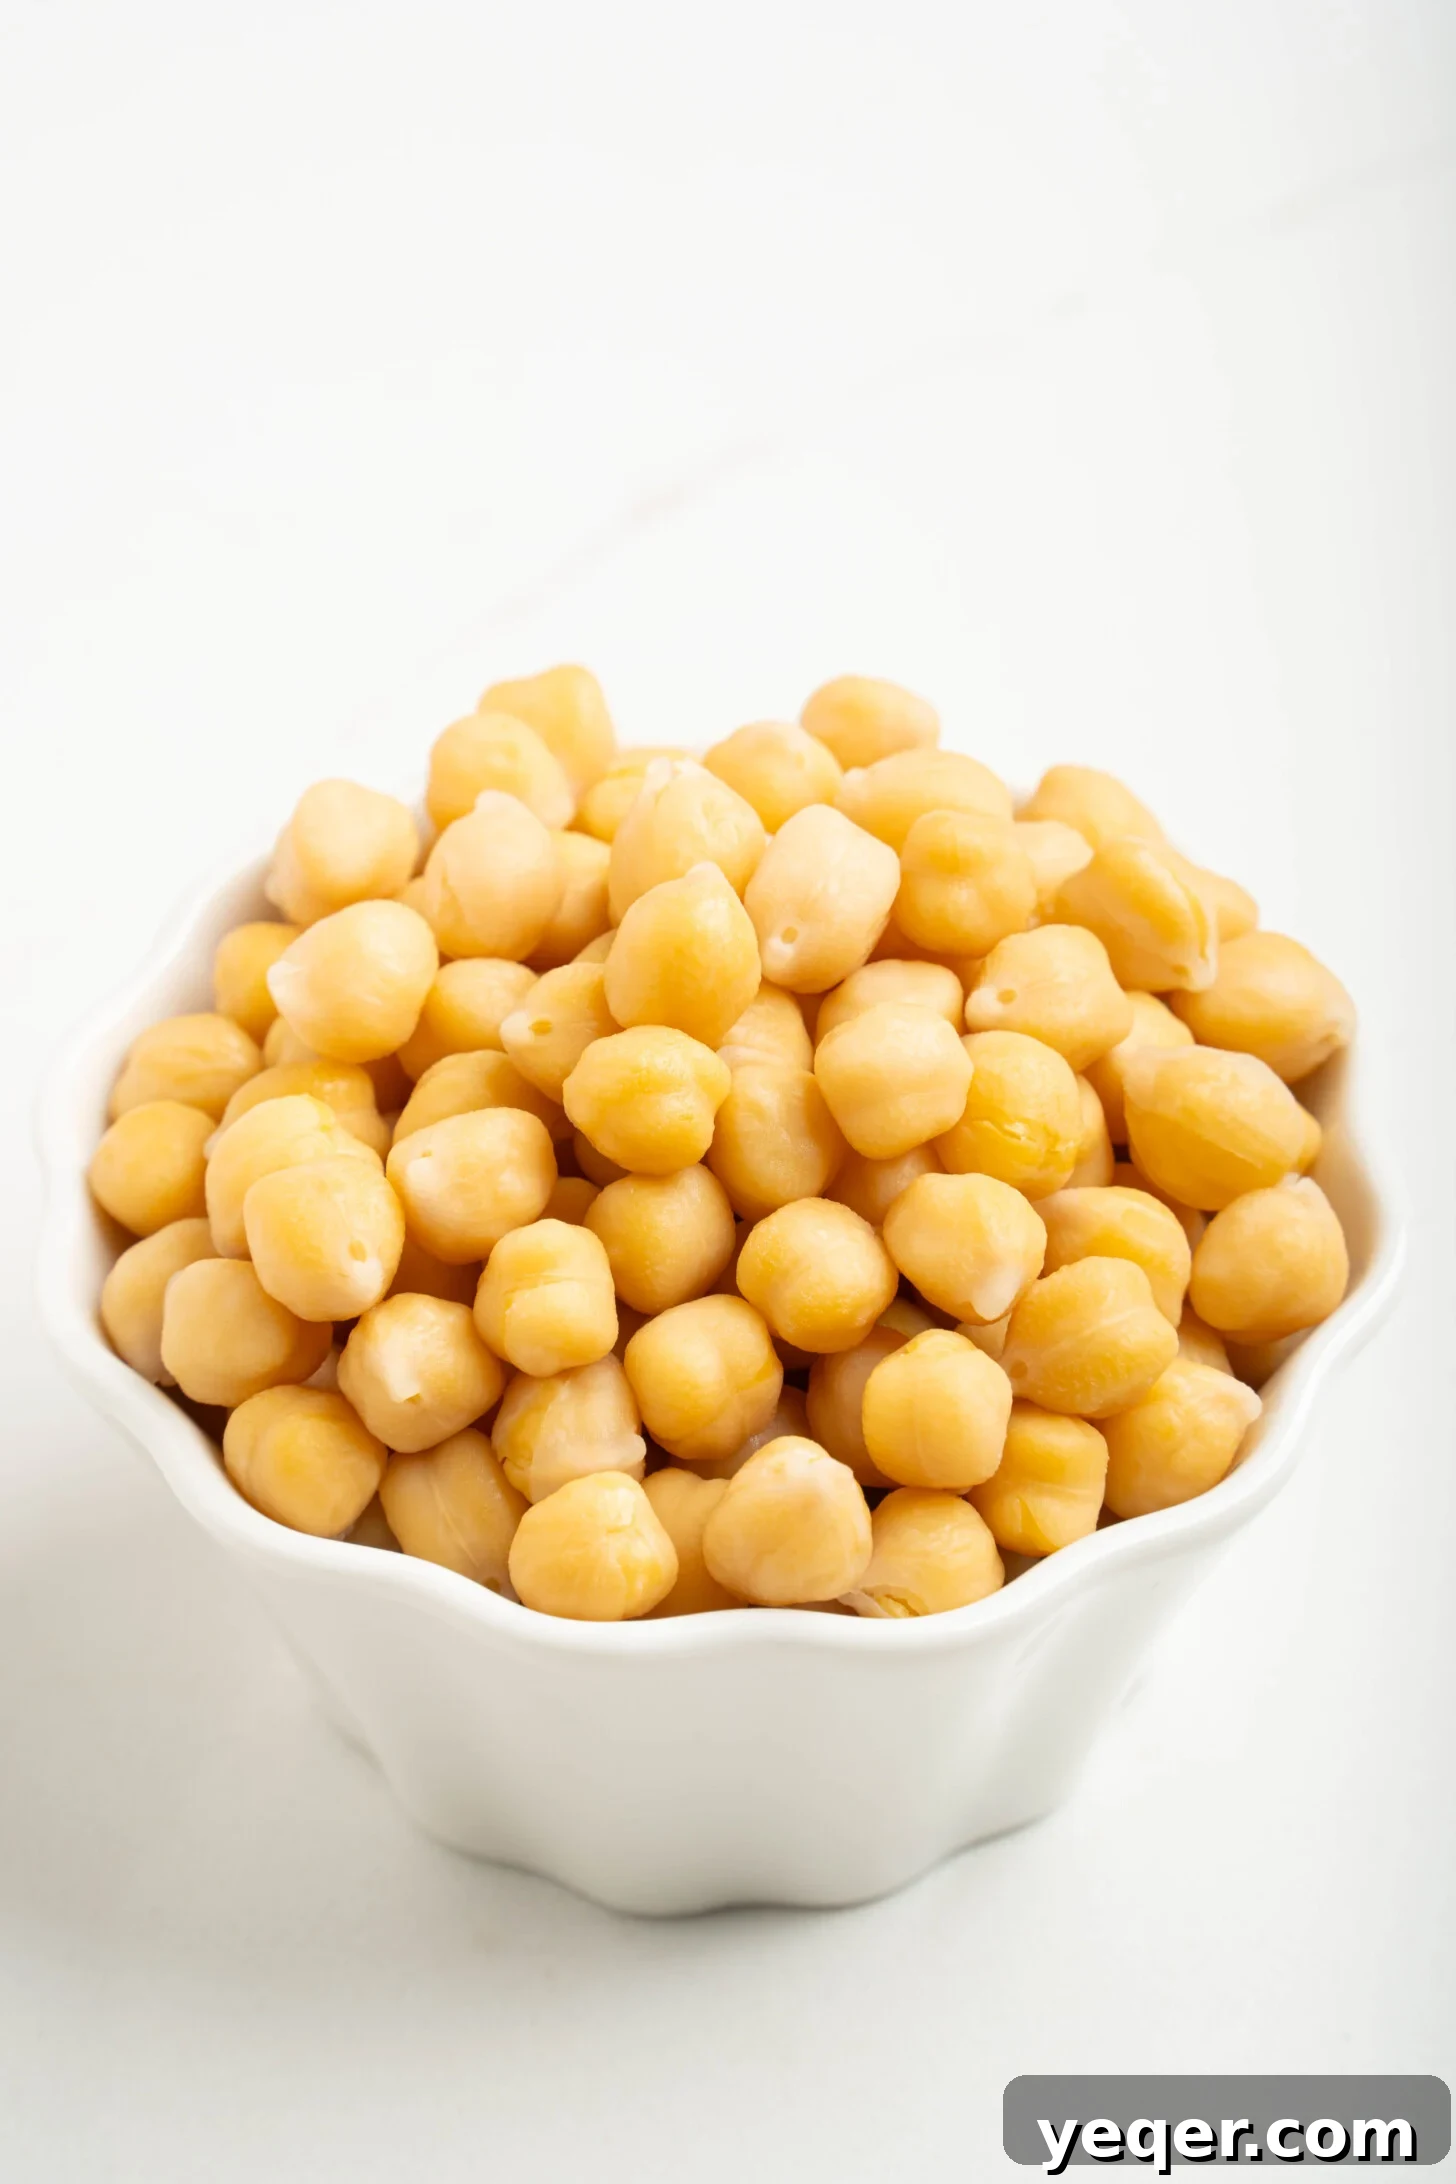
Once cooked, drain the chickpeas from their liquid. At this stage, the skins can be easily removed by gently rubbing the chickpeas between your fingers or hands, if you desire an even creamier texture for hummus or other purees. Your freshly cooked garbanzo beans are now ready to be transformed into an array of delicious dishes. Think creamy hummus, crispy baked chickpeas, rich chickpea soups, vibrant salads, or hearty stews.
The Yield and Value: Dried vs. Canned Chickpeas
Understanding the yield difference between dried and canned chickpeas further highlights the value of cooking from scratch. A standard 15-ounce can of chickpeas typically contains about 1 and ¾ cups of chickpeas, along with the canning liquid.
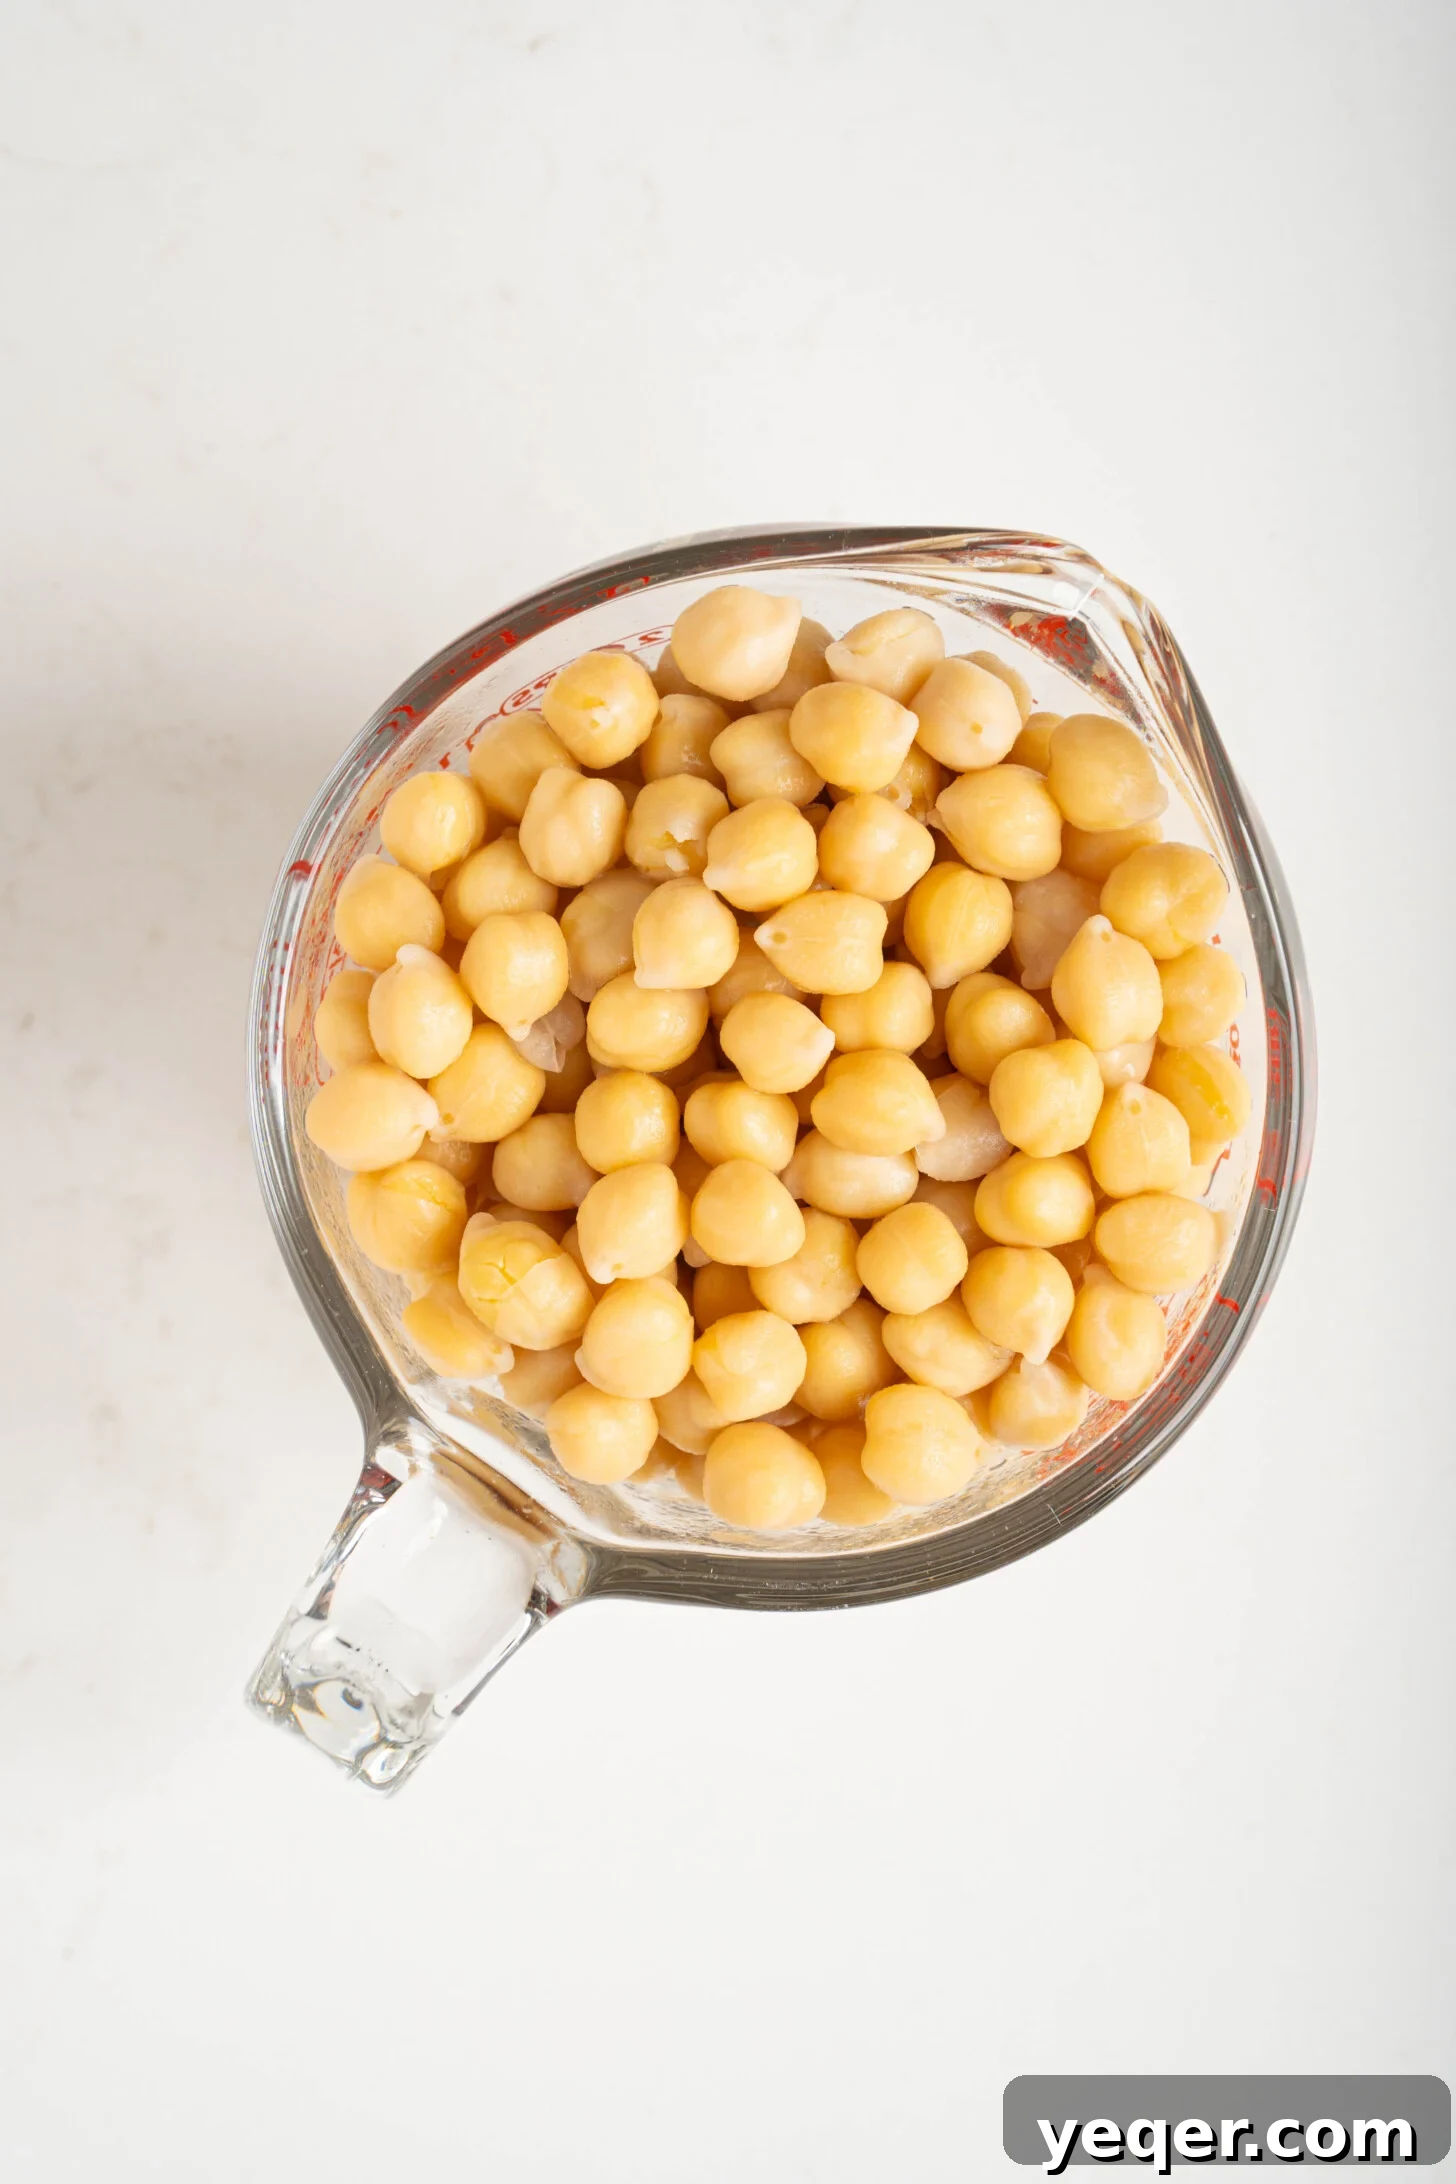
This recipe, starting with just 1 cup of dried chickpeas, offers a much more generous yield. After an 8+ hour soak, your chickpeas will roughly double in volume to about 2 cups. Following the boiling process, you will end up with approximately 3 cups of beautifully cooked chickpeas. This means that a single cup of dried chickpeas yields almost double the quantity you would get from a typical can, reinforcing the economic benefits and allowing for greater flexibility in your cooking. You can easily measure out the exact quantity needed for any recipe and adjust your initial dried chickpea amount accordingly.
Creative Ways to Use Your Home-Cooked Garbanzo Beans
Once you’ve experienced the superior taste and texture of garbanzo beans cooked from scratch, a new world of culinary possibilities opens up. Making your own hummus feels like a culinary rite of passage, elevating it to an entirely different level of creaminess and flavor compared to versions made with canned chickpeas. This applies to virtually any recipe where chickpeas are a star ingredient.
Here are some popular and versatile ideas for using your freshly cooked chickpeas:
- Silky Smooth Hummus: The most popular application! Blend your warm, cooked chickpeas with tahini, lemon juice, garlic, and a touch of the cooking liquid for the creamiest hummus you've ever tasted.
- Hearty Soups and Stews: Add them to a Moroccan Harira, a vegetable stew, a rich curry, or a comforting minestrone. They add body, protein, and a delightful texture.
- Crispy Roasted Chickpeas: Toss with olive oil and your favorite spices (spice roasted chickpeas are fantastic!) and roast until golden and crunchy. Perfect as a snack, salad topping, or crouton alternative.
- Vibrant Salads: Incorporate them into grain bowls, green salads, or create a standalone chickpea salad (like a "tuna" salad alternative).
- Flavorful Mashes and Spreads: Mash them with herbs and spices for sandwich fillings or a nutritious spread.
- Curries and Tagines: They absorb flavors beautifully, making them ideal for rich, aromatic curries and traditional Moroccan tagines.
More Recipe Inspirations:
- Traditional Moroccan Harira (Lentil & Chickpea Soup)
- Dense Bean Salad with Roasted Chicken
- 30 Minute Moroccan Stewed Chickpeas with Tomatoes
- 15-Minute Moroccan-Spiced Chickpea Salad
Expert Tips for Cooking Dried Chickpeas
Achieving the perfect batch of cooked chickpeas can be further enhanced with a few additional tips and tricks:
- Baking Soda for Tenderness and Digestion: Some seasoned cooks advocate adding a teaspoon or two of baking soda to the soaking water or even the boiling water. Baking soda (sodium bicarbonate) helps to raise the pH of the water, which in turn helps to break down the pectin in the chickpea skins and accelerate softening. This can lead to a creamier texture and may further aid in reducing the "gassy" effects for some individuals. Experiment with a small amount if you're interested in this technique.
- Skimming the Foam: As chickpeas begin to boil and simmer, you might notice a foamy layer forming on the surface. While not strictly necessary, some prefer to skim this foam off. This is primarily for aesthetic reasons, as the foam is simply proteins that coagulate during cooking, but removing it can result in a clearer cooking liquid and a cleaner final product.
- Salting Strategy: It's generally recommended to add salt towards the end of the cooking process, typically in the last 15-20 minutes of simmering. Adding salt too early can sometimes toughen the skins of the chickpeas, prolonging cooking time. However, adding it during the latter stages allows the beans to absorb flavor without hindering their softening.
- The Magic of Aquafaba: Don't discard the cooking liquid from your boiled chickpeas! This starchy liquid, known as aquafaba, is a fantastic plant-based egg white substitute. It can be whipped into meringues, used as a binder in vegan baking, or even incorporated into cocktails. Store it alongside your cooked chickpeas or freeze it for later use.
Recipe: How to Cook Dried Chickpeas (Soak & Boil Method)
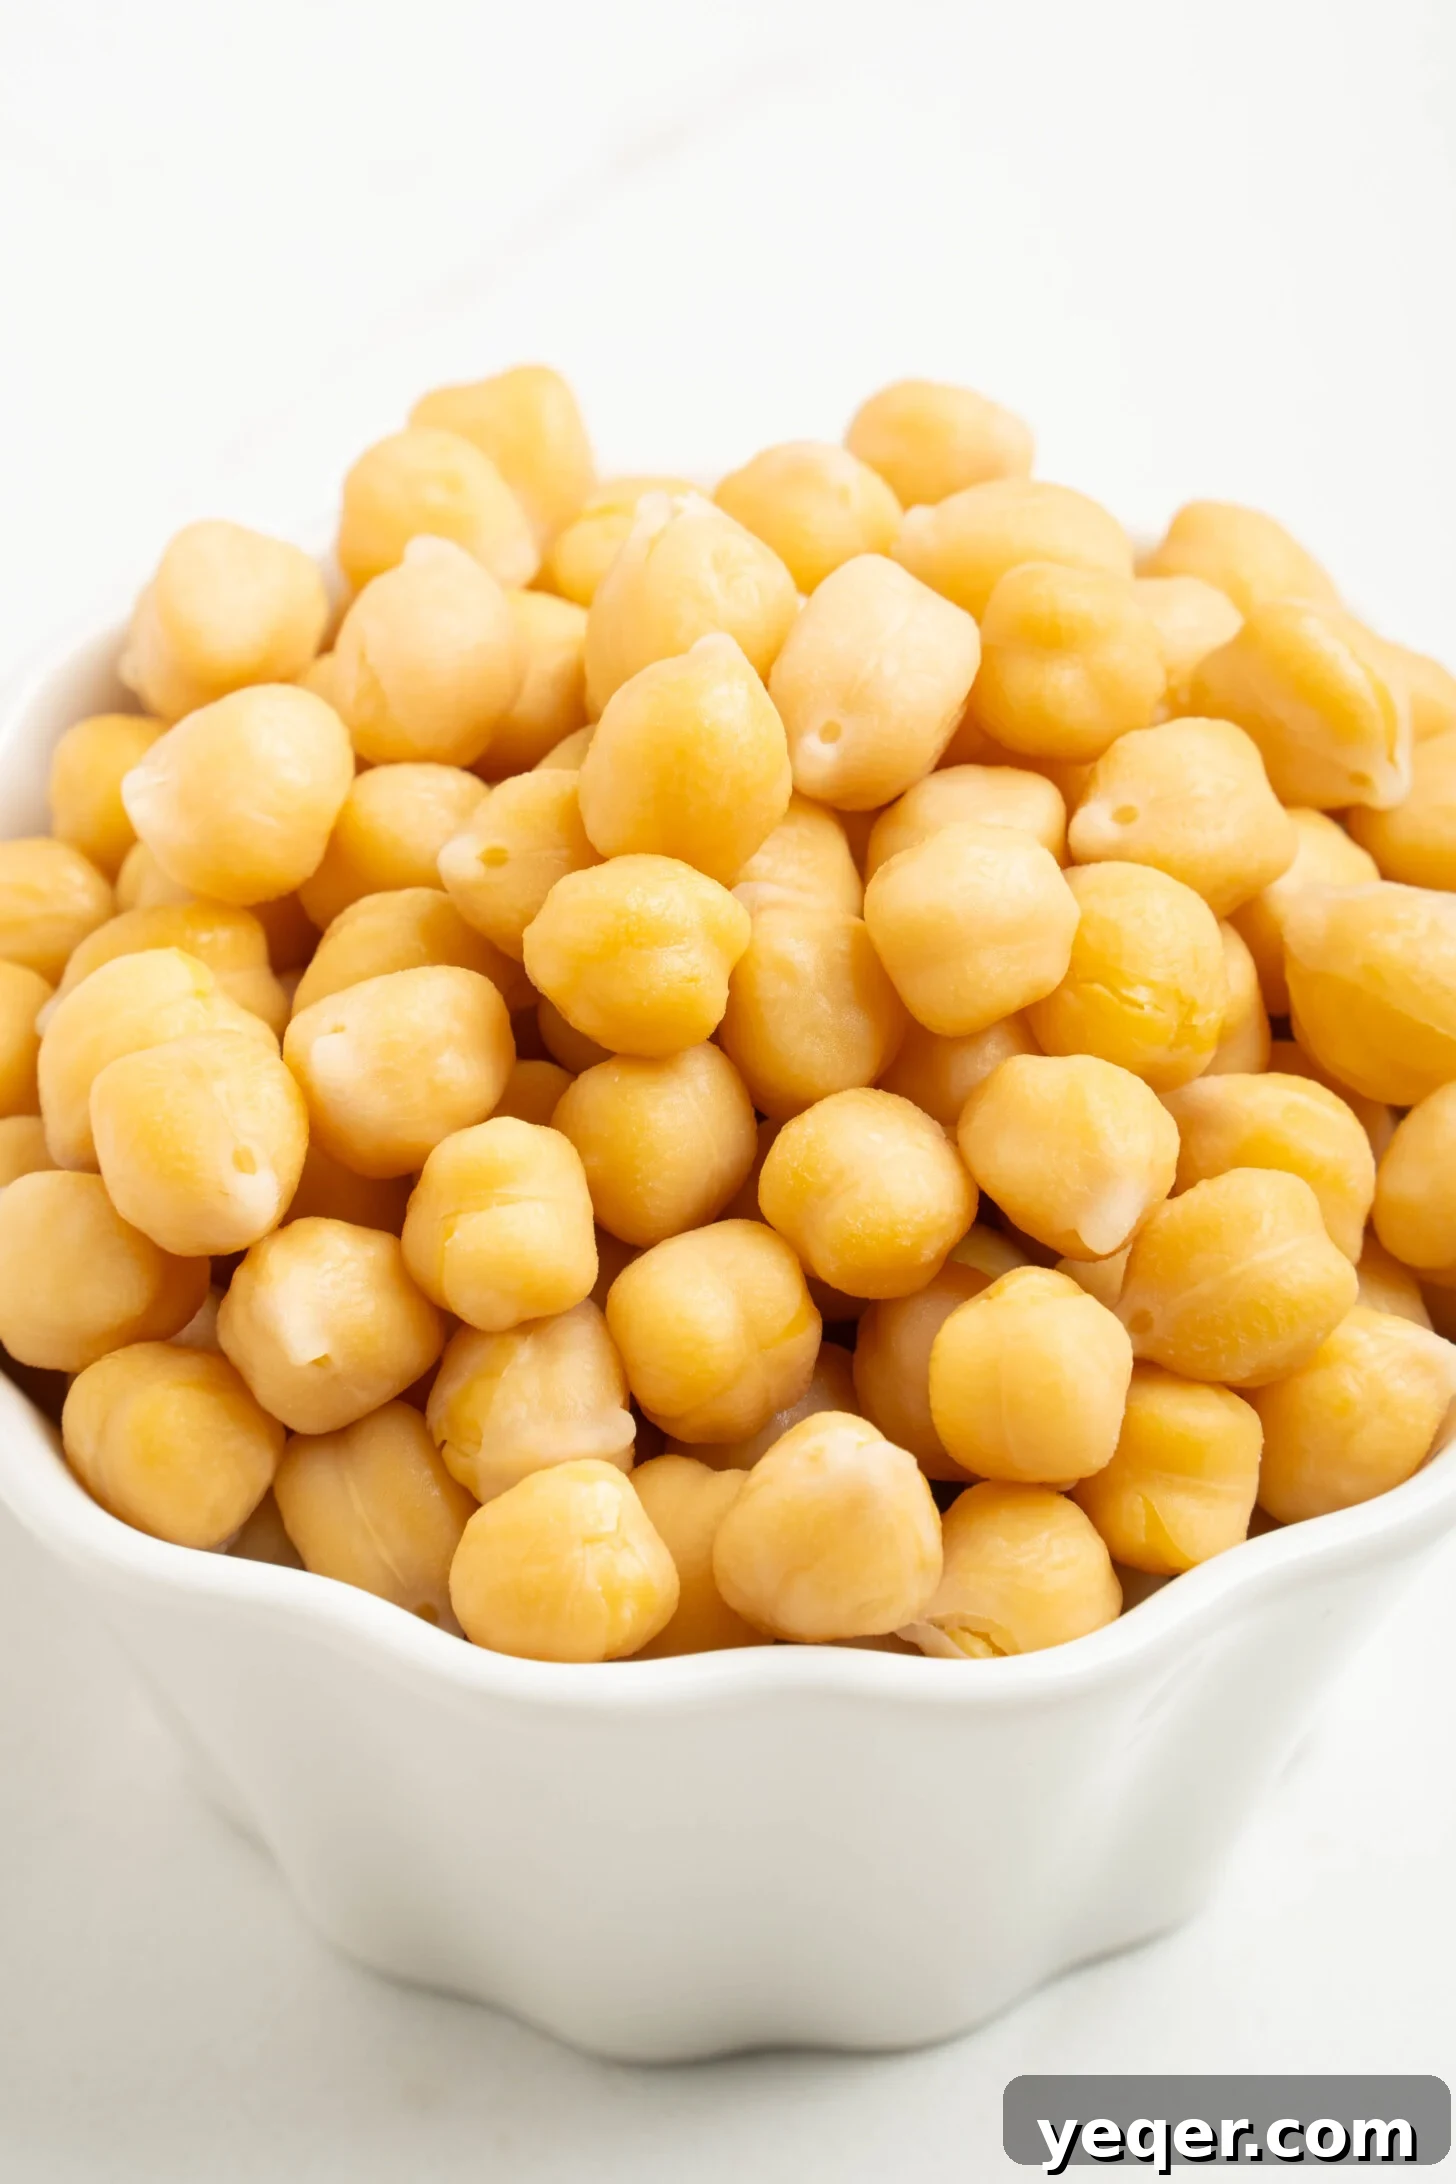
This easy soak & boil method yields about 3 cups of perfectly cooked chickpeas, ready for all your culinary adventures.
How to Cook Dried Chickpeas (Soak & Boil Method)
- Author: Salima Benkhalti
- Prep Time: 8 hours (soaking)
- Cook Time: 1 hour
- Total Time: 9 hours
- Yield: 3 cups
- Category: Side Dish, Component, Main Dish
- Method: Boiled, Soaked
- Cuisine: Moroccan, American
- Diet: Vegan
Description
Learn how to cook dried chickpeas with this easy soak & boil method. This recipe makes about 3 cups of cooked chickpeas, using just water and one cup of dried chickpeas! Keep reading for instructions on how to do so on the stovetop, in an Instant Pot, or pressure cooker.
Ingredients
- 1 cup dried chickpeas
- 4 cups water (for soaking)
- 6 cups water (for boiling)
Instructions
- Soak the chickpeas: Add the dried chickpeas and 4 cups of water to a large bowl. Let them soak overnight, or for at least 8 hours.
- Drain and rinse: Drain all of the soaking water and give the chickpeas a good rinse under cold water.
- Cook the chickpeas (Stovetop): Add the rinsed chickpeas to a large pot and cover with 6 cups of fresh water. Bring to a boil, then reduce the heat to a simmer, cover, and cook for 45 minutes to 1 hour, or until they reach your desired tender texture.
- Enjoy: Once cooked, drain the chickpeas. If desired, the skins can be easily removed for an extra creamy result. Use your garbanzo beans in hummus, salads, soups, or stews!
Equipment
- Mesh Strainer
- Stockpot
Notes
Pressure Cooker Instructions: To cook your soaked garbanzo beans, add them to your pressure cooker and cover with liquid just until they’re submerged. Pressure cook on high for 15 minutes. Carefully release the pressure according to the manufacturer's instructions. Drain all remaining liquid and enjoy!
Instant Pot Instructions: For soaked garbanzo beans, add them to your Instant Pot and cover with water just until submerged. Select the pressure cooking setting and set the timer for 15-18 minutes (adjust based on desired tenderness). Perform a quick release of pressure, then drain all remaining liquid. Enjoy!
Storage: Once your chickpeas are fully cooked and cooled, drain them from their liquid. Store them in an airtight container in the refrigerator for up to 4 days. For longer storage, freeze them in an airtight container or freezer bag for up to 3 months. They can be frozen with or without their cooking liquid.
Enjoy,