
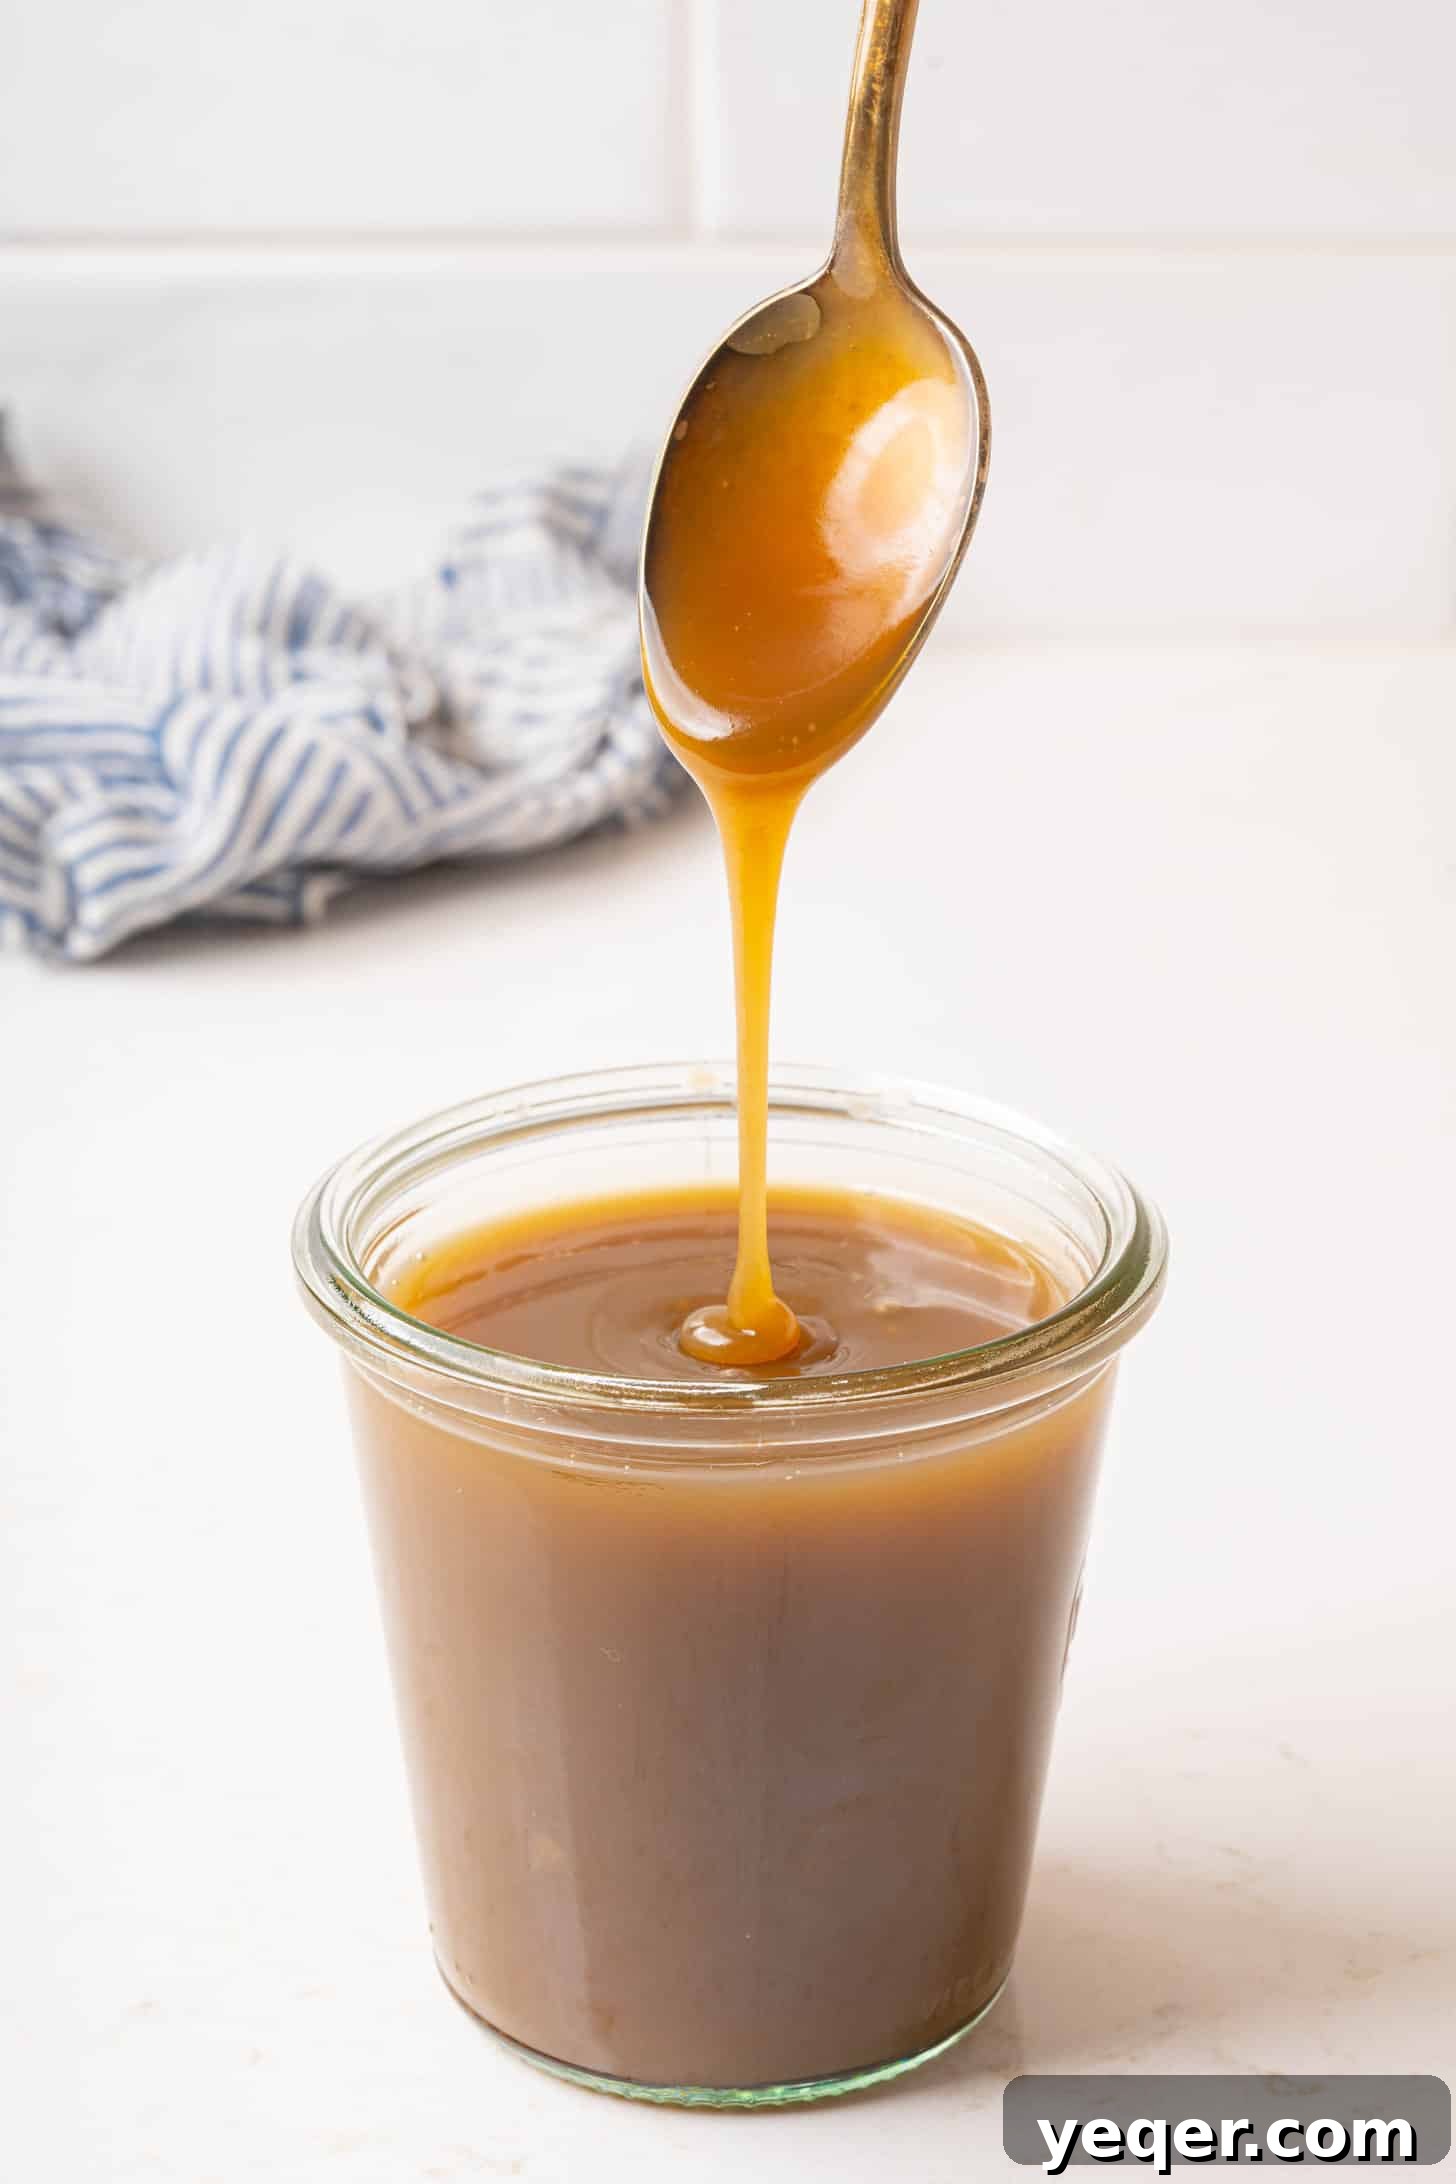
Silky Smooth 30-Minute Vegan Coconut Caramel Sauce: Your Go-To Dairy-Free Delight!
Transform your desserts and drinks with this incredibly easy-to-make, lusciously smooth vegan coconut caramel sauce. Ready in just 30 minutes, this dairy-free delight is perfect for drizzling over ice cream, swirling into iced coffee, or elevating your popcorn. Thanks to the secret ingredient, Karo® Syrup, achieving that perfect silky texture has never been simpler. Prepare to indulge in a plant-based treat that rivals its traditional counterpart!
This post is proudly sponsored by Karo® Syrup. Celebrate sweet moments together with Karo®!
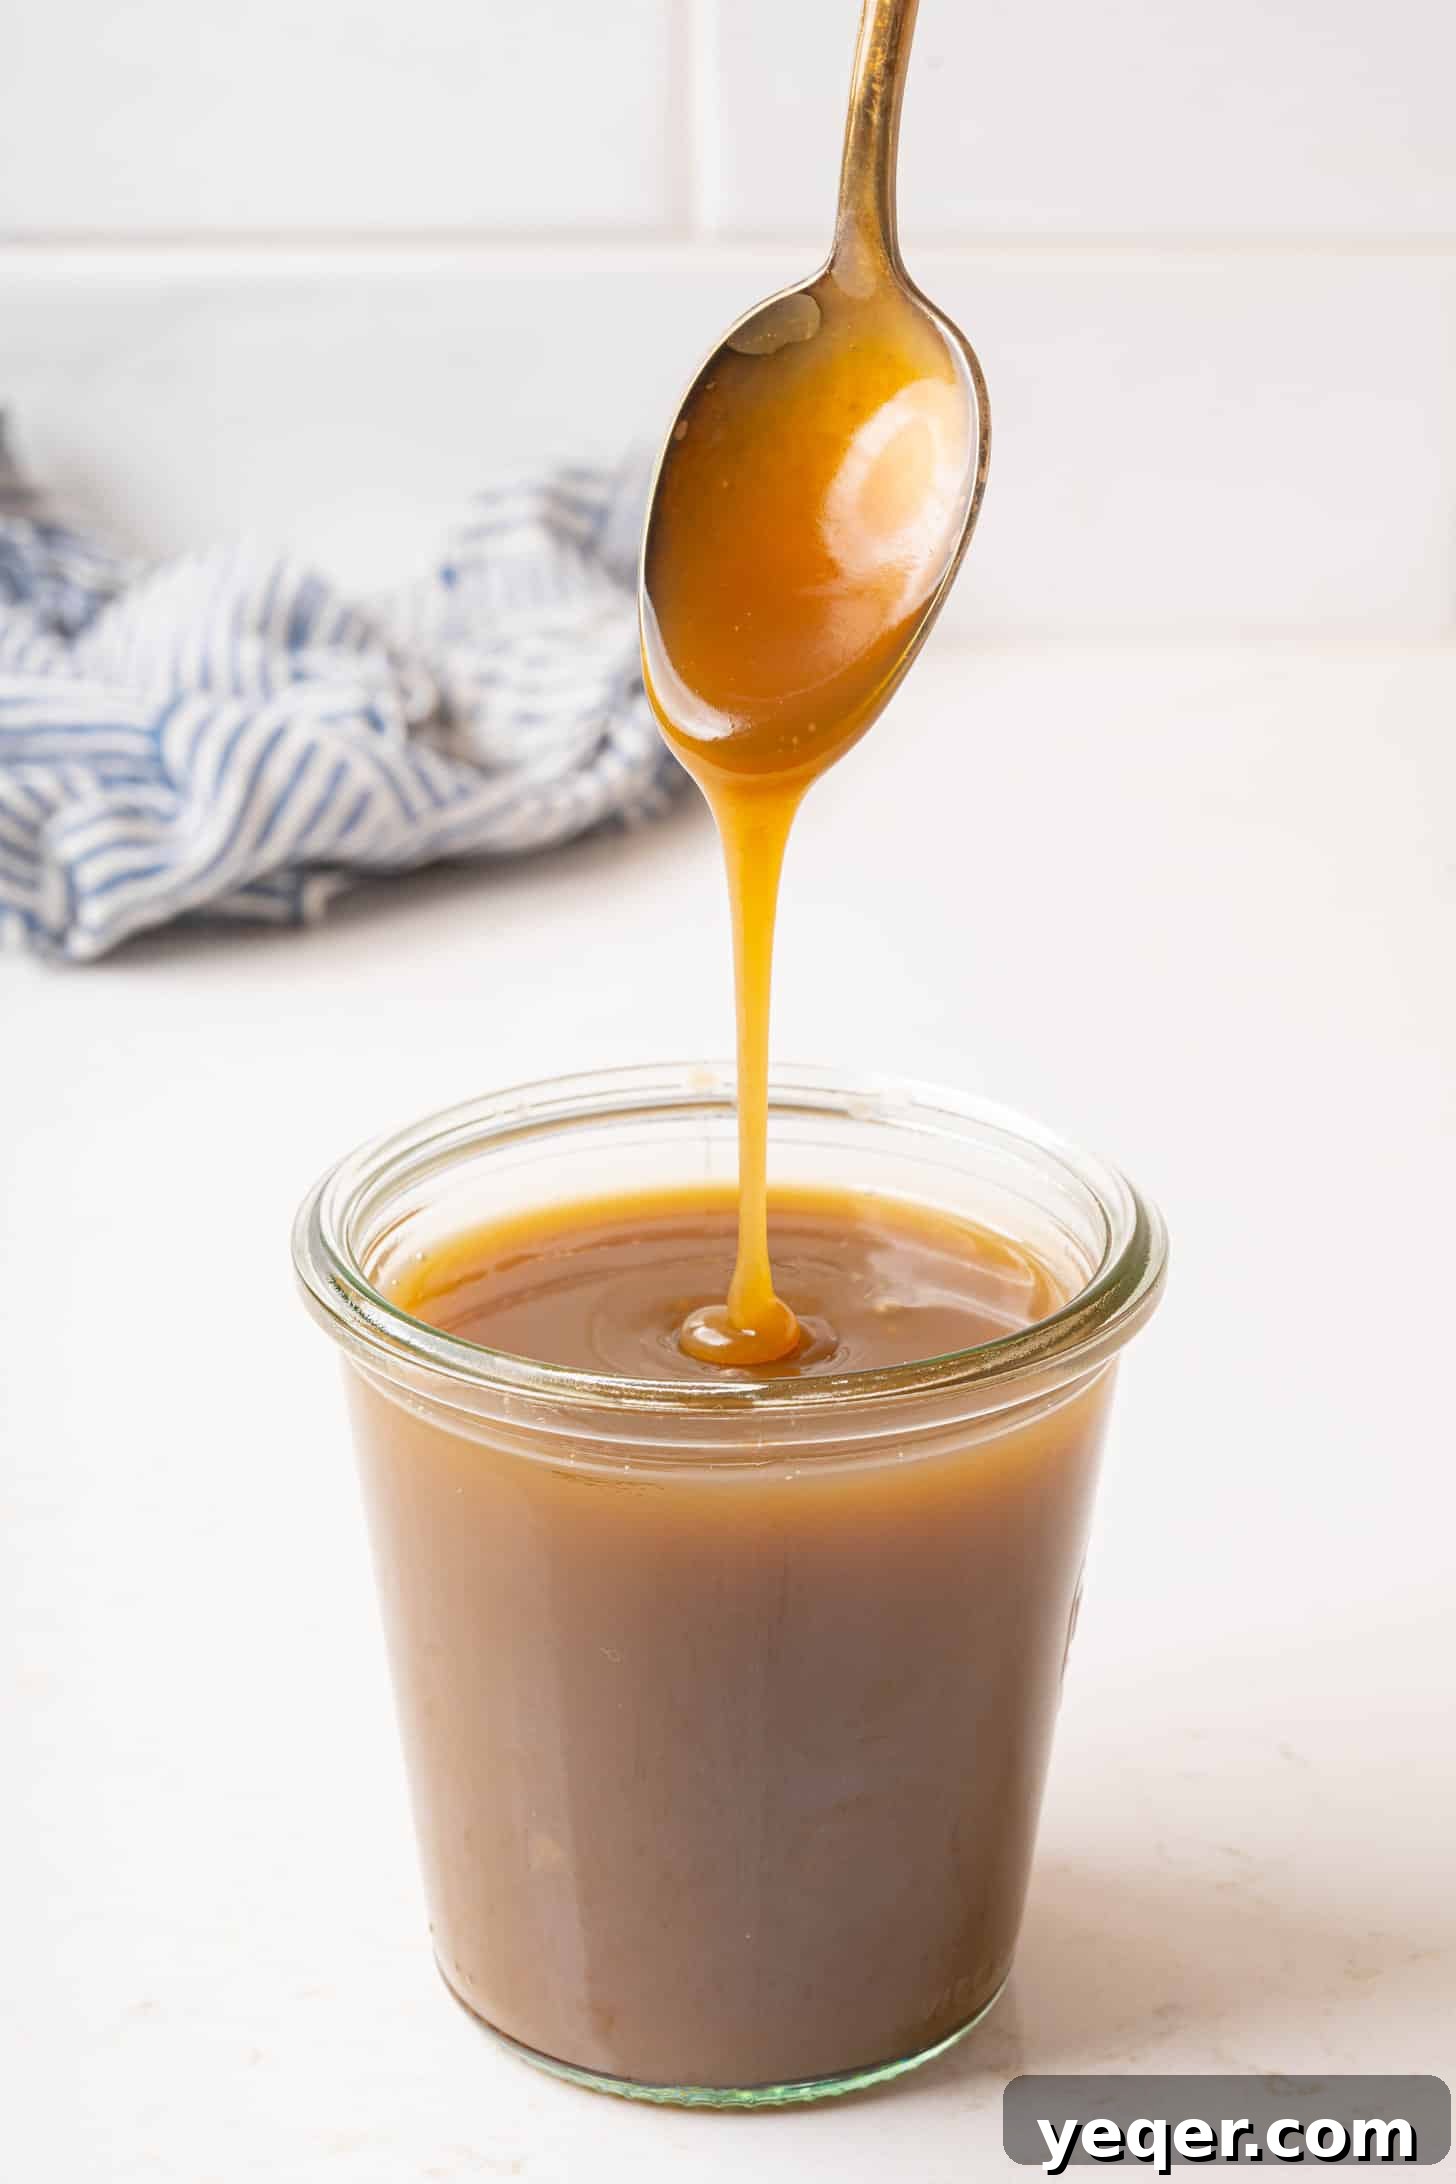
Why You’ll Fall in Love with This Vegan Coconut Caramel Sauce
If you’re a devoted fan of rich, gooey caramel sauces but follow a plant-based diet or simply prefer dairy-free alternatives, get ready to meet your new obsession! This homemade vegan coconut caramel isn’t just a delicious substitute; it’s a culinary revelation. It boasts a perfectly balanced sweet and creamy coconut flavor, subtly enhanced with a hint of salt that truly makes every bite or sip sing. Its smooth, thick, and wonderfully pourable texture makes it incredibly versatile for countless applications, from sophisticated desserts to everyday treats.
What truly sets this recipe apart is its incredible simplicity and speed. In less than 30 minutes, you can whip up a batch of this golden goodness using only a handful of common ingredients and basic kitchen equipment. Forget complex techniques, candy thermometers, or long, tedious cooking times; this recipe is designed for quick, effortless deliciousness. Whether you’re a seasoned chef or a beginner in the kitchen, you’ll find this vegan coconut caramel recipe to be both rewarding and foolproof, ensuring a perfectly smooth and rich sauce every time.
The Essential Role of Full-Fat Coconut Milk
At the very heart of this luscious vegan caramel is full-fat coconut milk, a truly remarkable ingredient that acts as the perfect plant-based substitute for heavy cream. Unlike its lighter counterpart, full-fat coconut milk provides the necessary high fat content that gives caramel its signature creamy body, decadent mouthfeel, and rich consistency. This isn’t a step you want to skip or compromise on; using light coconut milk will result in a much thinner, less satisfying caramel that may not thicken properly or achieve the desired luxurious texture.
When selecting your coconut milk, opt for a high-quality canned version. You might notice a thick, creamy layer that separates and rises to the top of an undisturbed can – this concentrated coconut cream is exactly what we’re looking for! This high-fat component emulsifies beautifully with the sugars and corn syrup during cooking, creating that velvety, smooth consistency that defines an excellent caramel sauce. For optimal results, gently shake your can before opening to ensure the cream and liquid are well combined, providing a uniform base for your sauce and maximizing its richness.
Simple Ingredients for Extraordinary Flavor
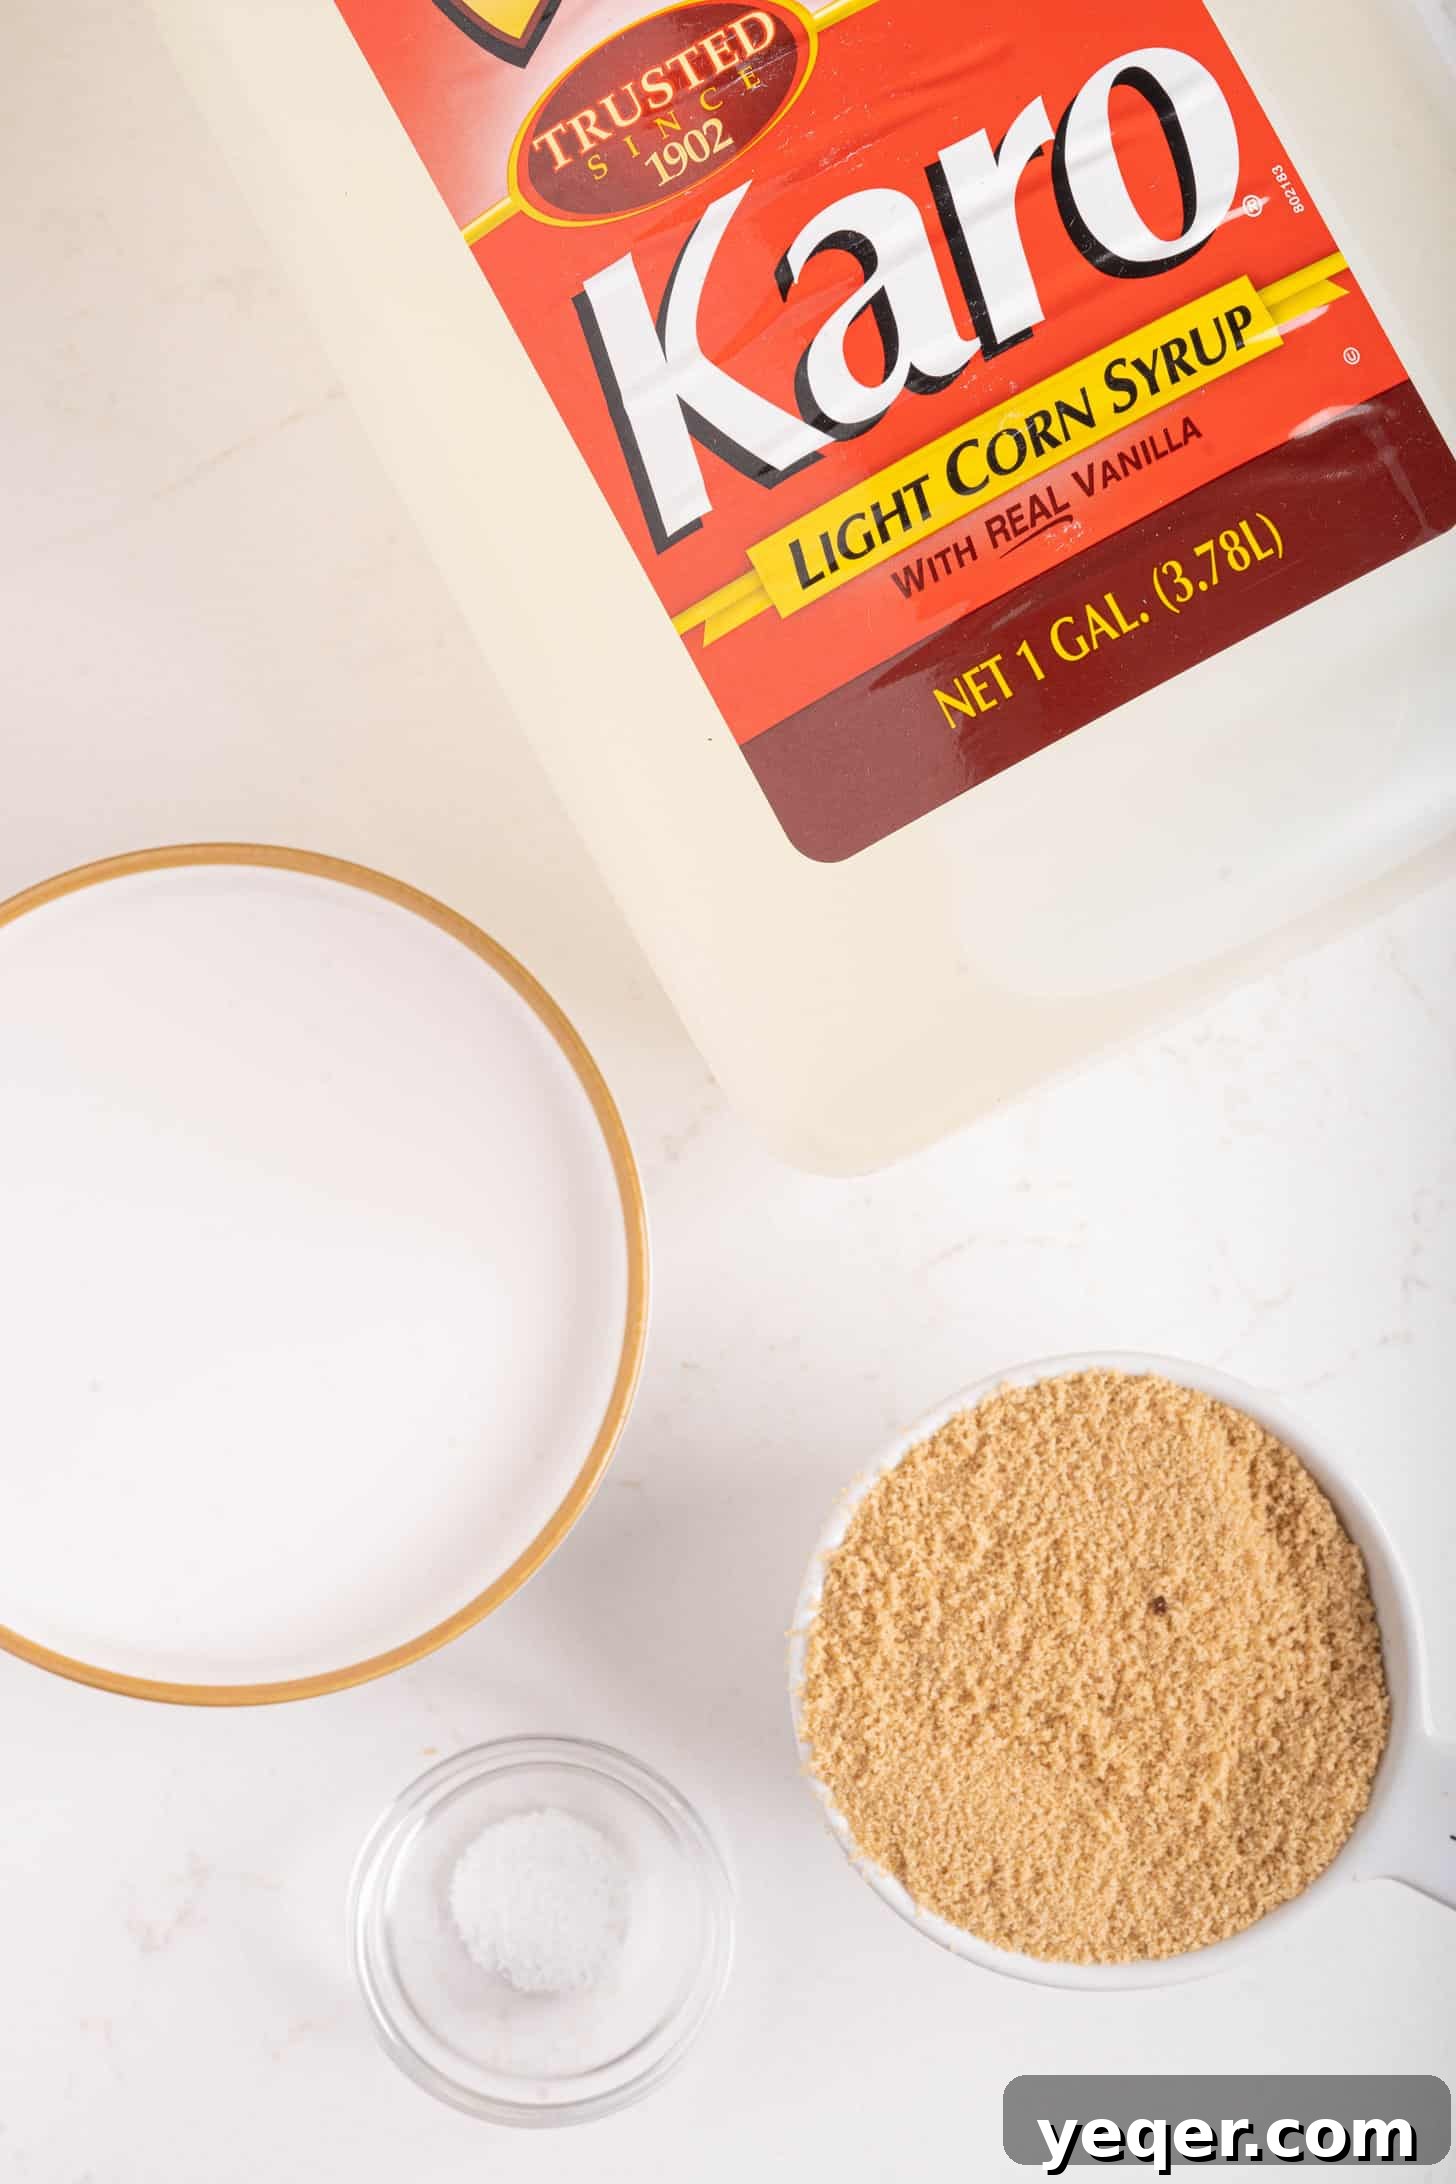
One of the most appealing aspects of this recipe is its incredibly straightforward ingredient list. You won’t need to hunt for obscure items or make a special trip to a specialty store. With just a few pantry staples, you’re on your way to creating an amazing homemade vegan coconut caramel. Here’s a closer look at what you’ll need and why each component is important:
- Full-Fat Coconut Milk: As previously emphasized, this is paramount for achieving that rich, creamy texture and robust flavor. It provides the essential fat content that makes our vegan caramel so luxurious.
- Sugar: You have excellent flexibility here! White granulated sugar works wonderfully for a clean, classic caramel taste. Alternatively, brown sugar will lend a deeper, more complex flavor with delightful molasses undertones, complementing the coconut beautifully. If you prefer, ensure you use your favorite vegan-certified sugar to keep the recipe strictly plant-based.
- Karo® Corn Syrup: This is truly the unsung hero of our caramel sauce! Its inclusion is vital for preventing sugar crystallization, which can make caramel grainy and less appealing. Karo® Syrup ensures your caramel remains wonderfully smooth, glossy, and pliable, even after it cools. It also helps achieve the desired thickness without requiring excessive cooking, contributing to the “30-minute” promise.
- A Pinch of Salt (Optional but Highly Recommended): While optional, a small amount of salt dramatically elevates the overall flavor profile. It expertly balances the sweetness, cutting through the richness and adding a sophisticated depth that will make your caramel truly addictive. Don’t underestimate the power of a tiny dash!
For precise quantities and measurements, please refer to the detailed recipe card conveniently located at the end of this post.
Step-by-Step Instructions for Perfect Vegan Caramel
Making this creamy coconut caramel is surprisingly simple and requires no advanced culinary skills. Just follow these straightforward steps for a perfect batch every time:
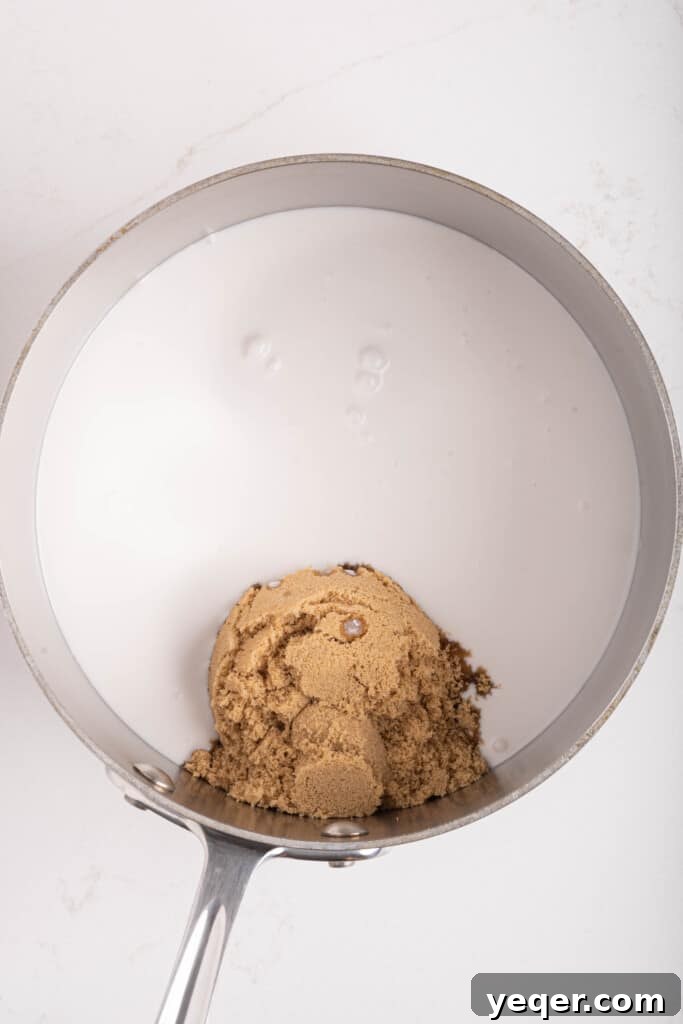
Step 1: Combine Ingredients in a Pot
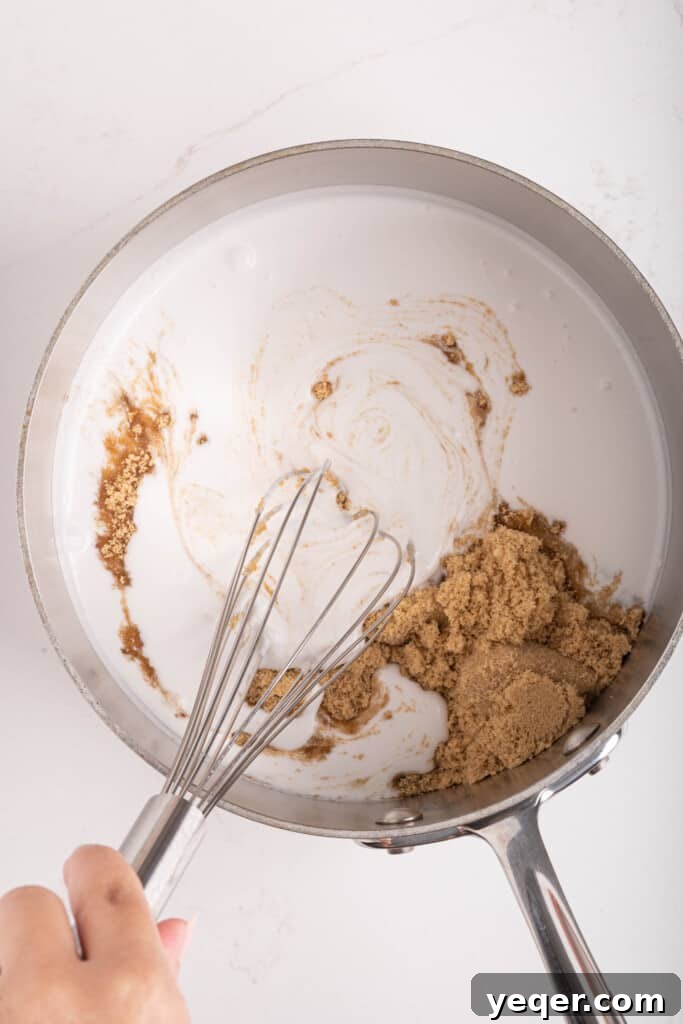
Begin by gathering all your ingredients. In a medium-sized, heavy-bottomed pot, combine the full-fat coconut milk, your chosen sugar (granulated or brown), Karo® Corn Syrup, and the pinch of salt (if you’re using it). A heavy-bottomed pot is crucial here as it distributes heat more evenly across the base, significantly reducing the risk of your caramel scorching or burning, which can easily happen with thinner pots.
Pro Tip: The ultimate consistency of your caramel is highly dependent on using full-fat coconut milk. This ingredient is your vegan stand-in for heavy cream, providing the essential richness, body, and smooth texture. Under no circumstances should you substitute it with light or reduced-fat coconut milk, as this will lead to a watery, disappointing result.
Step 2: Whisk Thoroughly and Apply Heat
Before you even think about turning on the stove, give all the ingredients in the pot a good, vigorous whisk. This ensures that the sugar dissolves evenly into the coconut milk and corn syrup, preventing any clumps and promoting a smooth caramel. Once everything is thoroughly combined, place the pot over medium-high heat. Stay attentive during this phase, as the mixture will come to a boil relatively quickly.
Step 3: Boil, Reduce, and Simmer to Perfection
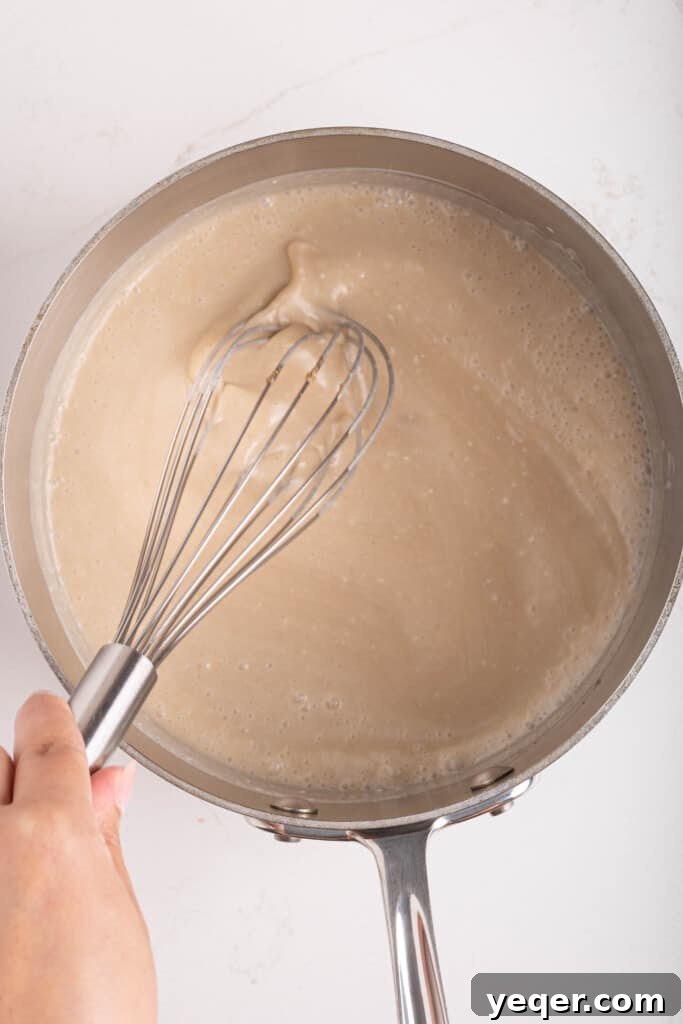
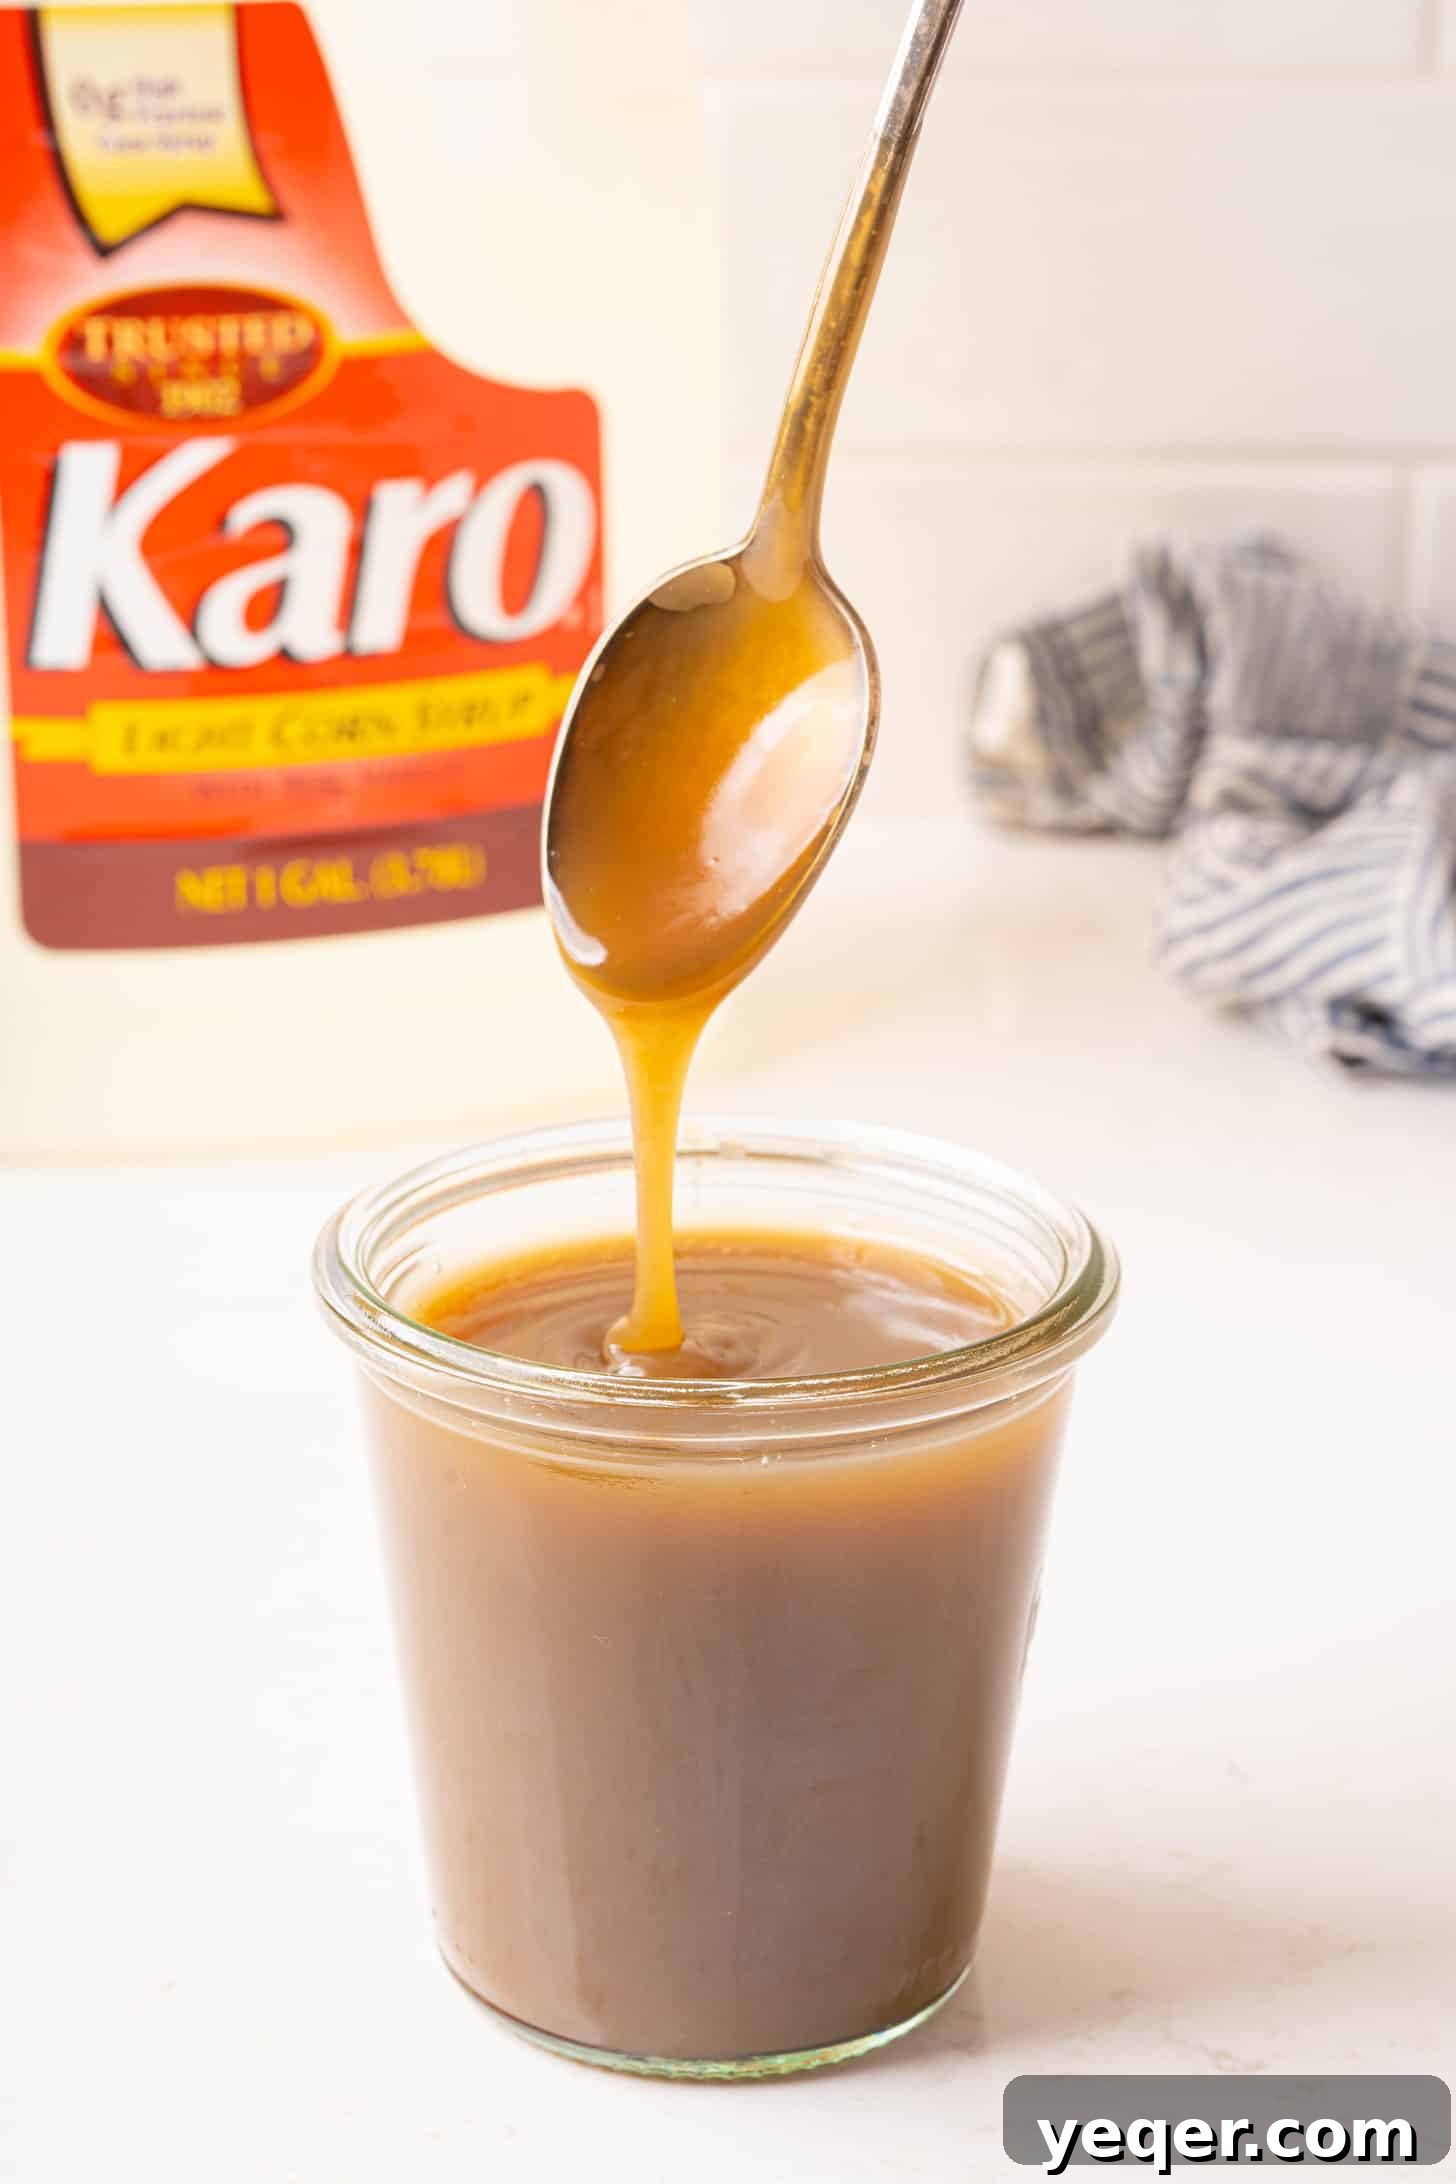
Allow the mixture to come to a strong, rolling boil. As soon as it reaches this point, immediately reduce the heat to low. Continue to cook the caramel on this low setting, whisking occasionally to prevent any sticking to the bottom of the pot and to ensure even cooking and thickening. This crucial simmering process typically takes around 15-20 minutes. During this time, you will observe the caramel gradually thickening and deepening to a beautiful, rich dark brown color. It’s important to remember that the caramel will continue to thicken significantly as it cools, so don’t be alarmed if it seems a little thinner than desired while still warm. The goal is a syrupy consistency that lightly coats the back of a spoon.
Visual Cue: A good test for doneness is to dip a cold spoon into the simmering caramel, lift it out, and let it cool for a few seconds. If it clings to the spoon and has a thick, syrupy consistency, it’s likely ready. It should also have a noticeable caramel aroma.
Step 4: Cool and Store Your Golden Goodness
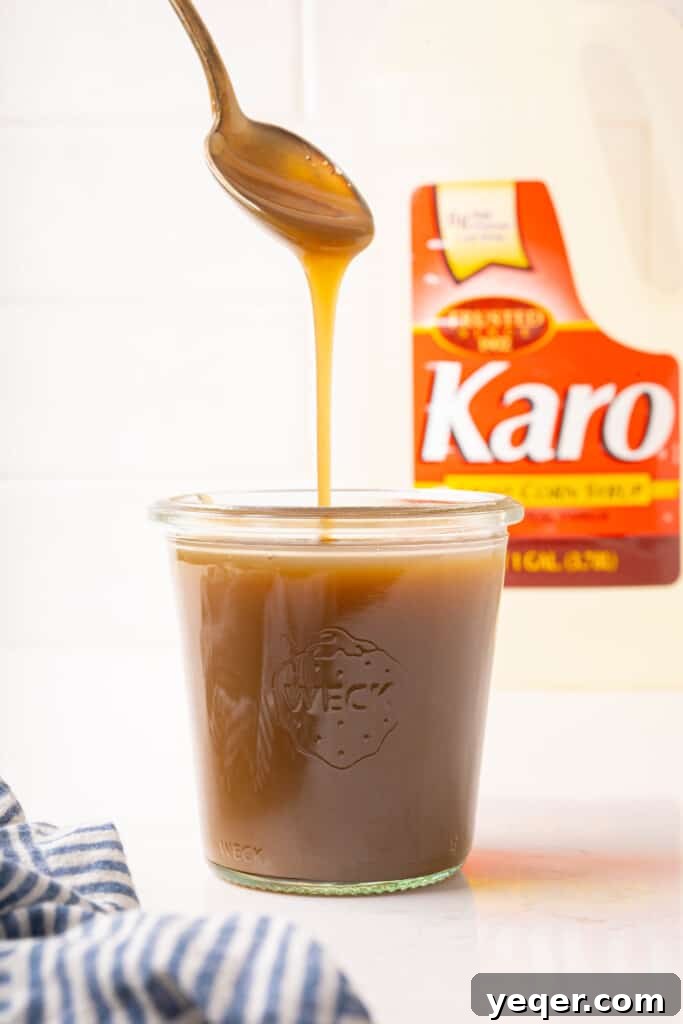
Once your caramel has reached the desired color and consistency, remove the pot from the heat. Carefully transfer the hot caramel into a heat-proof jar or container. Allow it to cool completely at room temperature before using or storing. As it cools, it will transform into that rich, luscious, and perfectly thick caramel texture you’re after. Once fully cooled, seal it with an airtight lid and store it in the refrigerator to maintain its freshness and extend its shelf life. Your patience in cooling will be greatly rewarded!
The Sweet Science: Unlocking Flavor and Texture with Karo® Corn Syrup
Many home cooks, much like I used to be, approach corn syrup with a degree of hesitation, often mistakenly associating it with high fructose corn syrup. Let’s clarify this common misconception: Karo® Syrup, a time-honored staple in countless classic American recipes, is actually a pure glucose syrup that is quite similar to white granulated sugar in its basic composition. When used in moderation, it is an incredibly helpful and even essential ingredient in the culinary world, particularly for confections and sauces.
Chefs and bakers have long relied on Karo® Syrup for its consistent performance and unique properties that elevate a recipe. Its primary and most vital role in recipes like this vegan coconut caramel is to prevent sugar crystallization. Without it, the sugar in your caramel could easily recrystallize, turning your smooth, glossy sauce into a grainy, unappealing mixture that lacks that desirable silky texture. Karo® Syrup acts as an “interfering agent,” ensuring that your caramel remains wonderfully smooth, pliable, and perfectly clear, even after cooling and storing. This anti-crystallization property is what makes it an indispensable tool for achieving professional-quality results in homemade sweets.
Beyond preventing graininess, Karo® Syrup contributes to the glorious sheen and perfectly balanced sweetness of your caramel. It allows the rich, nuanced coconut flavor to shine through without being overwhelmingly sugary. It’s an indispensable ingredient in various confections, from chewy candies and smooth fudge to glossy sauces and delectable jams. Think of iconic desserts like pecan pie; that signature creamy, smooth layer between the nuts is often thanks to the magic of corn syrup. In this vegan coconut caramel, it delivers the same amazing, melt-in-your-mouth texture, transforming it from merely good to truly exceptional.
Coconut Caramel vs. Dulce de Leche: What’s the Difference?
For those who are regular readers here at Salima’s Kitchen, you might be wondering how this delightful vegan coconut caramel compares to our beloved traditional dulce de leche recipe. While both are undeniably delicious caramel-like sauces that satisfy a sweet craving, they possess distinct characteristics and are best suited for different applications.
Traditional dulce de leche is typically made by slowly cooking sweetened condensed milk until it caramelizes and thickens considerably. This process results in an intensely rich, almost spreadable or fudge-like consistency. It’s fantastic for eating straight from the jar, using as a decadent filling in baked goods like cakes or empanadas, or as a robust topping where a very thick, opulent texture is desired. Its deep, milky caramel flavor is unmistakable.
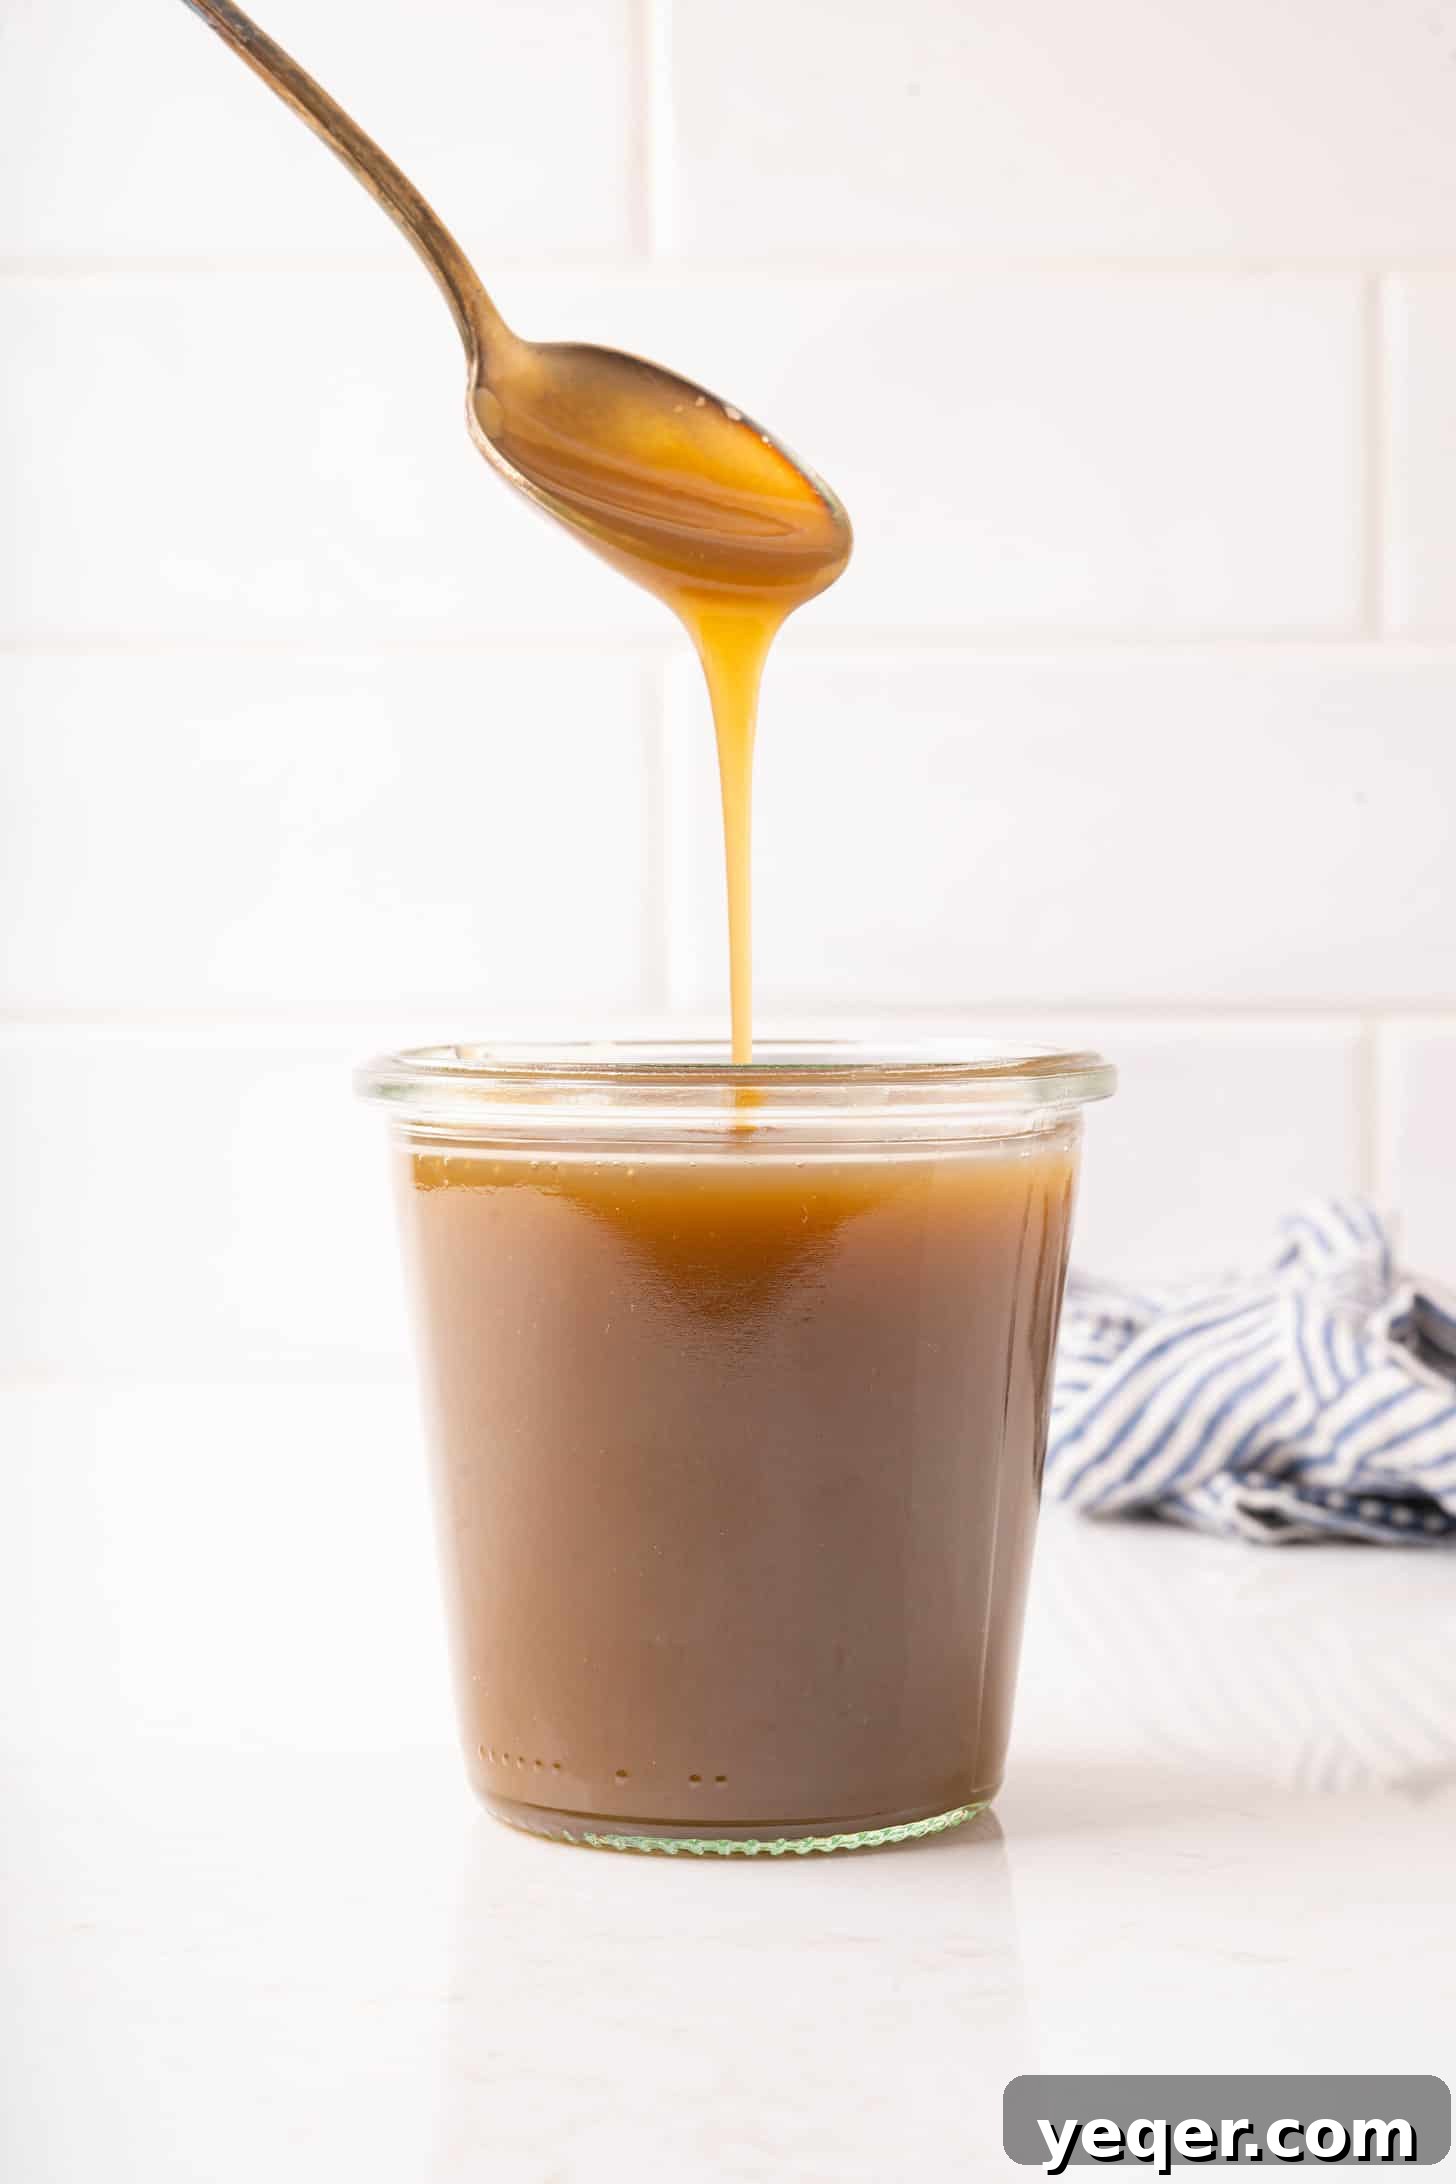
Our Vegan Coconut Caramel, on the other hand, is intentionally crafted to be a bit thinner and more pourable than dulce de leche. This makes it exceptionally versatile for applications requiring a smoother drizzle, such as gracefully incorporating into beverages or elegantly garnishing a variety of desserts. Crucially, it’s completely plant-based, offering a delicious and accessible option for those following a vegan diet or avoiding dairy, without compromising on any of the luxurious flavor or texture of a classic caramel. Both are incredible in their own right, but this coconut version truly shines when you need a dairy-free, smooth, and easily dispensable caramel that captures the essence of tropical sweetness.
Endless Possibilities: Creative Ways to Enjoy Your Vegan Caramel Sauce
This homemade vegan coconut caramel is so incredibly versatile, you’ll find yourself reaching for it time and time again. Its rich flavor and smooth texture make it a perfect companion for an astonishing array of treats and dishes. Here are some of our favorite ways to enjoy this liquid gold, but don’t hesitate to get creative and discover your own unique applications!
- Coffee & Beverage Bliss: Swirl it generously into a glass of cold brew coffee for an instant, indulgent caramel latte, or stir a spoonful into your favorite warm coffee, tea, or even hot chocolate for a decadent twist. For that extra touch of flair, drizzle it artfully along the inside of your glass before pouring in your drink – just like a barista!
- Dessert Topping Extravaganza: Elevate a simple scoop of vanilla ice cream, or take it to the next level by pairing it with dulce de leche ice cream for an unforgettable double caramel sensation. It’s also utterly divine over cheesecakes, warm brownies, apple pie, banana bread, or creamy puddings.
- Fruity Companions: Serve it as a delightful and unexpected dip for fresh fruit slices such as crisp apples, juicy pears, or ripe bananas. The creamy caramel beautifully complements the natural sweetness and sometimes tartness of the fruit, creating a harmonious snack.
- Gourmet Popcorn Perfection: Drizzle it generously over freshly popped popcorn for a gourmet snack that’s a perfect blend of sweet, salty, and utterly addictive. For an extra kick, a sprinkle of flaky sea salt on top makes it irresistible.
- Breakfast Boost: Start your day on a luxurious note by swirling this caramel into your morning oatmeal, stirring it into a bowl of plain or vanilla yogurt, or spreading it lavishly on pancakes and waffles instead of maple syrup.
- Creative Baking Ingredient: Incorporate this rich caramel directly into your vegan cookie recipes, bars, or even as a luscious filling for tarts or cupcakes to add a moist, flavorful caramel layer that will surprise and delight.
The options truly are endless, limited only by your imagination. So, let your creativity flow and have fun exploring all the delicious ways to incorporate this amazing dairy-free sauce into your culinary repertoire!
Minimal Equipment, Maximum Flavor
One of the many joys of this straightforward recipe is its simplicity, extending even to the equipment required. You won’t need any specialized gadgets, fancy appliances, or complex tools to create this delectable vegan coconut caramel. This means less fuss, less cleanup, and more precious time to savor and enjoy your delicious homemade creation!
All you need are three fundamental kitchen essentials that most home cooks already possess:
- A Heavy-Bottomed Pot: This is absolutely crucial for achieving the perfect caramel. A heavy-bottomed saucepan of medium size is ideal because it ensures even heat distribution, which is vital for preventing the caramel from scorching, burning, or cooking unevenly.
- A Whisk: An indispensable tool for thoroughly combining all the ingredients at the start and for stirring occasionally during the cooking process. A whisk helps to dissolve the sugar completely and ensures a consistently smooth texture, preventing lumps or sticking.
- A Stove: Any standard stovetop, whether gas or electric, will work perfectly for cooking this caramel to its rich, golden perfection.
That’s it! With these humble and readily available tools, you’re all set to create a gourmet-quality, silky smooth vegan caramel right in the comfort of your own kitchen. It’s proof that sometimes, the best recipes require the least amount of specialized gear.
Storing and Reheating Your Vegan Caramel
Proper storage is essential to ensure you can enjoy your homemade vegan coconut caramel for as long as possible. Once the caramel has cooled completely to room temperature, transfer it to an airtight jar or container. Stored properly in the refrigerator, this delightful sauce will keep beautifully for up to one week. You might even find it lasts a little longer, but it’s always best to trust your senses if you’re unsure.
It is completely normal for the caramel to thicken considerably once it has been chilled in the refrigerator – that’s a positive sign of its rich, full-fat coconut milk base! This thicker consistency is absolutely fantastic for spreading over toast, acting as a rich filling, or simply eating by the spoonful. However, if you prefer a pourable or drizzly sauce for your coffee or ice cream, simply warm it gently. You have a few easy options for reheating: you can place the sealed jar (if heat-safe) in a bowl of warm water for a few minutes, or spoon the desired amount into a microwave-safe bowl and heat it in short 15-second intervals, stirring thoroughly in between, until it reaches your desired pourable consistency. Alternatively, a quick reheat in a small saucepan over very low heat on the stove works just as well, requiring constant gentle stirring.
A Gentle Reminder for Caramel Success
To reiterate a single, crucial point that will guarantee the success of this recipe: **always, always use full-fat coconut milk.** This isn’t just a suggestion or a recommendation; it is a fundamental requirement for achieving the perfect consistency and flavor profile for this vegan coconut caramel. Full-fat coconut milk is the ingredient that flawlessly mimics the richness, body, and high fat content of heavy cream, which is absolutely vital for developing the desired creamy, thick, and wonderfully smooth texture that traditional caramel is known for, all in a plant-based form. Using light or reduced-fat coconut milk, or any other alternative, will inevitably result in a watery, thin sauce that simply won’t set or taste the same. So, when you’re making your grocery list, make sure to grab that can explicitly labeled “full-fat” – it makes all the difference!
Frequently Asked Questions (FAQs) About Vegan Coconut Caramel
Here are some common questions and helpful answers about making and enjoying this delicious vegan coconut caramel sauce, to ensure your culinary journey is as smooth as the caramel itself:
- Can I use a sugar substitute instead of granulated or brown sugar? While some sugar substitutes can potentially work, they might significantly affect the caramel’s final texture and its ability to brown properly. For the best results and the classic, rich caramel experience, we strongly recommend sticking to granulated or brown sugar as specified in the recipe.
- My caramel didn’t thicken as expected. What could have gone wrong? The most common reasons for caramel not thickening are either not cooking it for a sufficient amount of time, or using light or reduced-fat coconut milk. Double-check that you are indeed using full-fat coconut milk, and ensure you allow the mixture to simmer for the full 15-20 minutes, or until you visibly notice it thickening and deepening in color. Always remember, caramel continues to thicken considerably as it cools, so don’t be too quick to judge its final consistency while it’s still warm.
- Can I make a larger batch of this vegan coconut caramel? Absolutely! This recipe scales wonderfully. If you wish to make a larger quantity, simply multiply the ingredients proportionately. However, do be aware that a larger batch will likely require a slightly longer cooking time to reach the desired consistency, due to the increased volume of liquid. Also, ensure you use a pot that is large enough to prevent the mixture from boiling over as it simmers.
- How do I make a salted coconut caramel version? The recipe already includes an optional pinch of salt to enhance the flavors. For a more pronounced salted caramel flavor, you can easily increase the amount of salt to 1/4 teaspoon. For an extra gourmet touch, consider sprinkling a little flaky sea salt over the finished caramel just before serving, especially when drizzling over ice cream or popcorn.
- Is this coconut caramel sauce gluten-free? Yes, indeed! All the ingredients listed in this recipe – full-fat coconut milk, sugar (granulated or brown), Karo® Corn Syrup, and salt – are naturally gluten-free. This makes it a fantastic and safe option for individuals with gluten sensitivities or those following a gluten-free diet.
We hope these answers and tips empower you to create the most delightful and perfectly smooth vegan coconut caramel!
Enjoy,

Print Recipe
30 Minute Coconut Caramel
No reviews
- Author: Salima Benkhalti
- Prep Time: 5 minutes
- Cook Time: 20 minutes
- Total Time: 30 minutes
- Yield: 8 servings 1x
- Category: Side Dish, Dessert
- Method: Stovetop
- Cuisine: American
- Diet: Vegan
Description
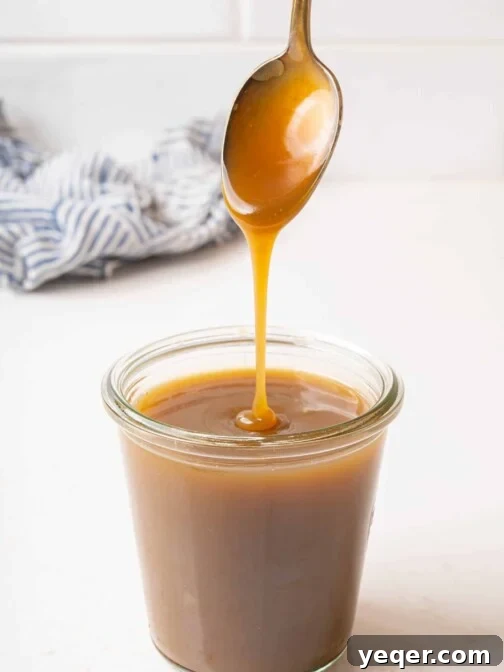
This 30 minute coconut caramel is my go-to topping for ice cream, iced coffee drinks and drizzled over popcorn. It’s vegan friendly yet still silky smooth, and ridiculously easy to make thanks to Karo corn syrup.
Ingredients
Scale
- 2 cups coconut milk (full fat)
- 1 cup brown sugar
- 1 tbsp Karo corn syrup
- a pinch of salt (optional)
Instructions
- In a pot combine the coconut milk, sugar, corn syrup and salt. Whisk to combine before turning the heat on to medium high.
- Bring the mixture to a boil before reducing the heat. Cook on low, whisking occasionally, until the caramel begins to thicken just slightly and turn dark brown in color, around 15-20 minutes. Remember it will continue to thicken as it cools.
- Allow the caramel to cool before using and/or storing in an air tight jar in the fridge.