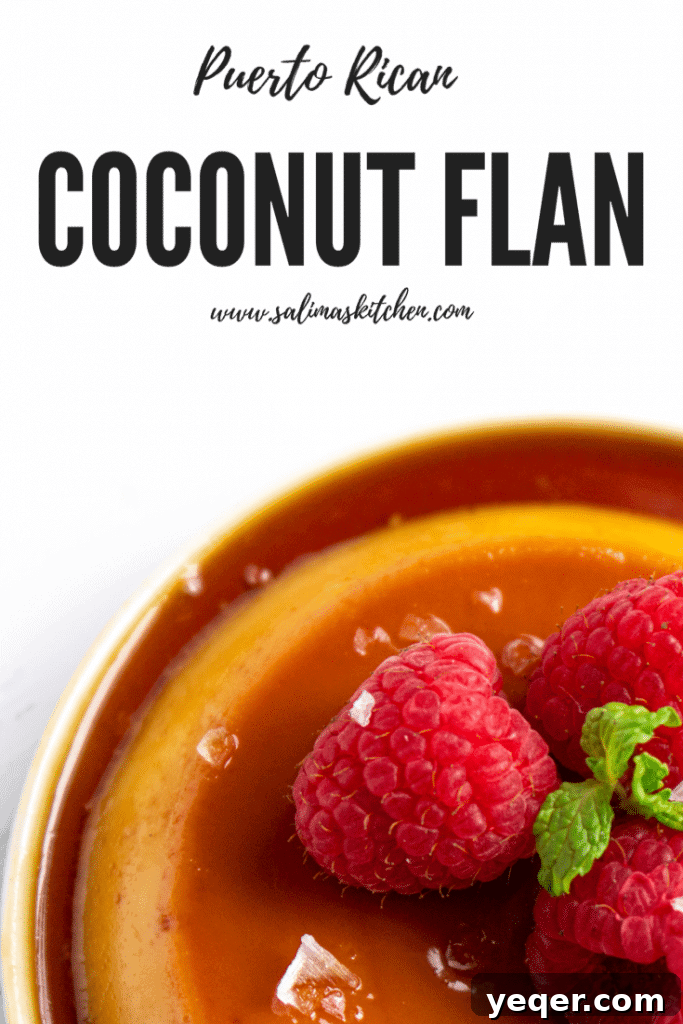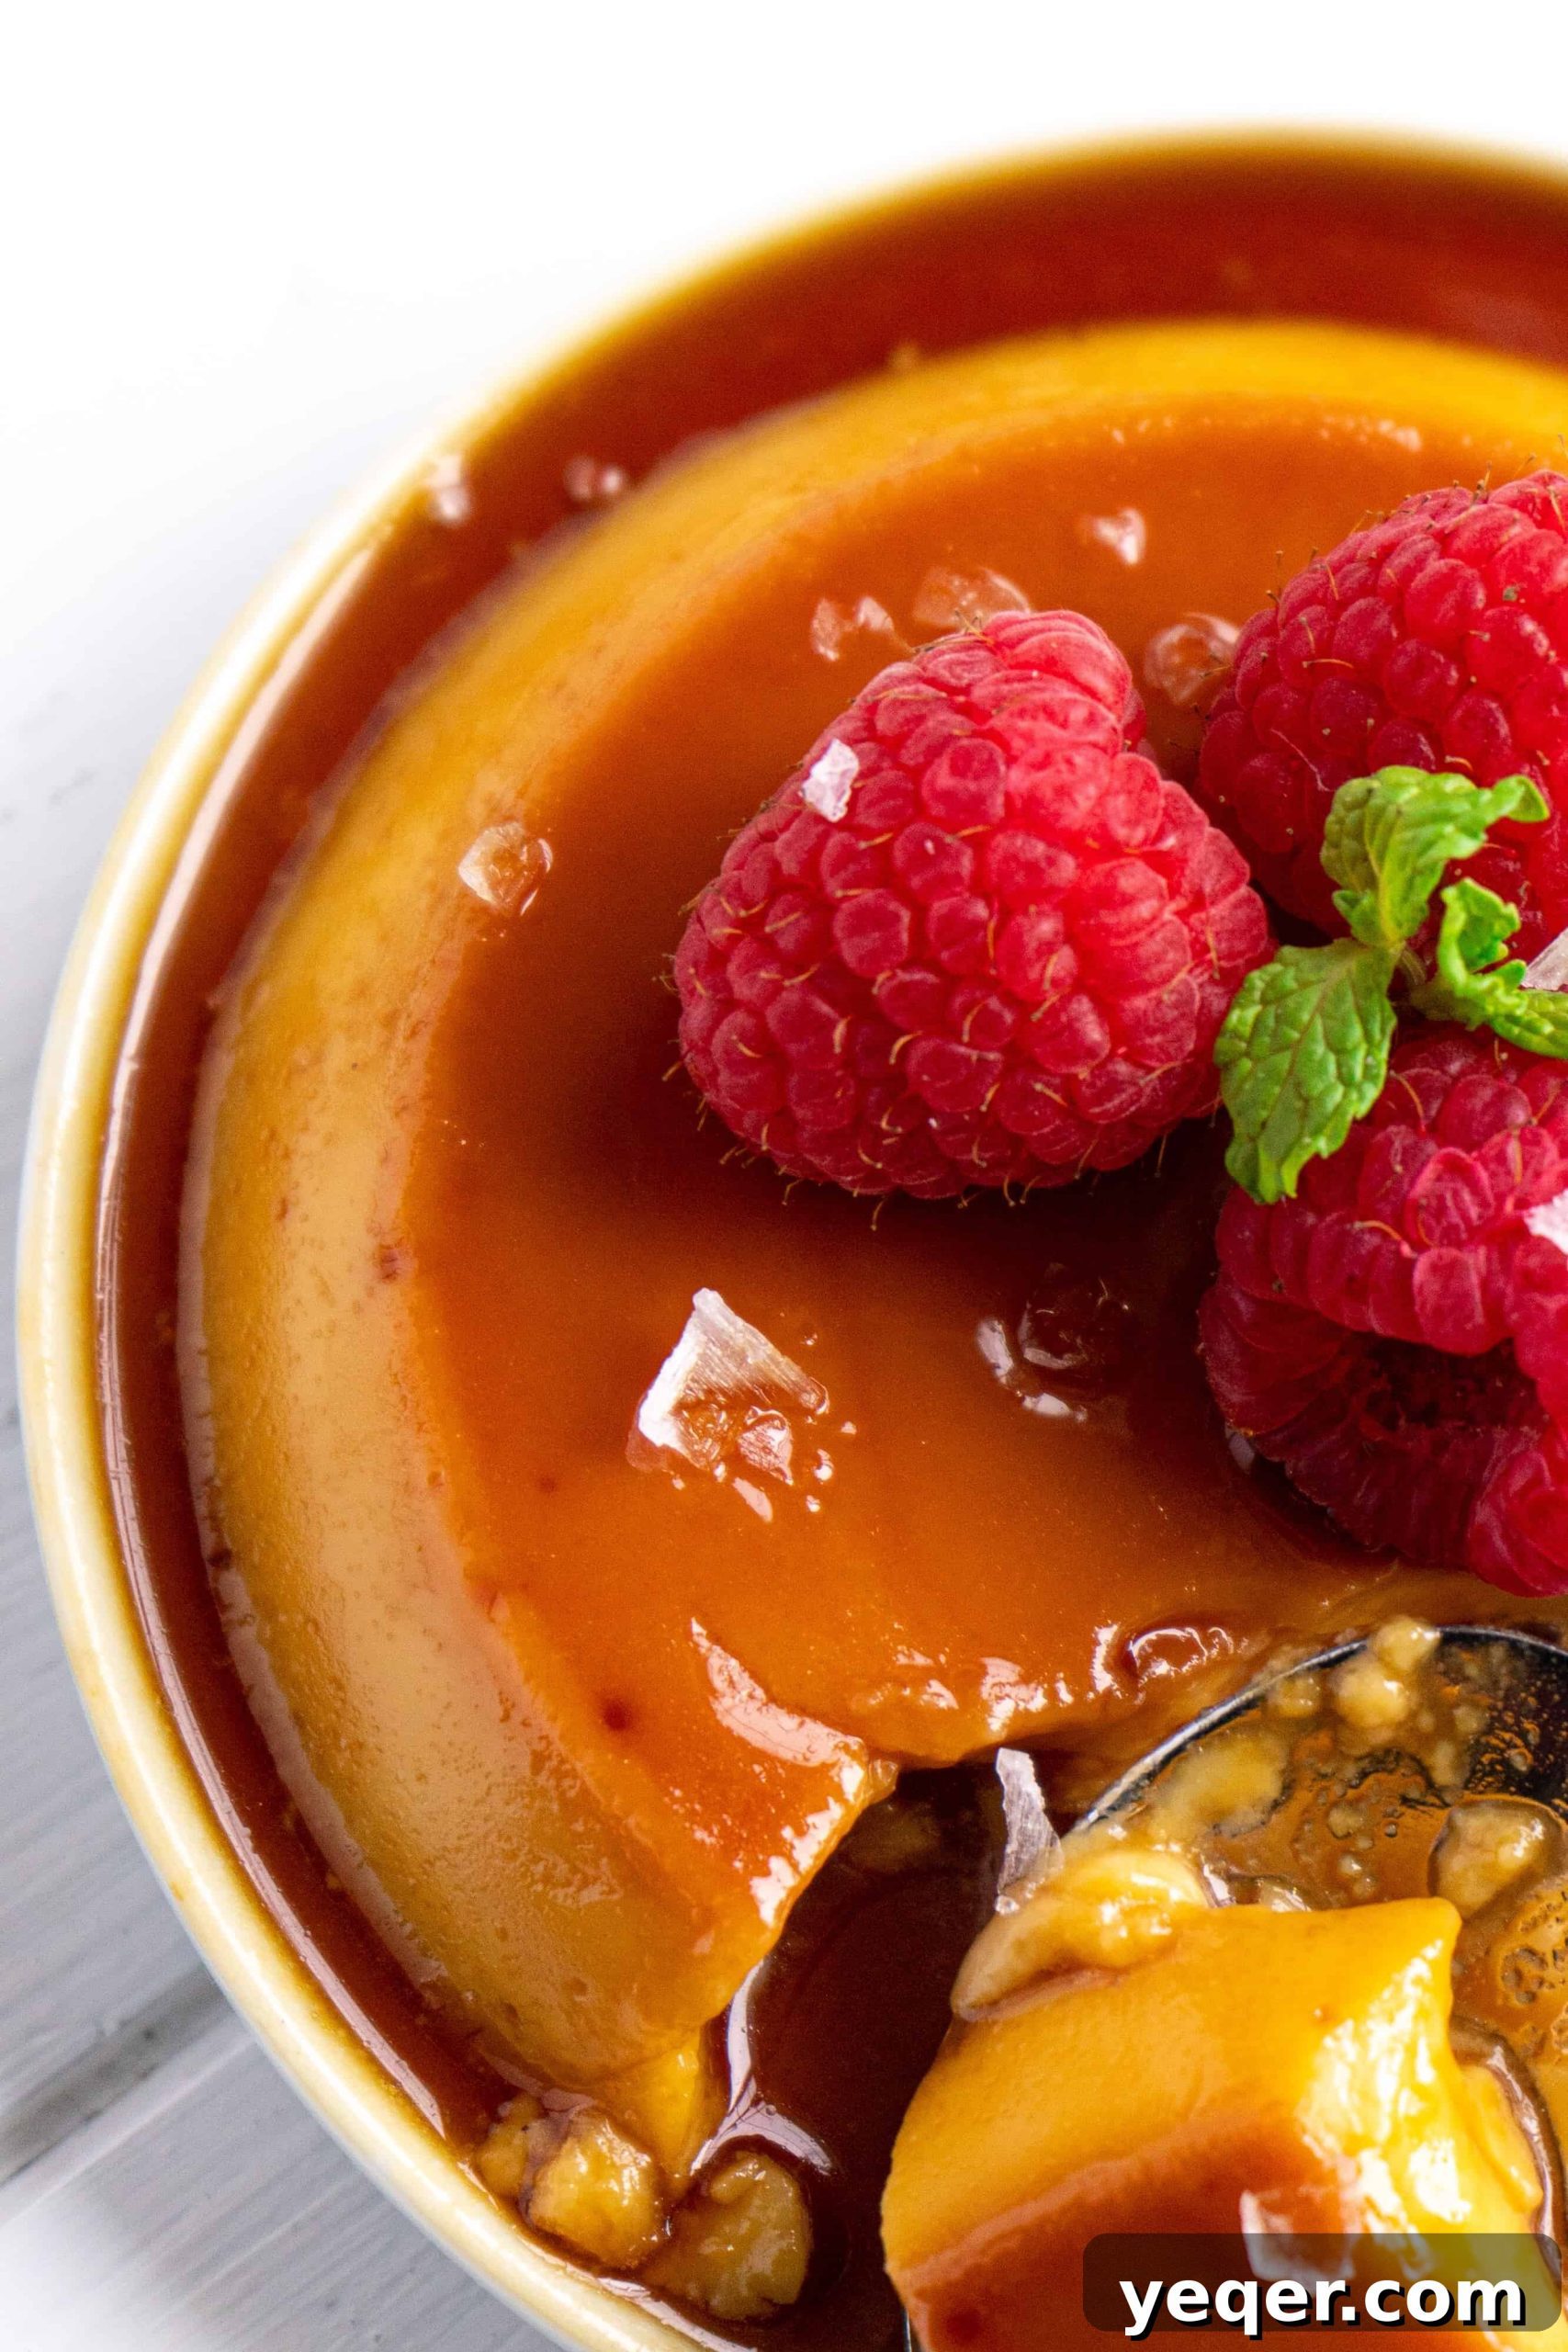
Today, we embark on a culinary journey to create the exquisite **Puerto Rican Salted Coconut Flan**, a delightful twist on a classic custard dessert. This recipe builds upon my mother’s cherished flan, infusing it with tropical essence and a captivating sweet-and-salty homemade caramel base that promises to tantalize your taste buds.
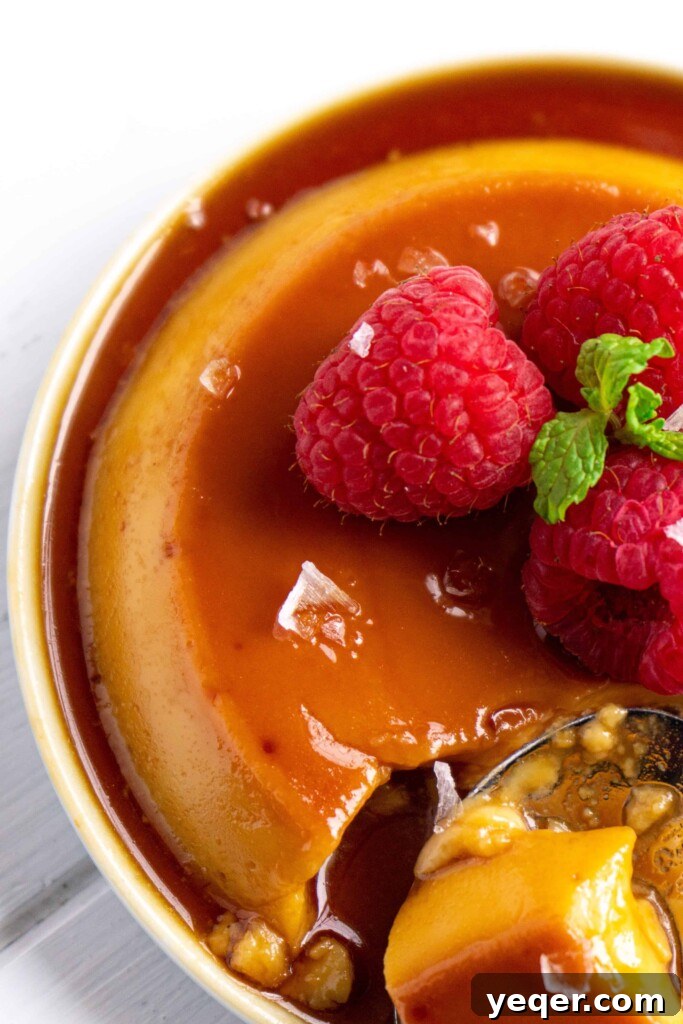
Discover the Magic of a Simple Yet Impressive 3-Step Flan
At Salima’s Kitchen, our passion lies in crafting recipes that are both incredibly easy to follow and undeniably impressive. This **Puerto Rican Salted Coconut Flan** perfectly embodies that philosophy. It’s a dessert that looks sophisticated but comes together with surprising simplicity, making it ideal for any occasion, from casual family dinners to elegant gatherings.
The beauty of this particular flan recipe lies in its streamlined process, breaking down what might seem like a complex dessert into just three fundamental steps:
- **Master the Caramel (2 ingredients, 15 minutes):** Create a rich, golden caramel base from scratch, requiring only sugar and a touch of patience. We’ll show you how to achieve perfection without any fancy equipment.
- **Blend the Custard (Everything Else!):** Combine all the remaining ingredients in a blender – yes, a blender! This revolutionary step ensures a perfectly smooth, airy custard mixture with minimal effort.
- **Bake, Flip, and Serve:** Gently bake your flan in a traditional water bath, allowing it to achieve its signature silky texture. Once cooled, a quick flip reveals the glistening caramel topping, ready to be enjoyed.
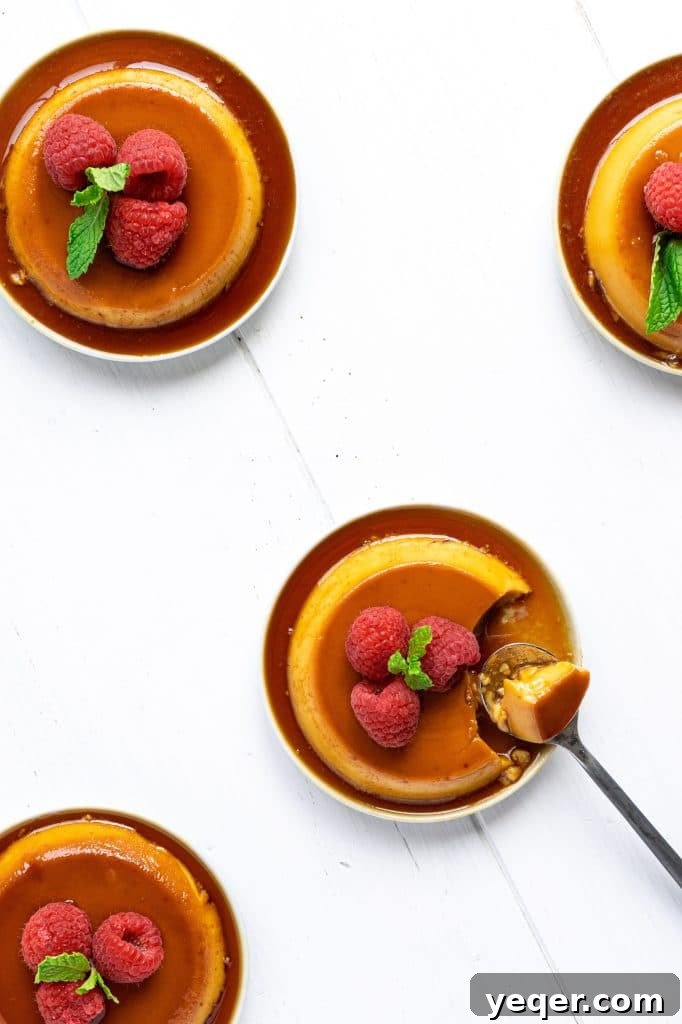
Crafting the Perfect Salted Caramel Base: Easier Than You Think!
The mention of “homemade caramel” often sends shivers down the spines of even seasoned home cooks. Visions of burnt sugar, sticky messes, and the need for candy thermometers can be daunting. But let me assure you, this **Puerto Rican Salted Coconut Flan** utilizes the most straightforward caramel recipe you will ever encounter. Forget the complicated directions and precise temperature readings; our method is foolproof.
What this caramel recipe truly demands is one crucial ingredient: **patience**. You might be tempted to rush the process, to stir or increase the heat, but resisting these urges is the secret to success. Just like my mom taught me, you might find yourself thinking everything is “under control,” getting bored of staring at a pan of sugar, and considering walking away to tackle other tasks. Don’t fall into this trap! Dedicate a focused 10-15 minutes to observing your sugar transform.
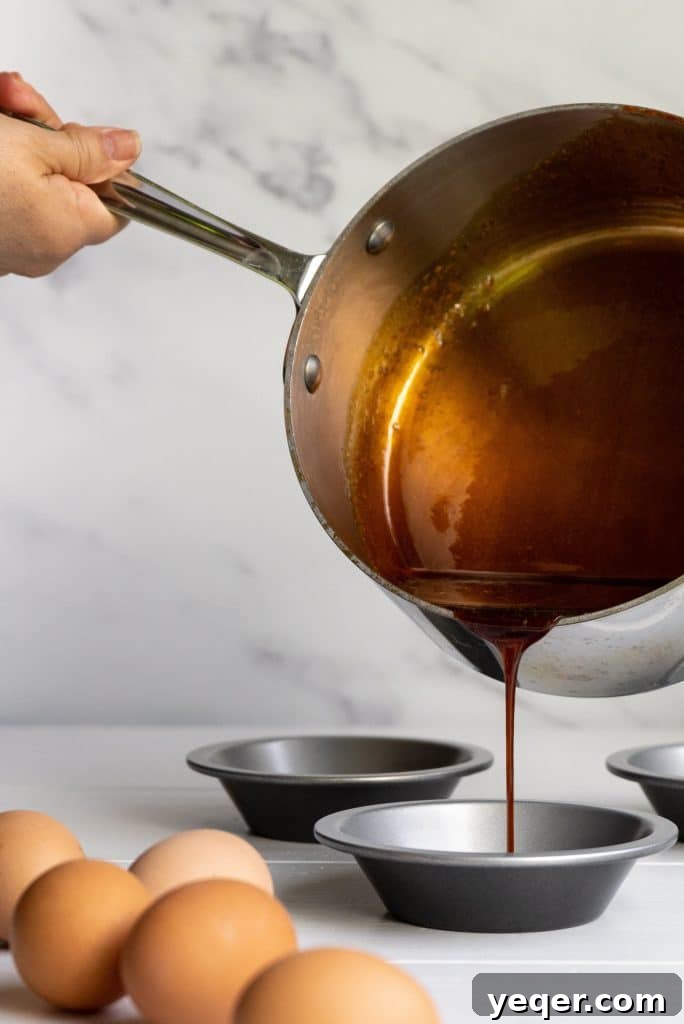
Our method is the dry caramel method, which is incredibly simple but requires your undivided attention. Here’s how to do it perfectly:
- **Start Dry:** Pour your granulated sugar into a clean, dry, heavy-bottomed pan over medium heat. It’s crucial that the pan is dry to prevent crystallization.
- **Resist the Stir:** Do not stir the sugar. Do not introduce any utensils into the pan. Stirring can cause the sugar to crystallize, resulting in a grainy, rather than smooth, caramel.
- **Maintain Medium Heat:** Avoid the urge to crank up the heat. A consistent medium heat allows the sugar to melt evenly and prevents burning. Trust the process as the edges begin to melt and liquefy.
- **Watch the Transformation:** Slowly, you’ll observe the sugar crystals at the edges begin to melt, turning golden brown. This color will spread towards the center. Eventually, the entire mass of sugar will liquify, bubbling gently and turning a beautiful amber hue. This is precisely what you want!
- **Quick Pour and Swirl:** Once the sugar is 100% melted and a rich, golden-amber color, immediately remove it from the heat. Carefully and quickly pour the hot caramel into your chosen baking dish or dishes. It’s vital to swirl the baking dish around to ensure the caramel evenly coats the bottom and slightly up the sides of the dish. This creates that stunning, glossy top layer when the flan is flipped.
For this recipe, I opted for individual-sized baking dishes, which are perfect for single servings and elegant presentation. My mother traditionally uses a round glass Pyrex dish, which works just as wonderfully for a larger flan. The key is to use any oven-safe dish you prefer.
To infuse your **Puerto Rican Salted Coconut Flan** with that extra layer of delicious complexity, I highly recommend sprinkling a pinch of flake salt over the caramel as it begins to harden. This thoughtful addition creates a harmonious sweet and salty balance that elevates the entire dessert.
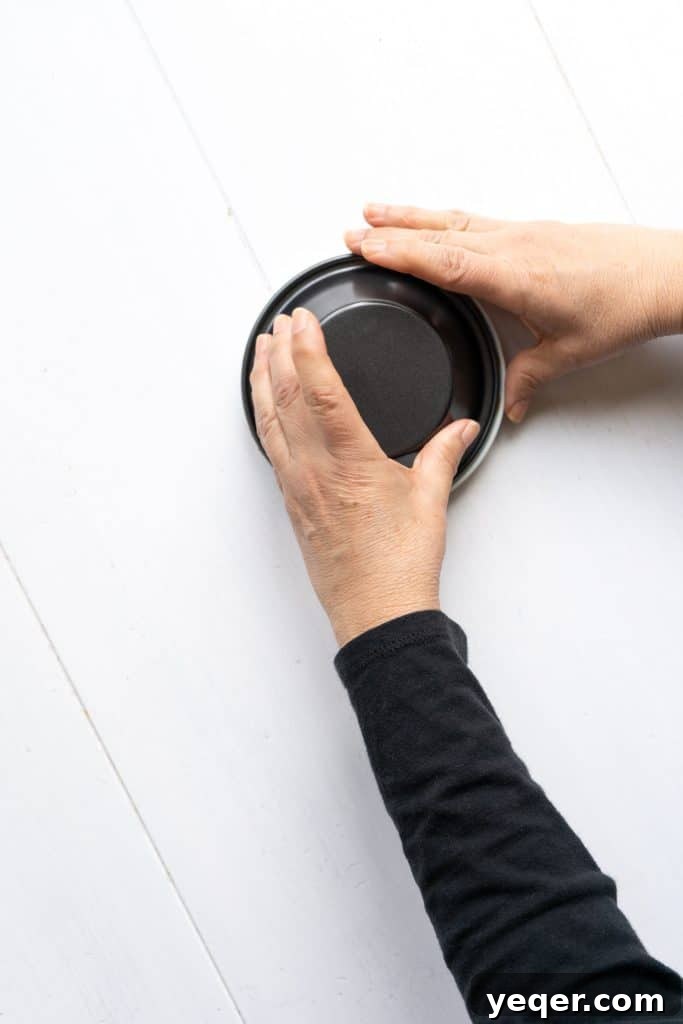
Crafting the Silky Coconut Custard
Once your caramel is prepared, the rest of the **Puerto Rican Salted Coconut Flan** comes together in a flash. The true genius of this recipe lies in its reliance on a simple kitchen tool: the blender. This means no whisking by hand, no lumps, just a perfectly smooth, velvety custard mixture every single time.
For the filling, we bring together a harmonious blend of ingredients that contribute to its rich, tropical flavor and creamy texture:
- **Evaporated Milk:** A staple in traditional flan recipes, it provides a rich, concentrated dairy base.
- **Sweetened Condensed Coconut Milk:** This is where our tropical twist truly shines. Swapping traditional sweetened condensed milk for a coconut-based version infuses the flan with a delightful, subtle coconut flavor without being overpowering. It also adds natural sweetness and a luxuriously thick consistency.
- **Eggs:** The essential binding agent, eggs give the flan its structure and characteristic custard texture. Using whole eggs ensures richness and proper setting.
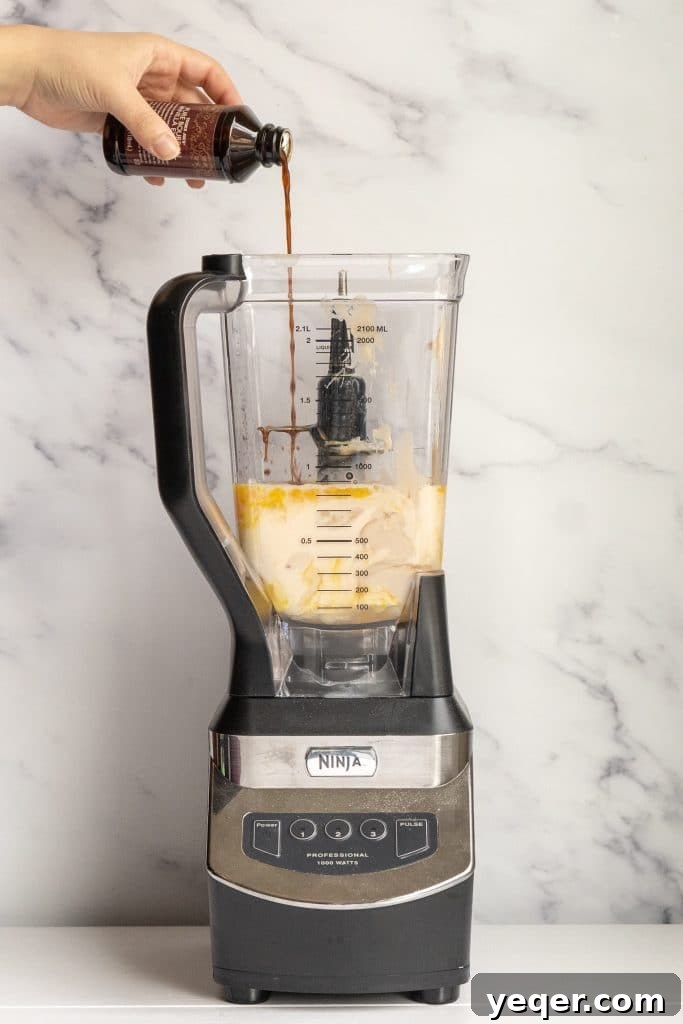
- **Vanilla Extract:** A touch of vanilla extract deepens the overall flavor profile, complementing the coconut beautifully.
- **A Pinch of Flake Salt:** Just like with the caramel, a tiny pinch of salt in the custard helps to balance the sweetness and enhance all the other flavors, preventing the flan from tasting overly sweet.
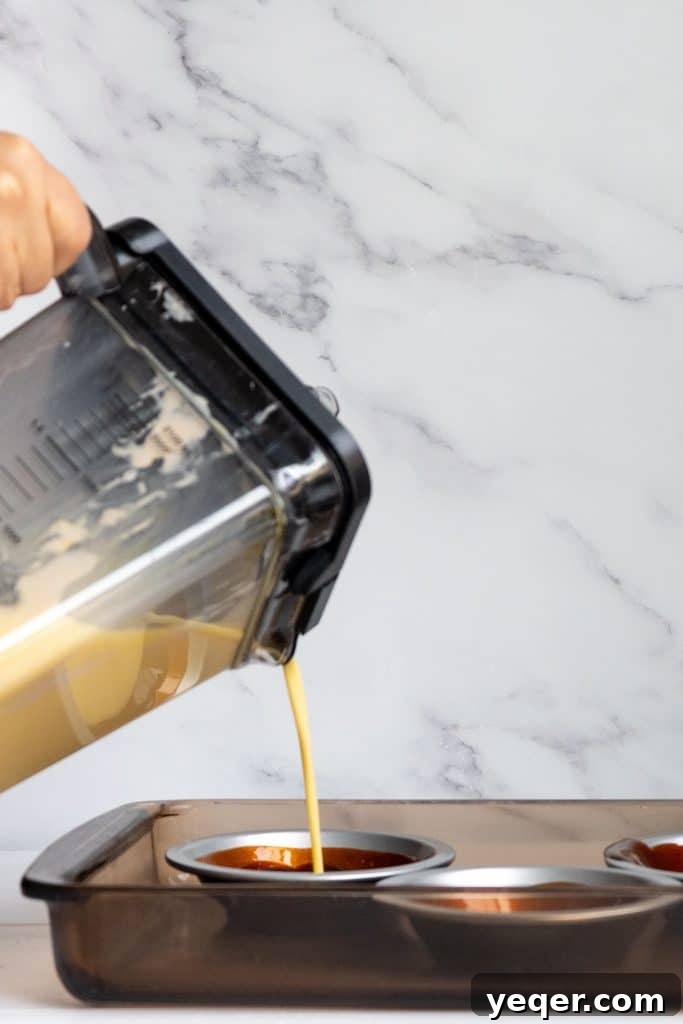
Simply combine all these ingredients in your blender and process until the mixture is completely smooth. You’ll want to achieve a consistency that is free of any egg streaks or lumps, ensuring a uniform texture in your baked flan. Once blended, pour this exquisite custard over the hardened caramel in your prepared baking dishes. The contrast in textures and temperatures between the cool custard and the firm caramel is perfect for achieving an even layer.
Baking Brilliance: The Water Bath Method
The secret to a perfectly smooth, crack-free flan with a delicate, jiggly texture is the water bath (bain-marie). This method provides gentle, even heat, preventing the custard from cooking too quickly around the edges and becoming rubbery. It ensures that your **Puerto Rican Salted Coconut Flan** sets beautifully and uniformly.
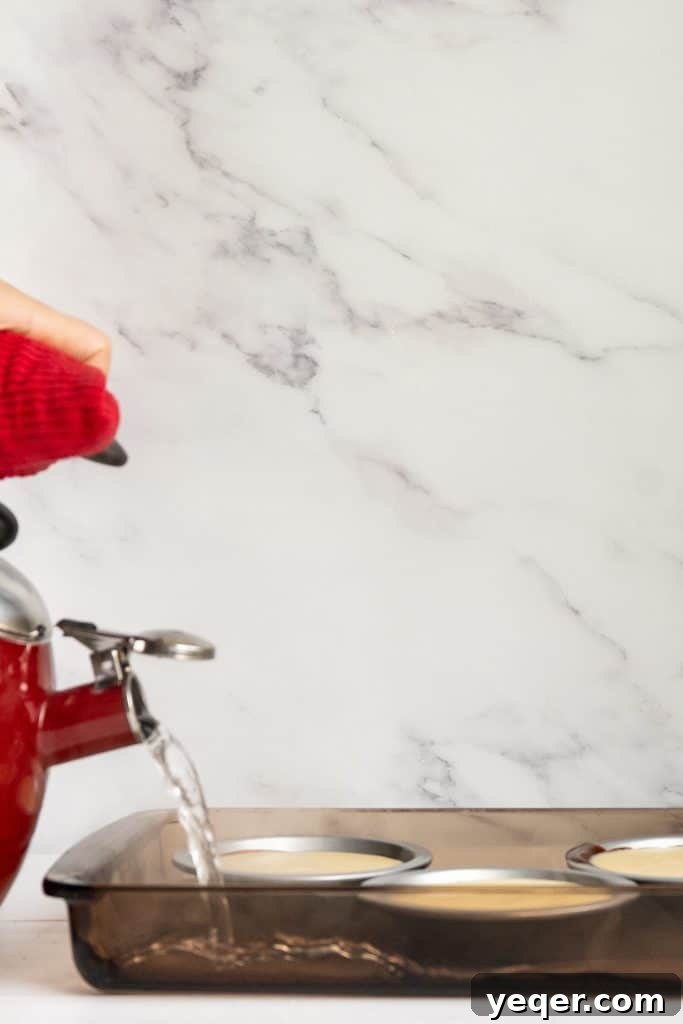
To set up your water bath, place your flan dish(es) inside a larger baking pan. Carefully pour hot water into the larger pan until it reaches about halfway up the sides of your flan dish. This creates a steamy, moist environment that is ideal for baking custard. Bake at 350°F (175°C) for approximately 45 minutes to an hour, depending on the size and depth of your baking dishes. The flan is done when the edges are set, but the center still has a slight jiggle when gently shaken. Overbaking can lead to a rubbery texture or cracks, so keep a close eye on it!
Once baked, carefully remove the flan from the water bath and allow it to cool completely at room temperature before transferring it to the refrigerator. Chilling the flan for at least 4 hours, or preferably overnight, is crucial. This allows the custard to fully set and, importantly, helps the caramel to completely liquefy, ensuring a smooth, effortless flip when it’s time to serve.
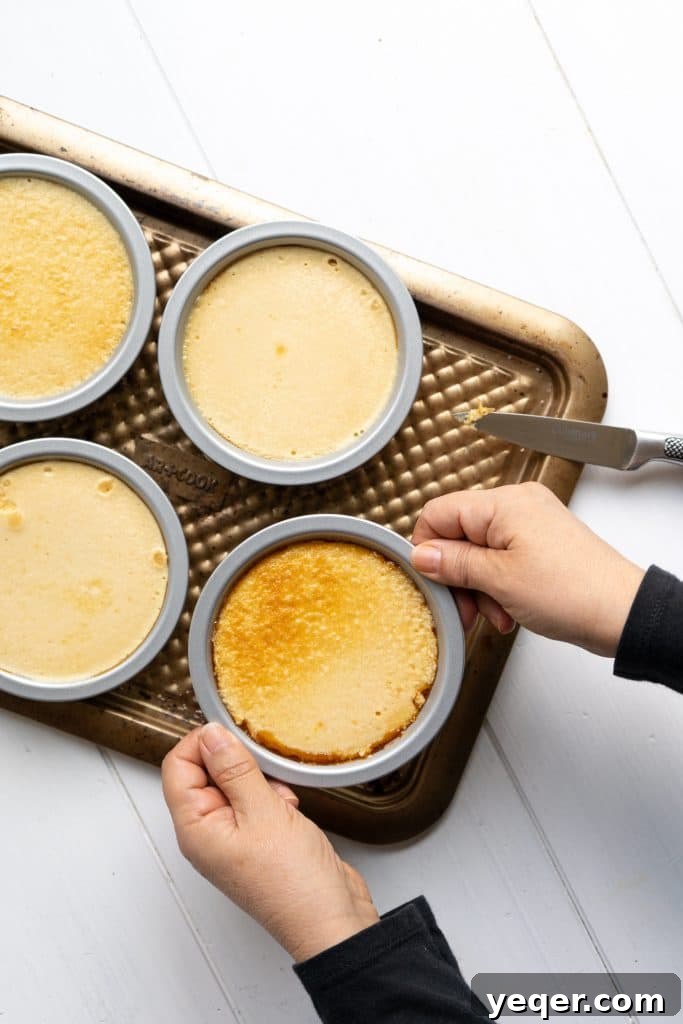
Troubleshooting: What to Do if the Caramel Sticks
Even with the best intentions, sometimes a thick layer of caramel might stubbornly stick to the bottom of the pan after flipping your flan. This is a common occurrence, but thankfully, it’s easily remedied and understood. Several factors can contribute to this minor setback:
- **Reason 1: Excessive Caramel Thickness:** If the caramel layer at the bottom of your baking dish was too thick, it might not have fully liquefied during the cooling and chilling process. A very thick layer requires more time and moisture to transform from a hard candy to a flowing sauce.
- **Reason 2: Insufficient Surface Area:** If the baking dish you used had a relatively small surface area at the bottom, the caramel might have formed a dense, concentrated layer. This makes it harder for the heat from the flan to melt it completely upon cooling.
- **Reason 3: Inadequate Chilling Time:** Not allowing enough time for the flan to thoroughly chill (at least 4 hours, ideally overnight) can prevent the caramel from reaching its ideal liquid state for an easy release.

Fear not if your caramel adheres to the pan! There’s a simple fix. Gently place the empty baking dish (with the stuck caramel) over very low heat on your stovetop. Watch it carefully as the residual caramel will slowly begin to melt and return to a liquid form. Once completely melted, you can carefully pour this warm, luscious caramel sauce over your waiting flan, ensuring every slice gets its share of golden goodness.
To prevent this from happening in the future, consider these adjustments: try using a baking dish with a wider surface area at the bottom, which allows the caramel to spread thinner and melt more evenly. Alternatively, reduce the initial amount of sugar you use for the caramel mixture, ensuring a thinner layer from the start. Both strategies can lead to a perfectly released flan with all its caramel glory intact.
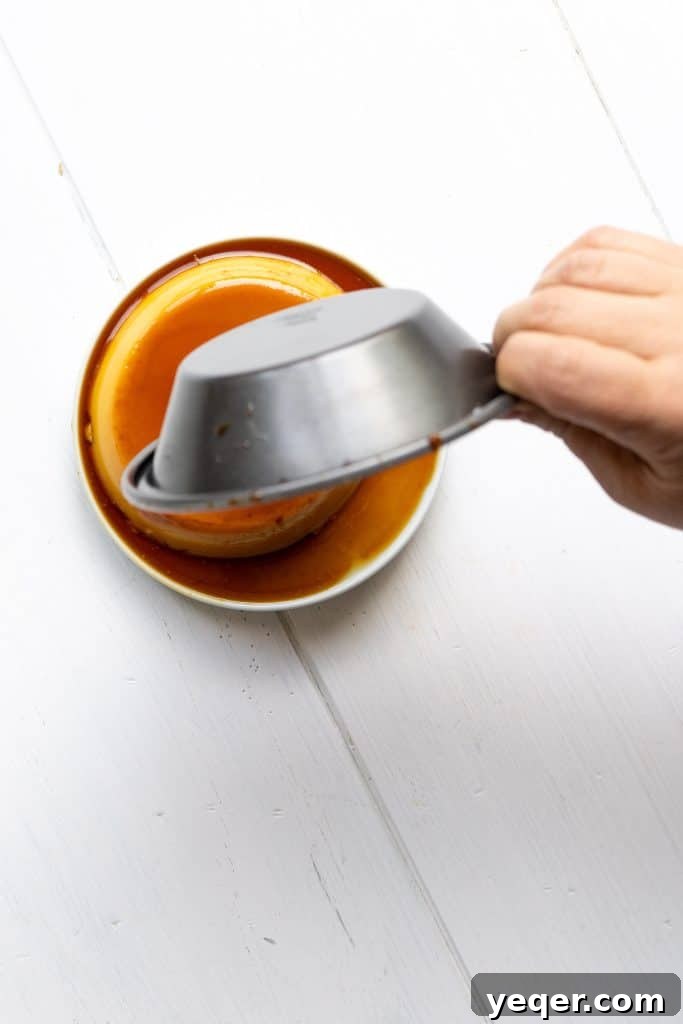
Explore the Wonderful World of Flan: Beyond Coconut
Flan is a beloved dessert enjoyed across Latin America, Spain, and the Caribbean, each region often boasting its unique twist on the classic. This **Puerto Rican Salted Coconut Flan** is a fantastic example of such innovation, offering a delightful tropical variation on the traditional flan, which typically relies on evaporated milk and sweetened condensed milk. Here, we purposefully swap the traditional sweetened condensed milk for my favorite sweetened condensed coconut milk, giving it its distinctive island flair and unparalleled creaminess.
However, the beauty of flan lies in its incredible versatility. The basic custard base is a blank canvas, inviting you to experiment with a myriad of flavors. I’ve seen and tasted an array of imaginative flans, each bringing its own character to the table:
- **Cheese Flan:** A savory-sweet delight, often incorporating cream cheese for an incredibly rich and tangy custard.
- **Guava Flan:** Infused with the sweet, tropical essence of guava, either through puree or a guava paste swirled into the caramel.
- **Flancocho (Flan-Cake):** A truly impressive hybrid dessert where a layer of cake bakes simultaneously with the flan, creating a two-in-one masterpiece.
- **Pumpkin Flan:** Popular during the fall and holiday seasons, offering warm spices and a comforting flavor.
- **Coffee Flan:** For the coffee lovers, a robust and aromatic version that pairs perfectly with an after-dinner espresso.
You are absolutely encouraged to play around and incorporate your favorite tropical fruit flavors as you like—think mango puree, passion fruit, or even pineapple. But I must confess, this **Puerto Rican Salted Coconut Flan** has quickly become my new go-to. Its perfect balance of sweetness, the subtle saltiness, and the creamy coconut texture is simply irresistible.
In essence, with flan, you simply cannot go wrong! It’s a dessert that consistently delivers on flavor and elegance, no matter the variation. Whether you stick to this incredible coconut version or venture into other exciting flavors, flan is a crowd-pleaser that never disappoints.
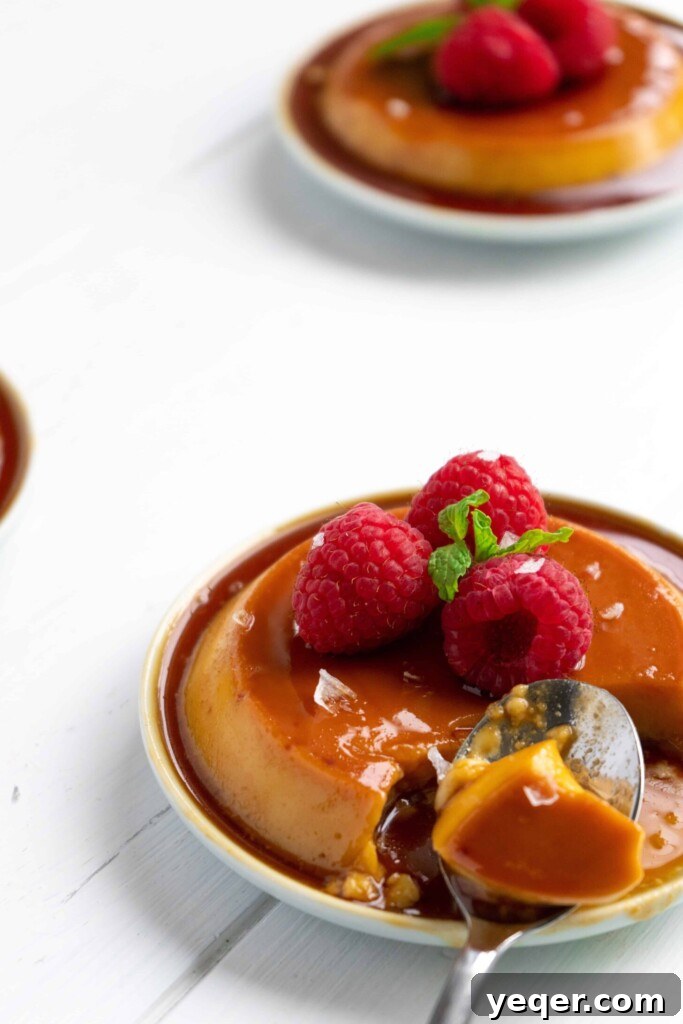
Buen Provecho!

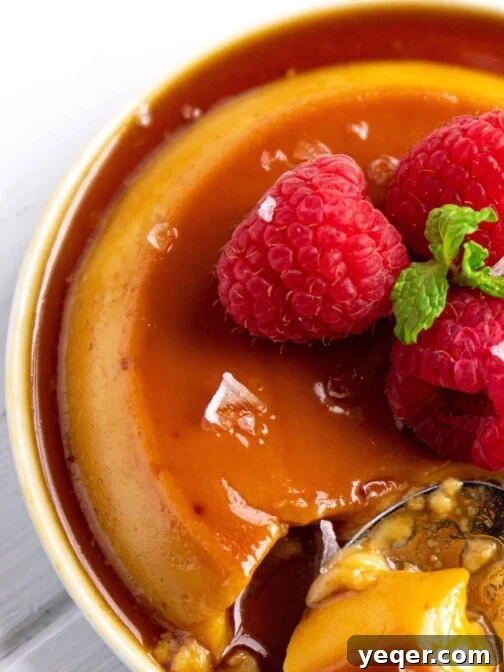
Puerto Rican Salted Coconut Flan
5 out of 5 stars from 1 review
- Author: Salima Benkhalti
- Prep Time: 15 minutes
- Cook Time: 1 hour
- Total Time: 1 hour 15 minutes
- Yield: 6–8 servings
- Category: Dessert, Custard
- Method: Water Bath, Baked
- Cuisine: Puerto Rican, Caribbean
Ingredients
For the Caramel:
- 1 cup sugar
- 3 tsp flake salt
For the Filling:
- 1 (12 oz) can evaporated milk
- 1 (12 oz) can sweetened condensed coconut milk
- 5 eggs
- 1/2 tbsp vanilla extract
- a pinch of flake salt
Optional Toppings:
- raspberries
- mint
- additional flake salt
Instructions
- Pour sugar into a heavy-bottomed pot and melt over medium heat. Do not stir. Introducing any spoon or utensil can cause crystallization, preventing the sugar from melting smoothly.
- Once the sugar is entirely melted and has reached a golden amber color, quickly pour and spread the caramel into your Pyrex oven-resistant dish or individual dishes. Immediately sprinkle with flake salt for a delightful sweet and salty contrast.
- Combine all filling ingredients (evaporated milk, sweetened condensed coconut milk, eggs, vanilla extract, and a pinch of flake salt) in a blender and blend until the mixture is velvety smooth. Pour this blended custard mixture into your prepared Pyrex dishes, directly over the hardened caramel and salt.
- Place the flan dish(es) into a larger baking pan. Carefully pour hot water into the larger pan, creating a water bath that comes about halfway up the sides of your flan dishes. Bake in a preheated oven at 350 degrees Fahrenheit (175°C) for 45 minutes to 1 hour. Baking time will vary depending on the size of your baking dish. The flan is ready when the edges are set and a knife inserted near the center comes out clean, though a slight jiggle in the middle is desirable. Allow the flan to cool completely at room temperature before refrigerating for at least 4 hours, or ideally overnight.
- Once thoroughly chilled, use a thin knife or spatula to gently loosen the edges of the flan from the dish. Place a serving plate upside down over the flan dish, then carefully but confidently flip the flan onto the plate. The caramel will beautifully drizzle over the top. Garnish with optional toppings like fresh raspberries, mint leaves, or an additional sprinkle of flake salt if desired, and enjoy!