
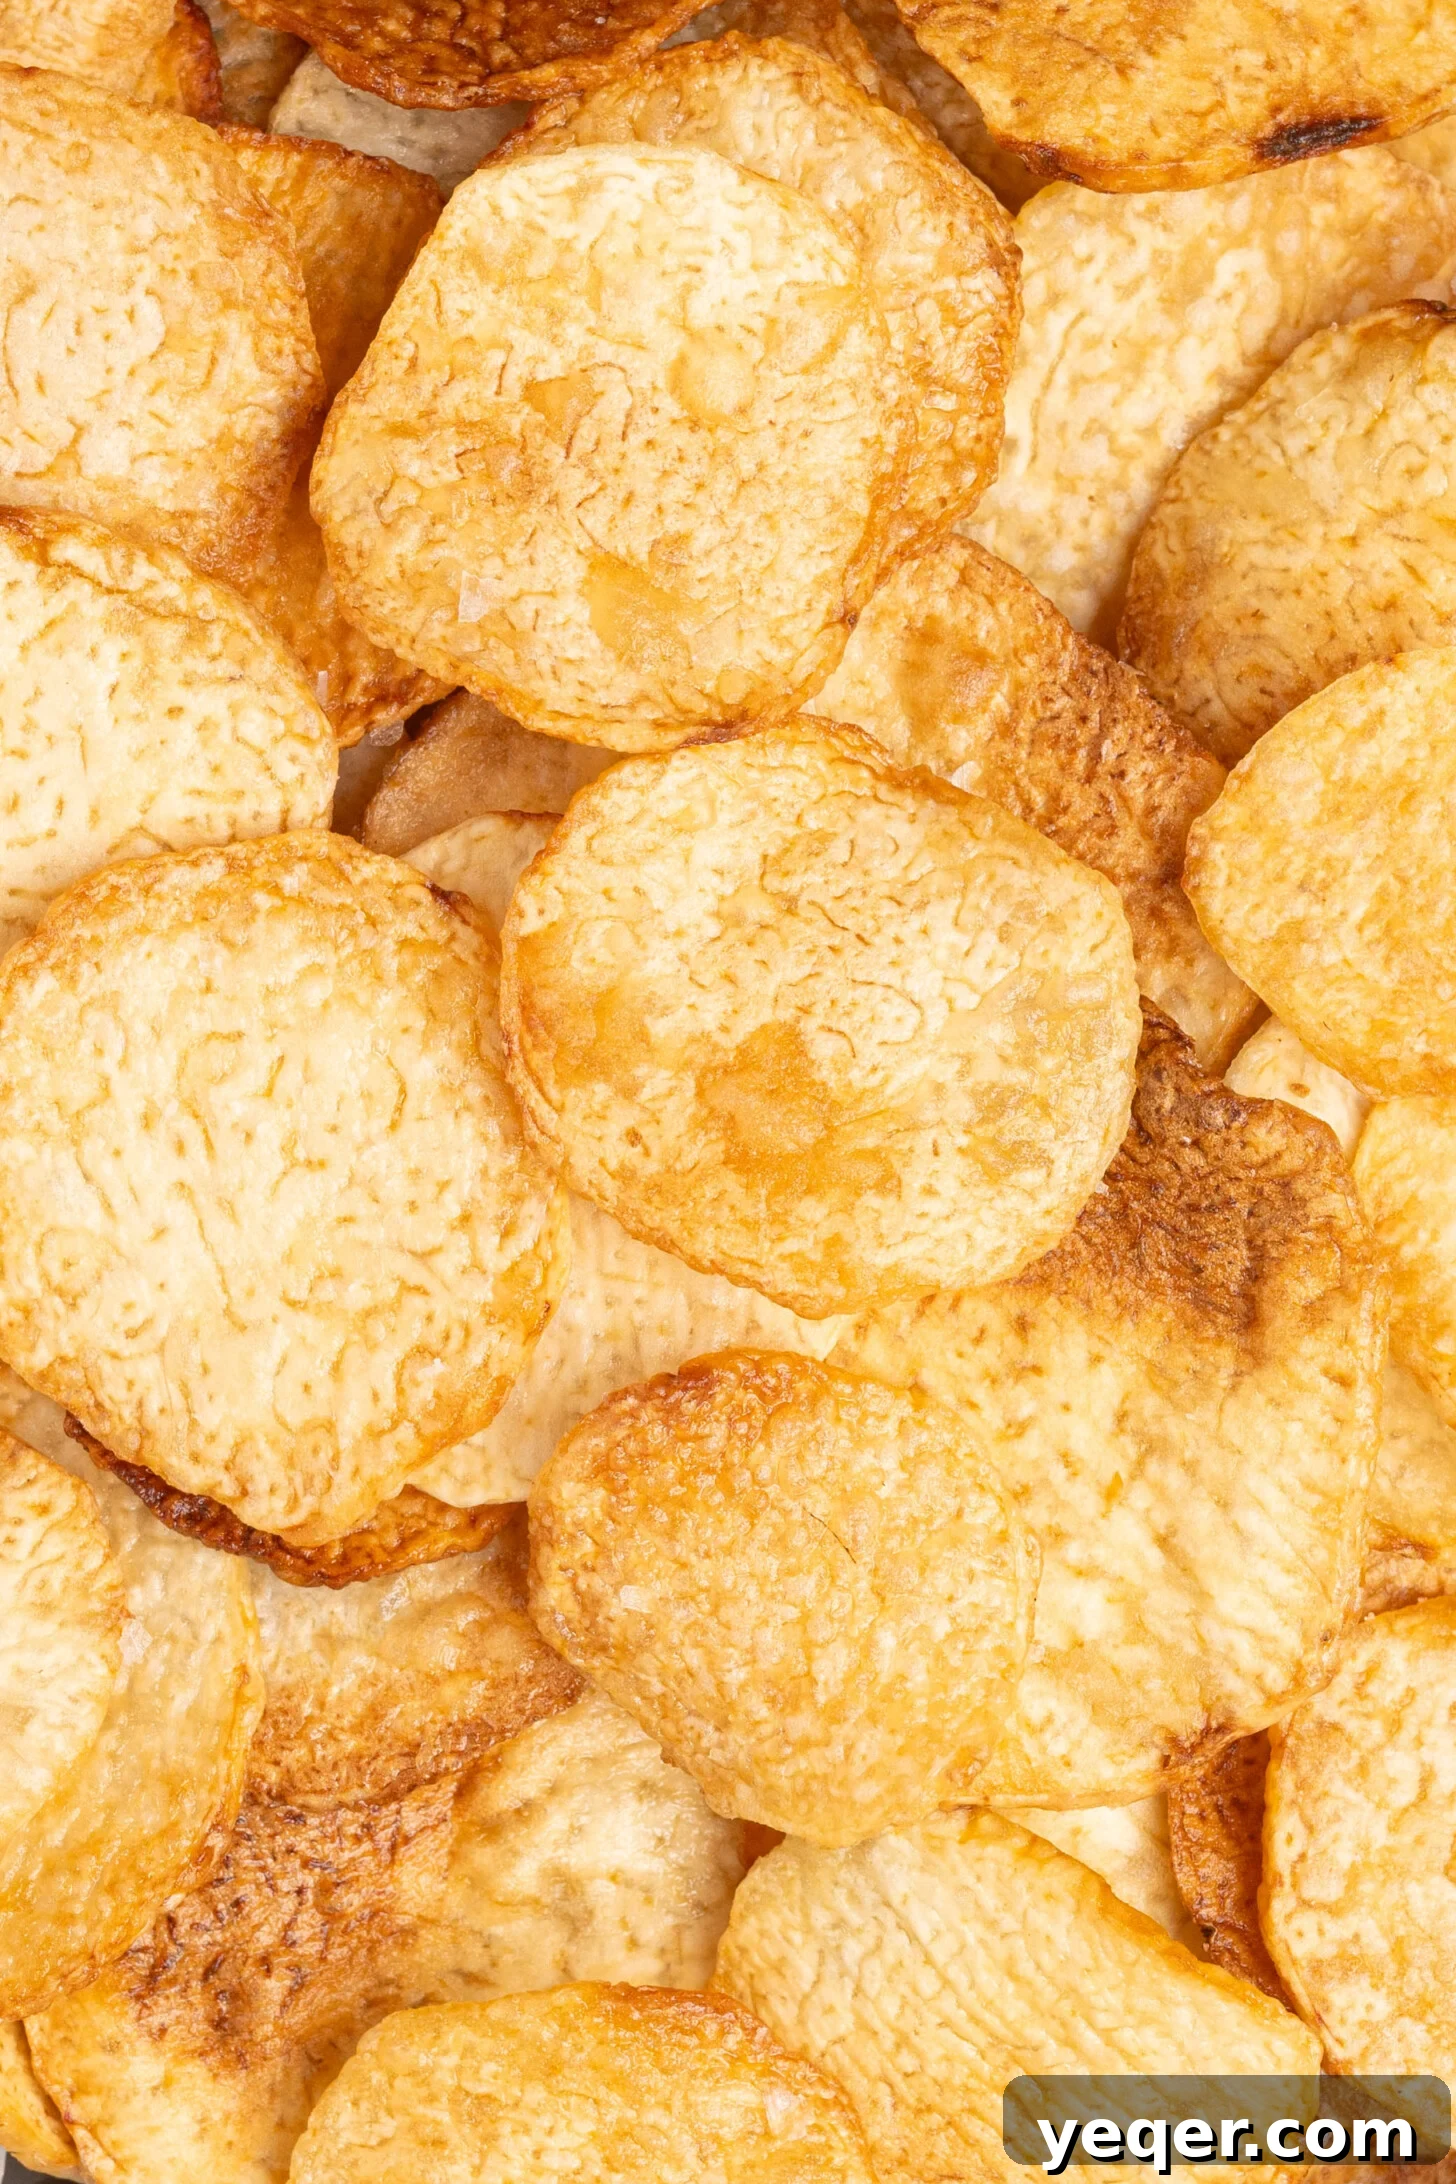
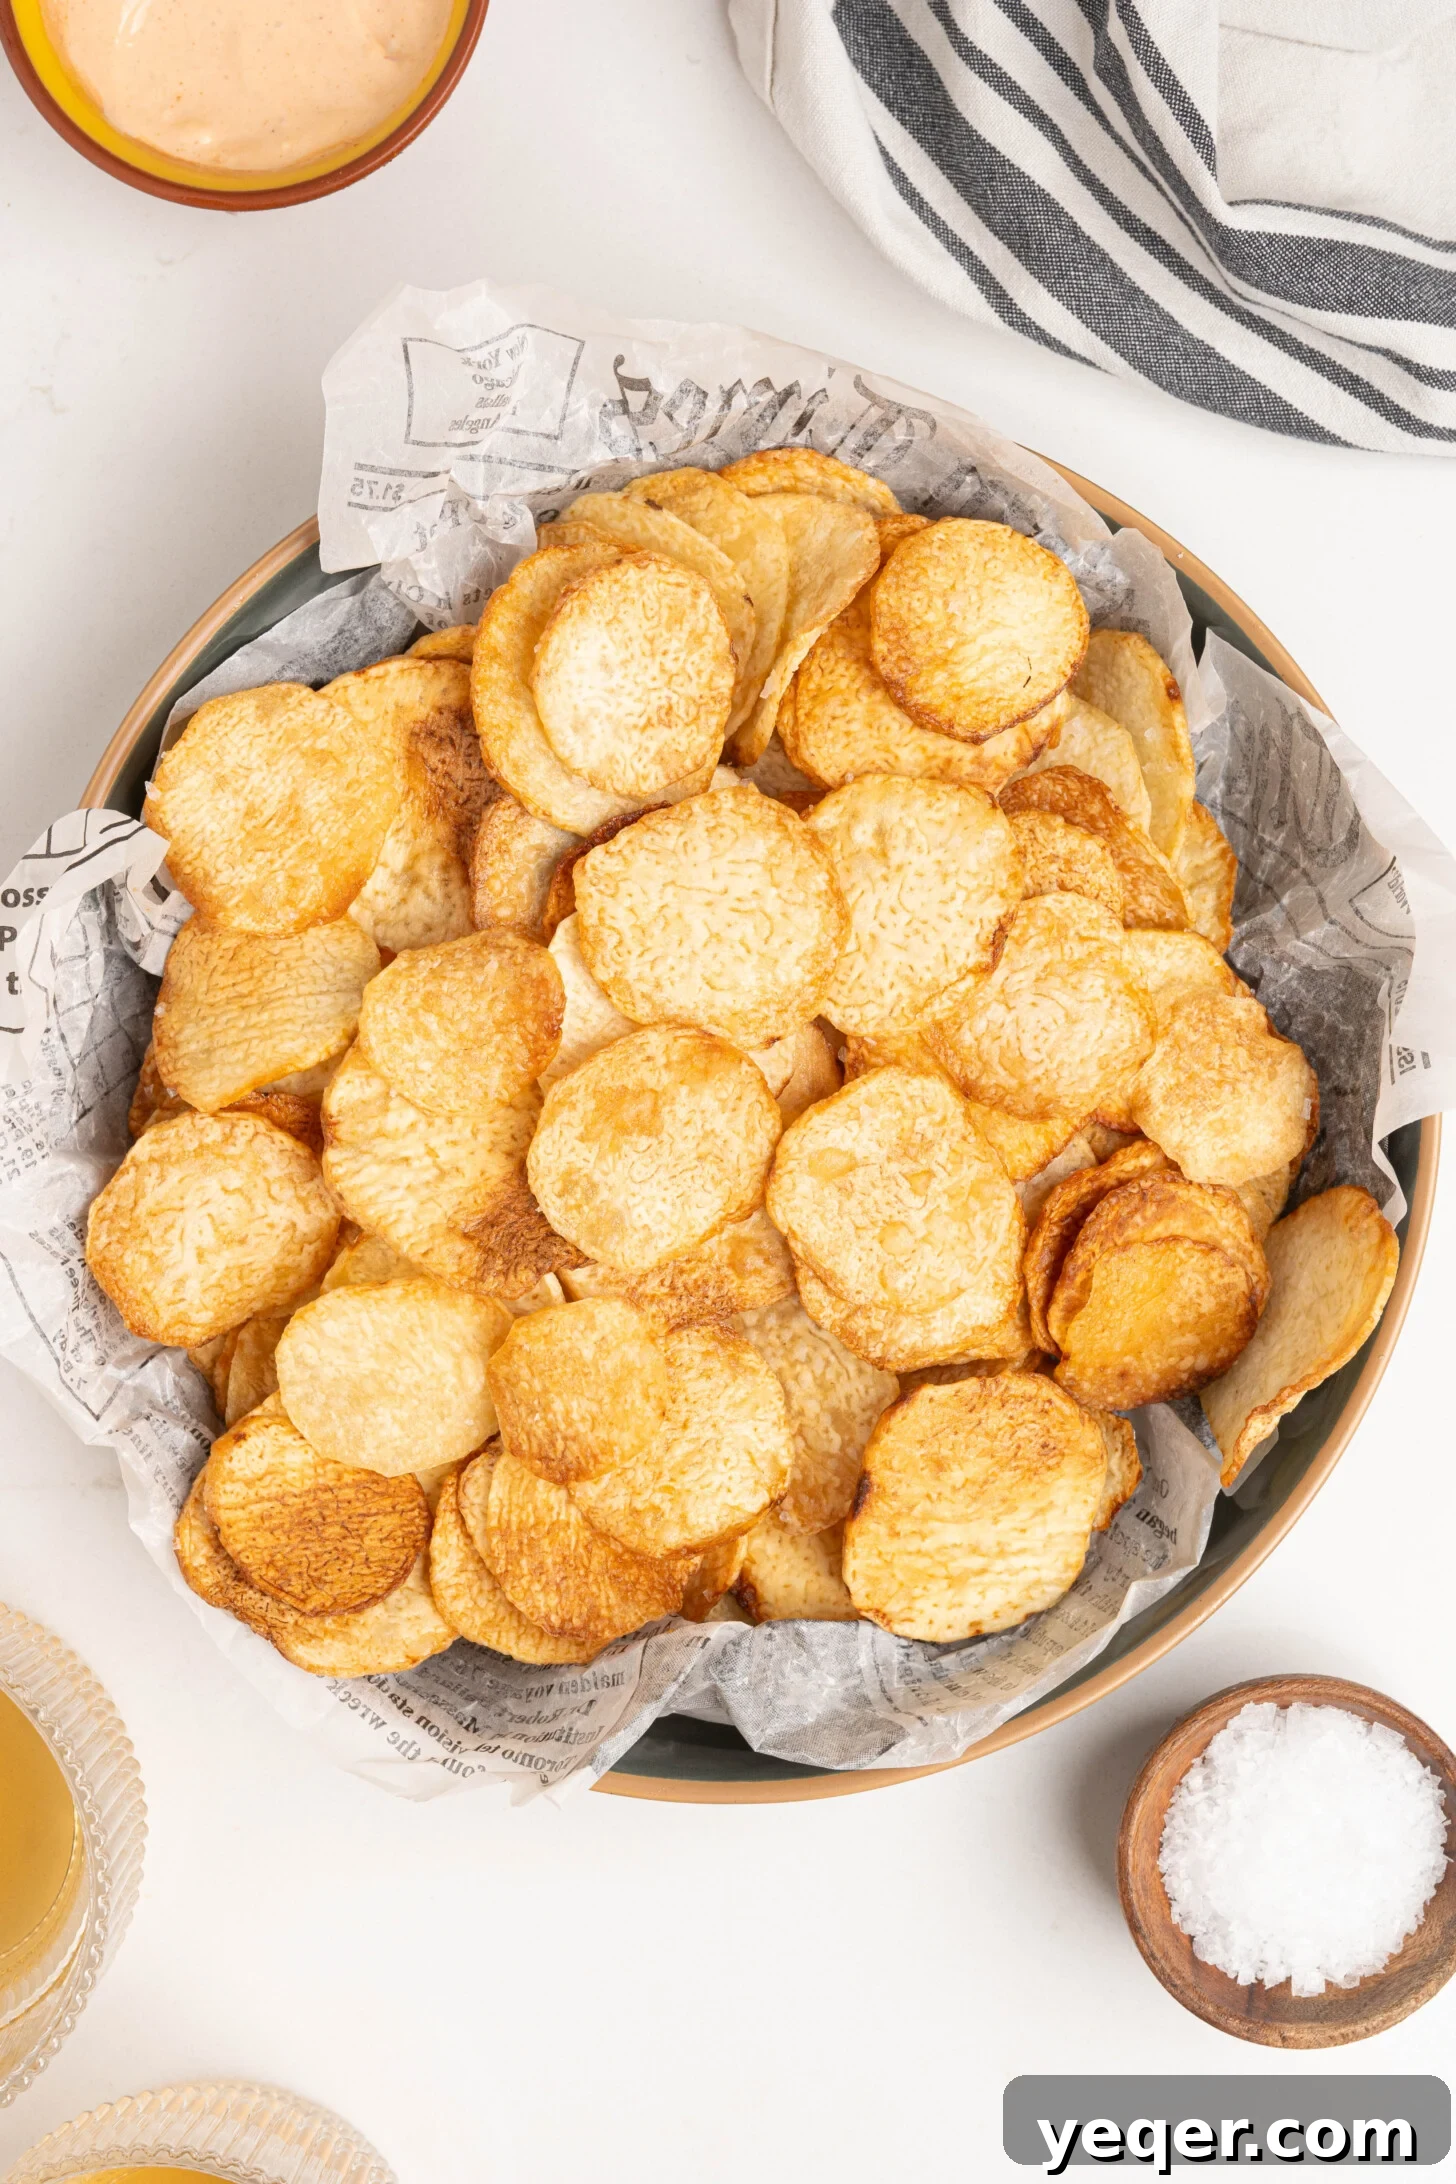
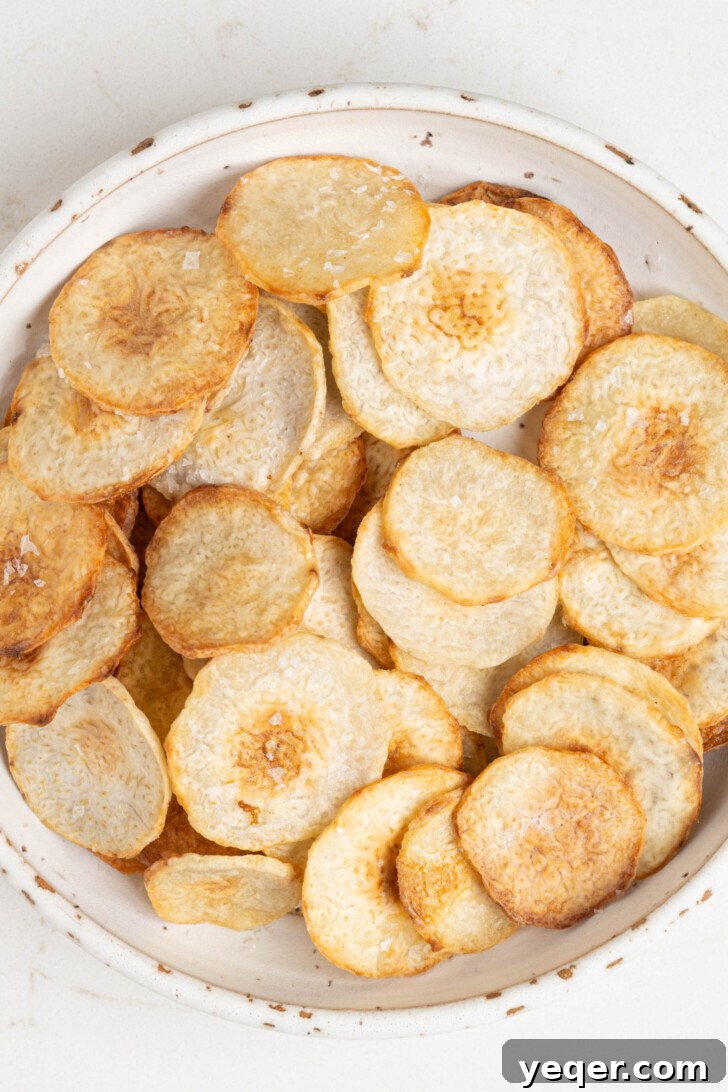
Craving a unique and incredibly satisfying snack? Learn how to make your own perfectly crispy homemade taro chips in under 30 minutes! Far superior to their store-bought counterparts, these delightful chips are crafted with just three simple ingredients: fresh taro root, your preferred cooking oil, and a touch of salt. Whether you prefer the classic deep-fried crunch, the healthier baked version, or the quick convenience of an air fryer, we’ve got you covered with detailed instructions for all methods. Prepare to elevate your snack game with these subtly sweet, nutty, and wonderfully crunchy taro chips.
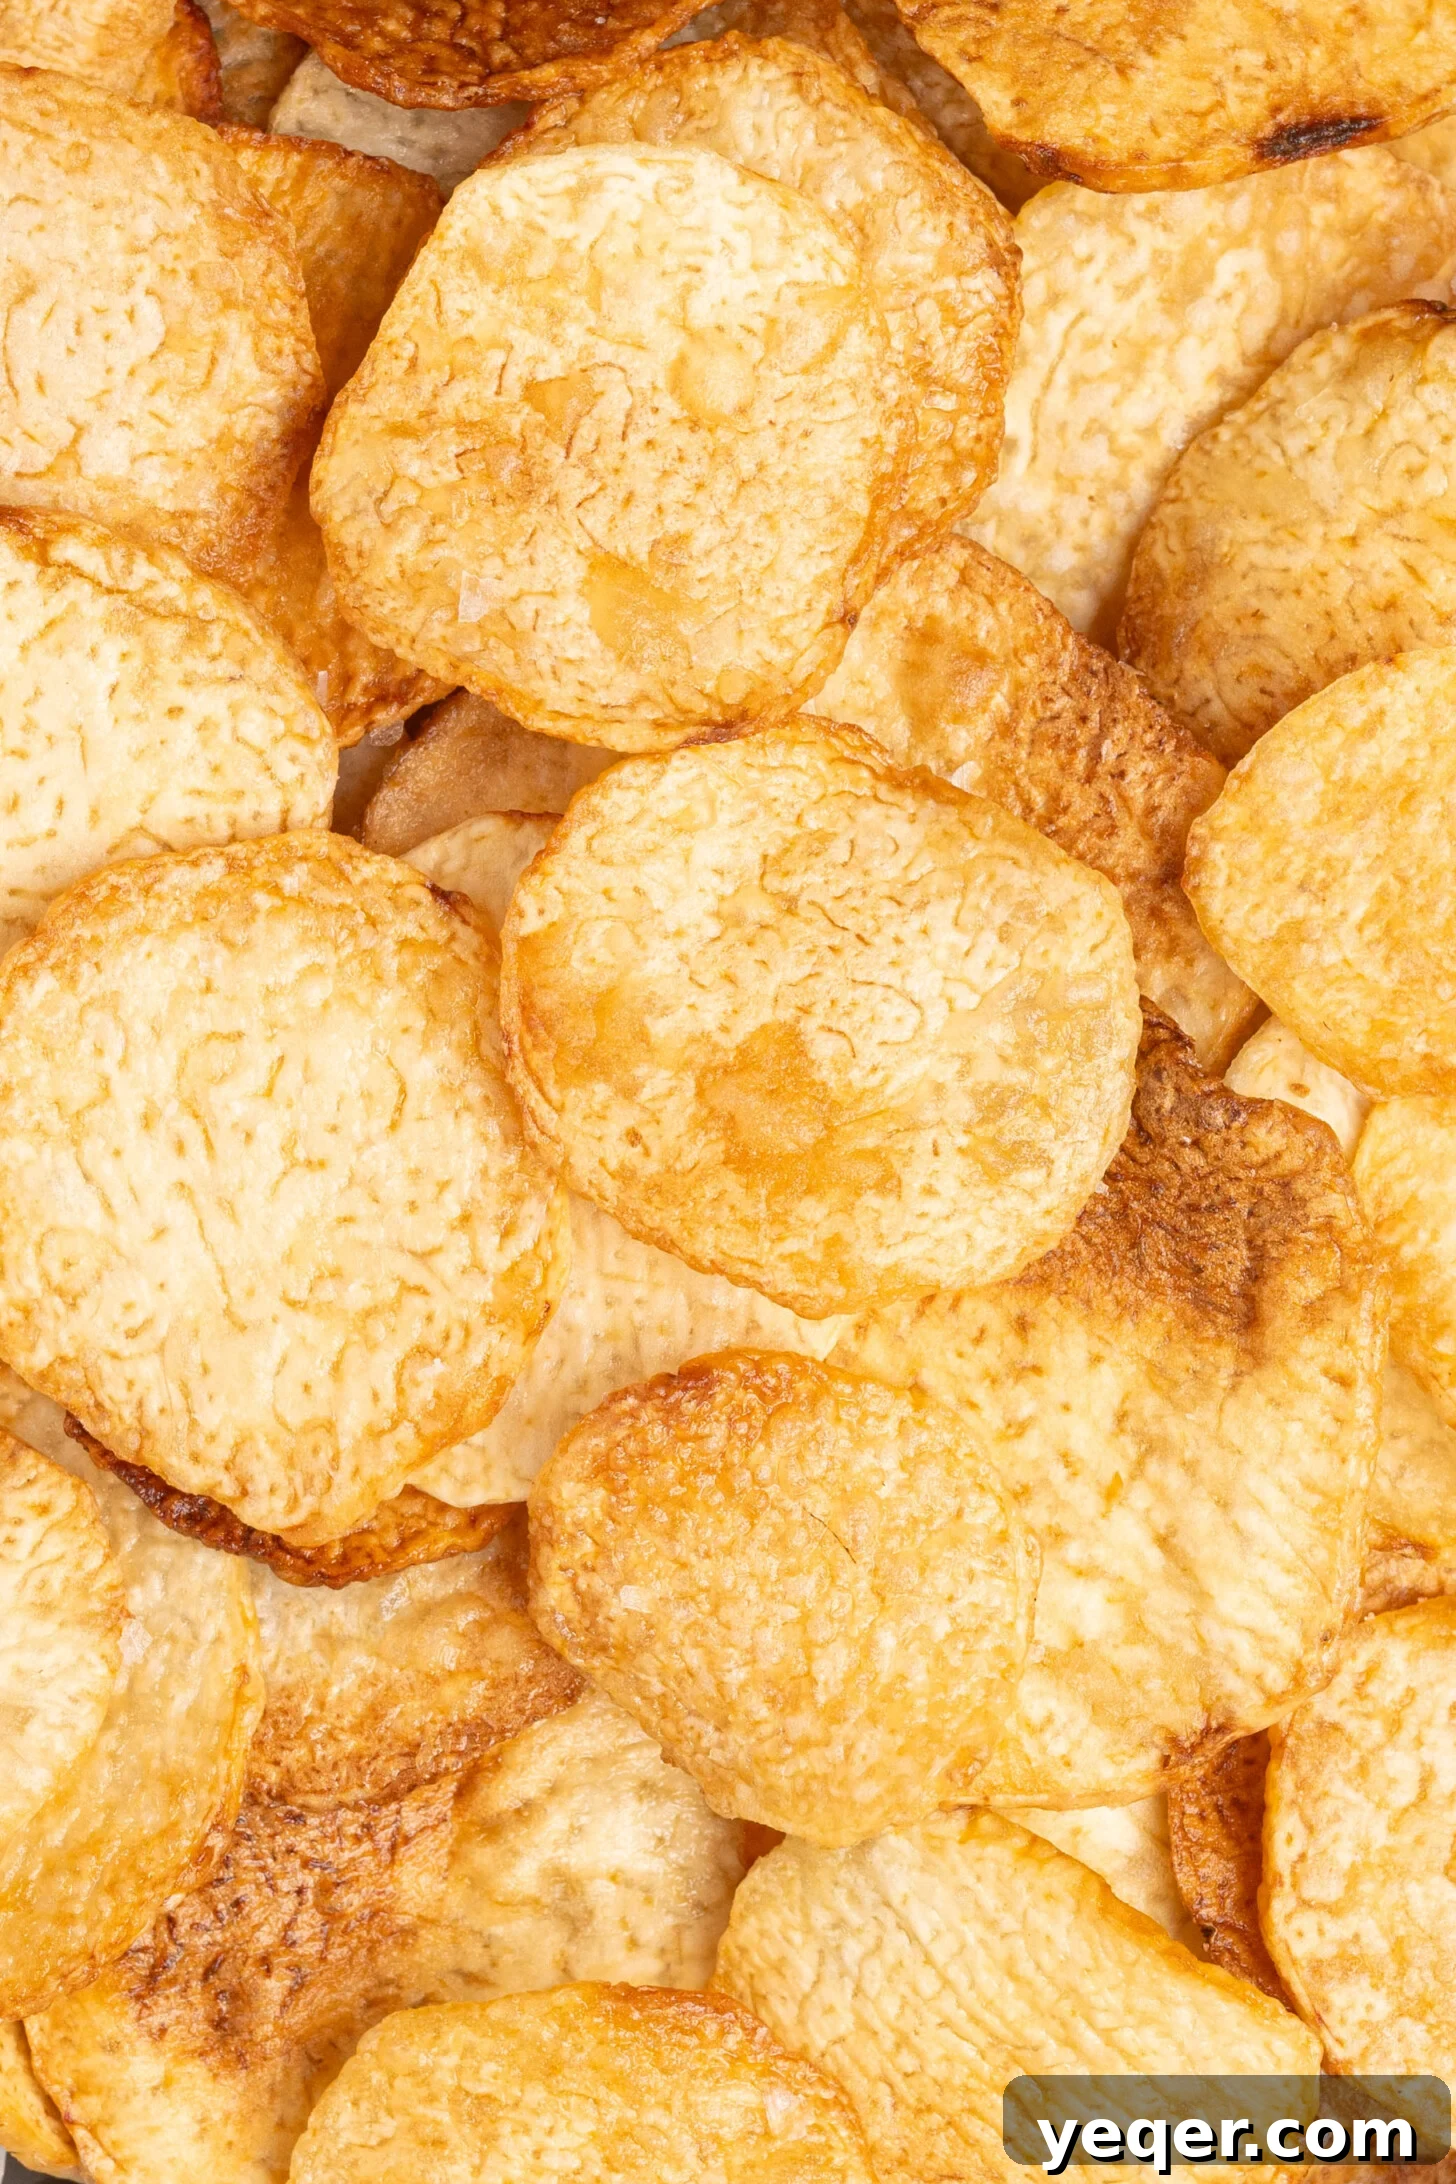
The Art of Making Crispy Taro Chips at Home
These incredibly crispy homemade taro chips are more than just a snack; they’re a culinary revelation perfect for serving as an appetizer, a delightful side dish, or simply a treat to satisfy your cravings. The taro root itself offers a distinctively subtle sweetness and earthy, nutty flavor that beautifully complements the savory crunch of these thinly sliced chips. Once you experience the superior taste and texture of homemade, you’ll find it hard to go back to pre-packaged options.
What is Taro Root? Discovering This Versatile Tuber
If you’ve never had the pleasure of trying taro before, you’re in for a delightful surprise. Taro (Colocasia esculenta) is a starchy tuberous root vegetable cultivated and consumed across the globe, especially prevalent in Southeast Asia, Africa, and the Pacific Islands. This versatile root is a staple in many cuisines, celebrated for its unique flavor and dense texture. It can be found prepared in a myriad of ways: boiled, steamed, mashed, roasted, fried, and even incorporated into creamy desserts and refreshing drinks like bubble tea. Its natural slight stickiness, when cooked, adds a delightful dimension to many dishes. For instance, in Puerto Rican cuisine, taro (often referred to as ‘malanga’ or ‘yautía’) is a cherished ingredient in traditional dishes like Pasteles, showcasing its incredible adaptability.
Beyond its culinary versatility, taro root is also packed with nutritional benefits. It’s an excellent source of dietary fiber, which aids digestion and promotes a feeling of fullness. It also contains important vitamins and minerals, including Vitamin E, Vitamin B6, Vitamin C, potassium, magnesium, and manganese. Incorporating taro into your diet can contribute to overall well-being, making these chips a more wholesome alternative to many processed snacks.
Why Homemade Taro Chips are Unbeatable
In this recipe, we transform the humble taro root into thin, delicate chips that are cooked to absolute perfection. Whether you opt for deep frying, oven baking, or air frying, the result is a snack that truly outshines any store-bought variety. Homemade taro chips allow you complete control over the quality of ingredients, the type of oil used, and the seasoning, ensuring a fresh, clean taste without artificial additives or excessive preservatives. The satisfaction of creating such a delicious and impressive snack from scratch is an added bonus!
Finding fresh taro root might seem daunting, but it’s becoming increasingly available. Look for it in the produce section of well-stocked grocery stores, Asian markets, or specialty food stores. I often find mine at major supermarkets like Safeway. Once you get your hands on this fantastic root, this is one recipe you absolutely have to try. The subtle sweetness and crisp texture make these chips highly addictive, and they’re incredibly simple to prepare.
Perfect Pairings: Dipping Sauces for Your Taro Chips
While delicious on their own, homemade taro chips truly shine when paired with the right dipping sauce. A creamy, tangy dip can elevate the flavor profile and add another layer of enjoyment to your snack experience. I particularly enjoy serving these with a vibrant dipping sauce like a zesty mayoketchup or a refreshing cilantro lime sauce. Both offer a fantastic contrast to the nutty sweetness of the taro. Don’t be afraid to experiment with your favorite dips!
Essential Ingredients: Simplicity at Its Best
One of the best aspects of this recipe is its minimal ingredient list. You only need three core components to create these fantastic chips:
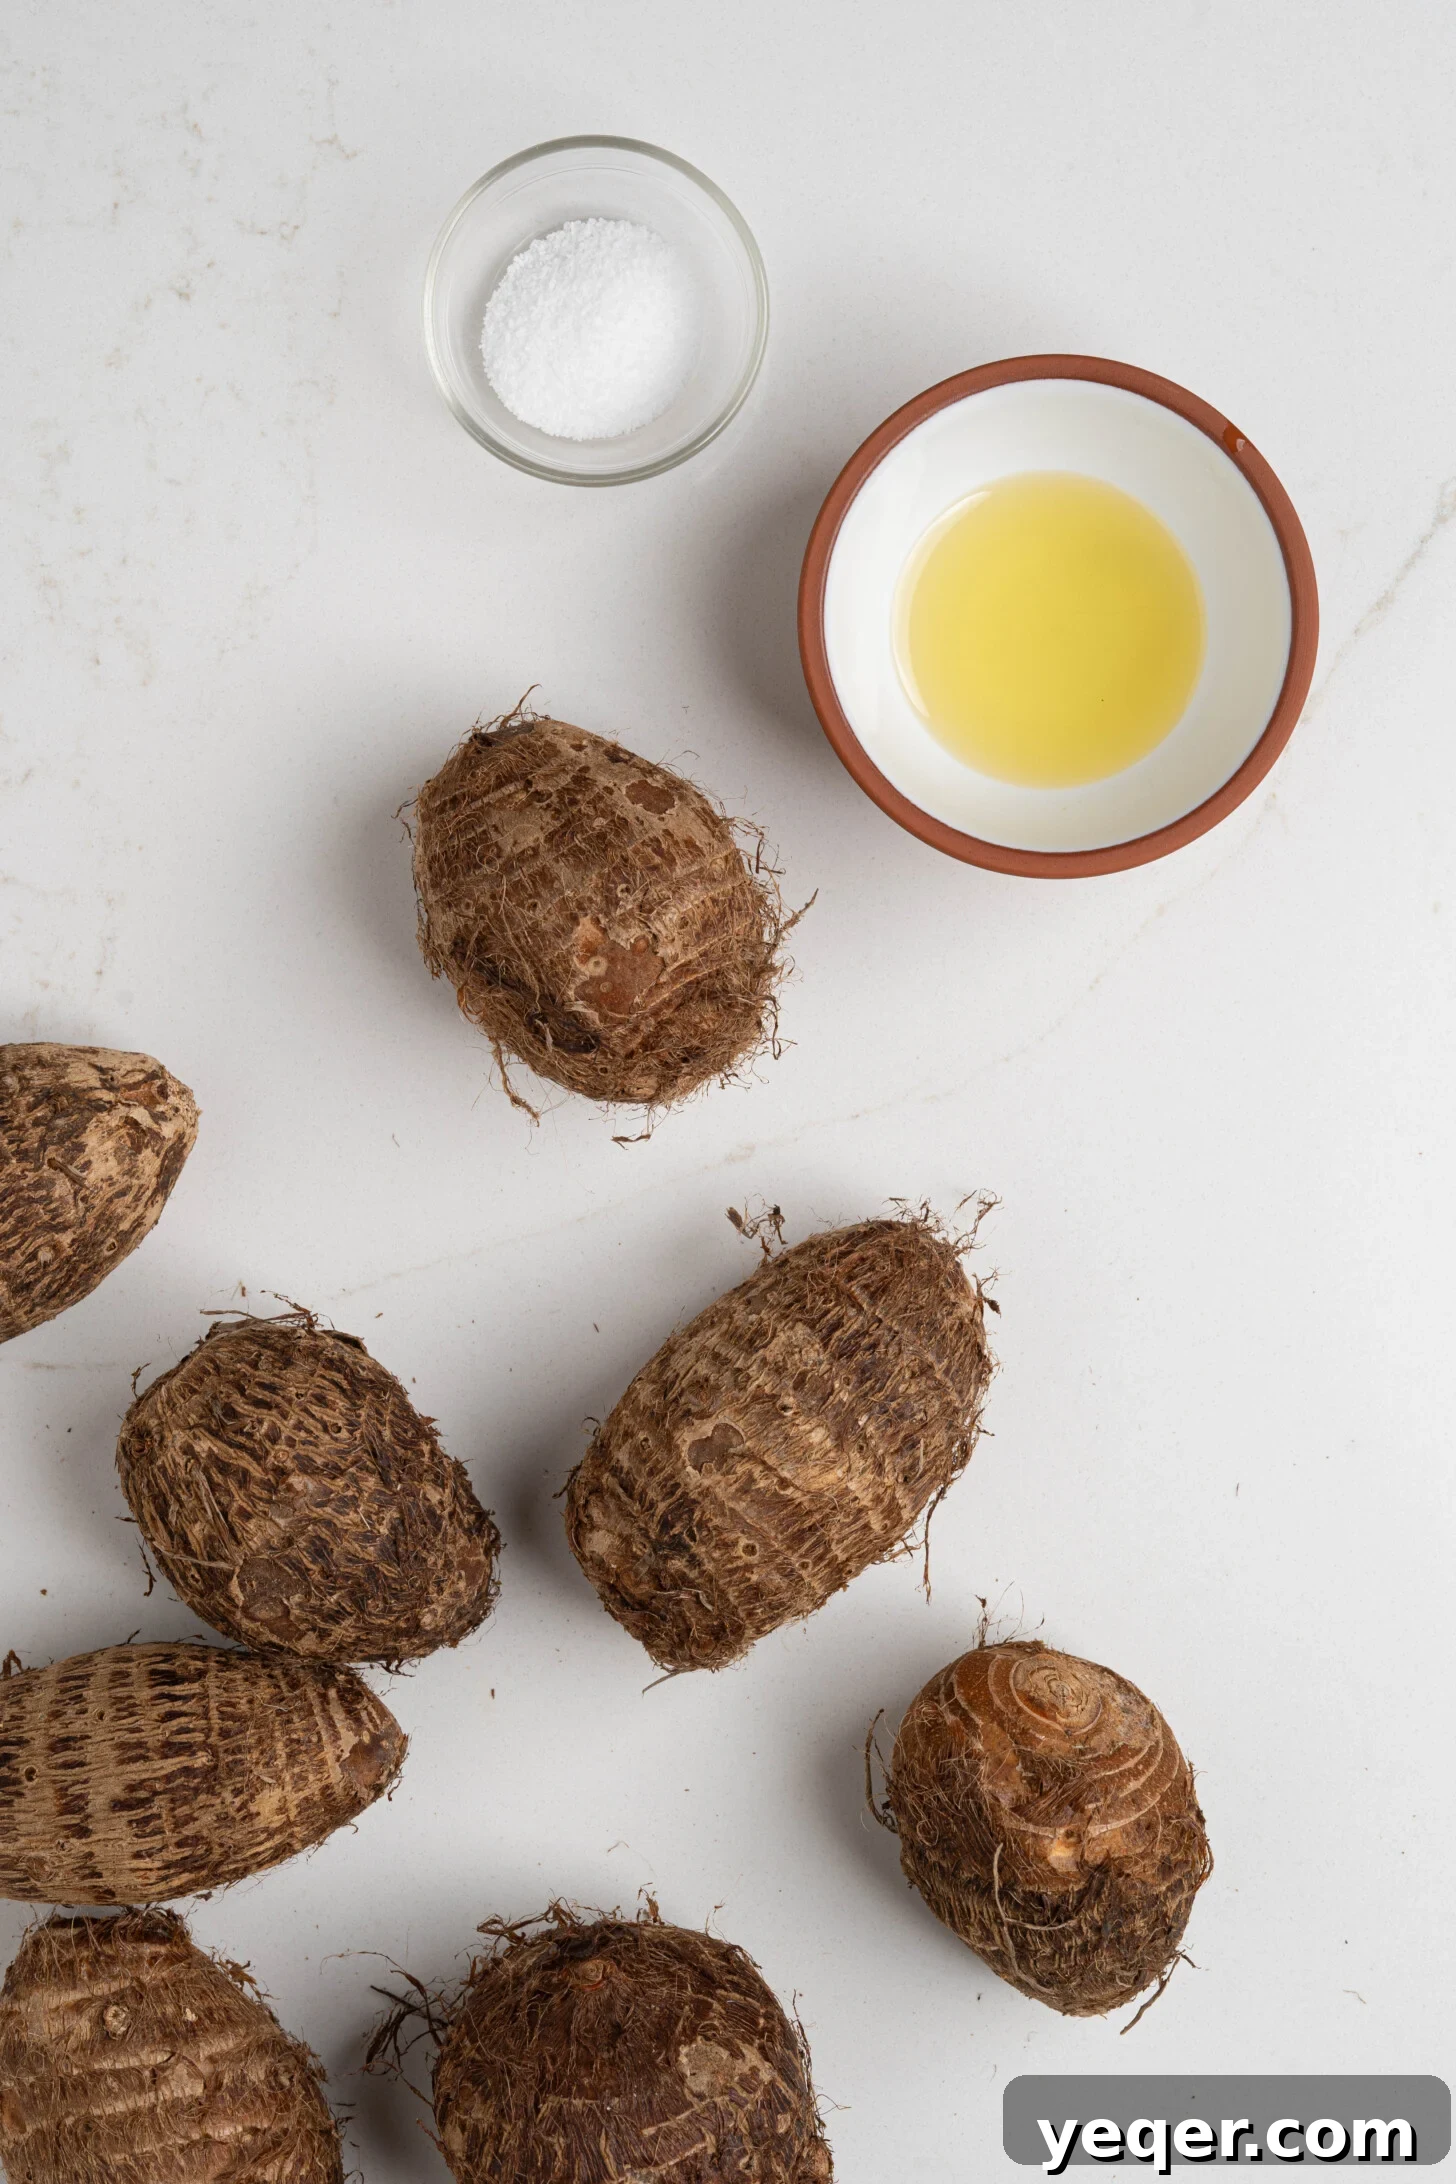
- Taro Root: Choose firm, blemish-free roots. Make sure to rinse and thoroughly dry it before peeling.
- Oil: For frying, you’ll need enough oil for deep frying (avocado, vegetable, canola, or peanut oil are good choices). For baking or air frying, just a tablespoon or two will suffice.
- Salt: Fine sea salt or kosher salt works best for seasoning.
You’ll find the full ingredient list with exact quantities, suitable for both frying and baking/air frying, in the detailed recipe card below.
Method 1: How to Fry Taro Chips for Ultimate Crispiness
Deep frying delivers the most traditional and undeniably crispy taro chips. This method results in an even golden color and a perfect, airy crunch that’s hard to beat. Follow these steps for perfectly fried chips:
Method 2 & 3: How to Bake or Air Fry Taro Chips for a Lighter Option
While deep frying offers unparalleled crispiness, baking and air frying are fantastic alternatives for a lighter snack that’s just as flavorful. These methods reduce the amount of oil needed significantly, without compromising much on taste or texture.
Important Tip: Regardless of your chosen cooking method, closely monitor your taro chips every 5 minutes or so. They can go from perfectly golden to overly crispy or even burnt quite quickly due to variations in oven and air fryer temperatures. A slight char can impart a bitter taste, so vigilance is key to achieving that ideal crunch!
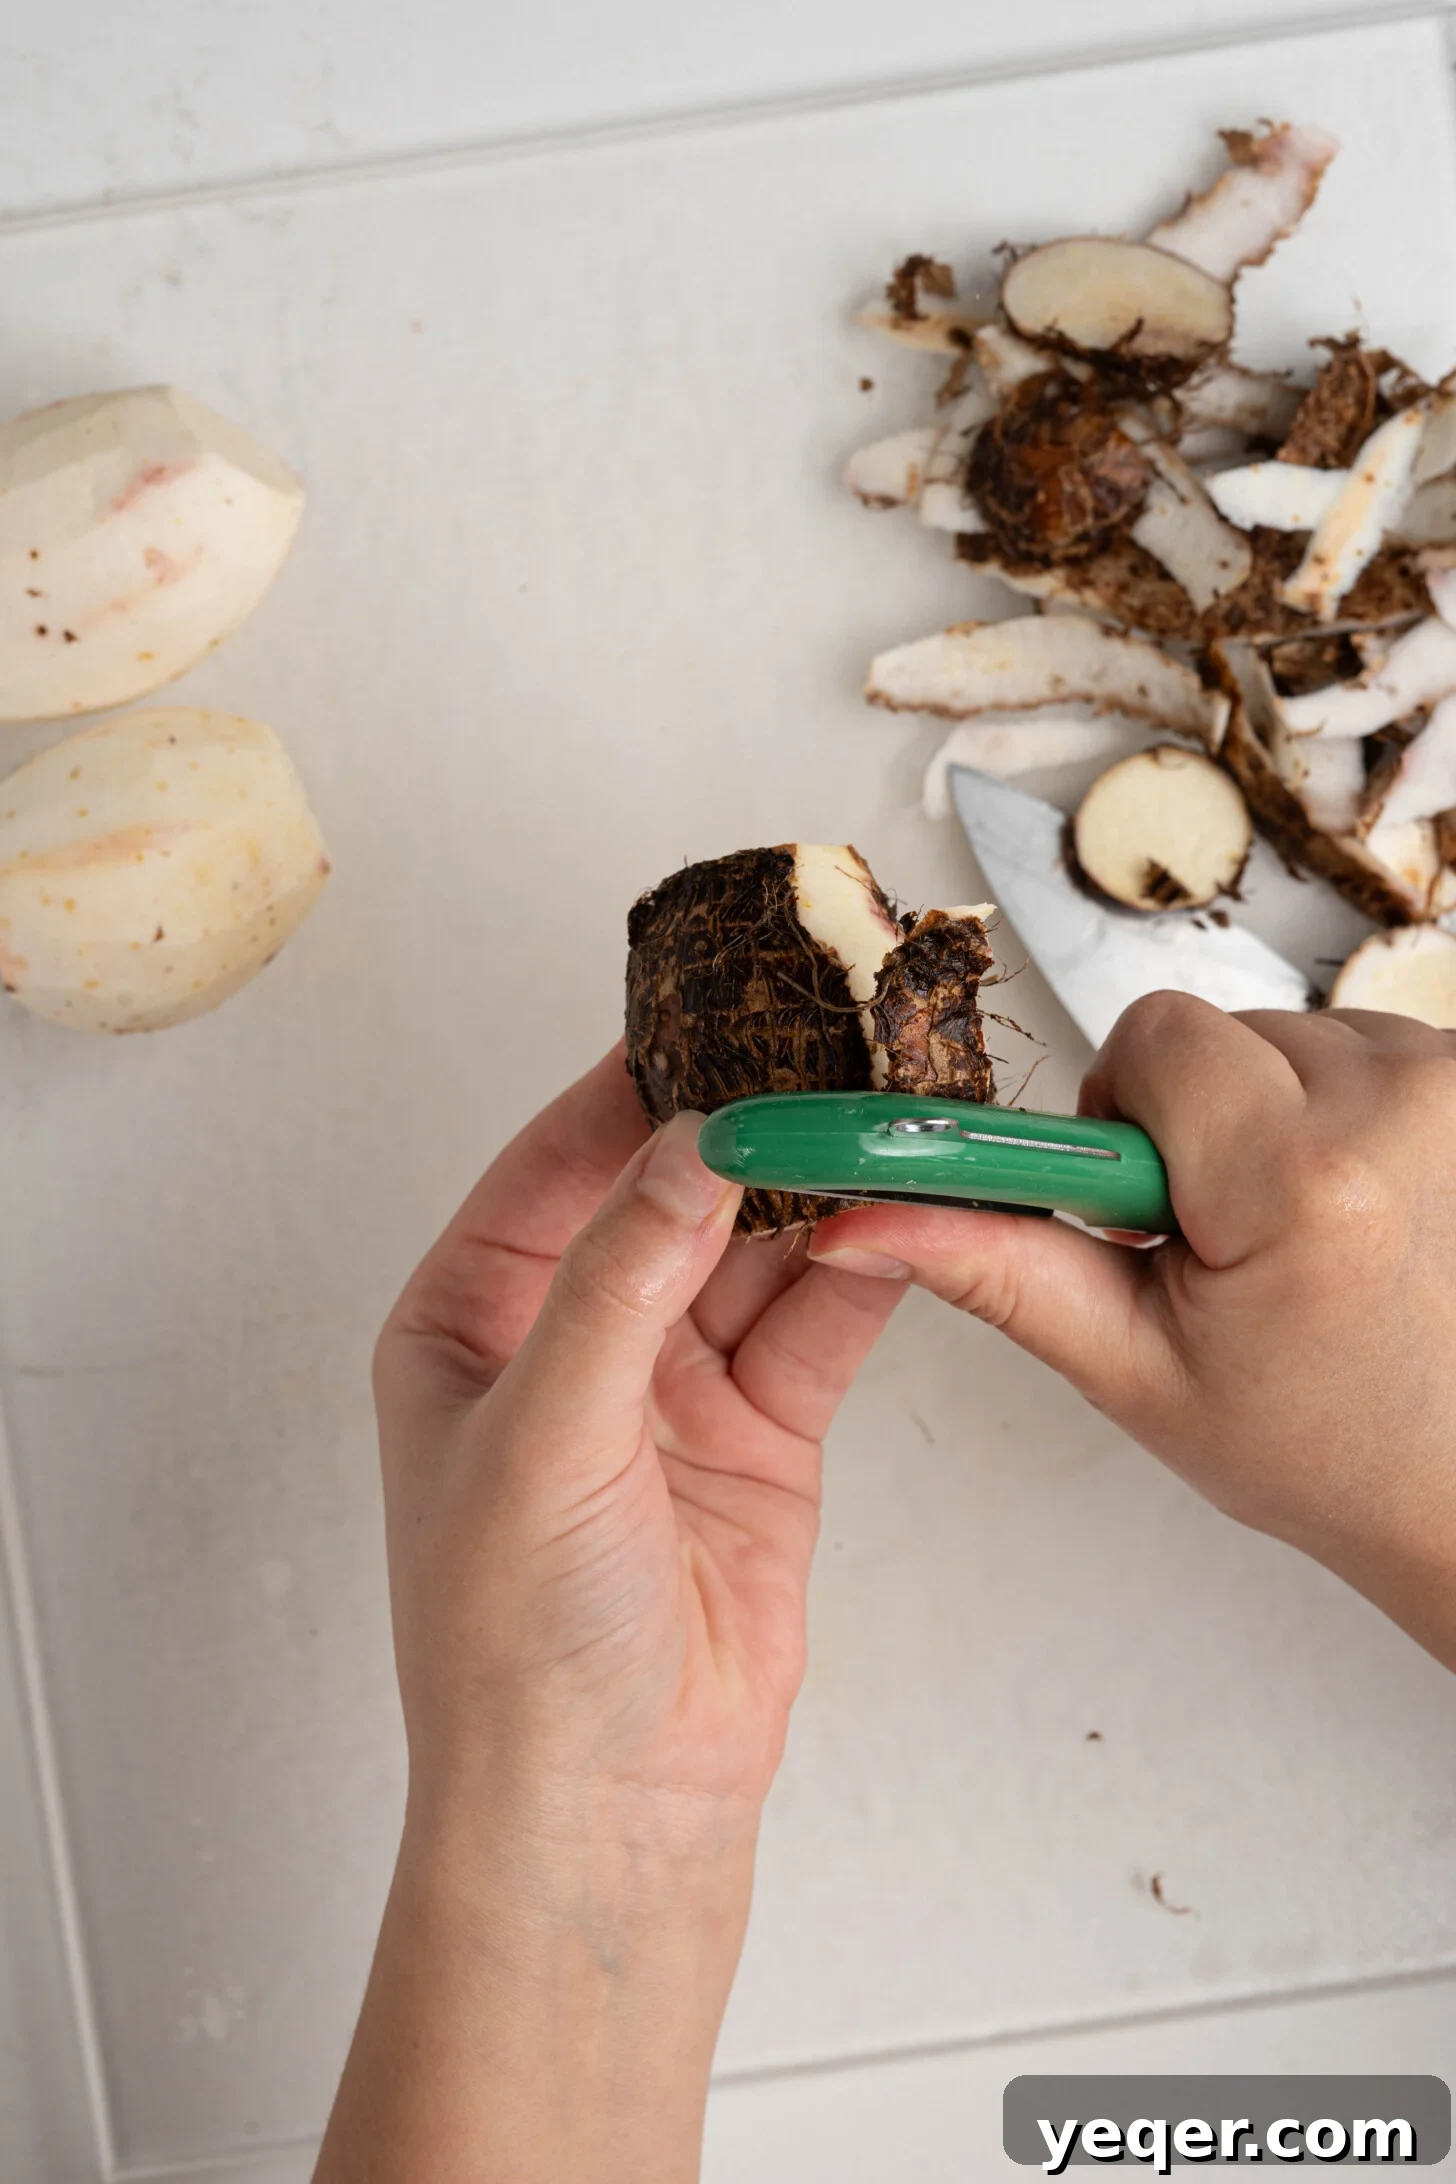
Detailed Guide to Peeling Taro Root Safely
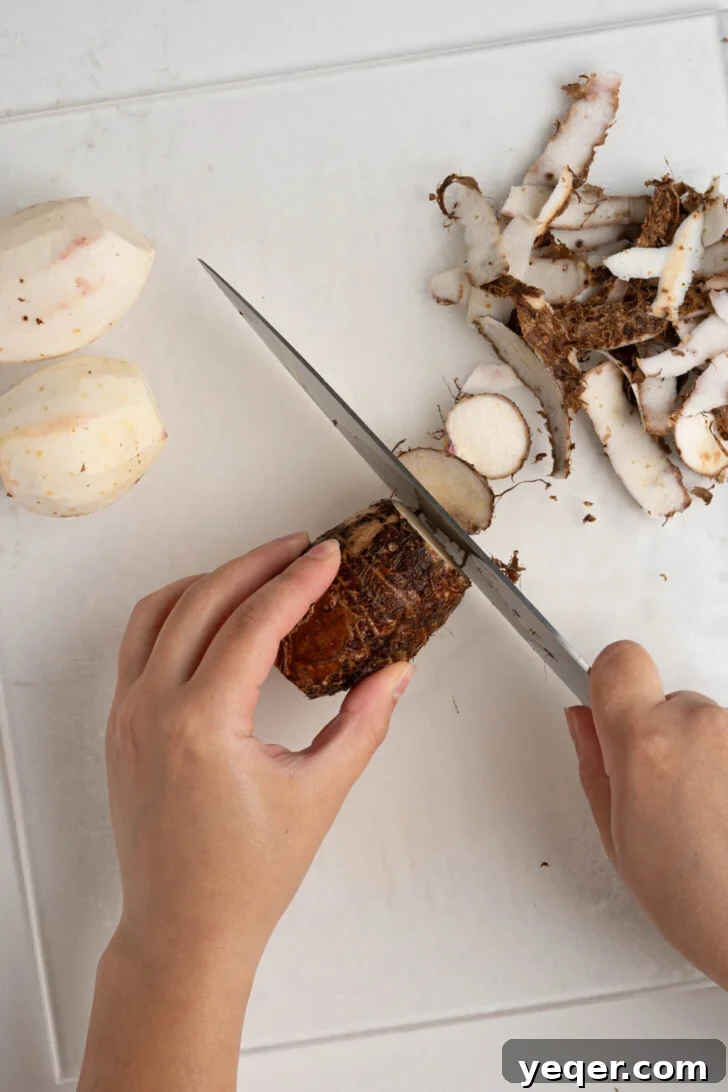
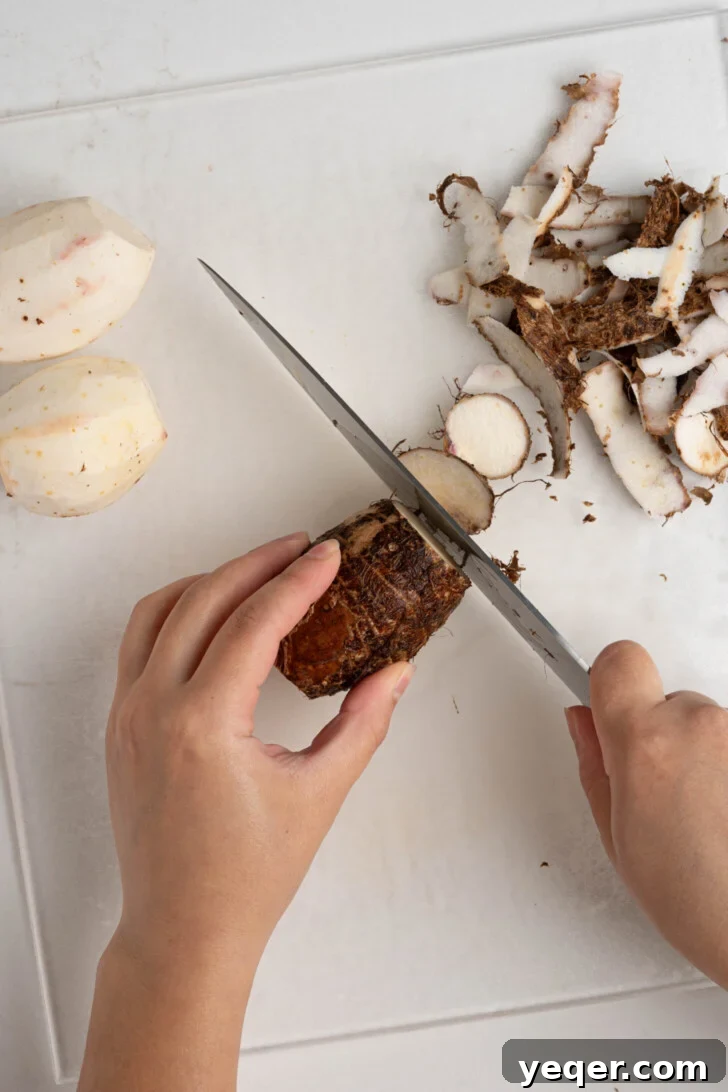
Peeling taro root requires a bit of care, but with the right tools and technique, it’s straightforward. The skin is quite tough and sometimes a bit waxy, which is why a sharp knife or a sturdy peeler is your best friend. Start by trimming both ends of the taro root to create flat surfaces. This makes the root more stable and easier to handle. Then, using either a sharp chef’s knife or a strong vegetable peeler, carefully work your way around the root, removing the rough, exterior peel. Due to potential skin irritation from raw taro (calcium oxalate crystals), wearing kitchen gloves is highly recommended to protect your hands. After peeling, rinse the taro thoroughly under cold water to wash away any lingering irritants and starch before slicing.
Comparing Cooking Methods: Fried, Air Fried, and Oven Baked Taro Chips
When it comes to homemade taro chips, the cooking method significantly impacts the final texture and flavor. Each approach offers a unique experience, allowing you to choose based on your preference for crispiness, health considerations, and convenience.
I would be lying if I said that anything truly beats a perfectly deep-fried taro chip. The deep-fry method consistently produces the most evenly cooked, exquisitely crispy chips with a rich, satisfying mouthfeel. For the ultimate, traditional taro chip experience, I wholeheartedly recommend using the deep-fry method if you’re comfortable with it. The quick submersion in hot oil locks in flavor and creates that signature airy crunch.
However, if deep-frying isn’t your preference, perhaps due to health concerns or a desire for less mess, the air-fried and oven-baked methods offer fantastic, pretty tasty alternatives. They still deliver a wonderful crispiness and allow the subtle, nutty flavor of the taro to shine through, just with a lighter texture.
The primary distinctions between making your taro chips in the oven versus in an air fryer lie in the cooking temperature and time required. The air fryer is generally faster and often achieves a slightly crispier texture than a conventional oven due to its concentrated hot air circulation. Using an air fryer typically requires around 10-15 minutes of cook time at 350°F (175°C), whereas a conventional oven will need approximately 20-25 minutes at a slightly higher temperature of 375°F (190°C) to achieve a similar crispness.
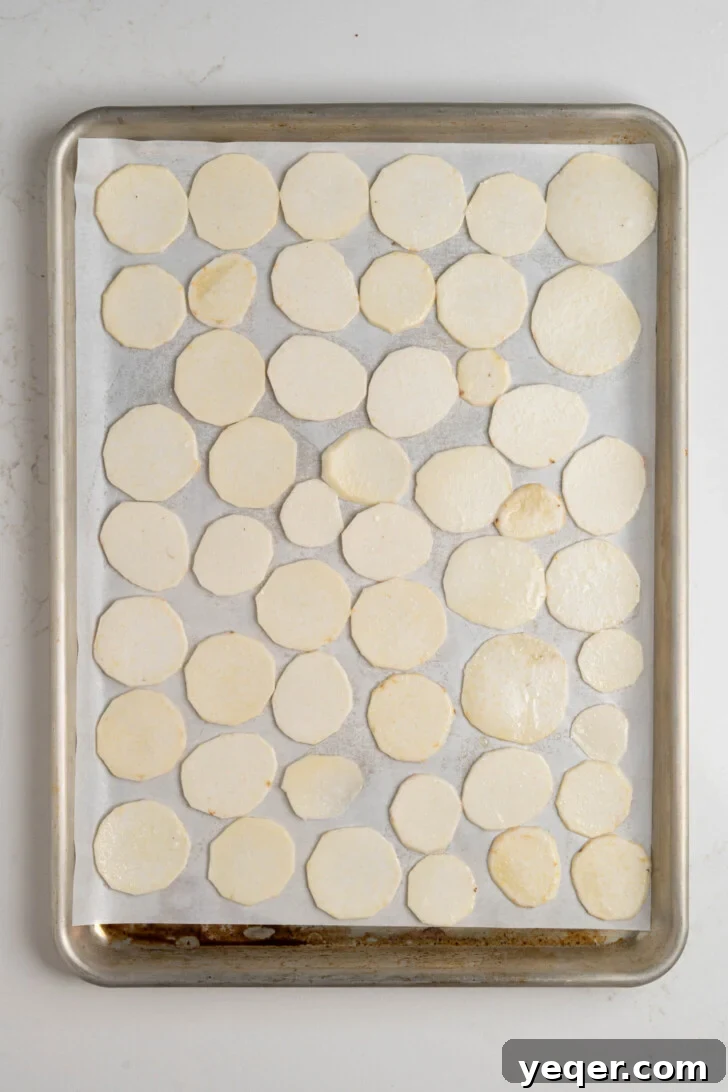
For both oven and air fryer methods, it’s crucial to arrange the chips in a single layer without overlapping to ensure maximum exposure to heat. For air-fried chips, I highly recommend checking on them more frequently, perhaps every 3-5 minutes, and giving the basket a good shake or flipping the chips at the halfway mark. This ensures uniform cooking and prevents any spots from becoming overly crisp or undercooked, leading to a perfectly cooked end result every time.
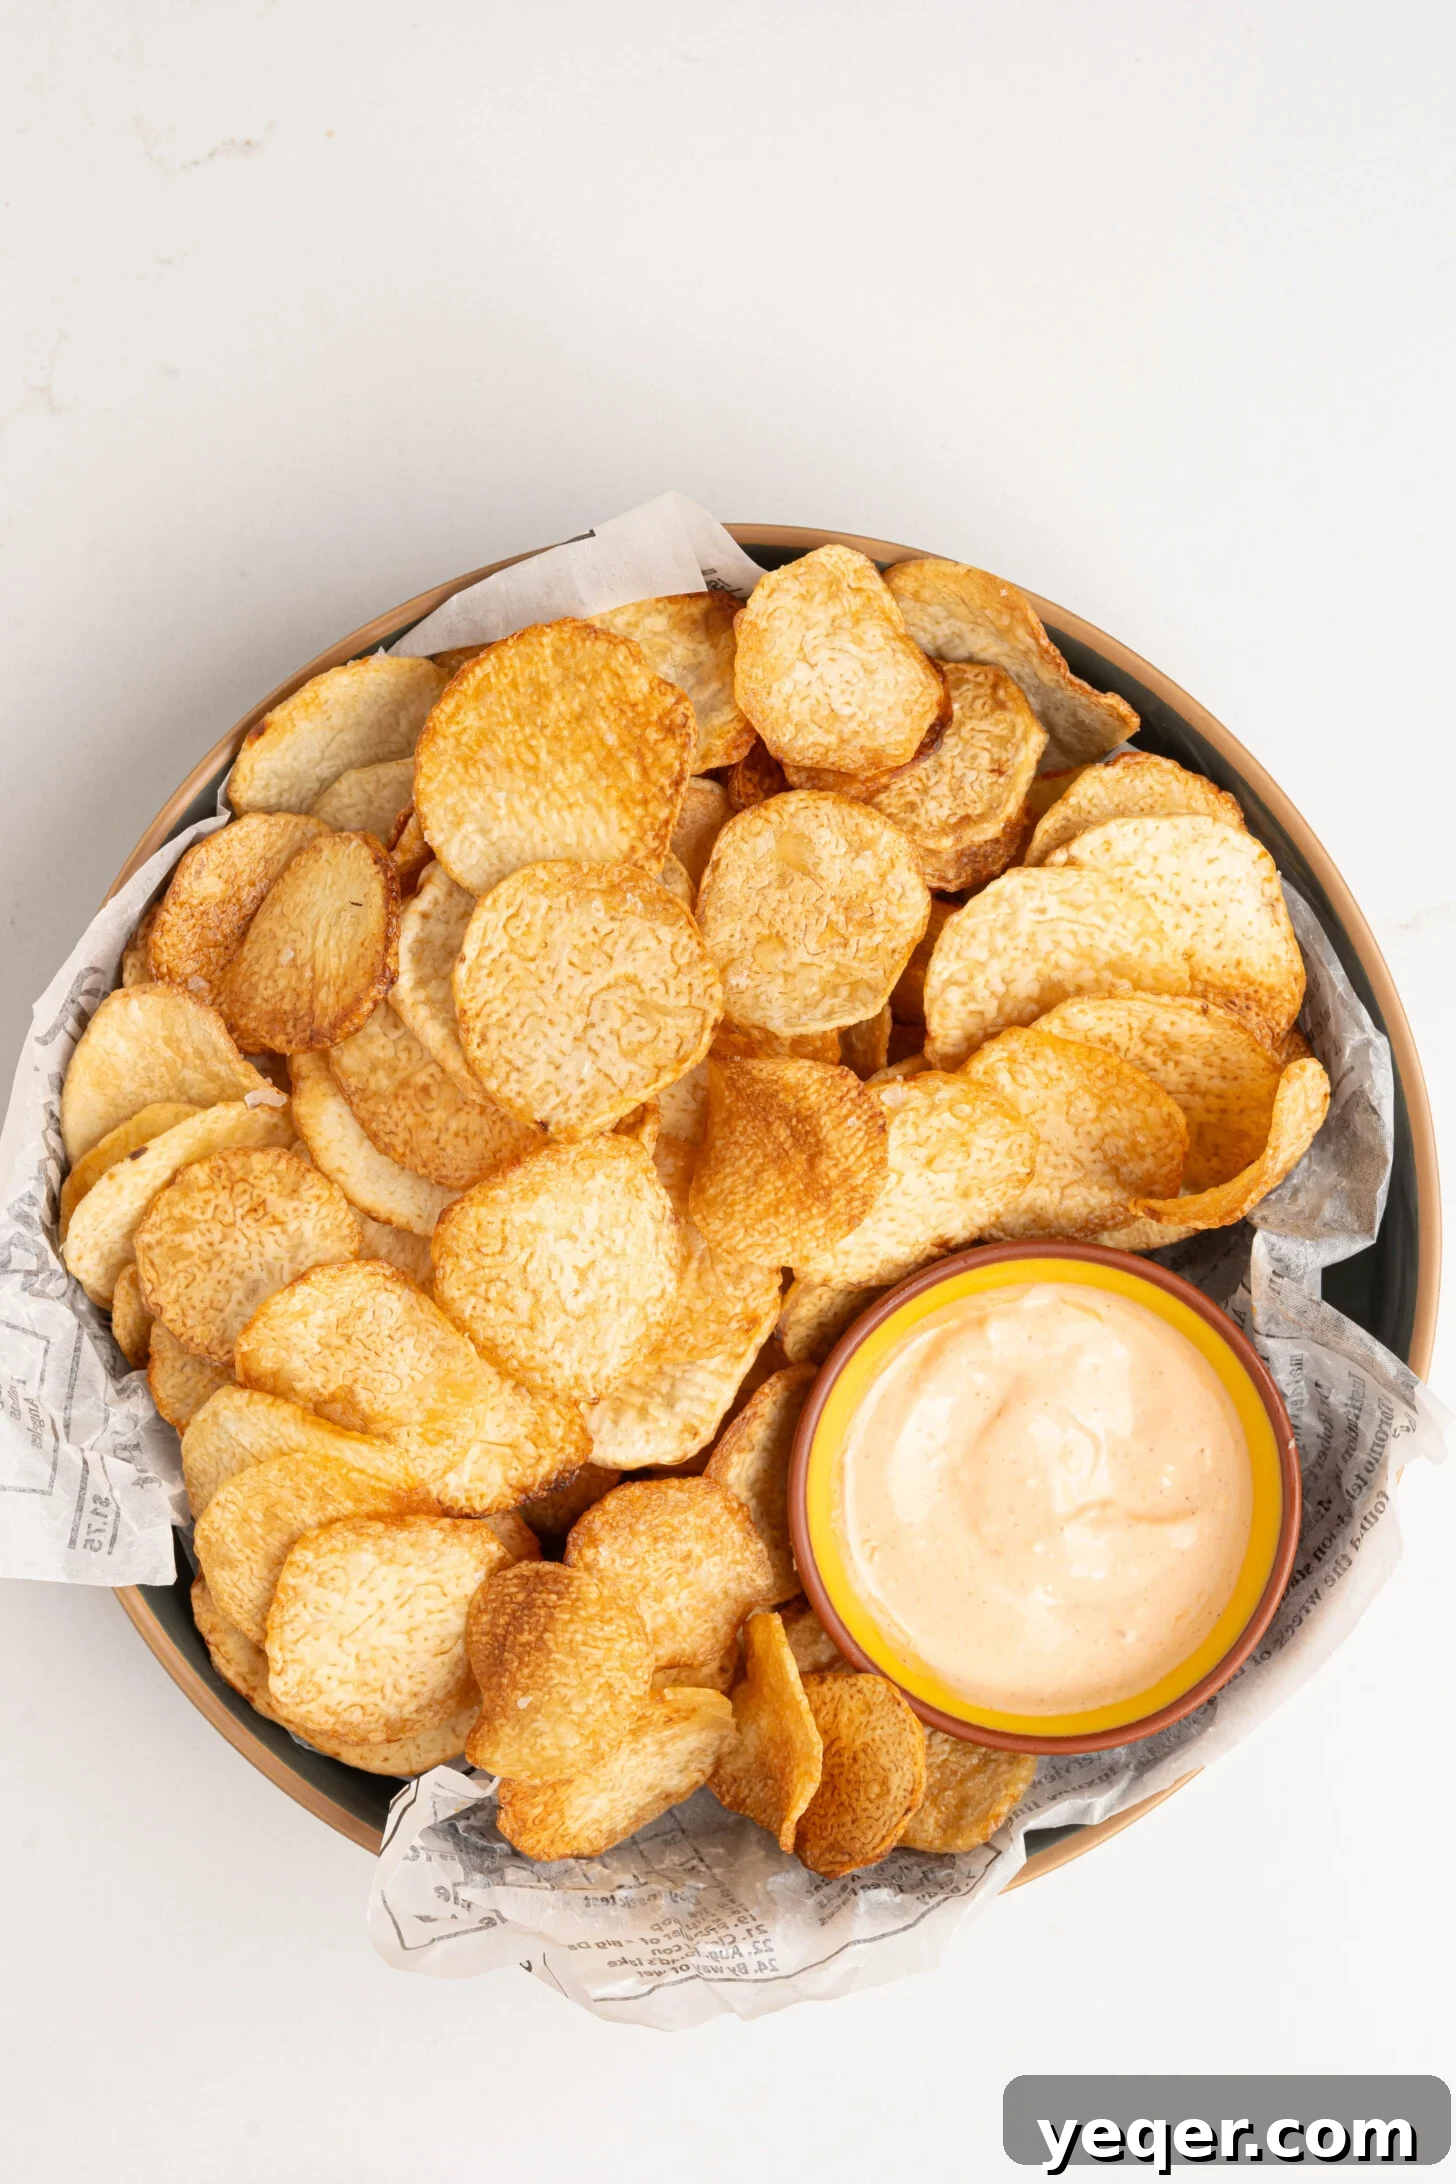
Elevate Your Snack with These Tasty Dipping Sauces
Who doesn’t love a good chips & dip combo? Pairing your homemade taro chips with a flavorful dipping sauce takes them from great to unforgettable. Here are a few of my favorite dipping sauces that perfectly complement the unique taste of taro:
Special Equipment for Perfect Taro Chips
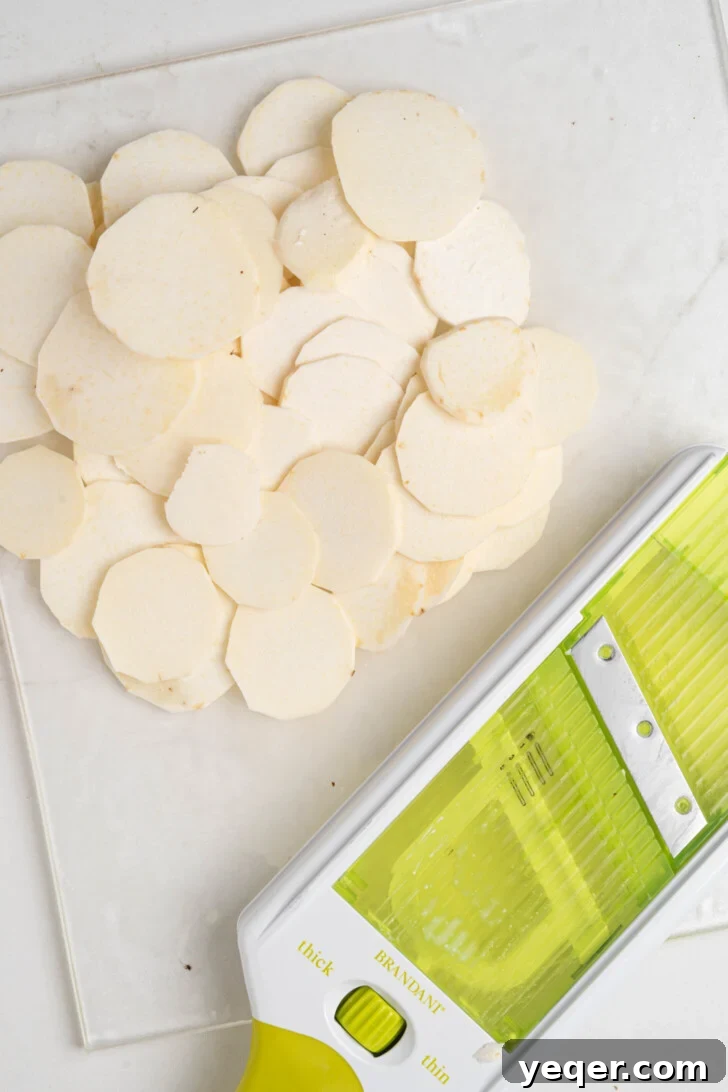
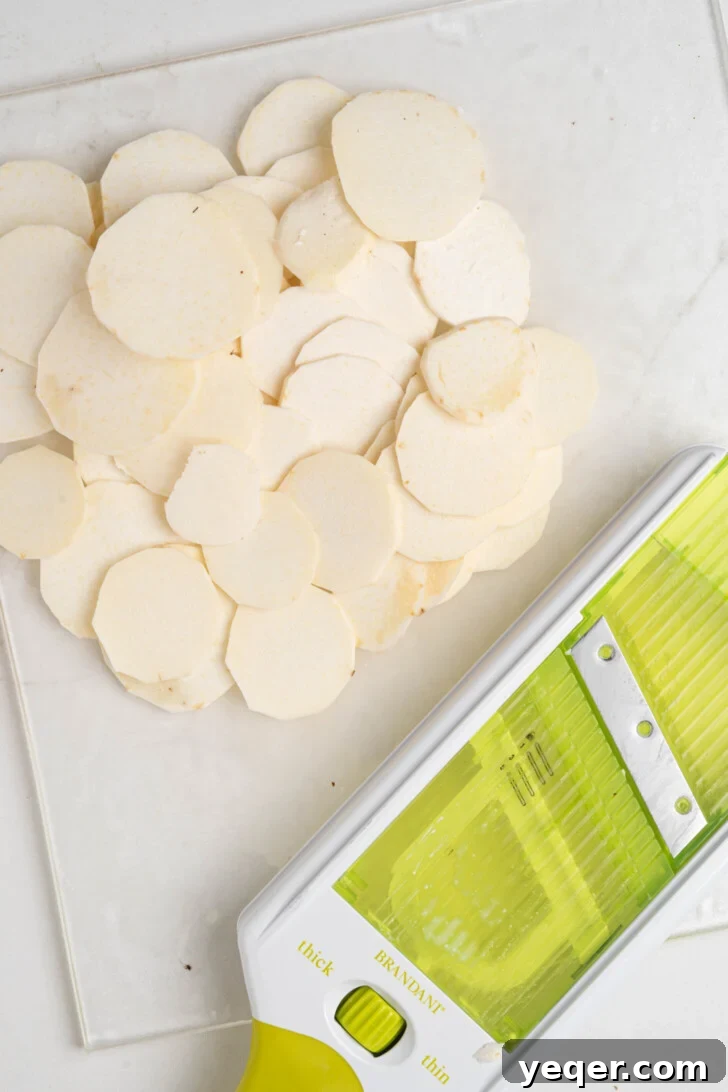
While not strictly necessary, having the right tools can make the process of making homemade taro chips much easier and lead to a more professional-looking and evenly cooked end product. The easiest and most effective way to achieve perfectly uniform, paper-thin chips is by using a mandolin slicer. This specialized kitchen tool is incredibly efficient for slicing a wide variety of fruits and vegetables with consistent thickness, which is crucial for chips that cook evenly.
That said, it’s absolutely paramount to exercise extreme caution when operating a mandolin. The blades are exceptionally sharp and are known to cause accidents in the kitchen if not handled properly. Furthermore, the taro root itself can have a somewhat slippery texture, especially after being peeled and rinsed, which amplifies the need for vigilance while slicing. Many modern mandolins come equipped with safety features such as a food holder or a protective glove, which are truly wonderful inventions designed to keep your hands safely away from the razor-sharp blade. Always use these safety tools!
If you’re not comfortable using a mandolin, or simply don’t own one, fear not! You can still achieve excellent results with a good, sharp knife. In this case, I recommend taking the time to sharpen your knife thoroughly and then carefully and slowly slice the taro root. The key is to aim for slices that are as equal in thickness as possible. The more consistent your slices are, the more evenly your chips will bake or fry, ensuring a perfect crunch in every bite.
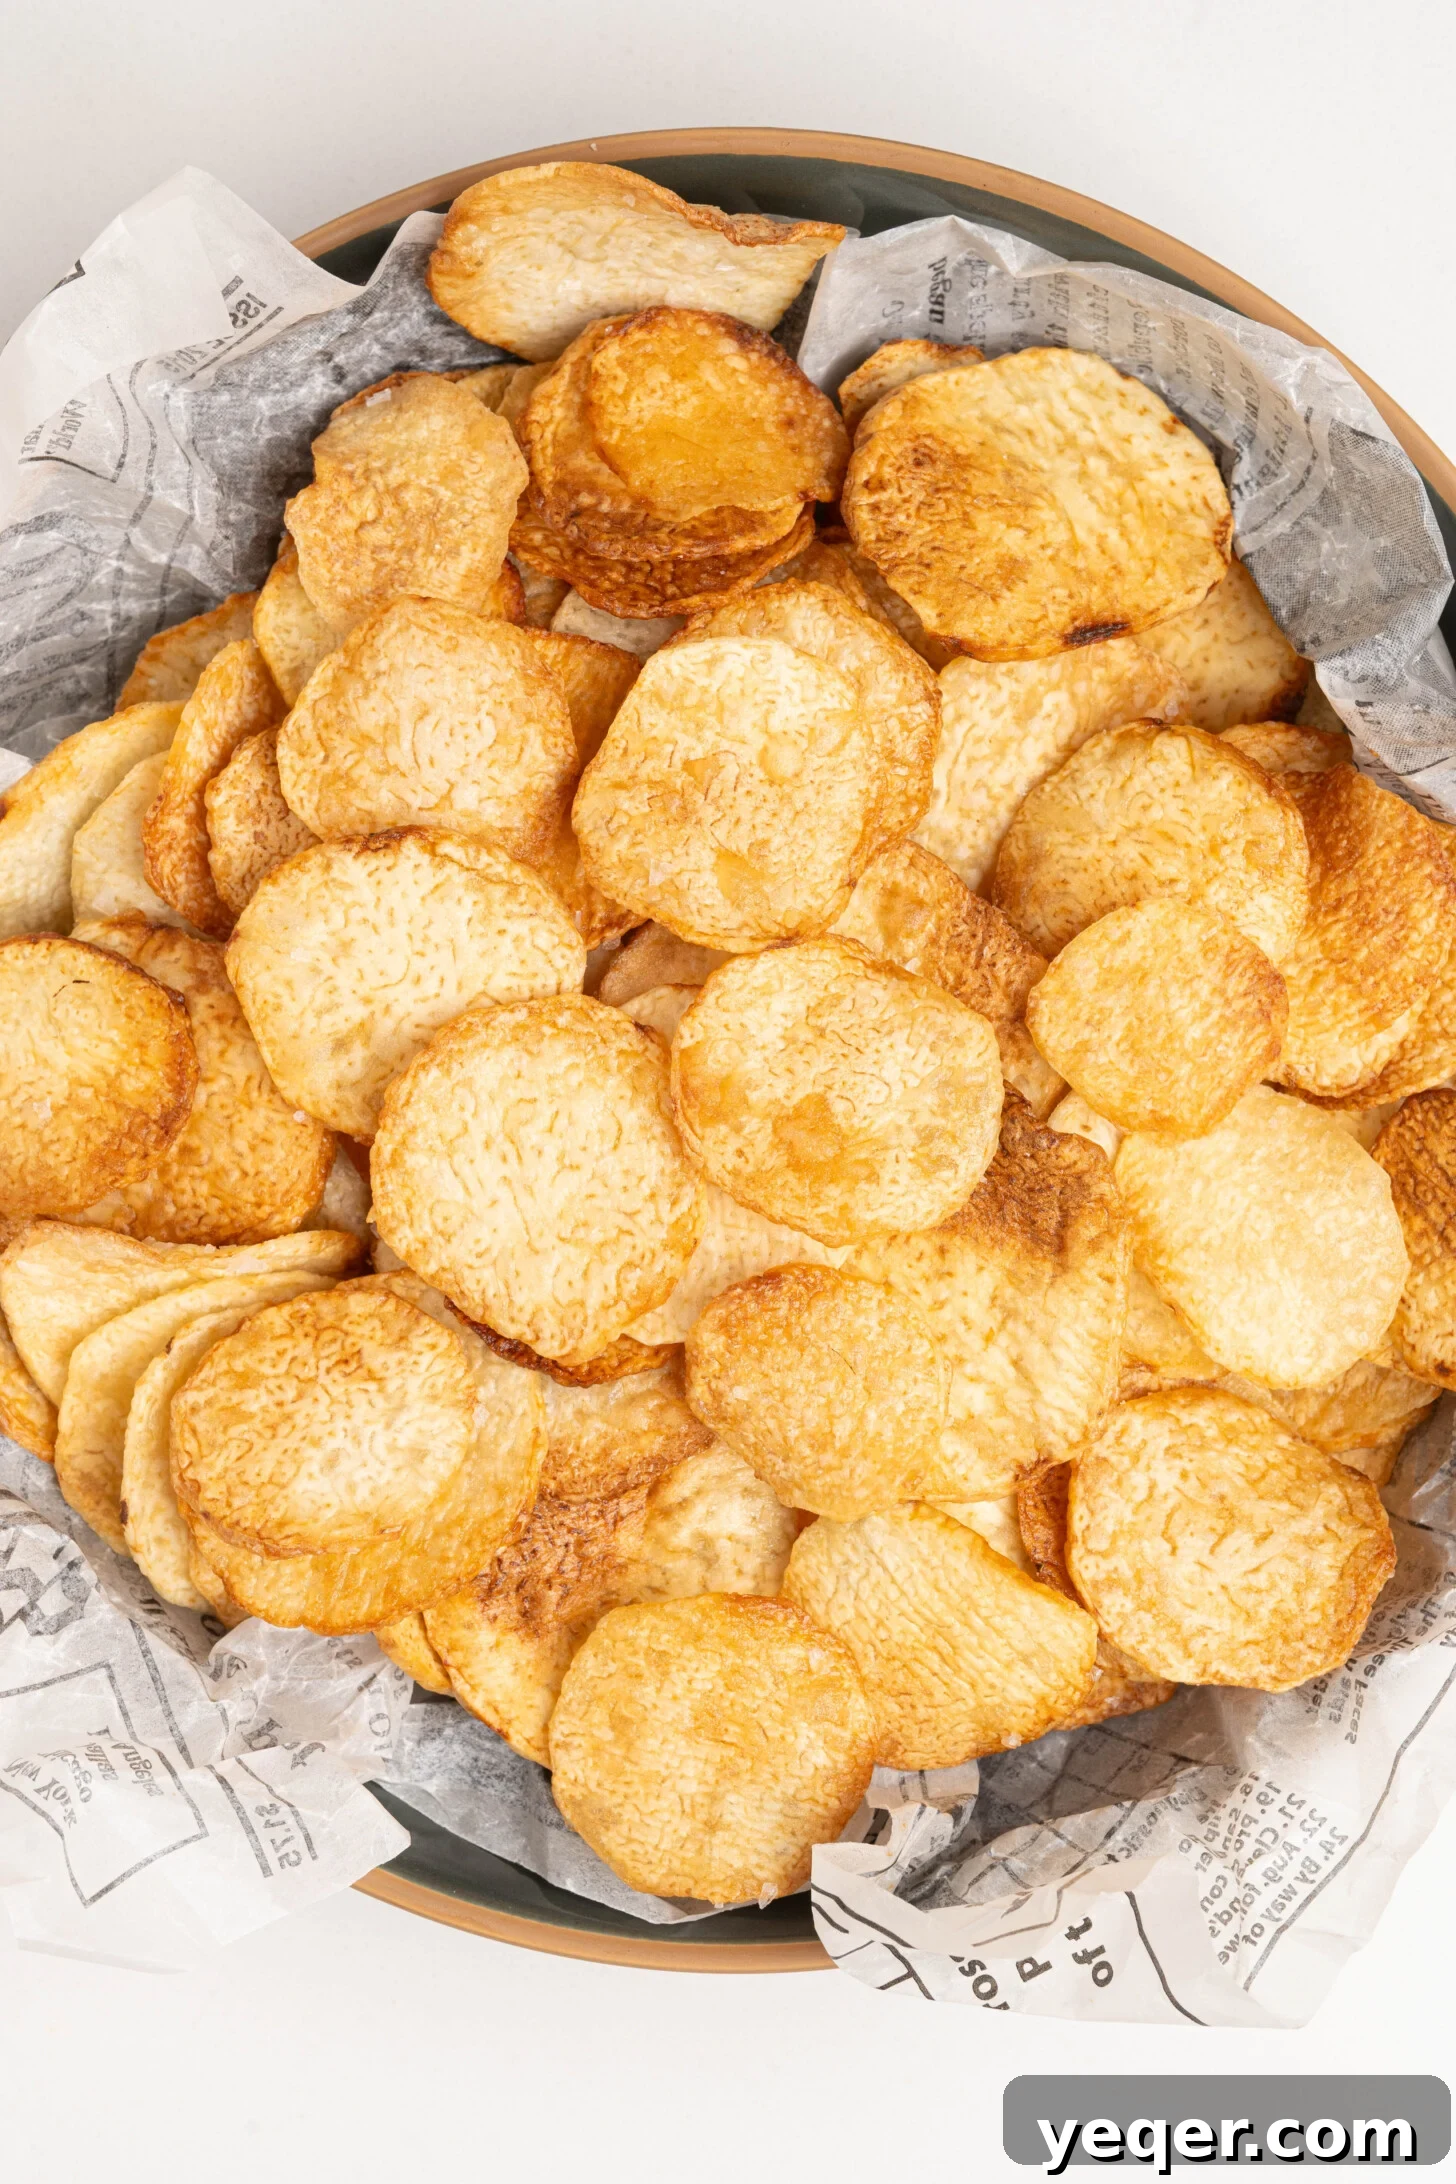
Discover More Homemade Root & Plantain Chips
If you’ve enjoyed making and devouring these delightful taro chips, you’re likely to appreciate other homemade root vegetable and plantain snacks. Expanding your repertoire with these similar recipes will introduce you to more incredible flavors and textures, all made fresh in your kitchen:
Thank you for joining me on this delicious journey!

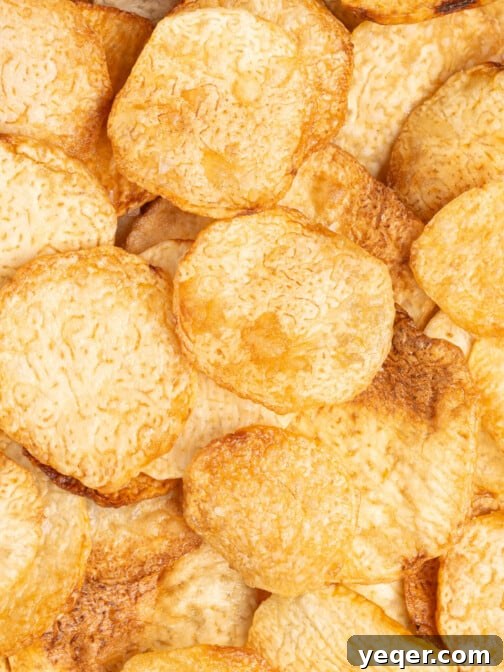
30-Minute Taro Chips (Oven & Air Fryer Instructions Too!)
- Author: Salima Benkhalti
- Prep Time: 10 minutes
- Cook Time: 20 minutes
- Total Time: 30 minutes
- Yield: 4 servings
- Category: Snack, Appetizer, Side Dish
- Method: Fried, Baked, Air Fryer
- Diet: Vegan
Description
Learn how to make your own perfectly crispy homemade taro chips in just 30-minutes! They’re even better than the kind you buy at the store and made with only three ingredients: taro root, oil, and salt. Keep reading for instructions on how to make these in the air fryer & oven.
Ingredients
Ingredients for Fried Taro Chips:
- 4 cups oil (avocado, vegetable, canola, etc.)
- 1/2 lb taro root, rinsed & dried
- 1 tsp salt
Ingredients for Baked/Air Fried Taro Chips:
- 1/2 lb taro root, rinsed & dried
- 1 tbsp oil (avocado, vegetable, canola, etc.)
- 1 tsp salt
Instructions
For Fried Taro Chips:
- Heat oil in a pot & peel taro. Heat your oil to 350°F (175°C). Trim both ends of the taro before carefully removing the peel with a sharp knife or peeler. I recommend rinsing the root off after peeling.
- Slice the taro. Using a mandolin or sharp knife, carefully slice the taro into thin chips. Take your time here to make sure the slices are even in size and be especially careful not to cut yourself.
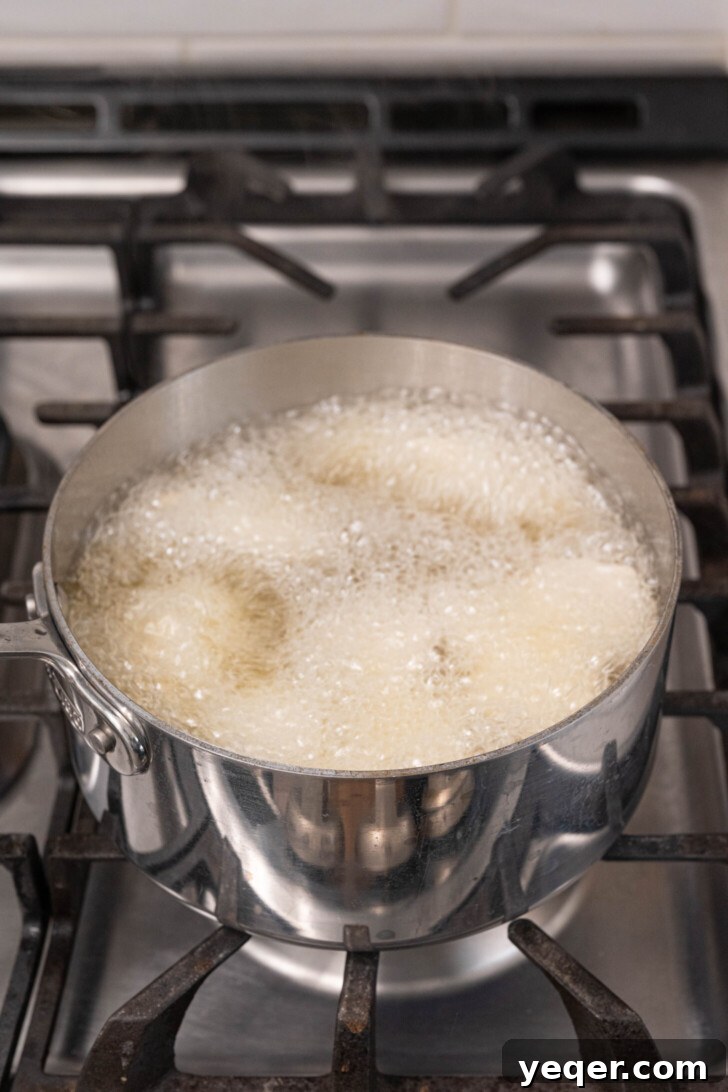
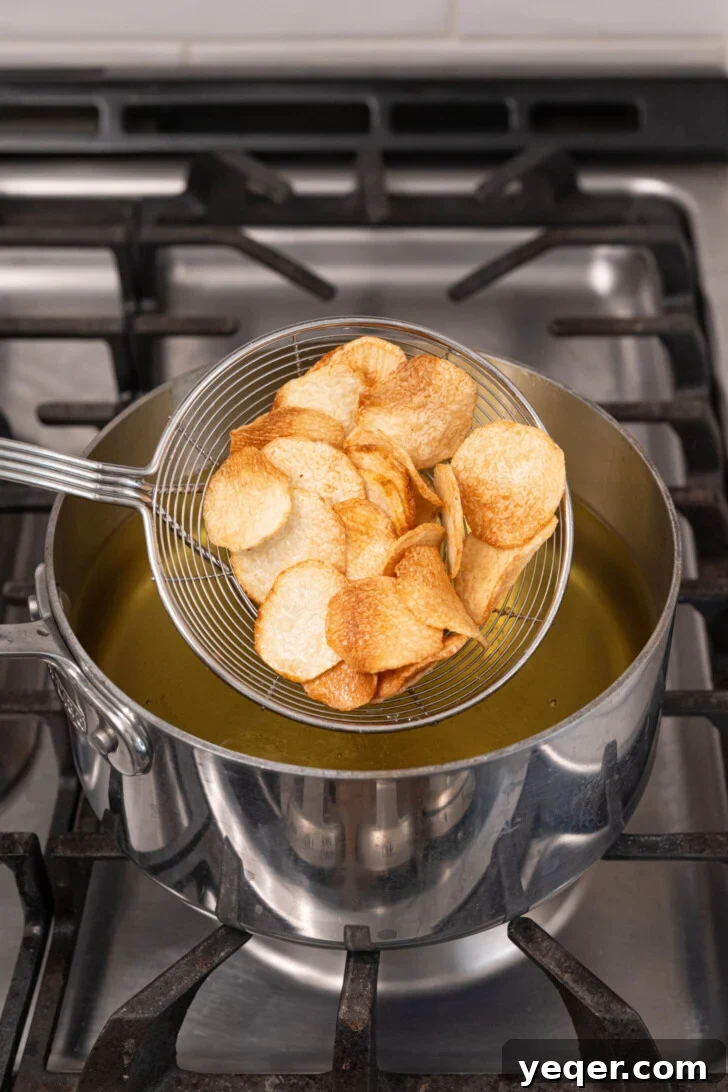
- Fry the chips. Fry the chips in batches, making sure to not crowd the pot. Fry until light golden brown and crispy all around, around 5-8 minutes.
- Drain excess oil & season with salt. Transfer the chips to a paper towel lined plate to drain any excess oil and sprinkle generously with salt. Enjoy!
For Baked/Air Fried Taro Chips:
- Preheat oven or air fryer & peel the taro. Preheat your oven to 375°F (190°C) or air fryer to 350°F (175°C). Trim both ends of the taro before carefully removing the peel with a sharp knife or peeler. I recommend wearing gloves while peeling the root.
- Slice the taro. Using a mandolin or sharp knife, carefully slice the taro into thin chips. Take your time to make sure the slices are even in size and be careful not to cut yourself.
- Coat with oil & salt. Toss the chips with oil and salt, making sure they’re coated on both sides. Line a baking sheet or the air fryer basket with parchment paper and arrange the chips so they don’t overlap. This may require two baking sheets or a few batches in the air fryer.
- Bake until crispy. Bake the chips until crispy and light golden brown, about 20-25 minutes in the oven or 10-15 in the air fryer. Season with additional salt directly out of the oven, if desired. Enjoy!
Notes
Tip: Make sure to check on your chips every 5 minutes or so, to make sure they aren’t too golden or crispy. Because many of our ovens and air fryers can vary in accuracy, these chips are easy to burn!