
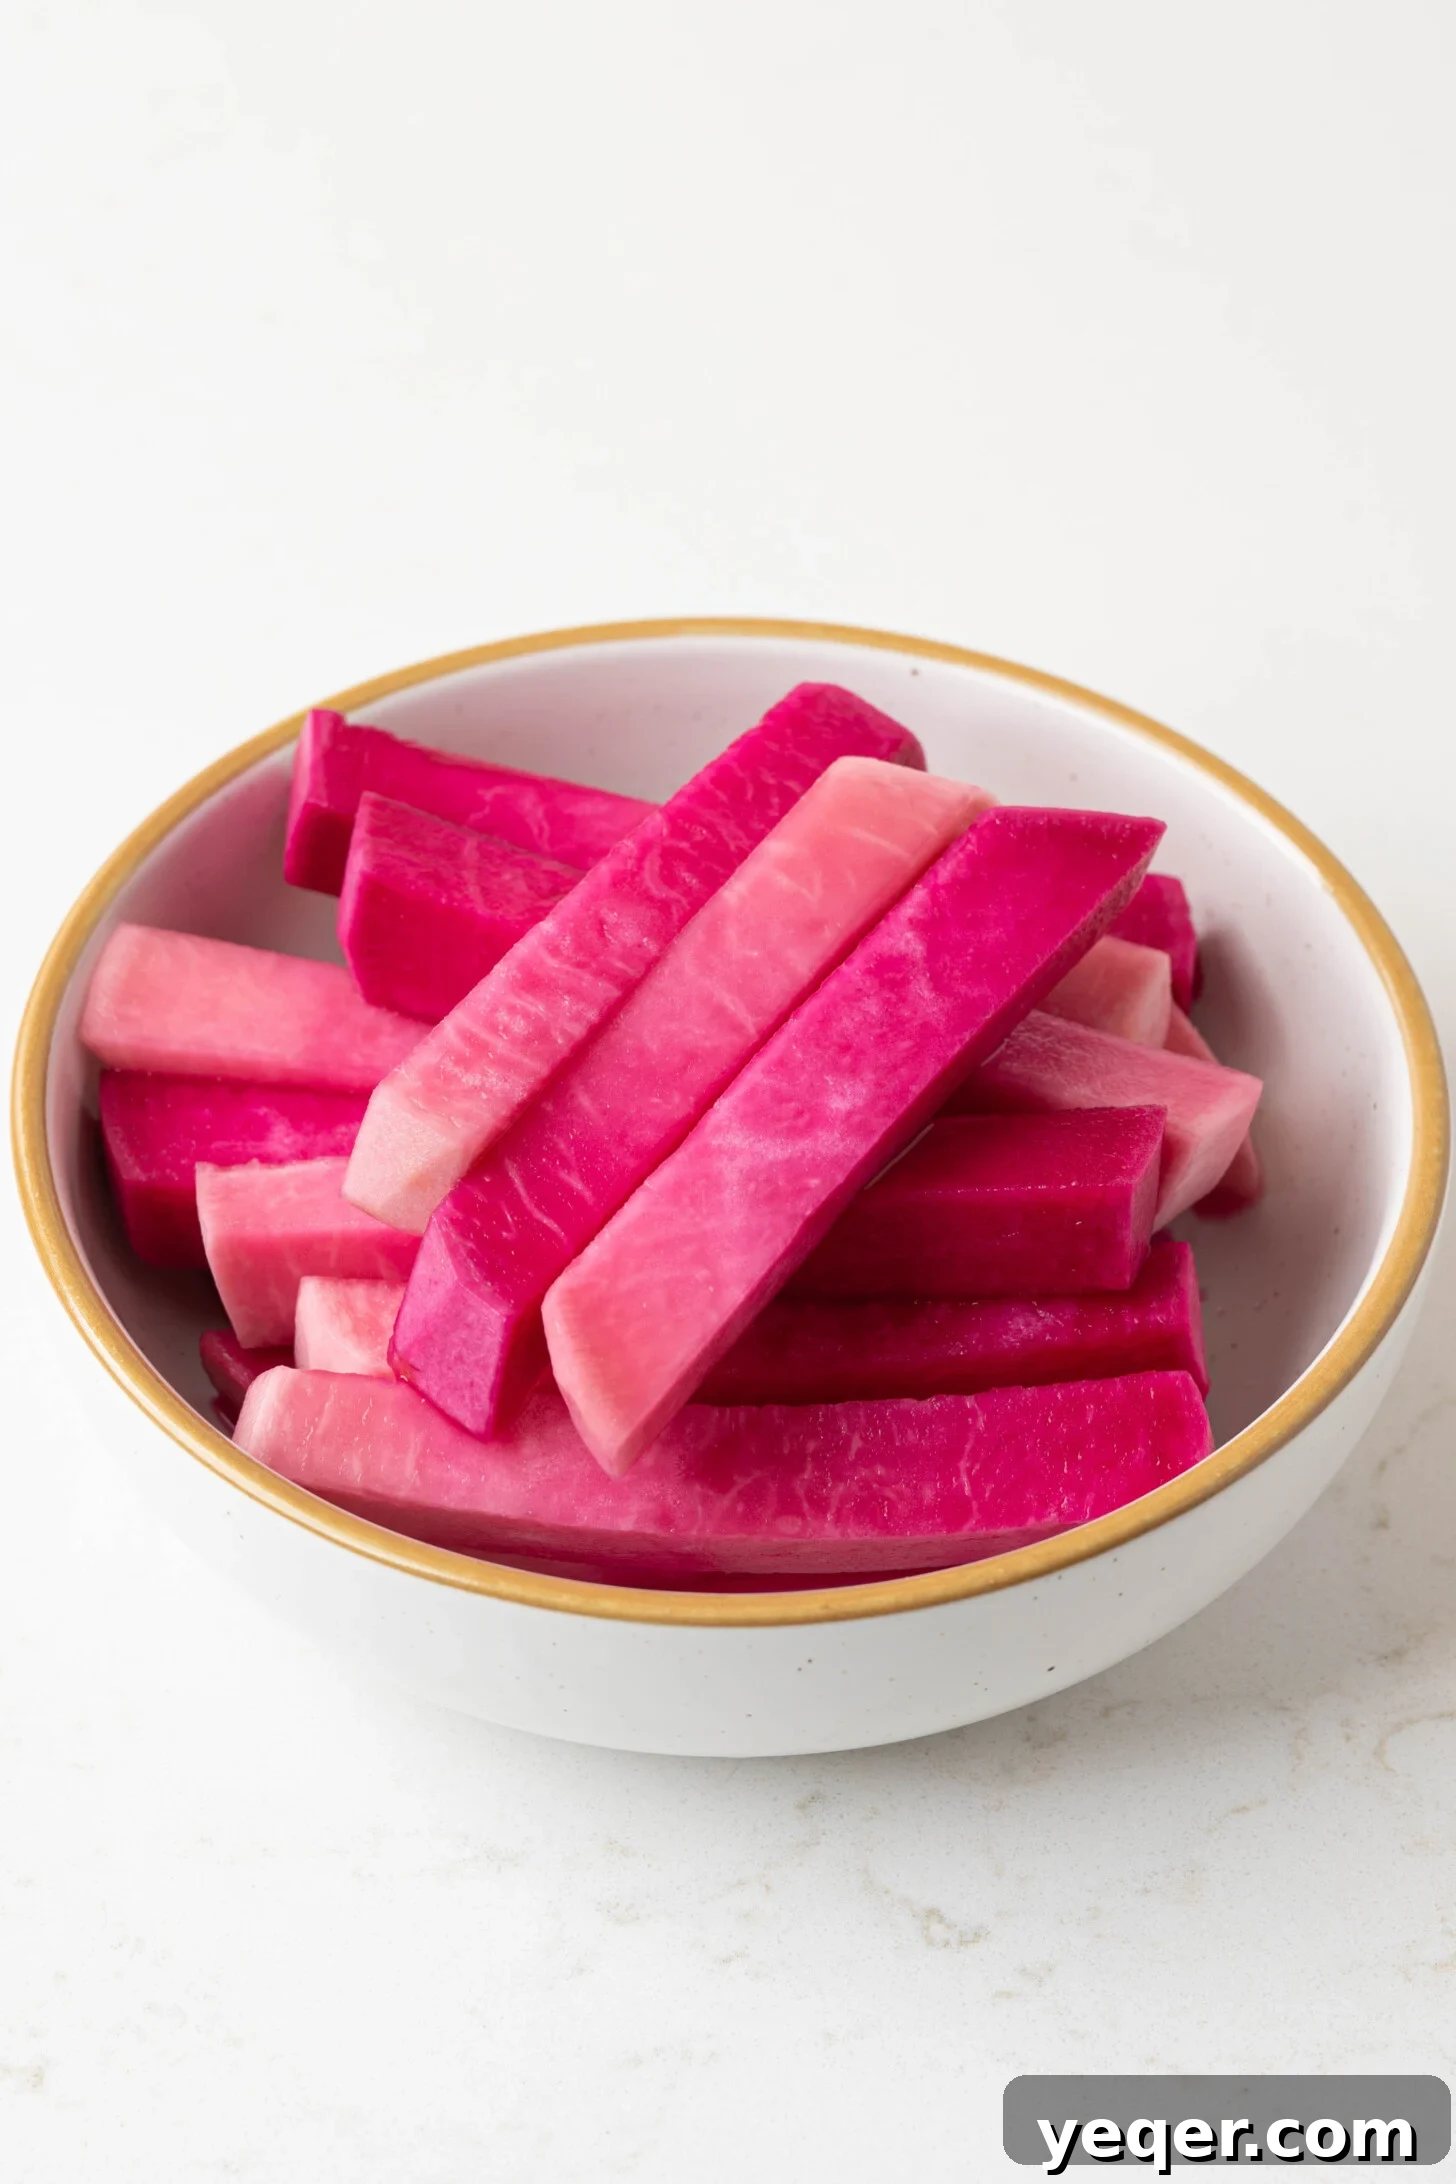
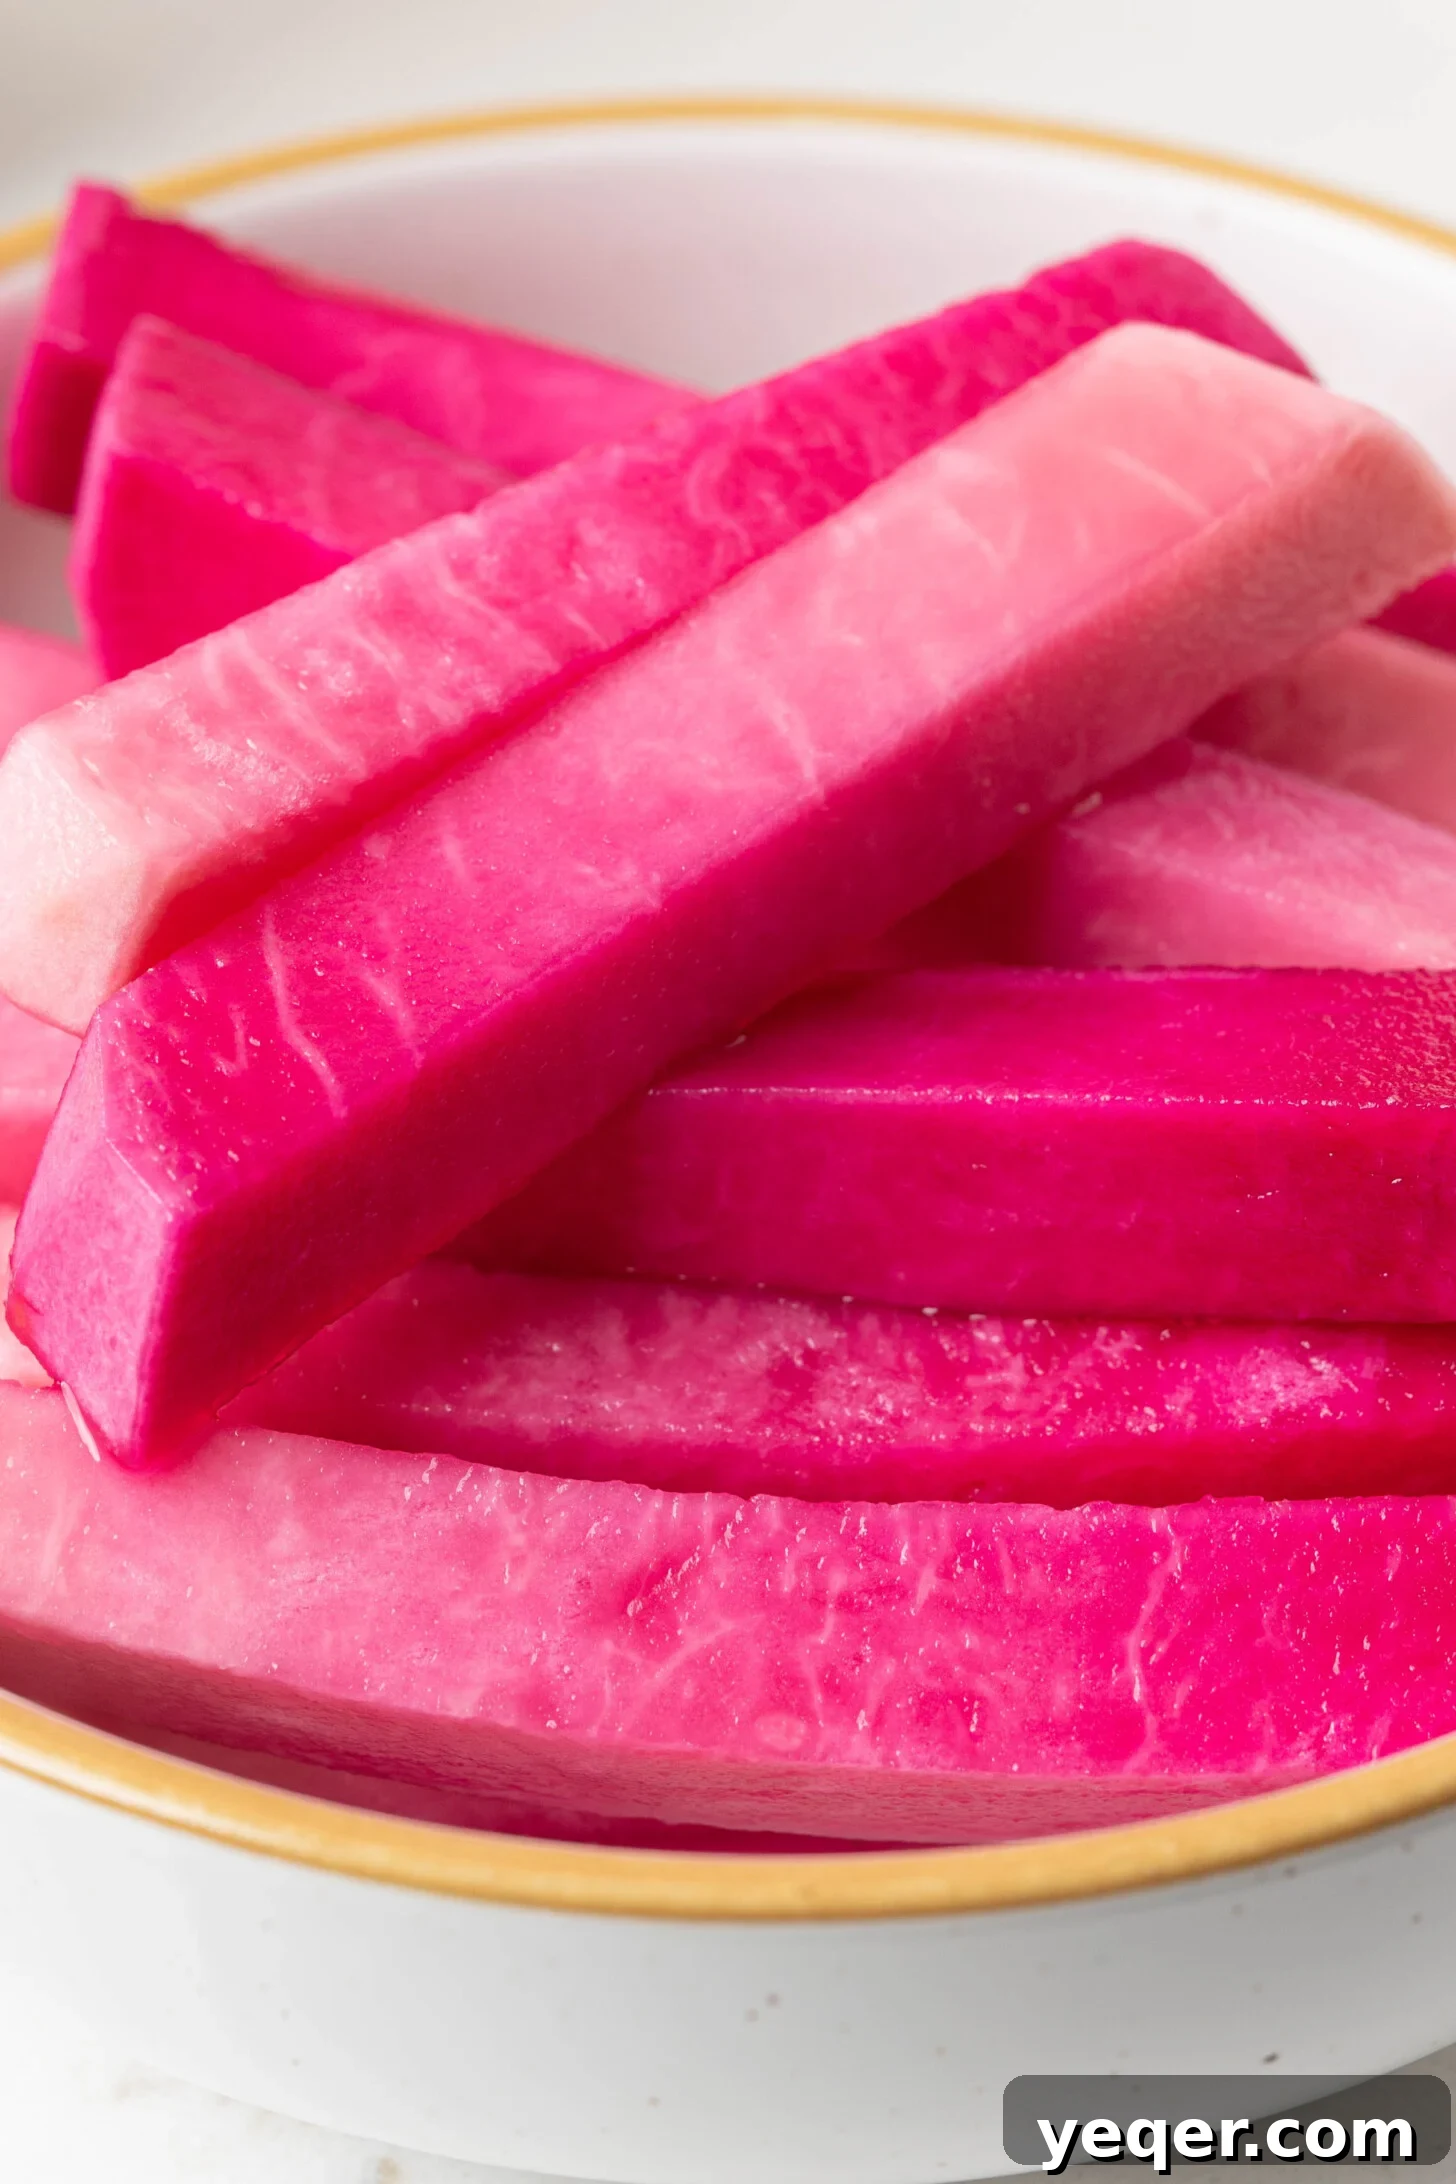
Discover the vibrant world of homemade pickles with these incredibly simple pickled turnips. Crafted with just five core ingredients, these turnips boast a stunning pink hue, courtesy of natural beets, and deliver an irresistible tangy crunch that elevates a multitude of Middle Eastern dishes. Requiring minimal hands-on time, a few minutes of prep is all it takes before they sit patiently at room temperature for about a week, transforming into a flavor-packed condiment ready to delight your palate.
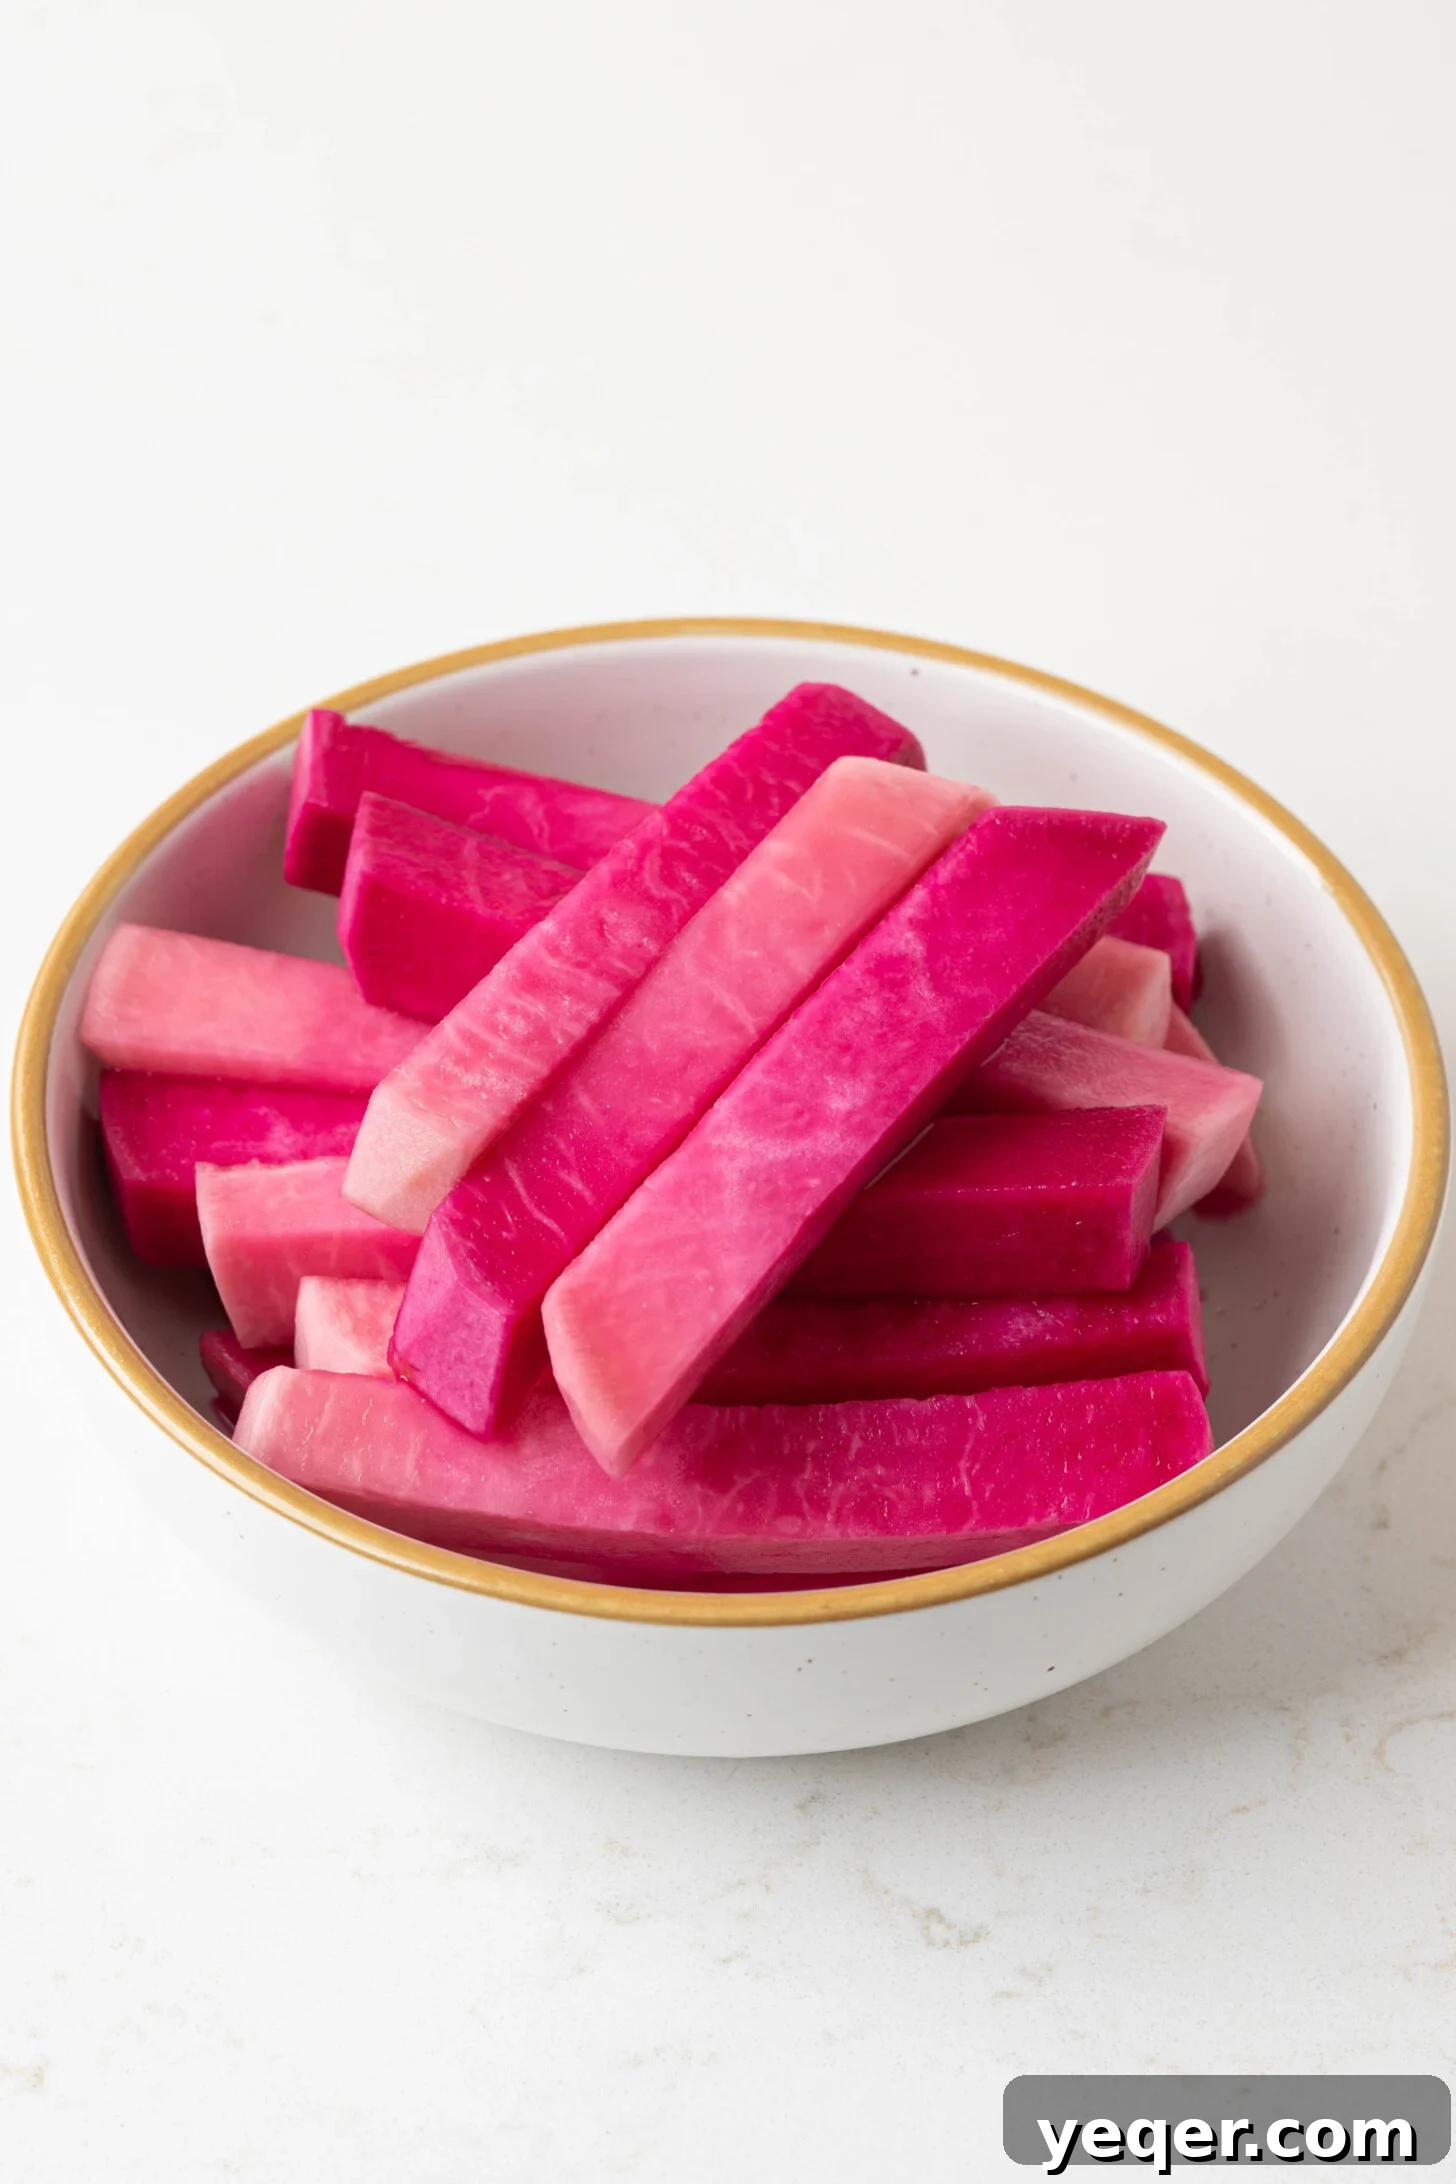
If you’re eager to infuse your meals with an explosion of flavor and captivating texture, your search ends here. These homemade pickled turnips are a culinary revelation, brimming with a delightful balance of tangy, sweet, and earthy notes, all encased in a satisfyingly crisp and crunchy bite. This recipe isn’t just about making pickles; it’s a wonderfully straightforward and rewarding introduction to the art of small-batch home pickling, perfect for beginners and seasoned enthusiasts alike.
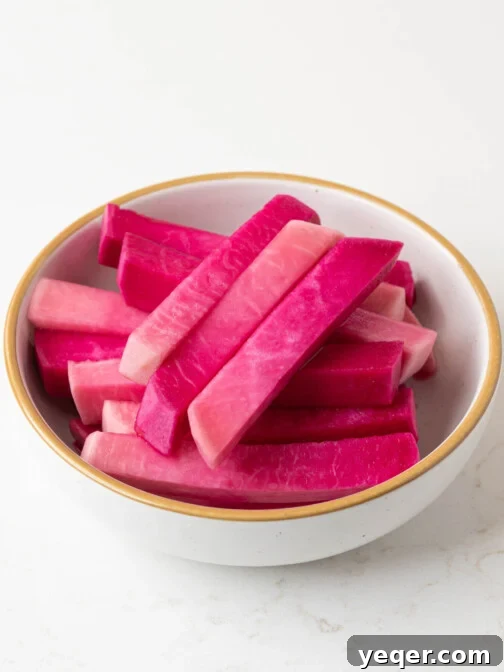
Hailing from the rich culinary traditions of the Middle East, these versatile pink pickles are an essential accompaniment to a wide array of dishes. They shine exceptionally bright alongside savory kefta, succulent shawarma, and perfectly grilled kabobs. Beyond these classic pairings, you’ll find them to be a fantastic addition to many of your favorite Moroccan recipes, lending a bright counterpoint to hearty stews and tagines. Their impressive, eye-catching hot pink color isn’t from artificial dyes but comes naturally from the humble beet, adding an element of visual magic to your plate. The entire process requires just 5 ingredients, plus water, making it an accessible project for any home cook.
The journey to delicious homemade pickled turnips is refreshingly simple. Begin by ensuring your jar or jars are impeccably sterilized – a crucial step for food safety and optimal preservation. Once prepped, combine your thinly sliced turnips and beet with a simple brine of vinegar, water, salt, and black peppercorns. A quick shake to ensure everything is well distributed, and then the waiting game begins. Allow your concoction to sit at room temperature for about a week, letting the flavors meld and the vibrant color develop. After this transformative period, you’ll have a batch of delectable homemade pickles that will happily keep in your fridge for weeks, ready to enhance any meal. If you appreciate the simplicity and bold flavors found in this recipe, be sure to explore making your own preserved lemons, another staple that brings incredible depth to Mediterranean and North African cooking.
Why Homemade Pickled Turnips? The Benefits and Beyond
Opting to make your own pickled turnips is a decision that brings a multitude of benefits, extending far beyond just the delicious taste. Firstly, there’s the unparalleled freshness. Store-bought pickles, while convenient, often contain preservatives and artificial additives. By making them at home, you have complete control over every ingredient, ensuring a clean, wholesome product free from anything you don’t want. This control also allows for customization, enabling you to adjust the saltiness, tang, and spice level to perfectly suit your preferences. Economically, homemade pickles are often more cost-effective than their commercial counterparts, especially if you source your turnips and beets locally and in season. Beyond these practical advantages, there’s an immense sense of satisfaction that comes with creating something so flavorful and vibrant from scratch. It’s a simple culinary project that yields impressive results, making it a truly rewarding experience for any home cook.
Essential Ingredients for Perfect Pink Pickles
Crafting these delightful pickled turnips requires just a handful of straightforward ingredients. Each component plays a vital role in achieving that signature tangy crunch and beautiful color. Here’s what you’ll need:
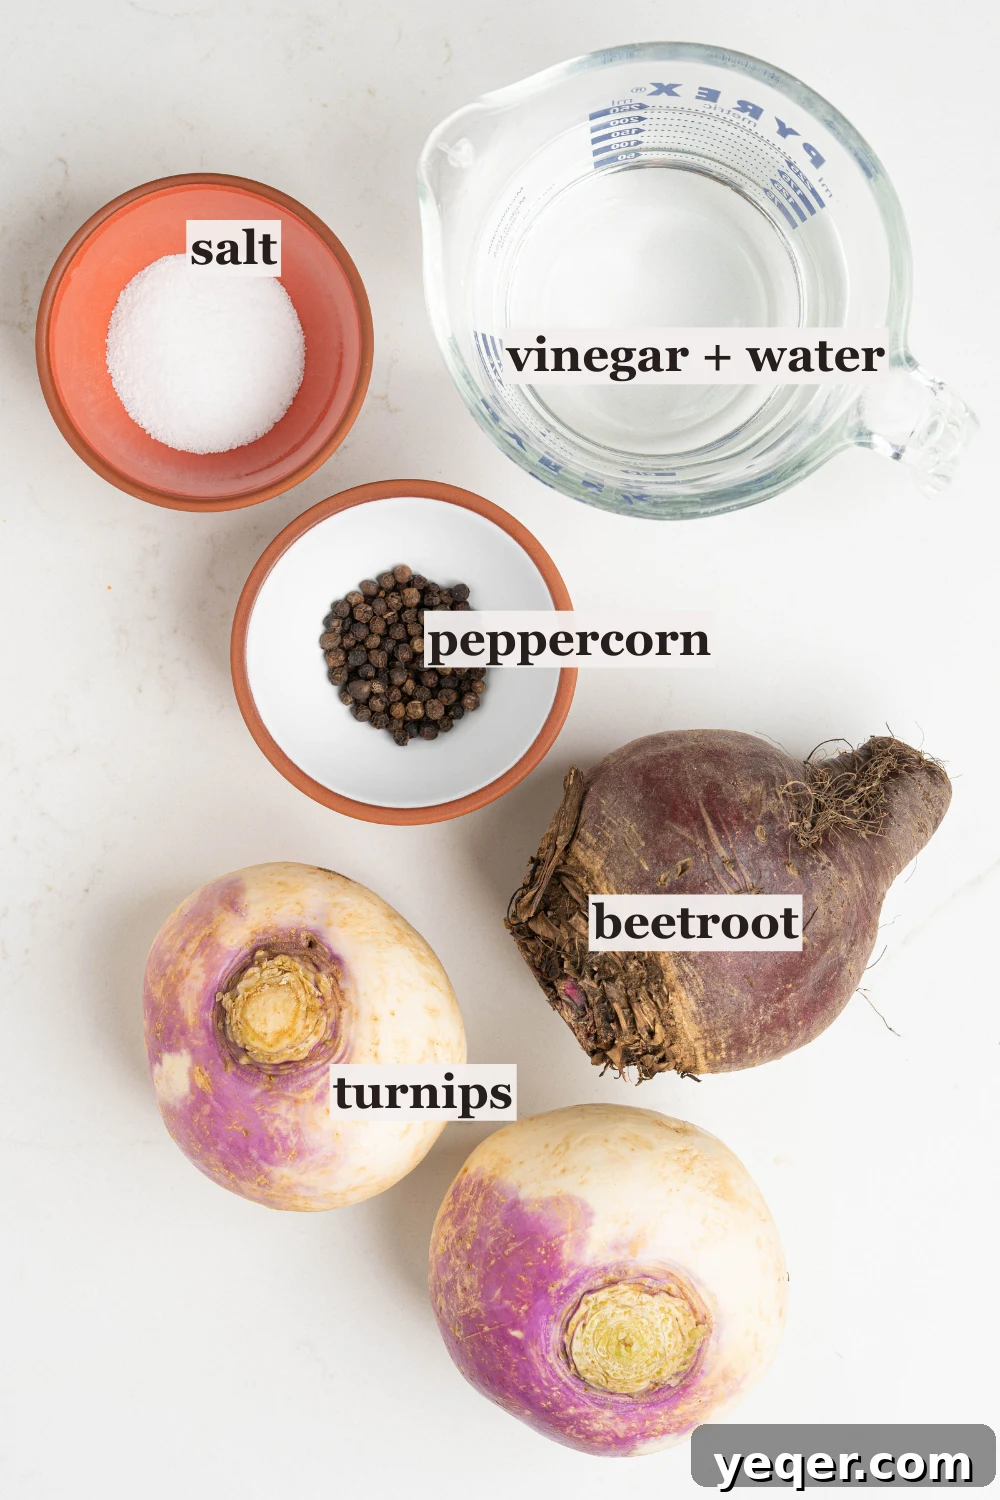
- Turnips: The star of our show. Choose firm, fresh turnips. Once washed and dried, they’ll provide that essential crisp texture.
- Small Beet: This is our secret weapon for color! A single small beet, washed and dried, will naturally dye your turnips a gorgeous pink without affecting their flavor.
- Salt: Crucial for flavor and the pickling process. Standard table salt (non-iodized) or pickling salt works best.
- Black Peppercorns: These tiny spheres infuse a subtle, aromatic spice into the brine, enhancing the overall flavor profile.
- White Vinegar + Warm Water: The foundation of our pickling brine. White vinegar provides the necessary acidity for preservation and tang, while warm water helps dissolve the salt and create the perfect solution for the turnips to absorb.
You can find the full ingredient list with exact quantities in the detailed recipe card below.
Crafting Your Pickled Turnips: A Simple Guide
Making these pickled turnips is a breeze, especially when you follow these easy, step-by-step instructions. The process is designed to be straightforward, ensuring even novice picklers can achieve fantastic results.
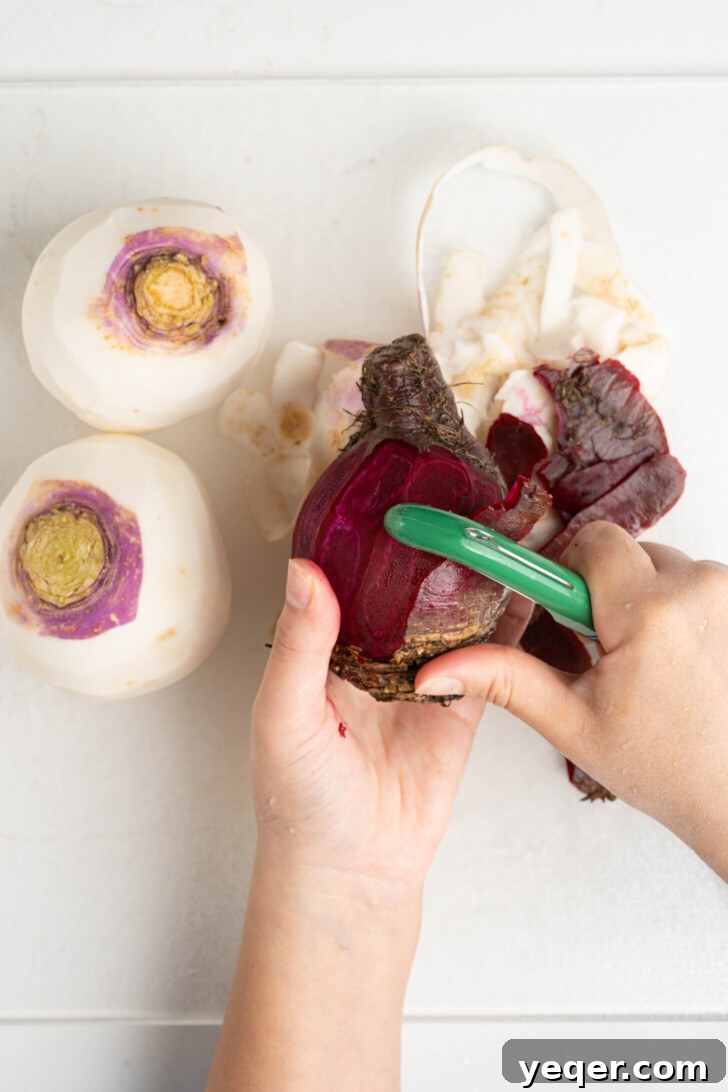
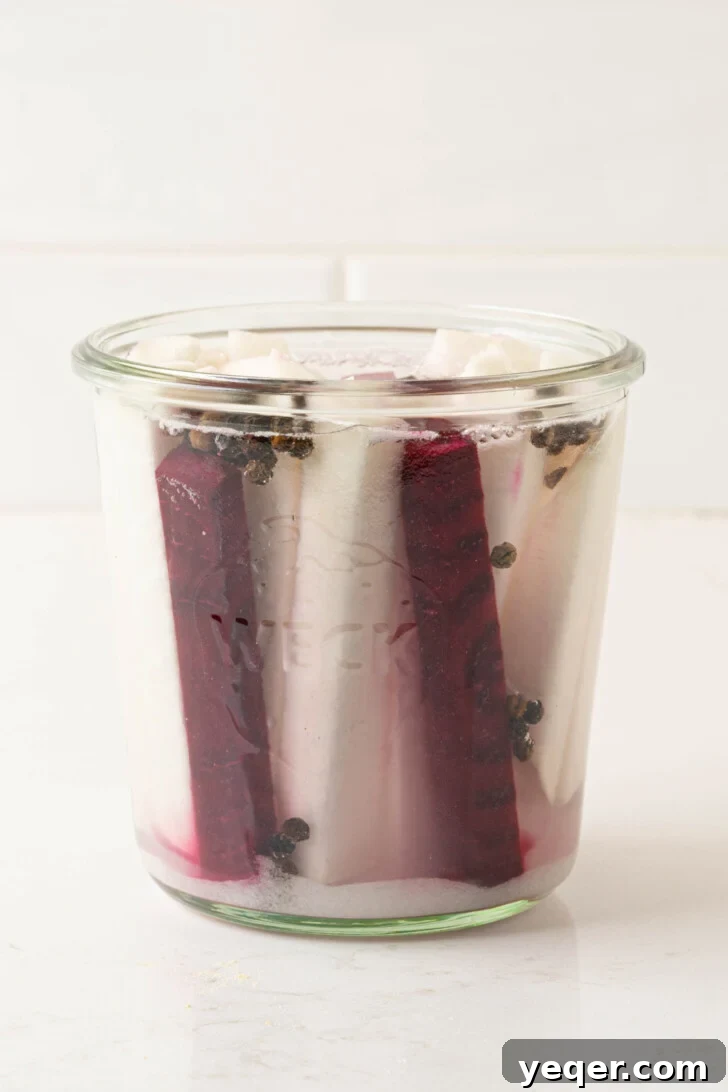
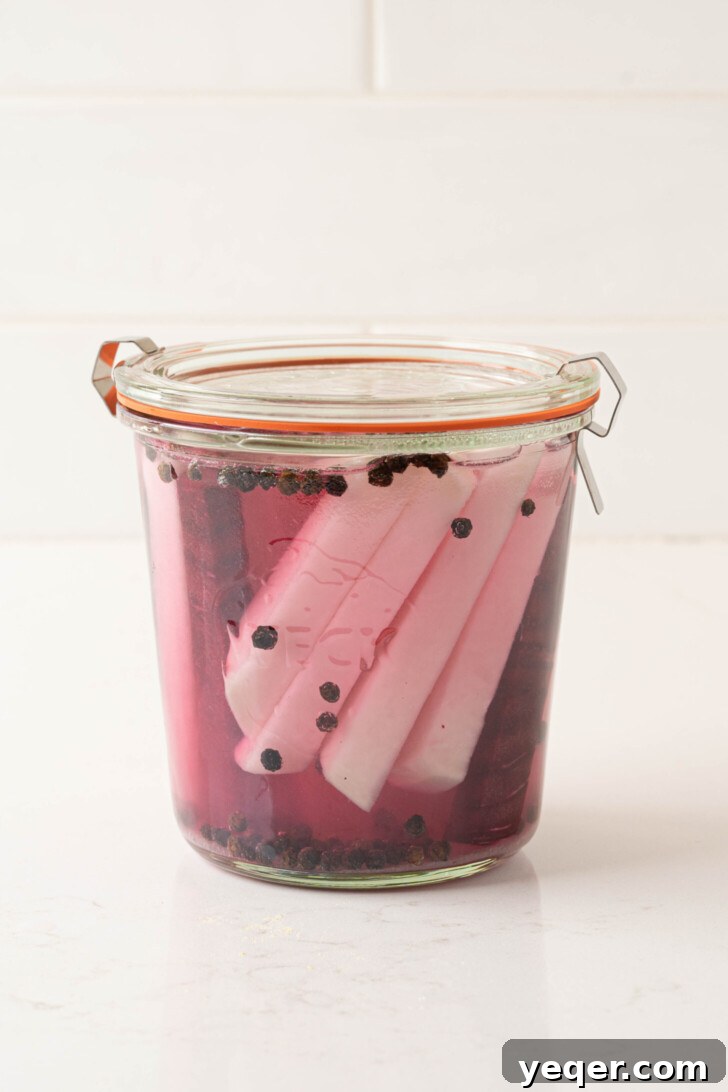
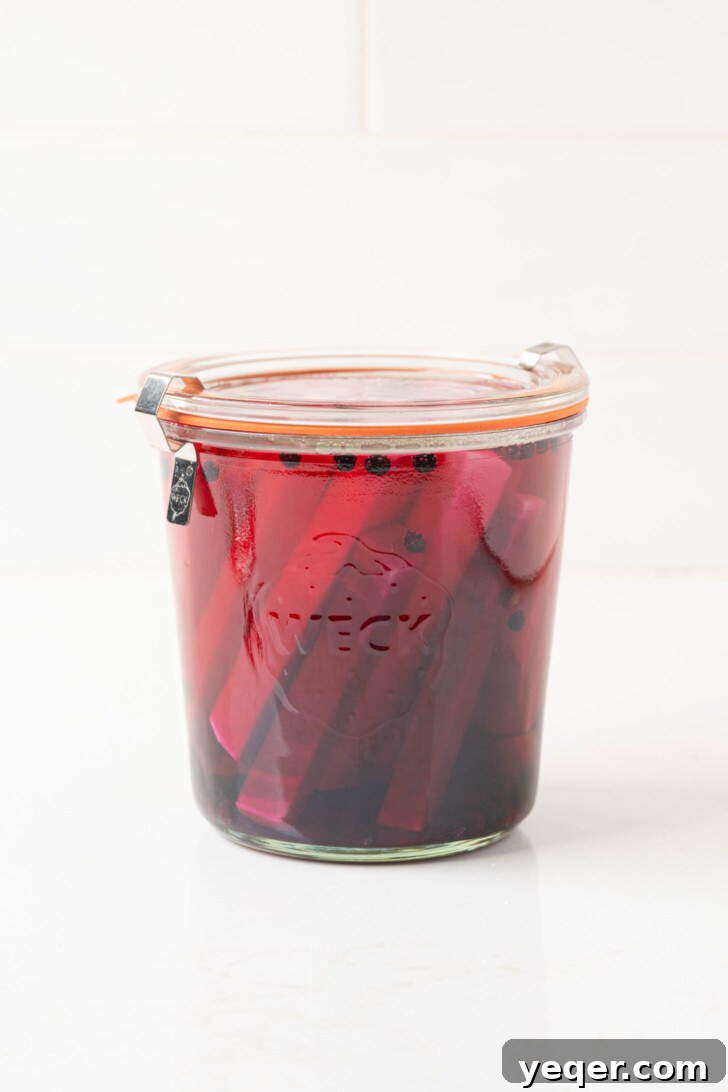
Want more flavor? Spice it up! Don’t hesitate to experiment with additional spices to personalize your pickled turnips. Consider adding bay leaves for an earthy note, coriander seeds for a citrusy hint, fennel seeds for subtle sweetness, or red chili flakes for a gentle kick. Garlic cloves or thin slices of fresh ginger can also introduce wonderful layers of flavor.
Pink Pickled Magic: The Beet Secret
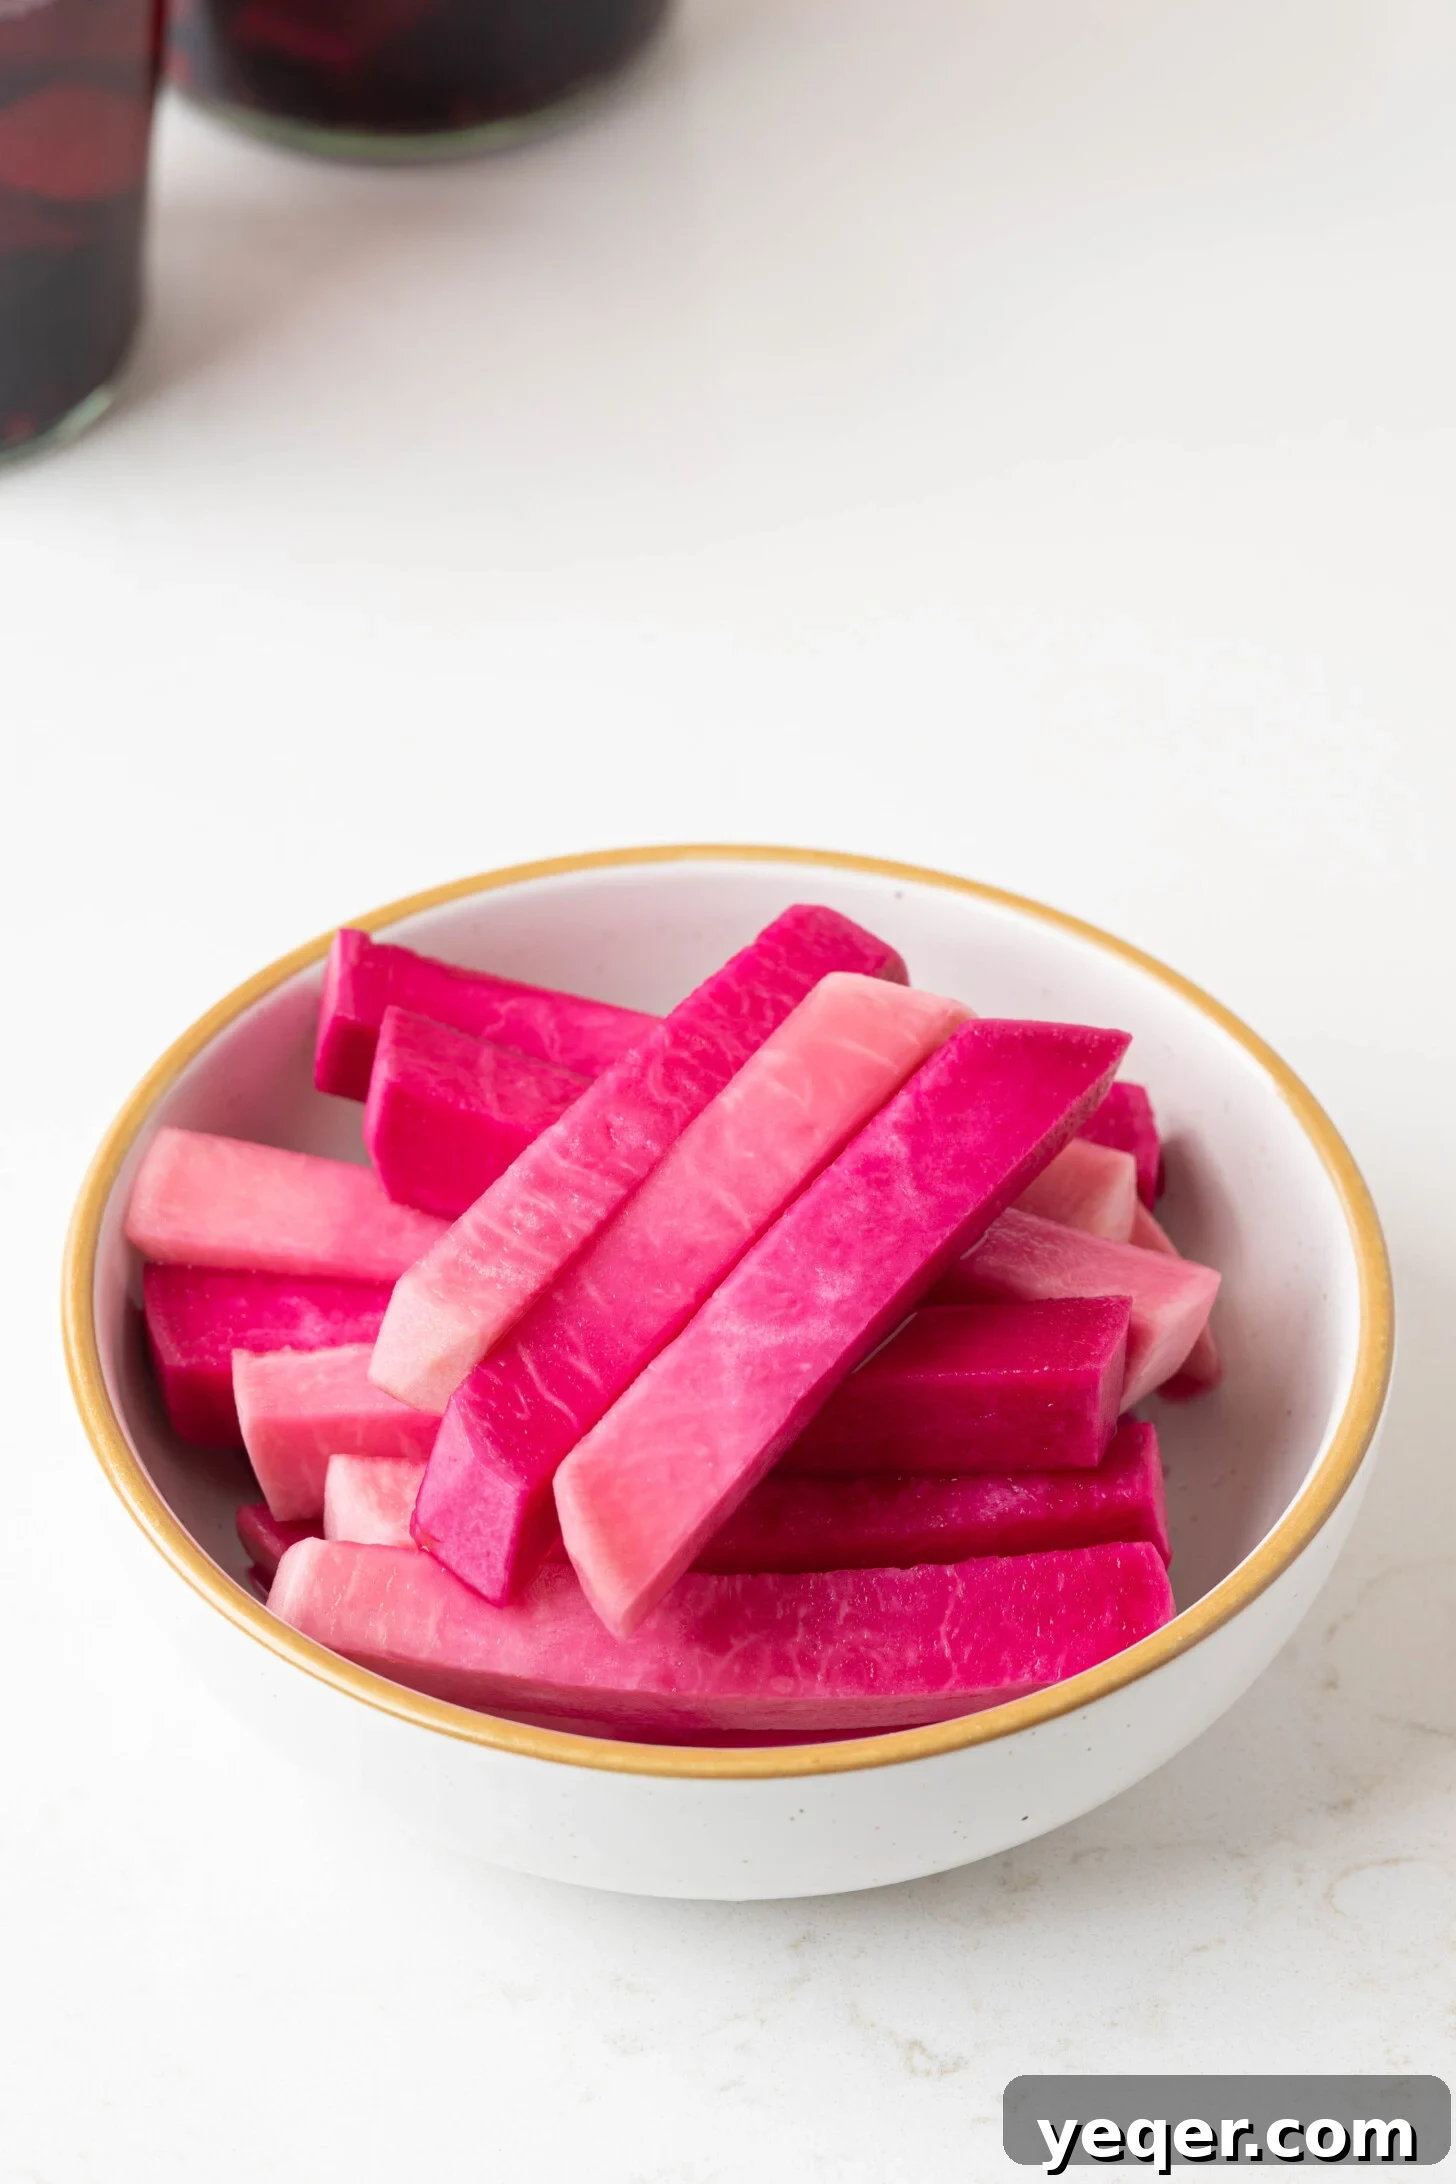
One of the most captivating aspects of these pickled turnips is their absolutely stunning hot pink color. Many people who encounter them for the first time assume that food coloring must be involved to achieve such a vibrant hue. However, the secret lies in a completely natural, unassuming ingredient: the humble beet. Beets are the magical component that, without any artificial additives, effortlessly transforms the otherwise white turnips into a brilliant shade of fuchsia. This natural dye permeates the turnips during the pickling process, resulting in a visually spectacular condiment that is as beautiful as it is delicious.
When preparing your beets, you have a couple of options depending on your preference. You can slice the beets into thin strips, similar to how you cut the turnips, allowing them to blend seamlessly into the mix. Alternatively, you can simply chop them into thicker rounds or chunks, which makes them easier to identify and remove if desired once the pickles are ready to be enjoyed. It’s important to note that while beets impart their incredible color, they do not significantly alter the flavor profile of these pickles. Their primary role is purely aesthetic, providing that signature pink brilliance that makes these turnips so unique and appealing.
The Art of Pickling: Essential Tips for Success
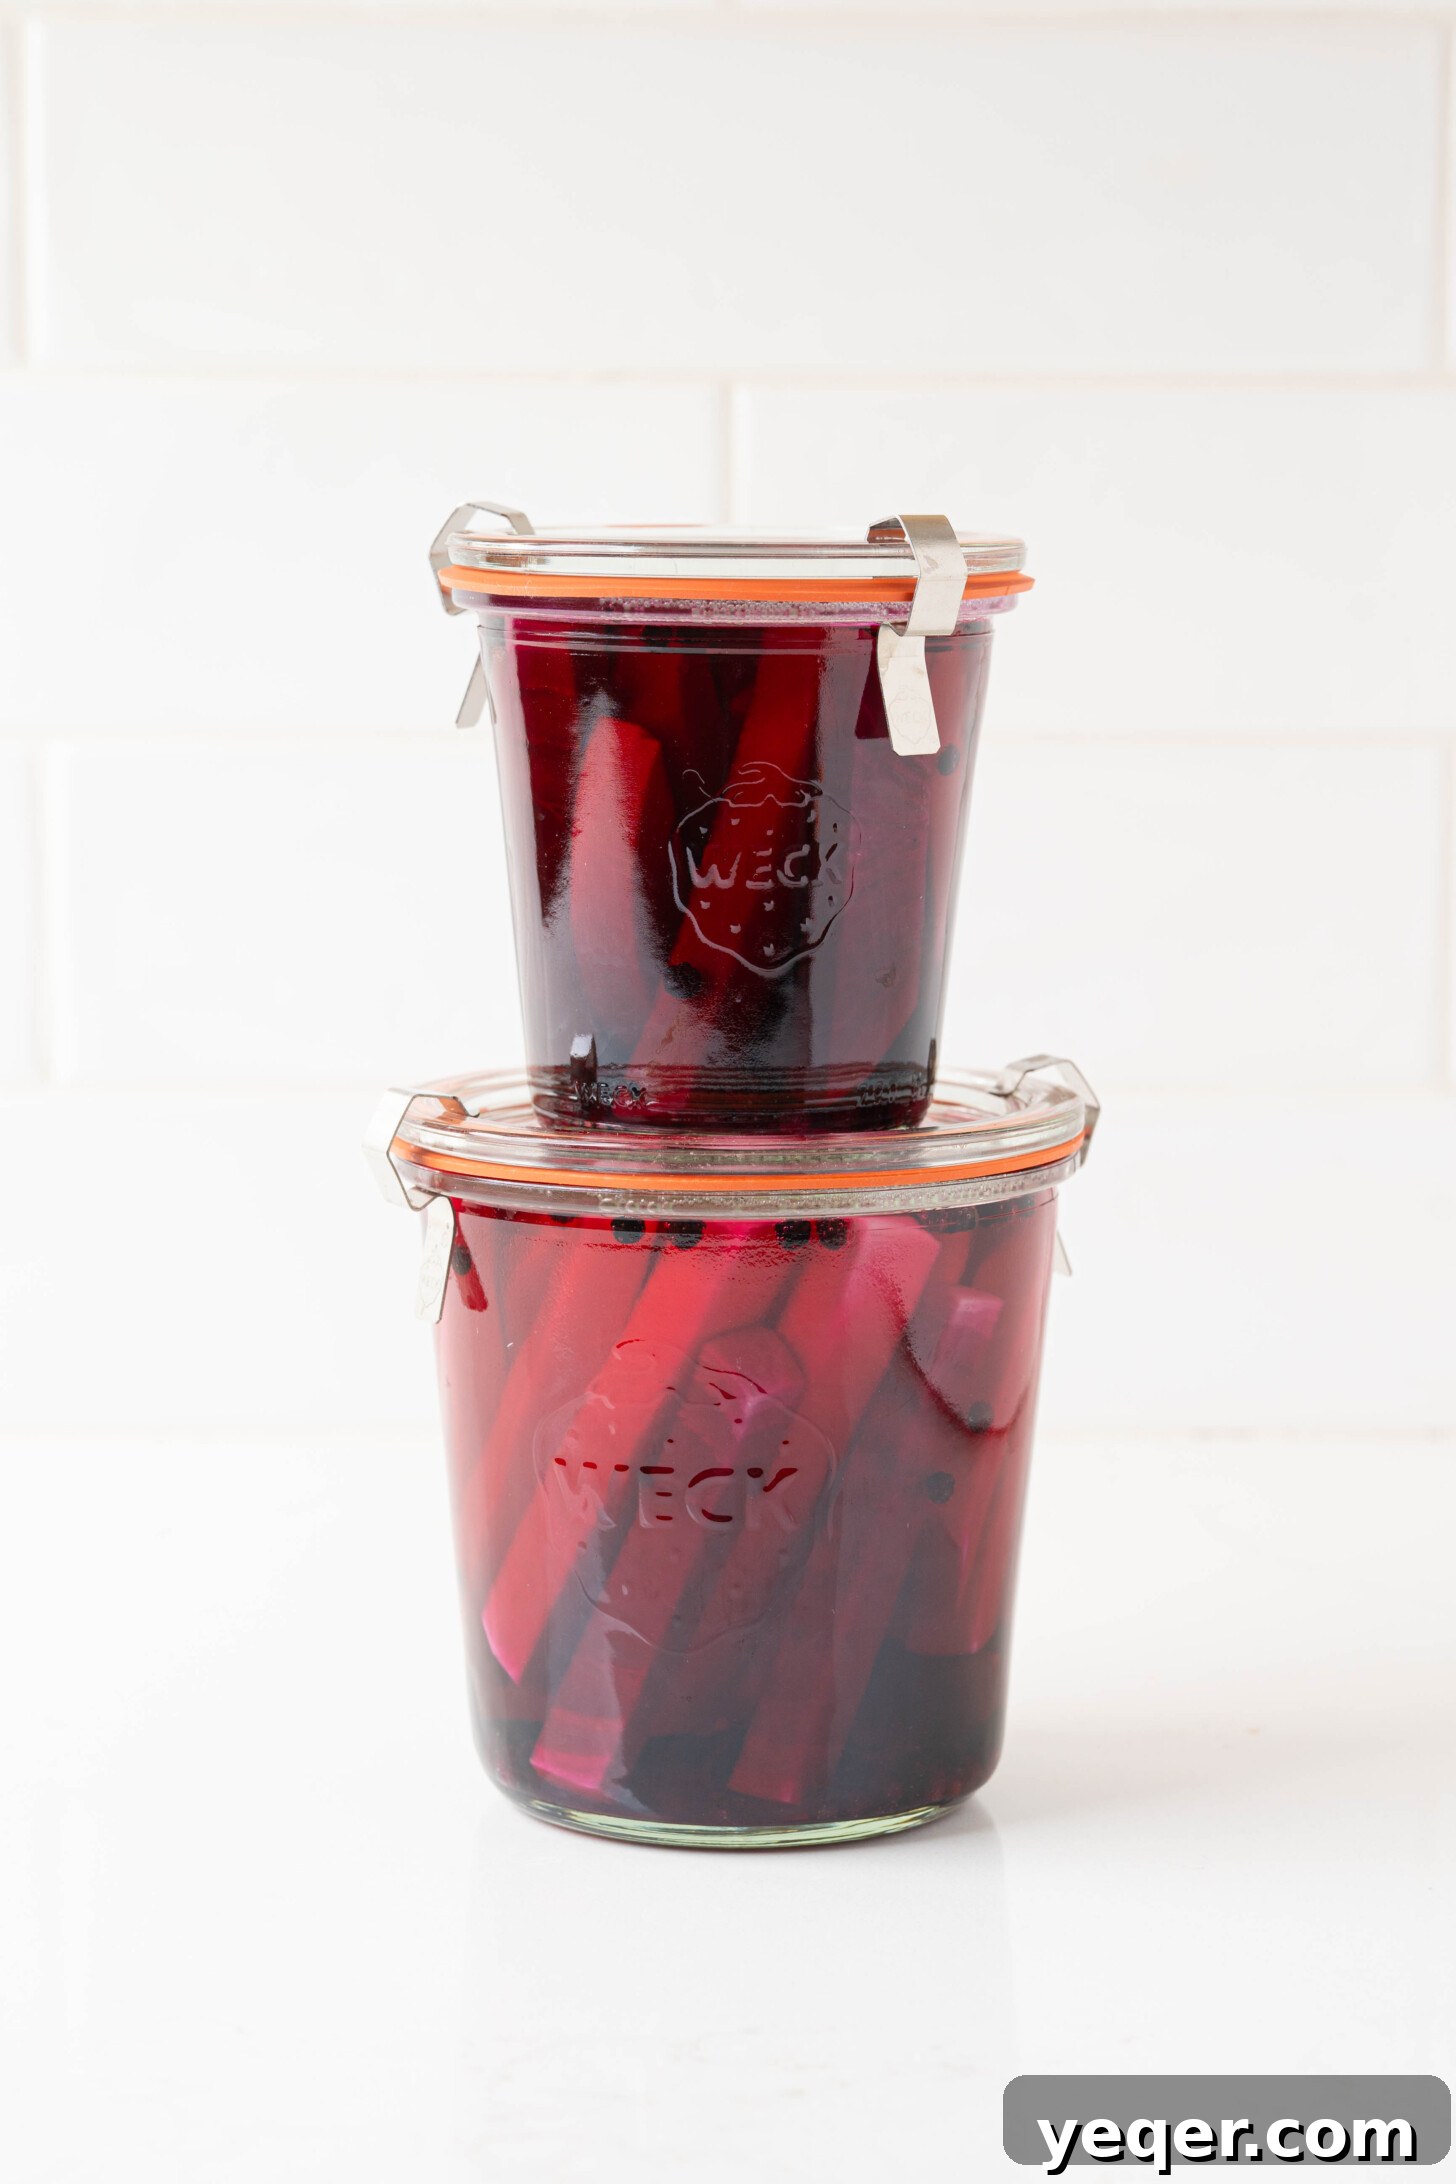
Patience is truly a virtue when it comes to pickling, and these turnips are no exception. It’s absolutely essential to allow your pickles to sit undisturbed for at least 5 days. This waiting period is not merely a formality; it’s a critical phase during which the flavors fully develop, the salt and vinegar work their magic to tenderize the turnips, and the beet’s vibrant pigments completely transform their color. Rushing this process will result in less flavorful and less visually appealing pickles.
Similar to the traditional method used for my popular preserved lemon recipe, I highly recommend letting these turnips pickle on the countertop at room temperature. The ambient temperature facilitates a gentle fermentation process that contributes to the depth of flavor. However, if you feel any apprehension about leaving them out, or if your kitchen is unusually warm, you can certainly let them pickle in the refrigerator for the entire duration. While refrigeration might slow down the pickling process slightly, requiring a day or two longer, it’s a perfectly safe and effective alternative that will still yield delicious results.
How To Sterilize Your Jars for Safe Pickling
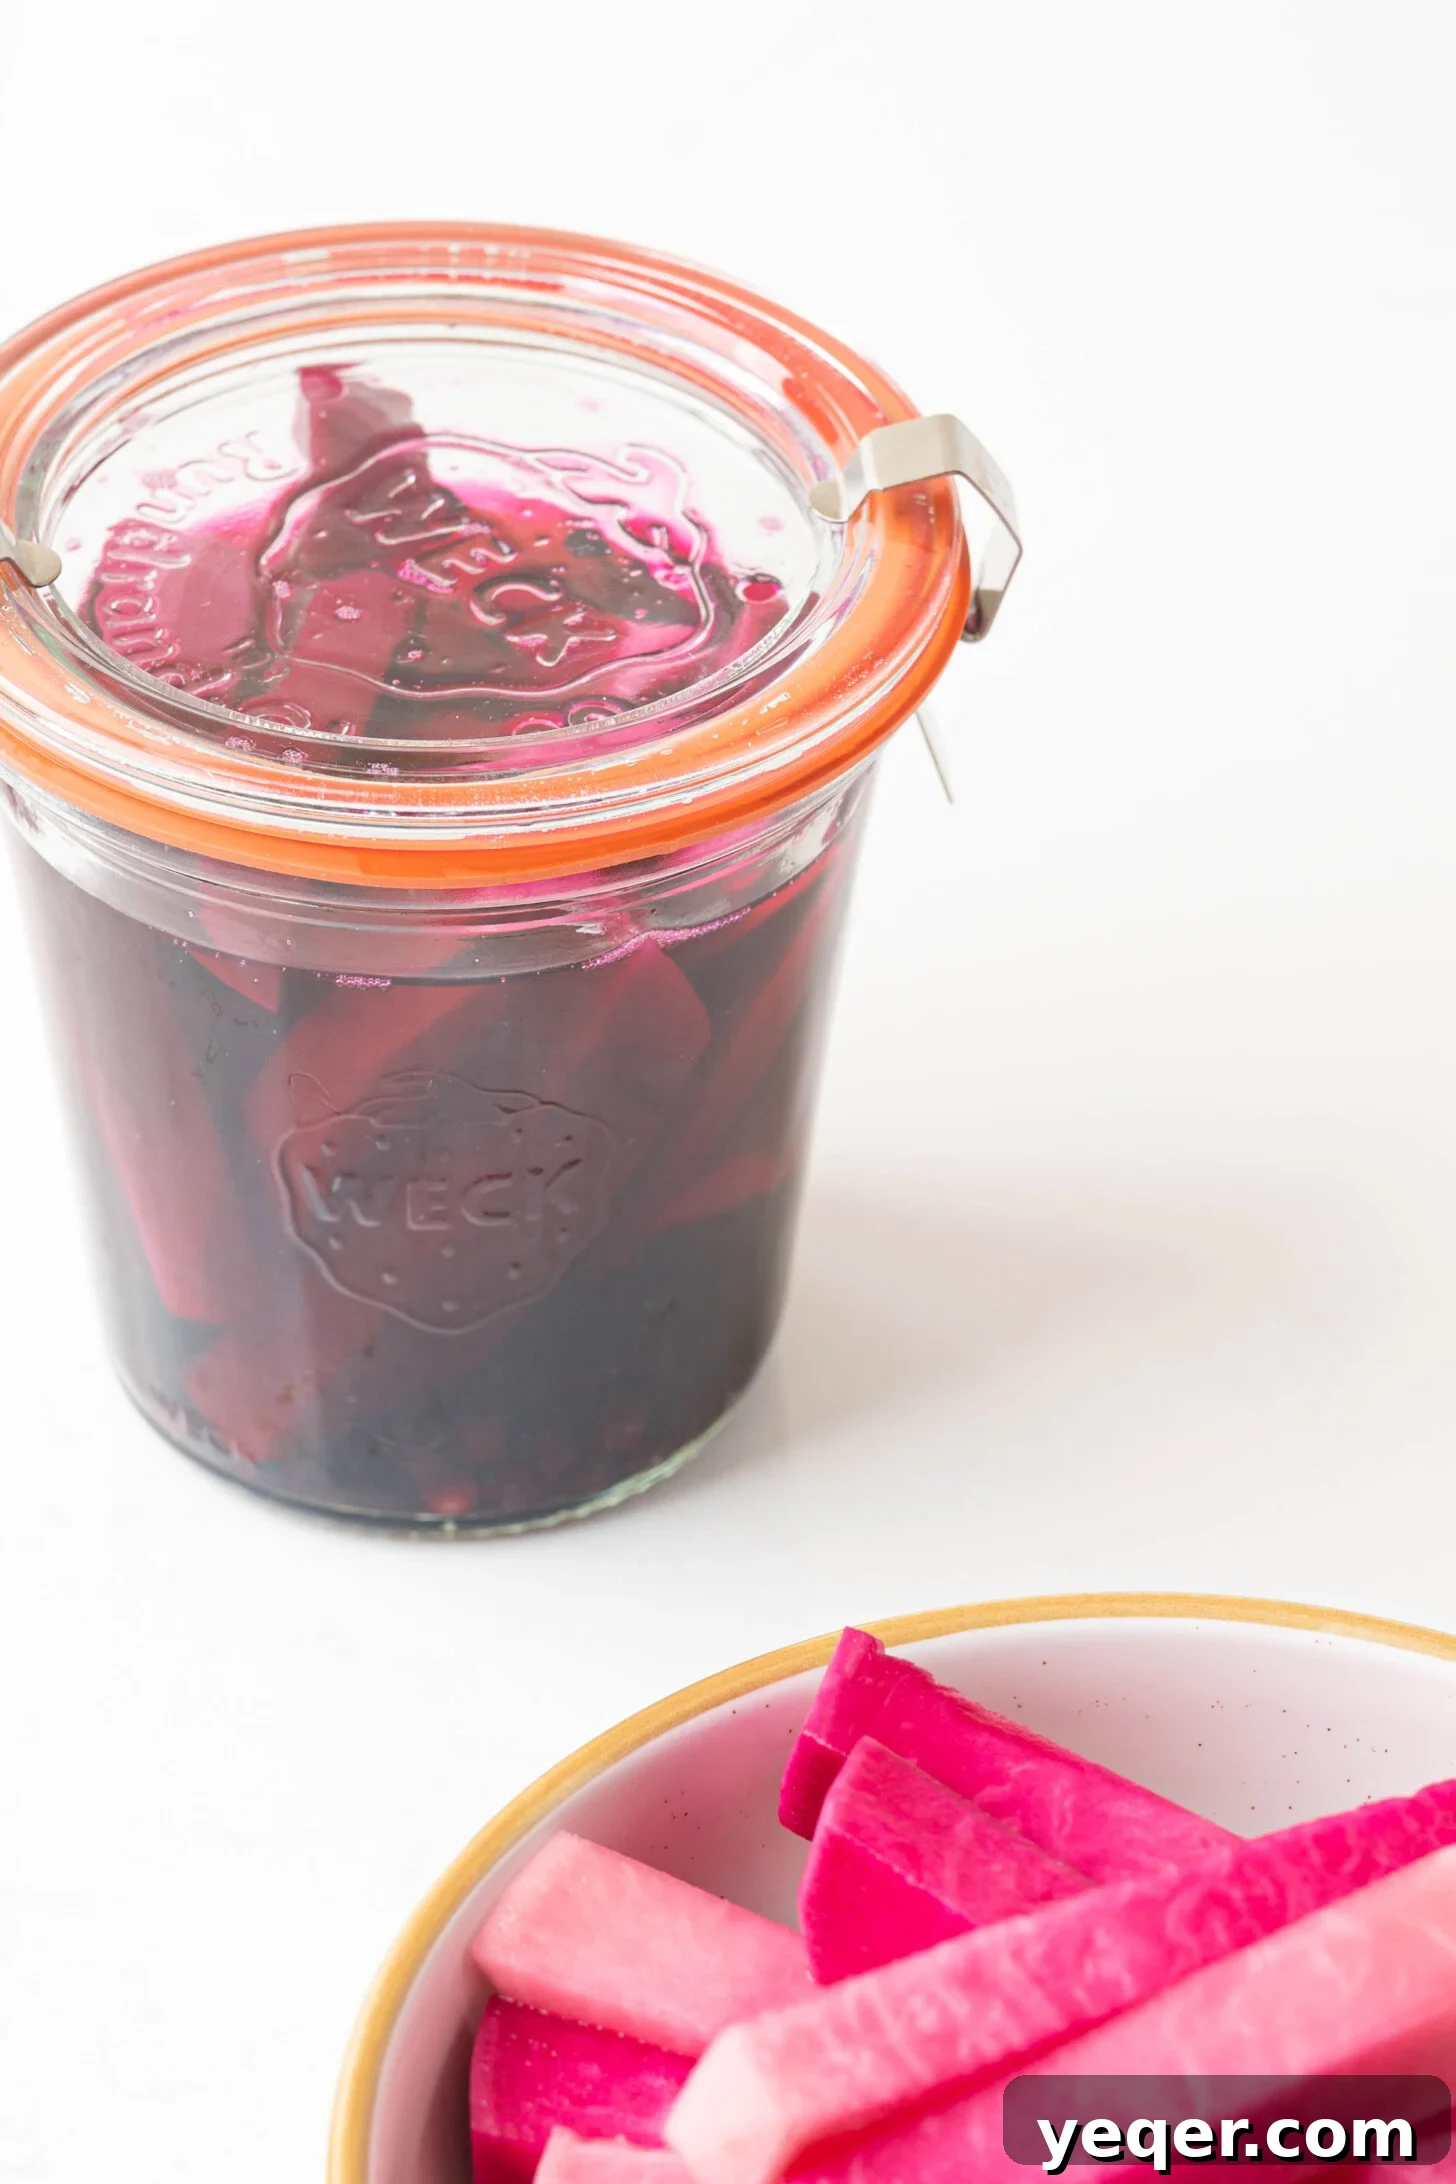
Sterilizing your jars is perhaps the most critical step in any pickling endeavor. This seemingly small detail plays a monumental role in ensuring food safety and the longevity of your pickled creations. Proper sterilization eliminates harmful bacteria, yeasts, and molds that can not only spoil your pickles but also pose health risks. Beyond safety, it significantly contributes to the quality and flavor of your finished product, preventing unwanted off-flavors and ensuring a clean, crisp taste. Don’t skip this step!
Here’s a simple, effective method to sterilize your jars and lids:
- Initial Wash: Start by thoroughly washing your glass jars, their seals, and lids with hot, soapy water. Use a bottle brush to ensure all corners and crevices are clean. Rinse them completely to remove any soap residue.
- Inspect for Damage: Before proceeding, carefully inspect each jar for any cracks, chips, or damage. Compromised jars should not be used for pickling as they can break or fail to seal properly.
- Boil the Jars: Place a rack at the bottom of a large pot and arrange your clean jars upright on it, ensuring they don’t touch each other. Fill the pot with enough water to cover the jars by at least an inch. Bring the water to a rolling boil and let the jars boil for 10 minutes. This high heat effectively sanitizes them.
- Handle with Care: Using sterilized tongs or specialized jar lifters, carefully remove the hot jars from the boiling water. Place them upside down on a clean kitchen towel or cooling rack to drain and air dry.
- Sanitize the Lids and Seals: Reduce the heat to a simmer (not a boil). Submerge your metal lids and rubber seals in the simmering water for another 5-10 minutes. Boiling rubber seals can damage them.
- Final Removal: Again, use sterilized tongs or jar lifters to carefully remove the lids and seals. Place them on a clean towel to dry.
Once cool enough to handle but still warm, your jars are perfectly sterilized and ready to be used as instructed in the recipe card below!
Versatile Delight: Where to Use Pickled Turnips
These pink pickled turnips are far more than just a garnish; they are a deliciously versatile condiment capable of adding a bright, tangy sweetness and a satisfying crunch to a myriad of dishes. In Middle Eastern cuisine, their presence is almost obligatory with certain meals. They are most commonly served with succulent shawarma, savory gyros, crispy falafel, and both grilled chicken and red meat kabobs. They also make an excellent addition to chicken salads, bringing a zesty lift, and even complement simple rice and yogurt bowls by providing a vibrant textural and flavor contrast.
Beyond traditional pairings, their crispness and piquant flavor make them a wonderful snack straight from the jar, especially if you’re a pickle enthusiast! Don’t limit yourself to Middle Eastern fare; these turnips can be surprisingly adaptable.
Here are some creative and traditional ways to incorporate them into your meals:
- **Sandwiches & Wraps:** Elevate any sandwich, burger, or wrap with a layer of these tangy turnips. They’re particularly good with hearty meats or even vegetarian options like hummus and roasted vegetables.
- **Salad Topper:** Chop them finely and sprinkle over green salads for an unexpected burst of flavor and texture.
- **Mezze Platter Essential:** A must-have on any mezze or charcuterie board, providing a colorful and zesty element alongside olives, cheeses, and dips.
- **Alongside Eggs:** Serve them as a vibrant side to scrambled eggs, omelets, or a classic shakshuka for a bright morning twist.
- **Grains & Legumes:** Add to lentil soups, chickpea salads, or rice pilafs for an added zing.
- **As a Palate Cleanser:** Their sharp, clean flavor can refresh the palate between richer dishes.
Here are some of my go-to recipes that truly sing with the addition of these pickled turnips:
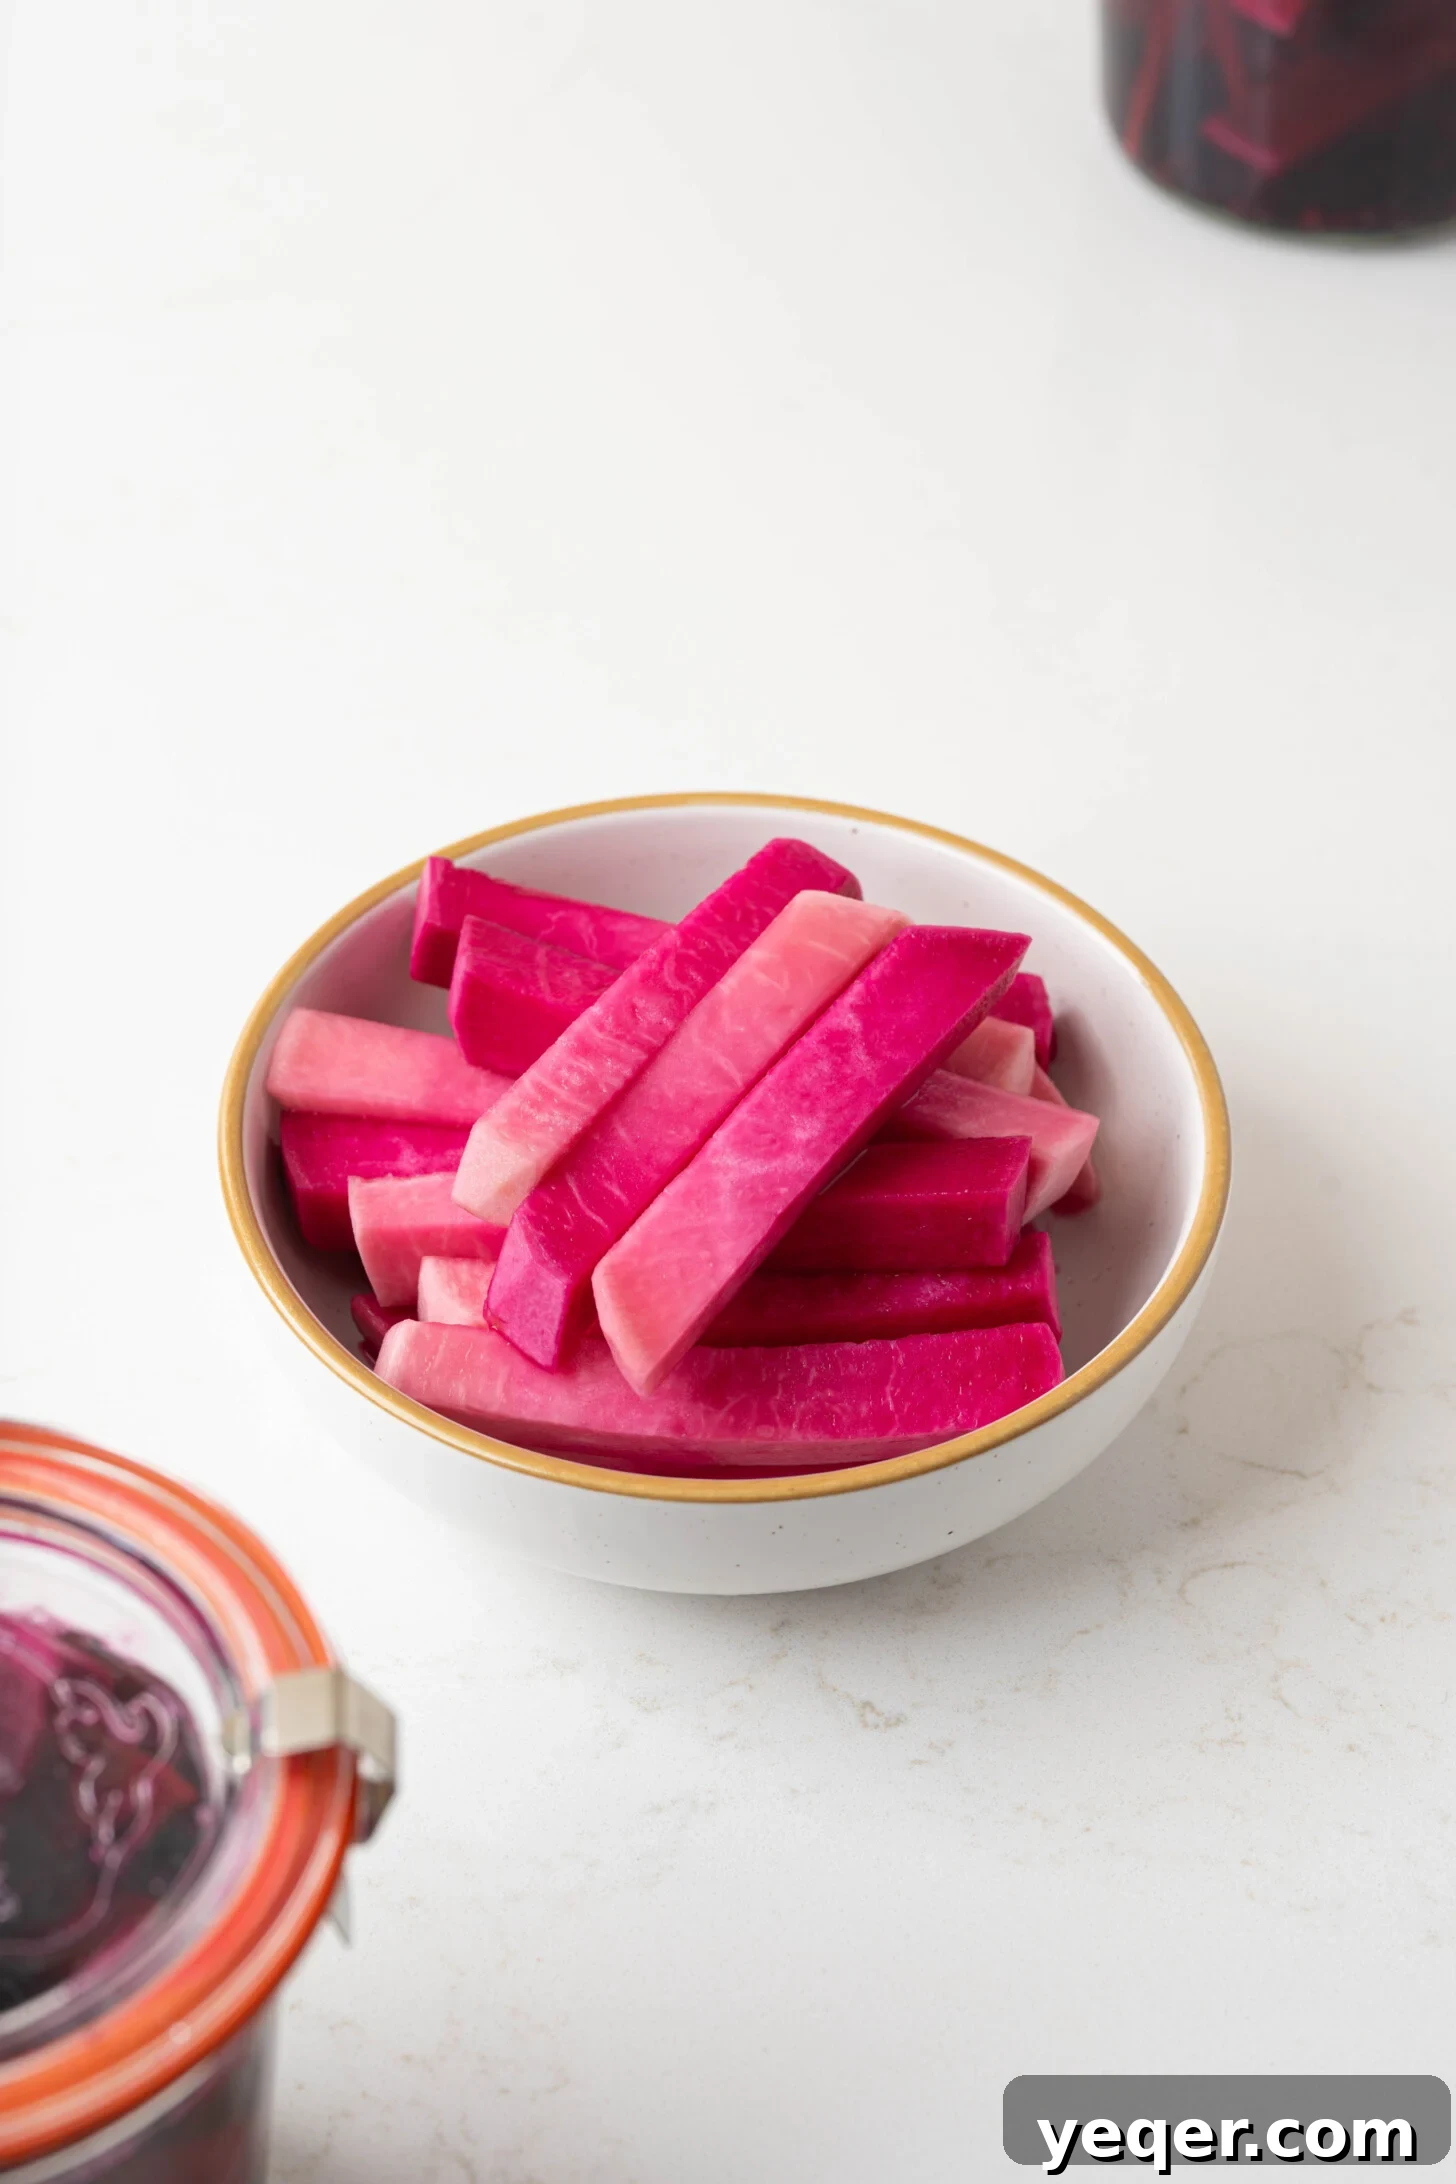
Enjoy the satisfying crunch and bright flavor these homemade pickled turnips bring to your table!

5 Ingredient Pink Pickled Turnips
No reviews
Author: Salima Benkhalti
Prep Time: 10 minutes
Total Time: 125 hours
Yield: 8 servings 1x
Category: Pickles, Snack, Appetizer, Side Dish
Method: Pickled
Cuisine: Middle Eastern
Diet: Vegan
Description
These 5 ingredient pickled turnips get their gorgeous pink color from beets and make a wonderful addition to many Middle Eastern recipes. They take only a few minutes to prep before sitting at room temperature for a week and being ready to enjoy!
Ingredients
- 2–3 turnips, washed and dried
- 1 small beet, washed and dried
- 1 tbsp salt
- 2 tsp black peppercorns
- 1 cup white vinegar + 1 cup warm water
Instructions
- Peel & slice the turnips & beet. Start by peeling the root veggies and then slicing lengthwise into thick fry-shaped pieces.
- Add to the jar with spices & vinegar. Transfer the veggies to a sterilized jar* and top with the salt, peppercorns, vinegar, and water. Make sure there is enough liquid to cover the turnips & beets entirely, adding additional water if necessary.
- Shake the jar to combine. Seal the jar and shake to combine everything.
- Let the pickles pickle! Let the pickles sit on the countertop for 5-7 days before enjoying. Transfer them to the fridge and they should keep for up to 1 month.
Notes
*Scroll up for complete details on how to sterilize jars.
Optional: Feel free to add additional spices to the jar to add flavor. You can use bay leaves, coriander, fennel seeds, red chili flakes, etc.