
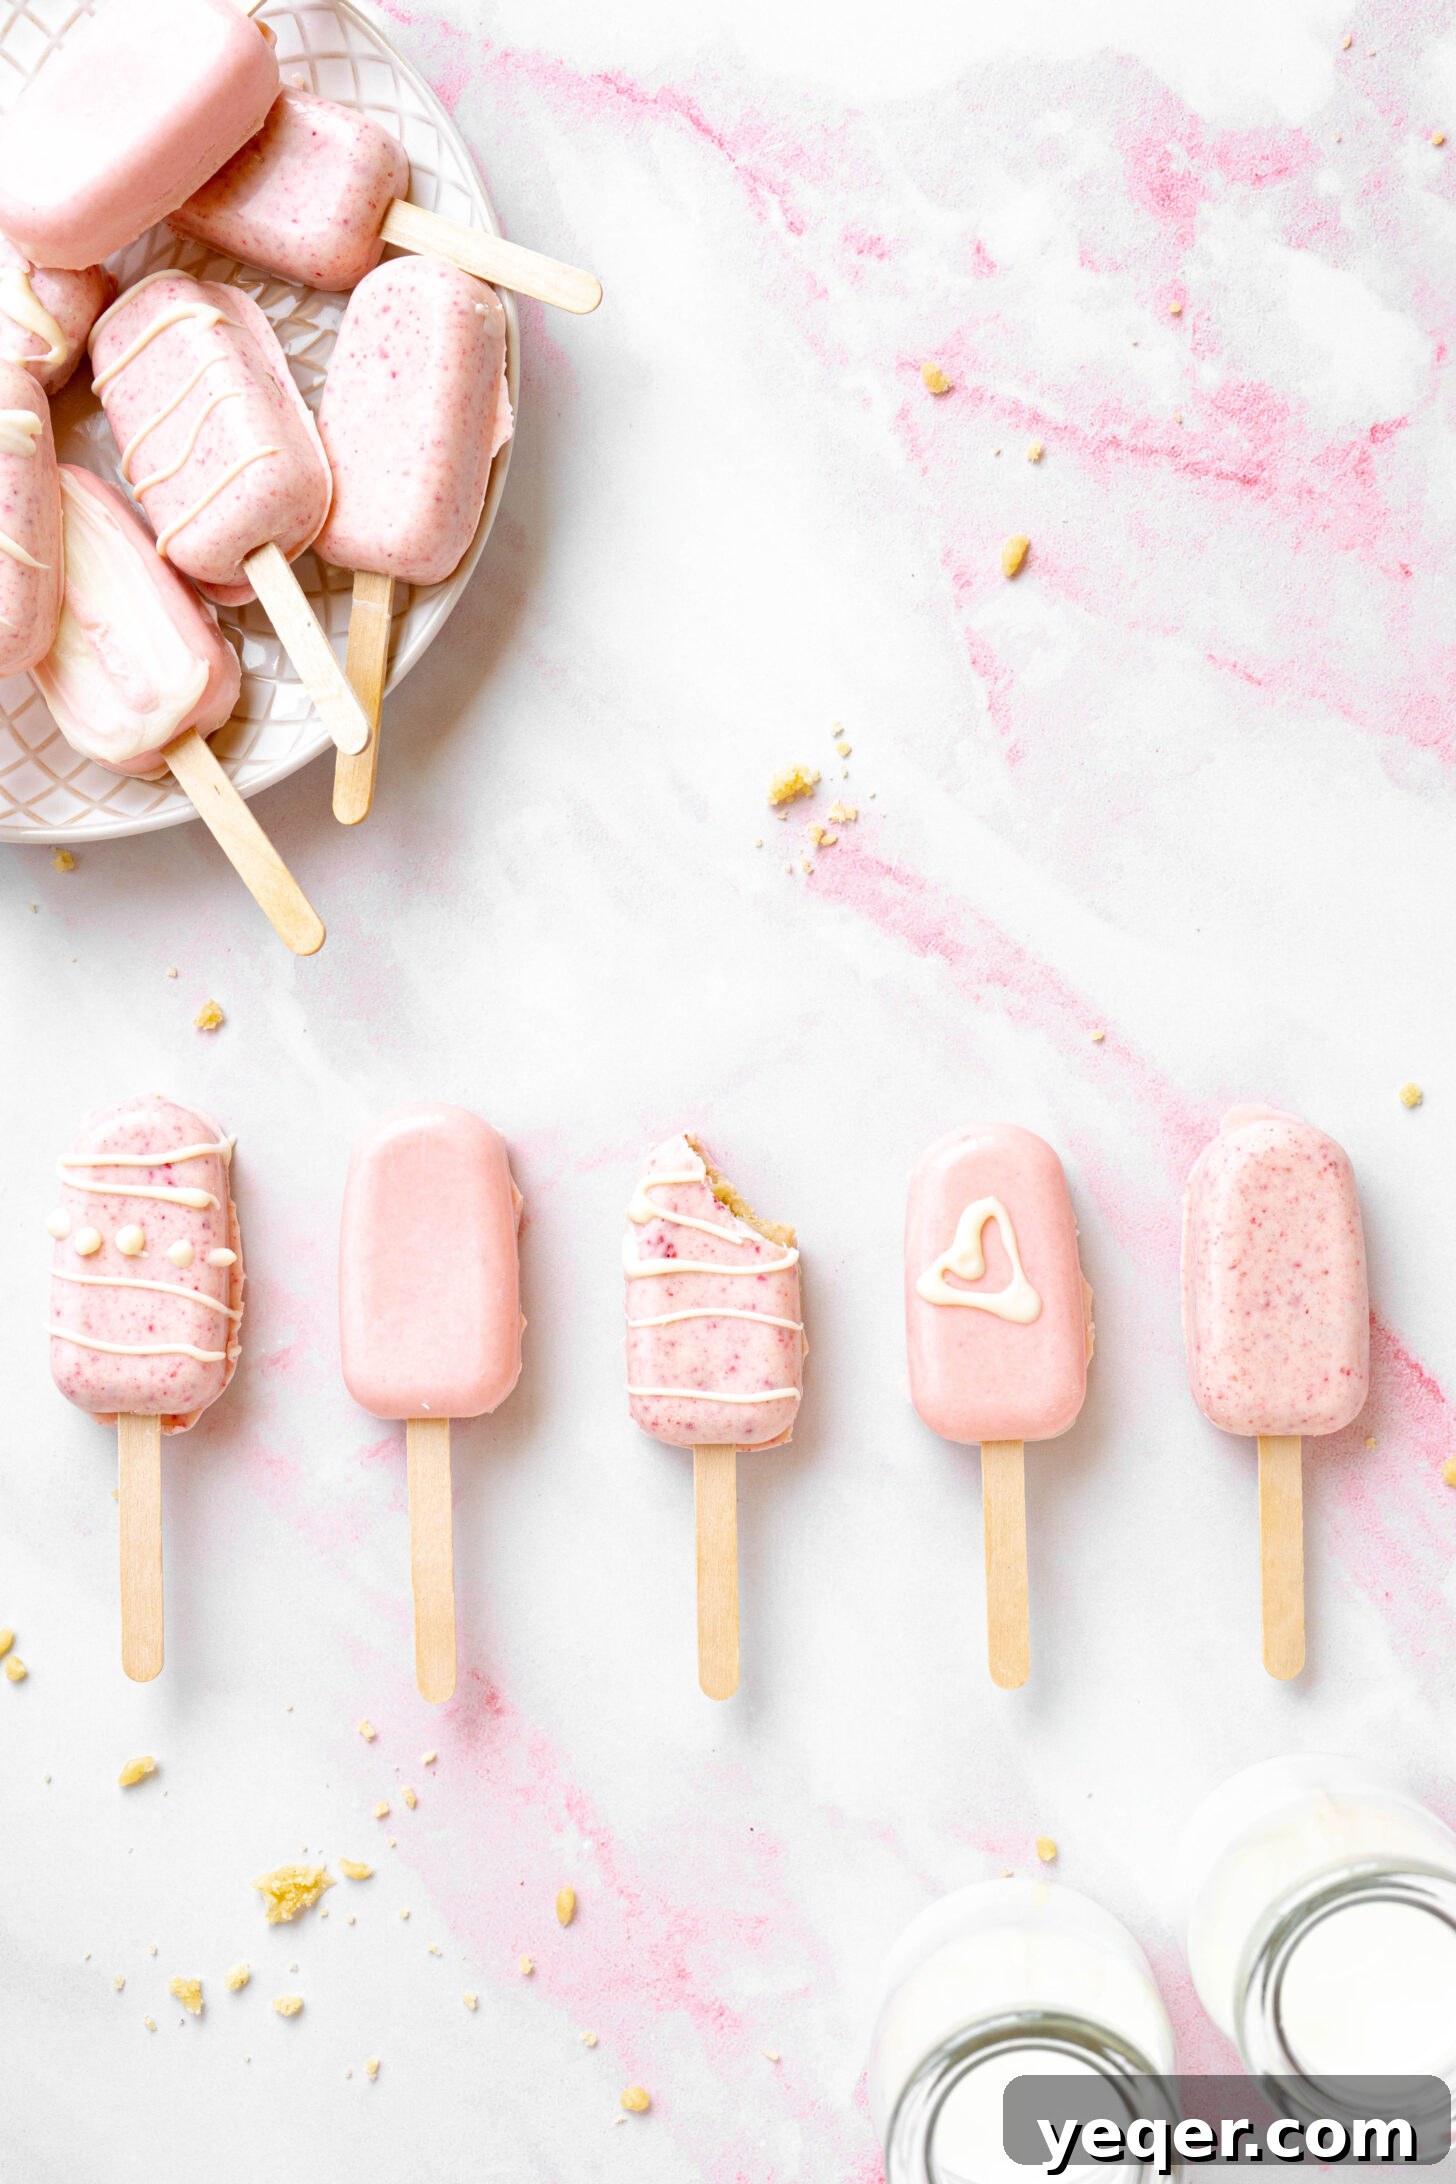
Welcome to the delightful world of homemade treats! These Strawberry Shortcake Pink Cake Pops are more than just a dessert; they are a celebration in every bite, perfect for birthdays, special occasions, or simply adding a touch of joy to your day. Imagine the classic taste of summer’s favorite dessert transformed into a convenient, bite-sized delight. This recipe elevates the humble cake pop to an art form, offering a gluten-free option that doesn’t compromise on flavor or fun.
Embracing the Nostalgia: Strawberry Shortcake Inspiration
Few desserts evoke the warmth and joy of summer quite like Strawberry Shortcake. This beloved classic, with its layers of tender sweet biscuits, luscious fresh whipped cream, and sun-ripened strawberries, holds a special place in many hearts. Its timeless appeal lies in its simplicity and the perfect harmony of textures and flavors. My love for this dessert runs deep, making it a natural source of inspiration for these vibrant cake pops.
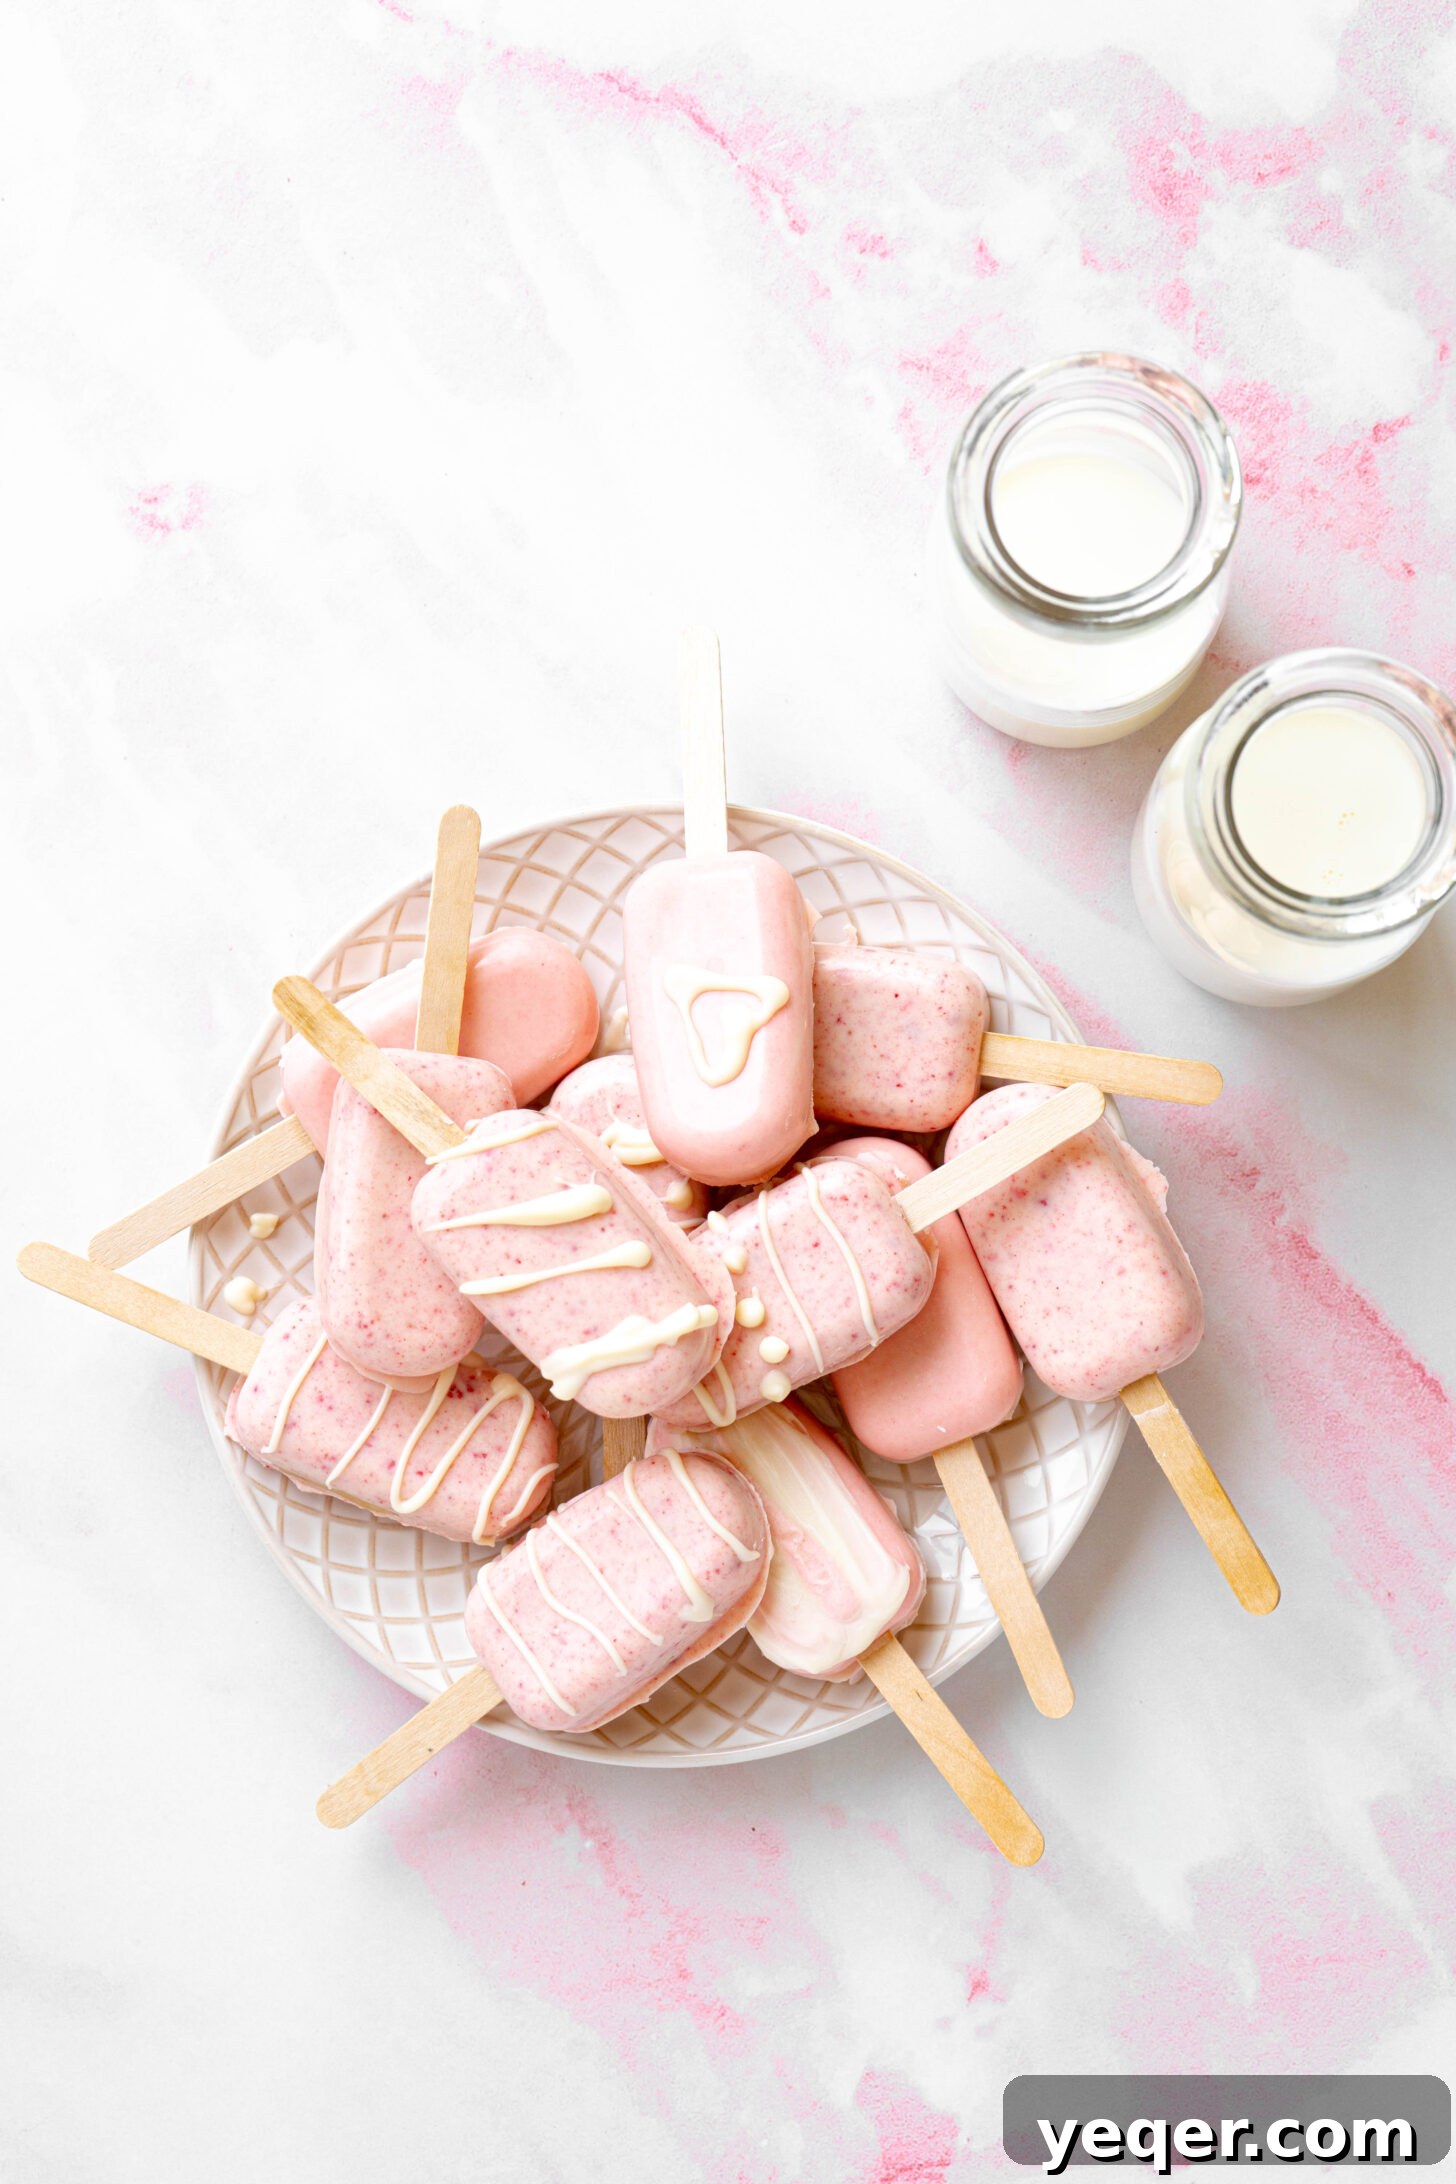
But the inspiration doesn’t stop there. These gluten-free cake pops also draw heavily from the whimsical Strawberry Shortcake ice cream bars that neighborhood ice cream trucks used to sell – a cherished memory for many. That distinctive pink coating with crunchy bits, combined with a creamy center, was pure magic. We’re channeling that exact feeling into these cake pops, giving you a taste of childhood nostalgia with a sophisticated twist.
Instead of traditional sweet biscuits, we’re opting for a light and zesty lemon cake as our foundation. The citrus notes provide a wonderful contrast and brightness that complements the strawberry beautifully. And in place of whipped cream, we’re enrobing our cake pops in a sensational strawberry white chocolate coating that delivers on both flavor and visual appeal. This unique combination ensures every bite is an unforgettable experience, offering a burst of sweet strawberry balanced by subtle lemon undertones and a decadent chocolate shell.
Crafting Your Perfect Flavor Profile: Endless Customization
While our Strawberry Shortcake theme is utterly delightful, the beauty of these gluten-free cake pops lies in their incredible versatility. If you’re seeking to explore beyond the strawberry and lemon pairing, you’re in luck! This recipe serves as a fantastic blueprint for almost any cake pop flavor combination you can dream up. The core technique of combining crumbled cake with frosting and then dipping it in a candy coating remains the same, allowing for endless creative possibilities.
Have a cherished vanilla or chocolate cake recipe that you adore? Feel free to use it as your base! Simply skip the instructions for baking our specific cake, and jump straight to the frosting and assembly steps. Of course, you’ll want to thoughtfully adjust your frosting and chocolate coating flavors to harmonize with your chosen cake. The goal is a balanced and delicious treat, where each component complements the others.
To spark your imagination, here are some exciting cake, frosting, and coating combinations that are certainly worth a try:
- Decadent Chocolate & Raspberry: A rich chocolate cake paired with a vibrant raspberry frosting, all enveloped in a smooth white chocolate coating. The tartness of the raspberry beautifully cuts through the sweetness of the chocolate.
- Zesty Lemon Explosion: For the citrus lovers, use a lemon cake with a bright lemon frosting, finished with a lemon-infused white chocolate coating. This offers a refreshing and tangy treat that’s perfect for spring and summer.
- Classic Carrot Cake Charm: A moist carrot cake base, complemented by a creamy cream cheese frosting, and coated in a delicate white chocolate. This combination offers warmth and spice, reminiscent of a cozy autumn day.
- Vanilla Bean & Caramel Delight: A classic vanilla bean cake mixed with a luscious caramel frosting, then dipped in a milk chocolate coating. Imagine tiny salted caramel cakes on a stick!
- Red Velvet Indulgence: A vibrant red velvet cake with a tangy cream cheese frosting, coated in dark chocolate. This makes for an elegant and impressive dessert for any occasion.
The key is to experiment and have fun with it! Whether you stick to our delightful strawberry shortcake inspiration or venture into your own unique flavor combinations, these cake pops are guaranteed to be a hit.
Cake Pops: A Secret Weapon for Effortless Elegance
One of the most appealing aspects of cake pops, especially for home bakers, is how effortlessly beautiful they are to create. While I deeply appreciate the artistry and challenge of baking an elaborate layer cake, sometimes you just want to impress without the pressure. This is where gluten-free cake pops truly shine. They offer all the wow factor of a professionally decorated dessert, but with a significantly simpler process.
The journey begins with baking your cake. For our Strawberry Shortcake inspired pops, I recommend my favorite gluten-free lemon vanilla cake. Its light, airy texture and subtle lemon notes provide the perfect canvas, allowing the vibrant strawberry frosting to be the star. Once your cake is baked to perfection, allow it to cool completely. This crucial step prevents a soggy texture when mixing with frosting.
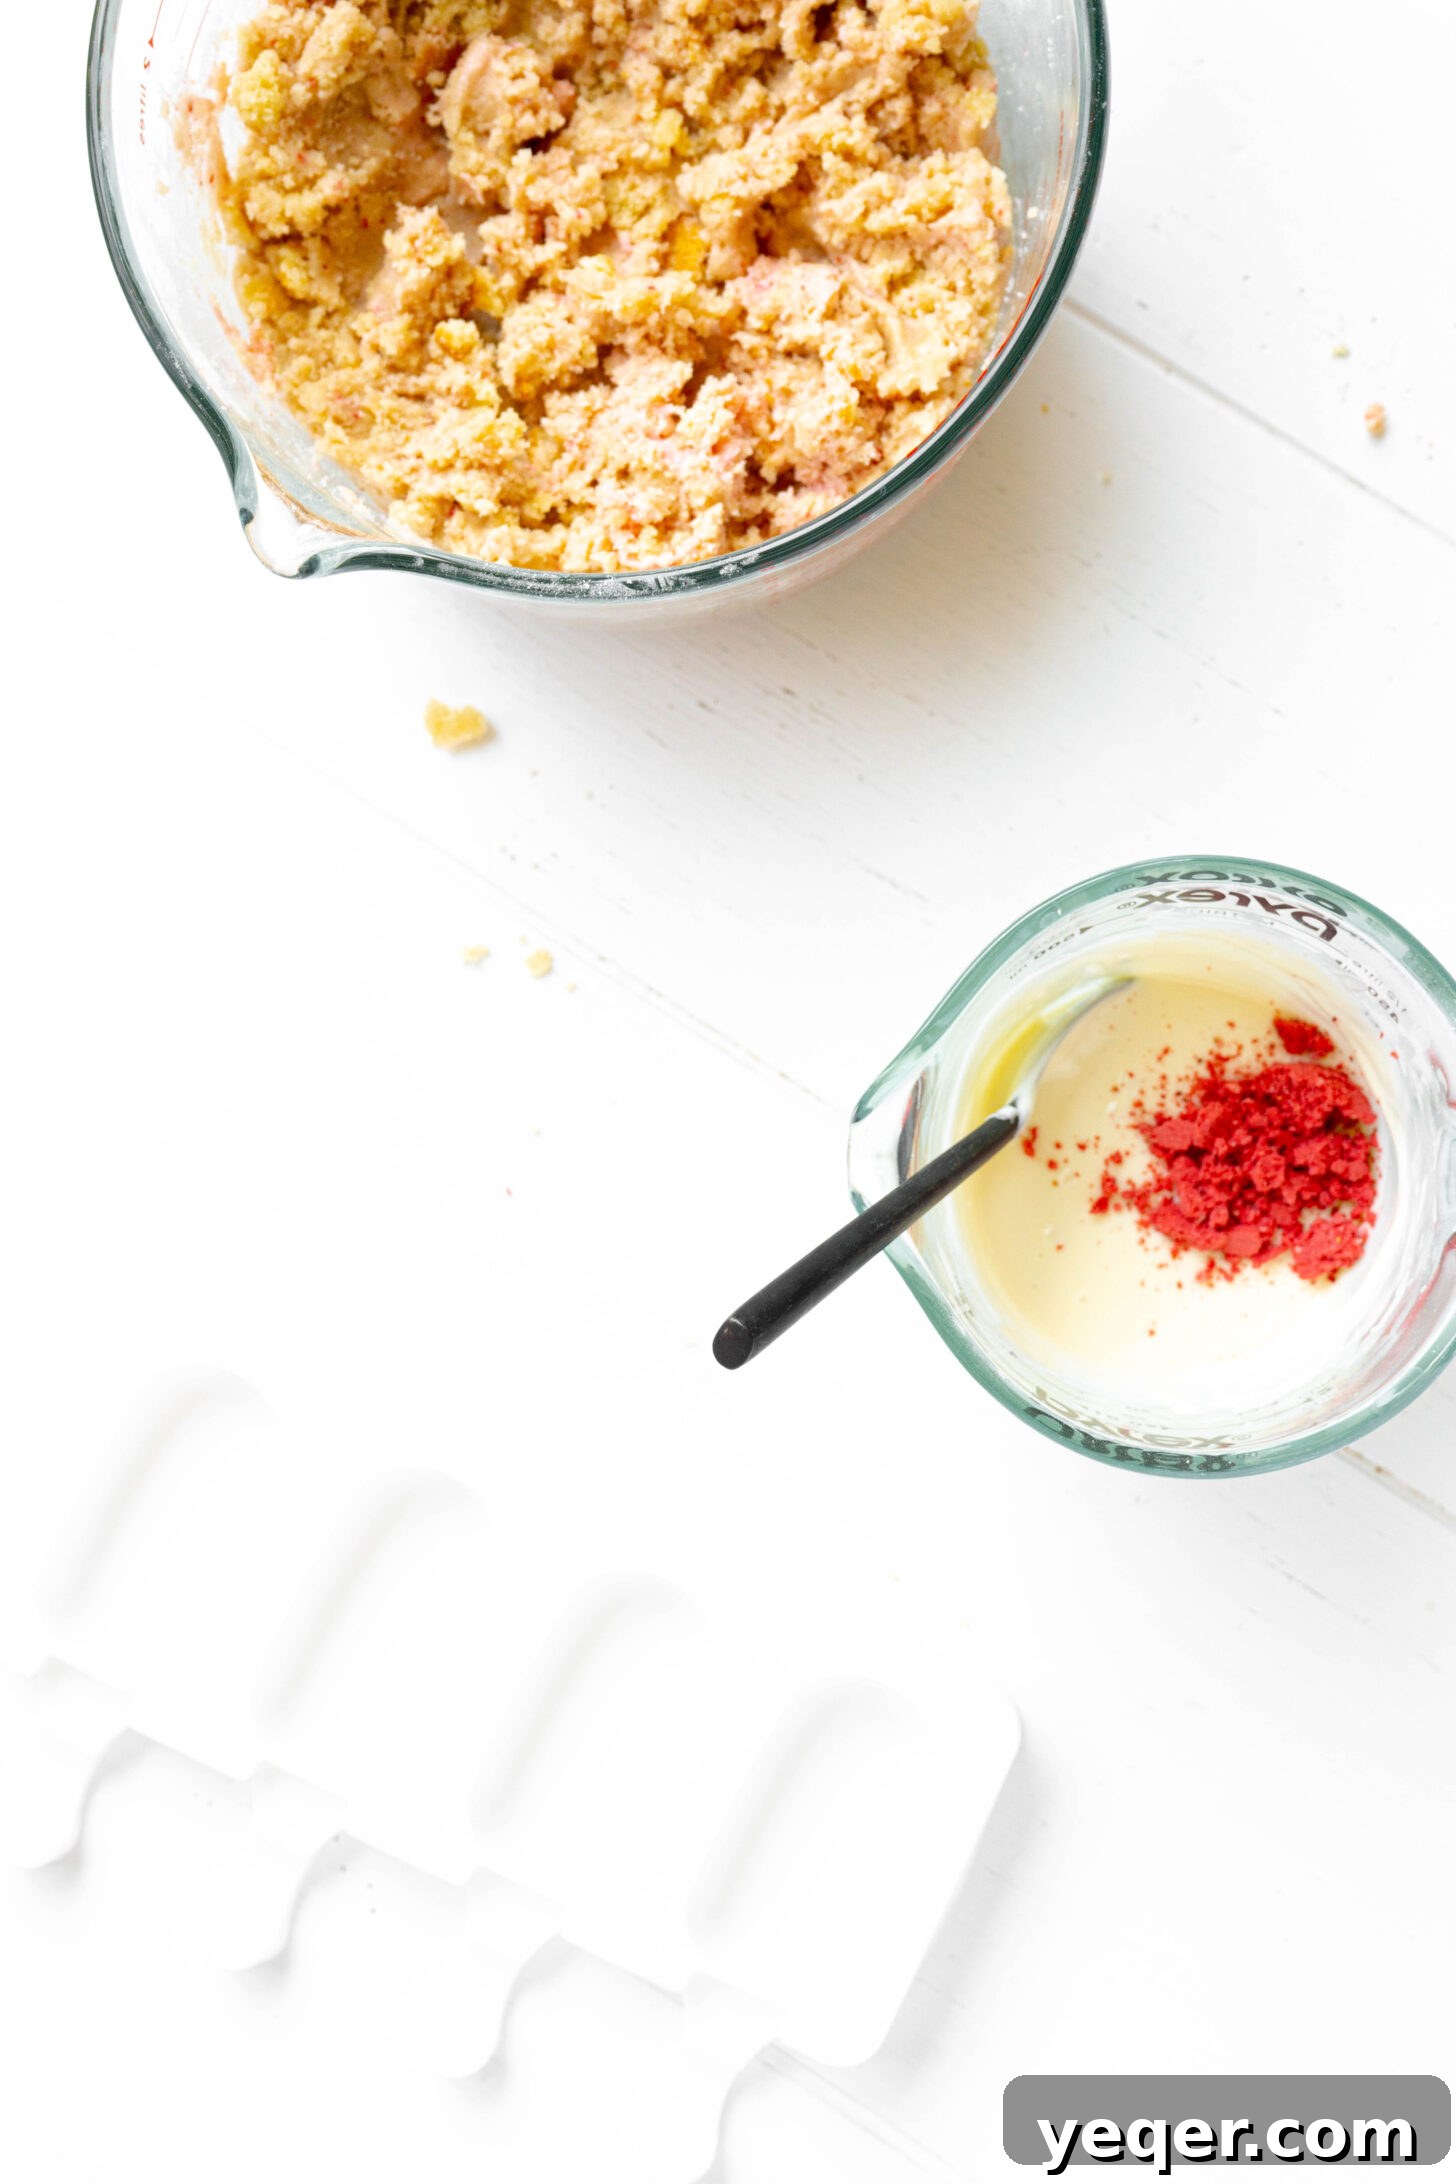
Next, the cooled cake is crumbled and combined with a rich, luscious strawberry frosting. The secret to achieving an intensely flavored, naturally pink strawberry frosting? Pulverized freeze-dried strawberries. These tiny flavor bombs, when ground into a fine powder, infuse the frosting with concentrated strawberry taste and a beautiful natural color, far superior to artificial extracts or food coloring alone.
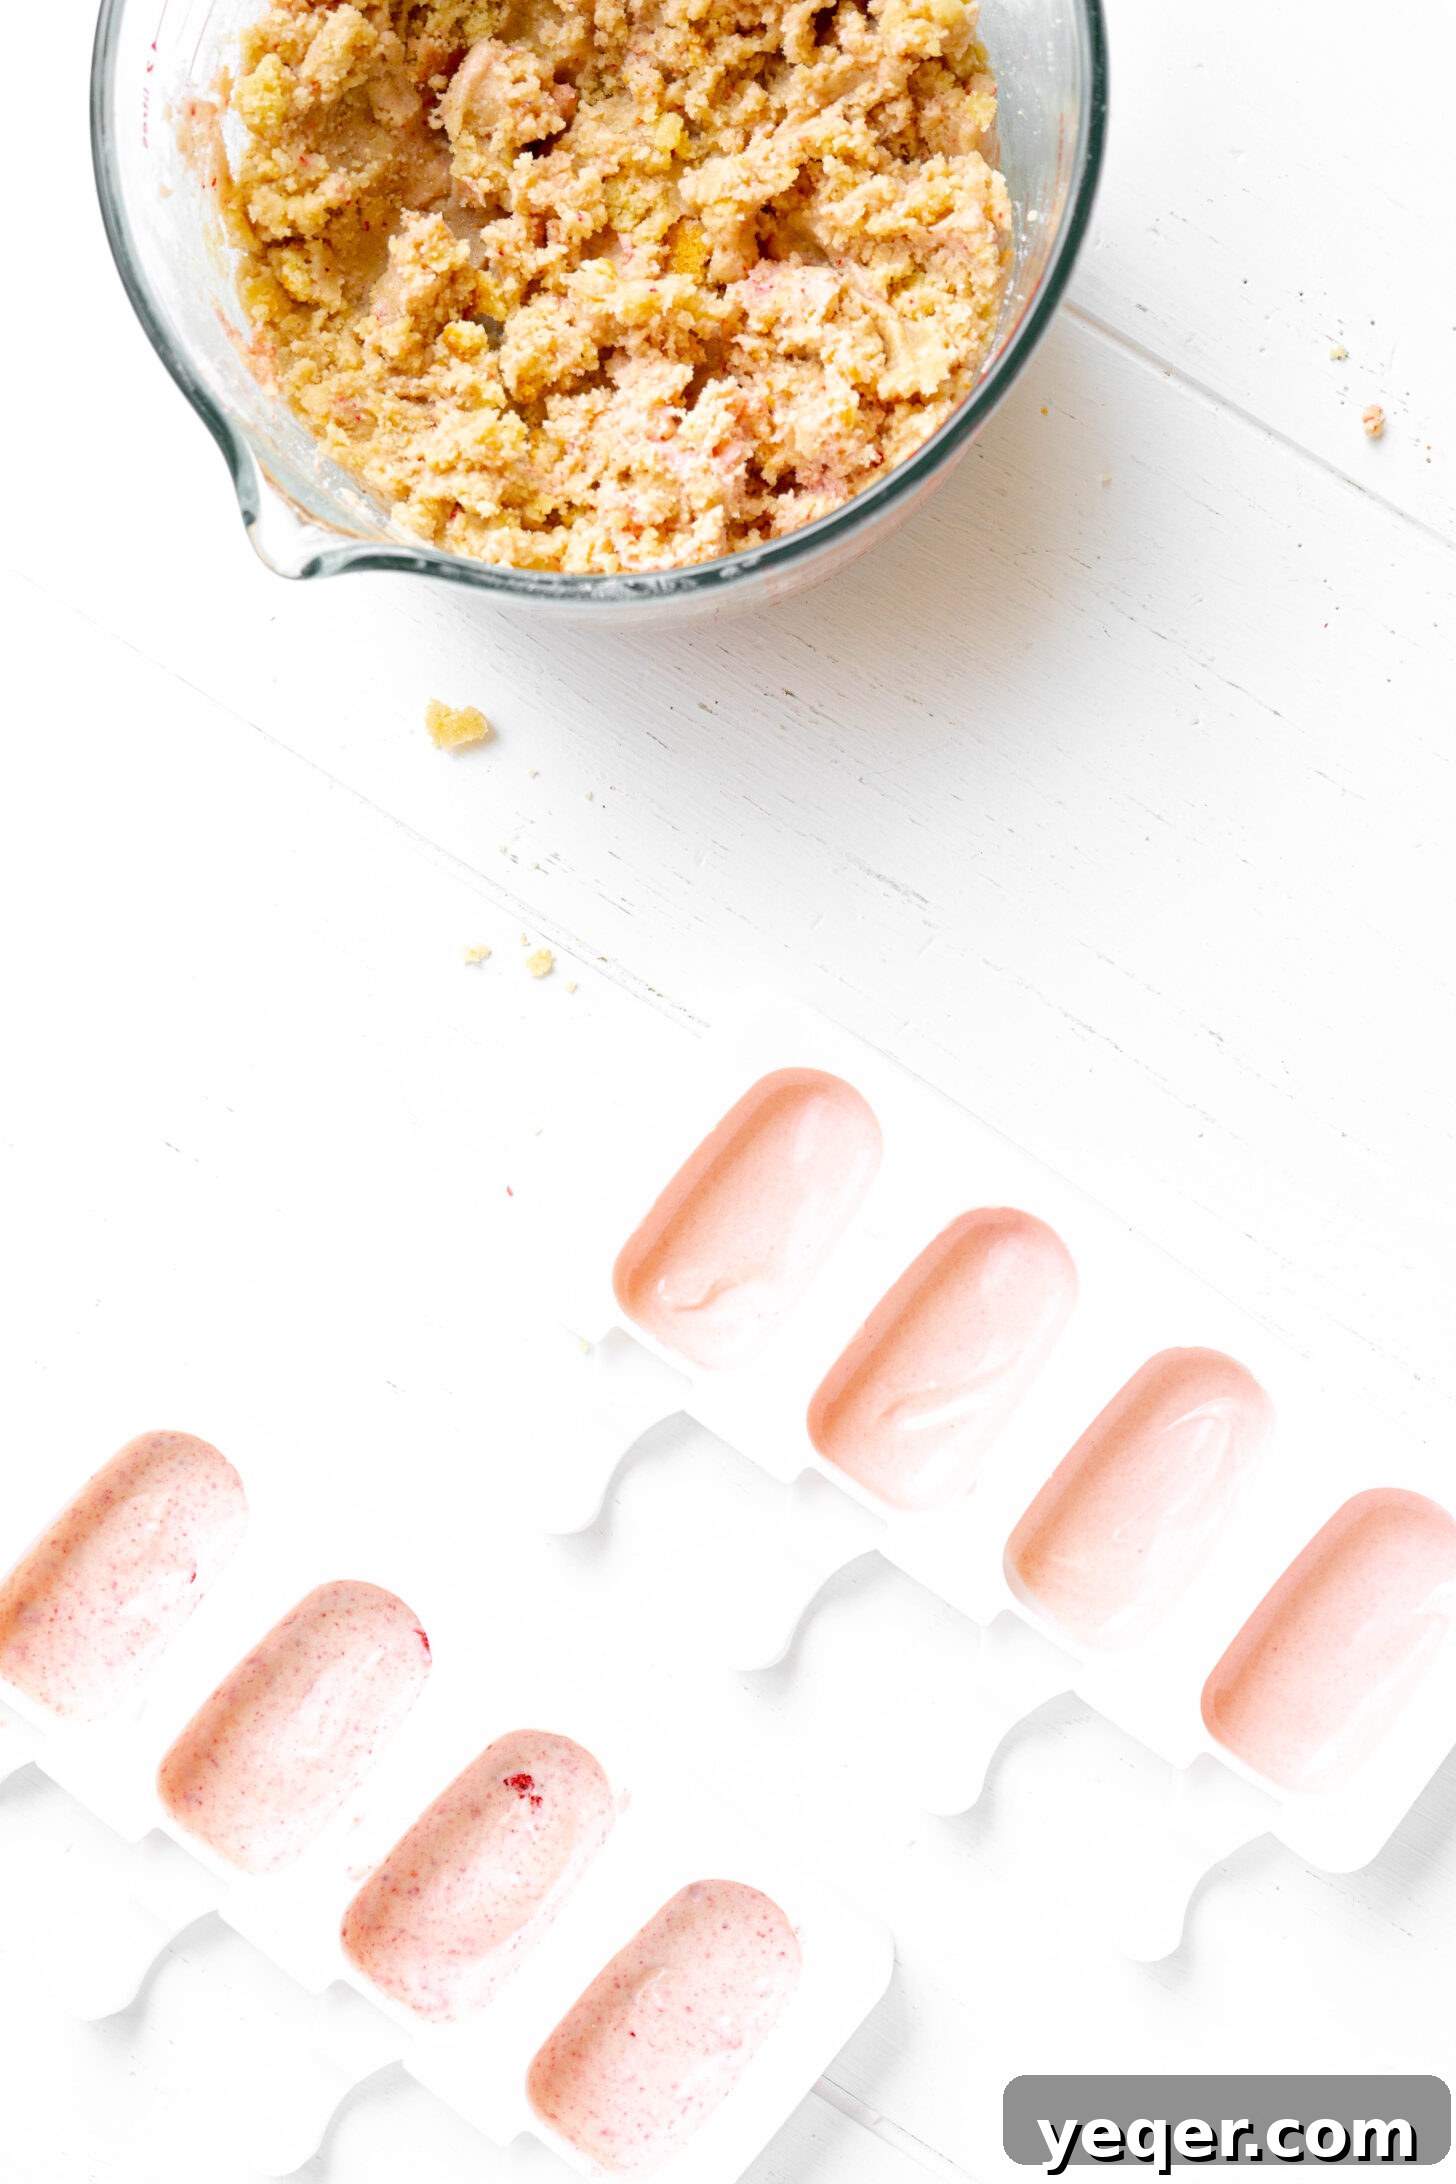
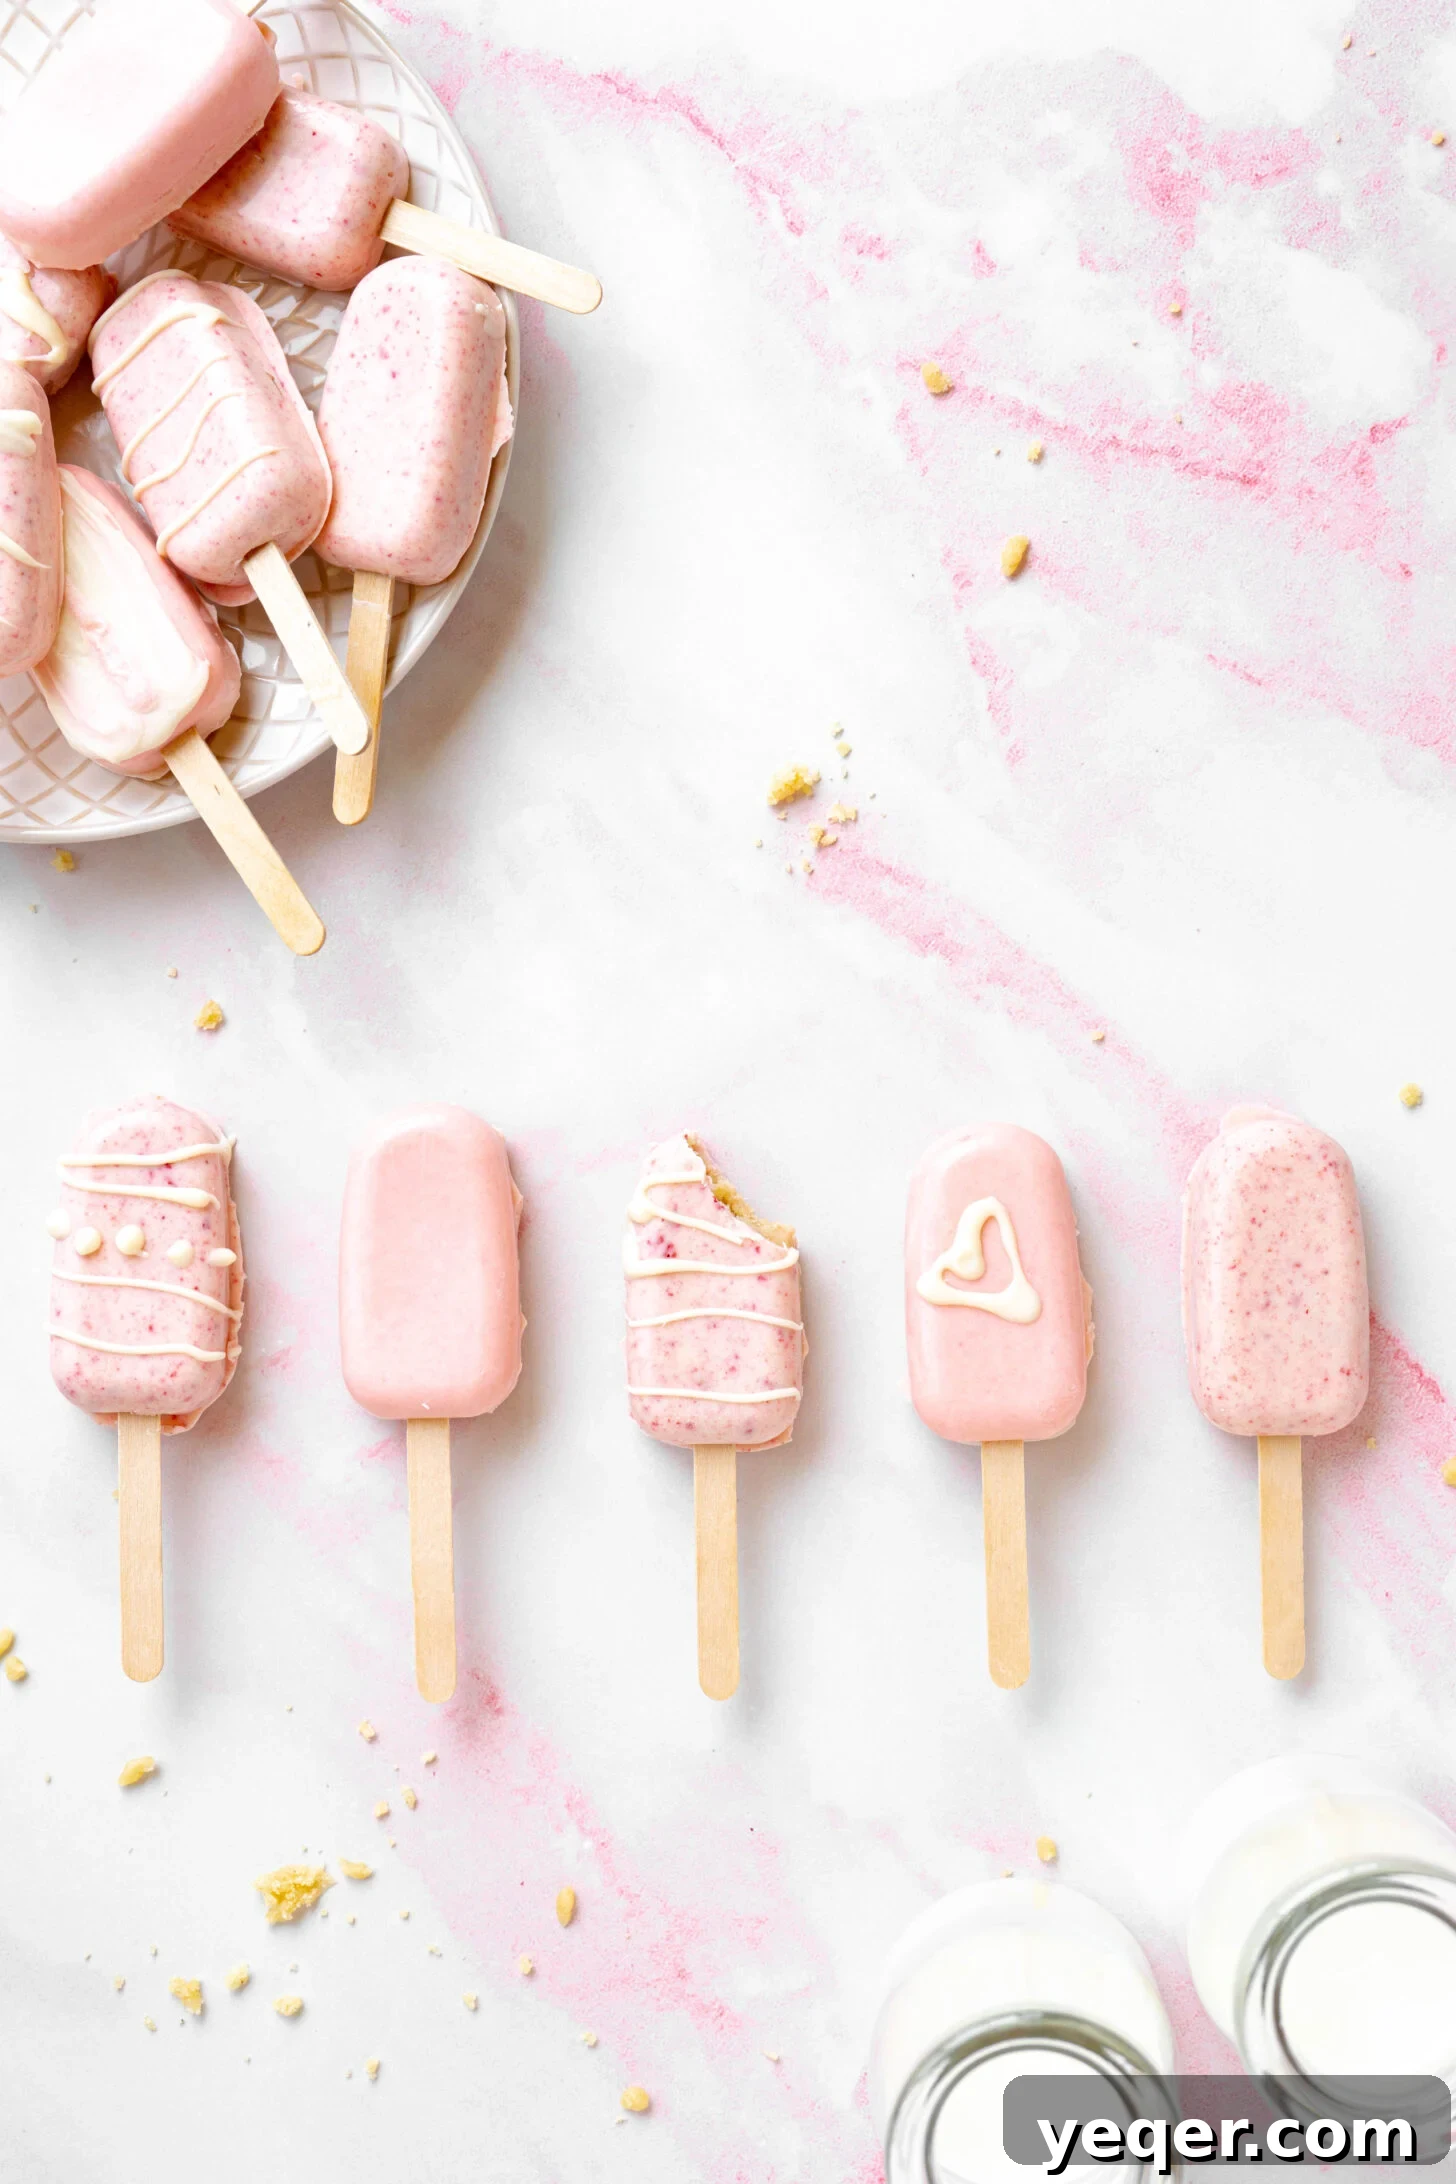
Once the cake and frosting are thoroughly combined, it’s time for the fun part: shaping your cake pops. Traditionally, cake pops are rolled into perfect spheres. However, embracing our Strawberry Shortcake ice cream bar nostalgia, I recently discovered and fell in love with silicone “ice cream bar” shaped molds. These add an extra layer of charm and authenticity to the theme. If you choose to use molds, they create a uniform and impressive result with minimal effort.
If molds aren’t available, don’t fret! You can easily shape your cake pops by hand. Using a cookie scoop helps to ensure evenly sized portions. Roll the mixture firmly between your palms until smooth, round balls are formed. The mixture should be pliable but hold its shape well. If it feels too sticky, chill it for a few minutes; if too crumbly, add a tiny bit more frosting or a splash of milk.
Finally, the moment of truth: dipping your shaped cake pops into a luxurious layer of melted strawberry white chocolate. This coating not only seals in the moisture and flavor but also provides that signature pink hue and delightful crunch. With a little care and attention to detail, you’ll be creating professional-looking pink cake pops that taste as incredible as they look!
Why Gluten-Free Cake Pops?
Choosing to make these cake pops gluten-free opens up a world of delicious possibilities for many. Gluten-free baking has come a long way, and using a high-quality gluten-free cake mix or recipe ensures that no one misses out on these delightful treats due to dietary restrictions. For those with celiac disease or gluten sensitivity, it means they can enjoy a homemade dessert without worry. But beyond dietary needs, gluten-free cakes can often offer a wonderfully light and tender crumb, making them an excellent choice for cake pops. The dense texture of cake pop mixture is very forgiving for gluten-free flours, often producing an even better result. It’s a thoughtful way to make your baking inclusive and enjoyable for everyone.
Serving Suggestions and Storage Tips
Once your beautiful pink cake pops are set, it’s time to enjoy them! For presentation, consider inserting them onto lollipop sticks and arranging them upright in a decorative container or a block of floral foam. This makes for an impressive centerpiece at parties. They are also fantastic simply placed on a platter, allowing guests to pick them up easily. Pair them with a cold glass of milk for the ultimate nostalgic treat, or serve them alongside coffee for a delightful afternoon pick-me-up.
Storing these cake pops is quite simple. They can be kept in an airtight container at room temperature for up to 2-3 days. For longer storage, or if your home is particularly warm, it’s best to refrigerate them. When refrigerated, they will last for up to a week. Just be sure to bring them back to room temperature for about 15-20 minutes before serving to ensure the cake is soft and the coating isn’t too hard. You can also freeze cake pops for up to a month. Thaw them in the refrigerator overnight, then let them come to room temperature before enjoying.
Happy baking,

Print Recipe
Pink Cake Pops
5 Stars
4 Stars
3 Stars
2 Stars
1 Star
No reviews
- Author: Salima Benkhalti
- Prep Time: 1 hour
- Cook Time: 1 hour
- Total Time: 2 hours
- Yield: 20–24 cake pops
- Category: Dessert, Cake Pops
- Method: Baked
- Cuisine: Gluten Free, American
- Diet: Gluten Free
Ingredients
For the cake:
- Fully cooked cake of your choice (I’m using my favorite gluten free lemon vanilla cake).
For the frosting:
- ½ cup butter (1 stick) – softened to room temperature
- 2 cups powdered sugar
- 1 tbsp milk
- ¼ cup freeze dried strawberries (pulverized)
For the candy coating:
- 4 cups chocolate candy melts (I used white)
- 3 tbsps freeze dried strawberries (pulverized)
Instructions
- Bake your chosen cake according to its recipe, then allow it to cool completely on baking racks until it reaches room temperature. While the cake cools, prepare your freeze-dried strawberry powder: in a food processor, pulse the freeze-dried strawberries until a fine, powdery consistency is achieved. Set aside.
- In a large mixing bowl, beat the softened butter until it is light and airy, about 2-3 minutes. Gradually add in the powdered sugar, milk, and the pulverized freeze-dried strawberry powder. Mix thoroughly until a smooth, creamy frosting forms. Ensure there are no lumps and the strawberry powder is fully incorporated.
- Once the cake is cool, cut it into quarters or break it into smaller pieces. Add the entire cake to the large bowl containing the strawberry frosting. Using your hands or a sturdy spatula, mix the cake and frosting together until they are evenly combined. The mixture should be thick, moist, and easily hold its shape when pressed or rolled. If it feels too wet, you can add a tablespoon or two of powdered sugar; if too dry, add a tiny bit more milk or frosting.
- Prepare your candy coating: Melt the chocolate candy melts according to the package instructions. Typically, this involves heating in short 15-second intervals in the microwave, stirring well after each interval, until completely smooth. Once melted, stir in the remaining pulverized freeze-dried strawberry powder until it is fully blended and the coating has a uniform pink color and strawberry flavor.
- If making traditional cake pops: Using your hands or a cookie scooper for uniform size, roll the cake/frosting mixture into smooth, evenly sized balls. Insert a lollipop stick into each ball. Dip each cake pop into the melted strawberry white chocolate coating, ensuring it is fully covered. Gently tap off any excess coating, then place the dipped cake pops on parchment paper or a silicone mat to harden. You can add sprinkles or other decorations before the coating sets.
- If using popsicle molds (as pictured above): Pour a thin layer of the melted strawberry white chocolate into the bottom of each mold. Place the molds into the freezer for 1-2 minutes to allow this layer to set quickly. Then, press a portion of the cake/frosting mixture into the mold over the hardened chocolate layer. Finally, top with an additional layer of melted strawberry white chocolate coating, ensuring the cake mixture is fully encased. Insert a popsicle stick if desired. Return the molds to the freezer for a few more minutes until completely firm. Carefully remove from molds and enjoy!