

As a private chef, my journey in the culinary world has been a vibrant exploration of flavors, ingredients, and the art of crafting unforgettable dining experiences. However, when I first embarked on this adventure a few years ago, I never anticipated that I would eventually be sharing my passion for food photography. It’s truly remarkable how unexpected skills can blossom and become an integral part of one’s professional life. What started as a necessity to document my creations for clients and my growing online presence has rapidly evolved into one of my most cherished creative outlets. This transformation sparked a genuine interest, leading me to delve deeper into the nuances of capturing food’s inherent beauty.
The digital age has undeniably placed a spotlight on visual content, making high-quality photography indispensable for anyone in the food industry – from home cooks sharing recipes on social media to professional chefs showcasing their menus. Recognizing this, I began to experiment, learn, and refine my approach to food photography. Over time, I’ve had the pleasure of not only cooking but also developing recipes and styling visual content for various businesses. These invaluable experiences have significantly sharpened my skills, turning what was once a mere hobby into a professional competency. Many have inquired about my process, and it only feels right to share the insights I’ve gathered. Because, let’s be honest, who doesn’t love capturing the mouth-watering appeal of a beautifully prepared dish?
I want to be fully transparent: I am not a professionally trained photographer. My expertise has been honed through countless hours of hands-on experimentation in my kitchen, playing with different lighting setups, experimenting with various backdrops, exploring diverse angles, and carefully selecting props. This self-taught journey has been incredibly rewarding, and I’m excited to distill my findings into actionable advice for you. So, without further delay, let’s dive into my top five essential food photography tips that will help you elevate your culinary visuals.
1. Embrace the Power of Natural Lighting
If you’ve spent any time exploring food photography, this first tip likely won’t come as a surprise. Yet, its importance cannot be overstated: natural lighting reigns supreme. For years, particularly during the dimly lit winter months, I would struggle to capture appealing images of my dinner creations, attempting to compensate with the brightest artificial bulbs I could find. My efforts, however, often resulted in harsh shadows, unflattering glares, and artificial color casts that simply didn’t do justice to the food.
I have since reached a definitive conclusion: natural light is the only light source I rely on for my food photography. I simply refuse to shoot in poor, artificial lighting conditions. While you might try to manipulate artificial lights, I am convinced that the soft, diffused, and natural glow provided by the sun is unparalleled. Natural light brings out the true textures, vibrant colors, and subtle nuances of food in a way that artificial sources rarely can, lending an authentic and inviting feel to your images.
To make the most of the natural light available in your space, identify a flat surface near a window. A window is your most valuable asset. Ideally, a north-facing window provides consistent, soft light throughout the day, minimizing harsh shadows. If your windows face other directions, experiment with different times of day to find when the light is most diffused. Direct sunlight can be too strong, so consider using a sheer curtain or a diffuser (even a piece of parchment paper taped to the window can work) to soften the light. Additionally, a simple, inexpensive backdrop can make a huge difference. I personally use a piece of plywood from a home supply store, which I painted white, costing less than $10. These stores offer a wide variety of surfaces—from textured wood panels to smooth, matte finishes—that can serve as excellent backdrops. Bonus points if you have a beautiful wooden table or a sleek marble countertop conveniently located near a window; these built-in elements can instantly elevate your shots without extra effort.
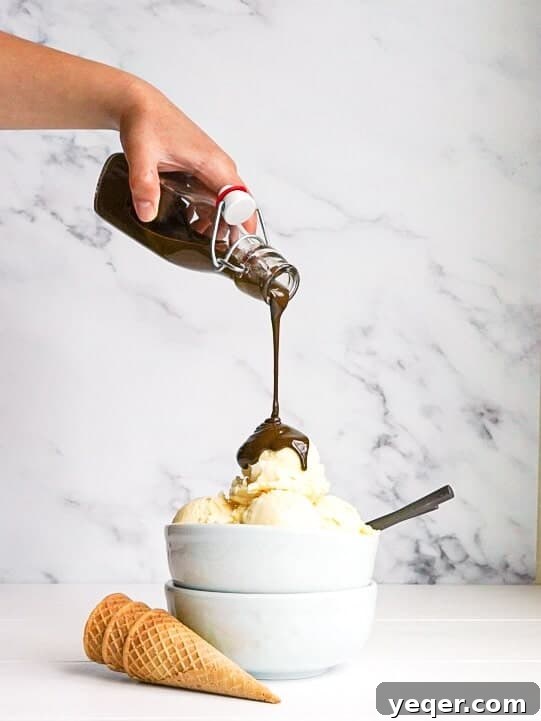
2. Infuse Life with Real-Life Elements
In my early years of food photography, my approach was incredibly minimalist, almost to a fault. My portfolio consisted predominantly of plain shots: a pristine white plate against a stark white background, showcasing nothing but the food itself. There were no hands, no props, just the dish in isolation. While I appreciate that these early photos resonated with some, I’ve since discovered a transformative technique: incorporating a “living” or real-life element into the frame. This simple addition can dramatically enhance the dynamism, relatability, and storytelling power of your images.
Adding a human touch or an interactive element instantly draws viewers in, making the food seem more accessible and inviting. It creates a narrative, suggesting a moment of enjoyment, preparation, or sharing. Often, I find myself shooting alone, making it impractical to ask a friend to pose their hand in my shot. This is where creativity becomes your best friend. If you own a tripod, it can be an invaluable tool, allowing you to set up your shot and then use your own hand. My go-to method, however, is simpler: I position my left hand strategically within the frame, interacting with the dish, while simultaneously operating the camera with my right hand. This technique effectively adds a sense of scale, movement, and a personal touch without needing an extra set of hands.
Beyond hands, consider other ways to introduce a “real-life” vibe. A subtly blurred background featuring a person in the kitchen, a gentle steam rising from a hot dish, or even carefully arranged crumbs and splatters that suggest recent activity can all contribute to a more authentic and engaging scene. The goal is to move beyond a static, museum-like presentation and instead capture food in a way that feels dynamic and true to life, inviting the viewer to imagine themselves savoring the experience.
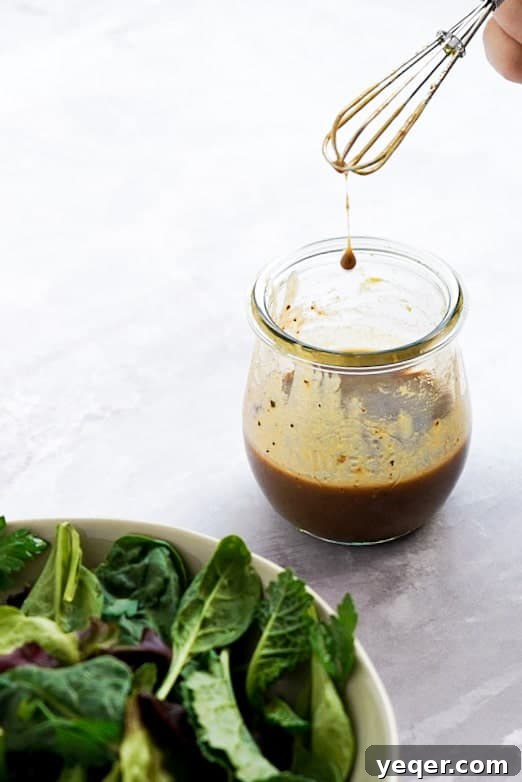
3. Master the Art of Prop Storytelling
If I received a dollar for every time I meticulously cleaned my kitchen before a food photography shoot, only to regret it later, I’d be hundreds of dollars richer. The truth is, many of my initial “clean kitchen” shoots often resulted in remarkably uninspiring photographs. Why? Because all the natural, organic props – the scattered eggshells, a dusting of spilled flour, a measuring spoon casually left on the counter – had been banished to the dishwasher, no longer available to lend character to my shot!
The neat freak within me constantly battles the urge to tidy up my workspace and erase any “mess” before capturing the final shot of my culinary creation. This is a habit I am still actively working to break, and it leads directly to my third essential food photography tip: Embrace and Use Props. The beauty of food photography lies not just in the final dish, but in the story it tells—a story of preparation, ingredients, and the journey from raw components to a delicious meal. The “mess” you create during cooking, the leftover ingredients, and the tools you use are all invaluable narrative elements.
Utilize what you already have readily available in your kitchen. Those fresh ingredients waiting to be chopped, the herbs you just snipped, a rustic cutting board, or a well-loved set of measuring spoons – all these items contribute to a rich, authentic narrative. They provide context, add texture, and introduce a sense of depth and realism to your photographs. You absolutely do not need to invest a fortune in fancy, expensive spoons and designer plates. A few simple, neutral-colored plates and basic pieces of silverware will serve you perfectly. These understated items allow the food to remain the star of the show while still grounding it in a believable setting.
When I was photographing during my college years, I often visited local thrift stores or “Value Village” to scout for unique, antique-looking cutlery or charming, mismatched plates, often for under $3. These budget-friendly finds added character without breaking the bank. More often than not, you already possess all the necessary props within your own kitchen cabinets and drawers. Start incorporating these everyday items into your photography now. Embrace the beautiful chaos of creation; let your “mess” tell a captivating story about the passion and effort that went into your final piece.
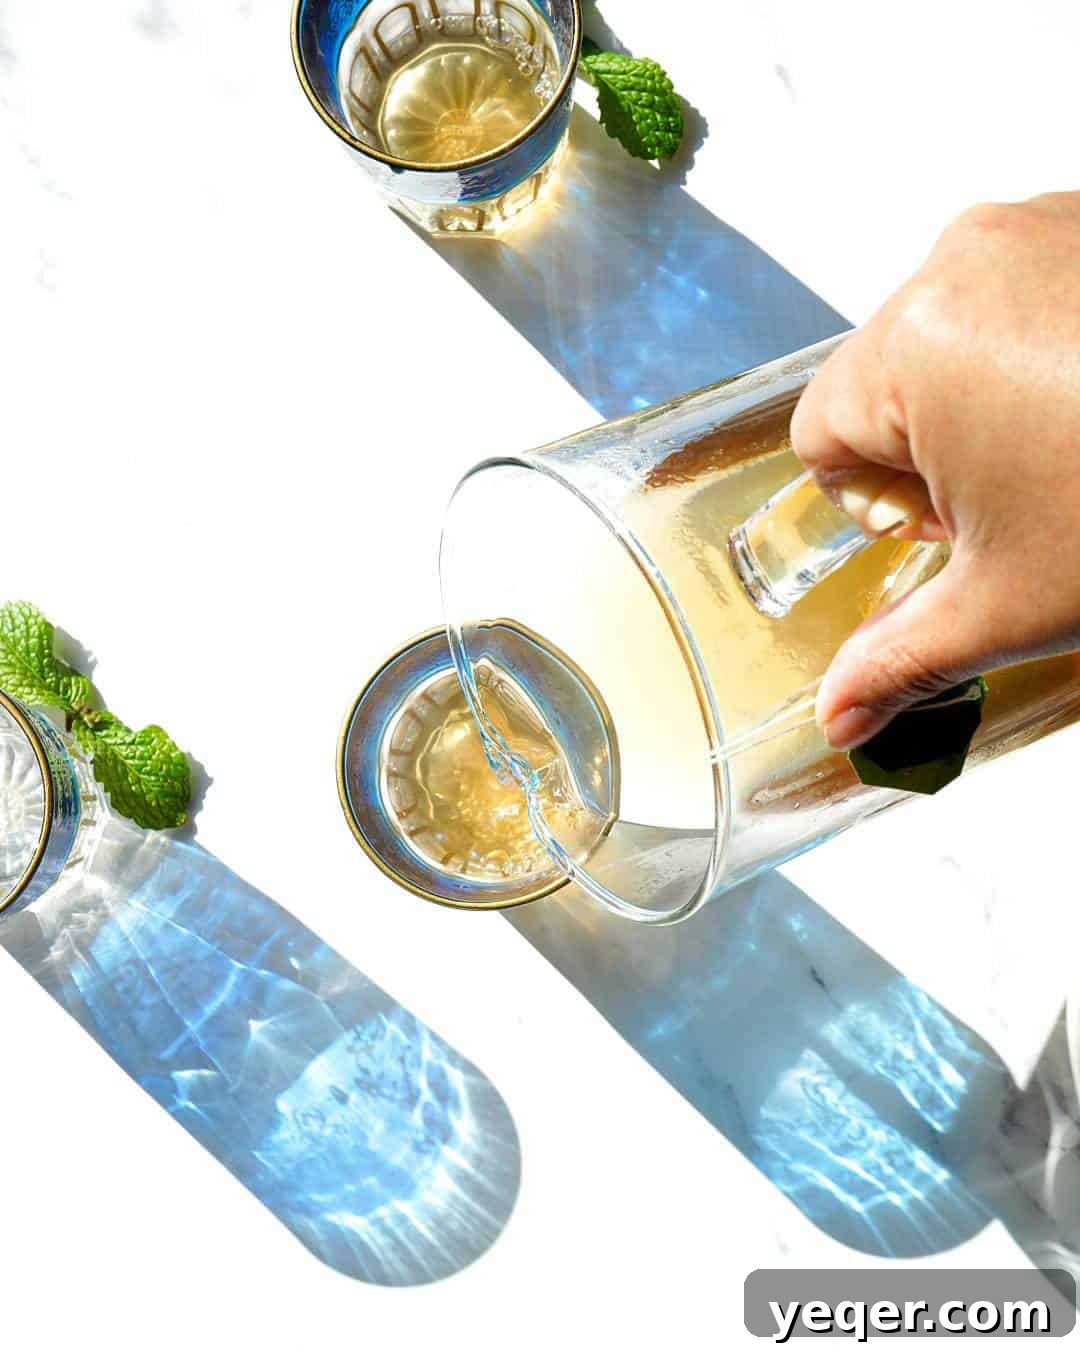
4. Master Your Color Palette
Summertime food photography is often a joyous affair, with an abundance of vibrant, fresh produce making it effortlessly easy to create visually stunning dishes. The natural riot of colors—bright reds of berries, lush greens of herbs, sunny yellows of citrus—makes every shot a feast for the eyes. However, the colder months present a distinct challenge. It’s all too simple to fall into the colorless trap of winter comfort food, where dishes often lean towards muted browns, creams, and beiges. While undeniably delicious and heartwarming, these dishes may not always be the most photogenic.
Being acutely aware of the color palette in any dish you are photographing is paramount. Before you even pick up your camera, consider the dominant hues and how they interact. A visually appealing food photograph often hinges on a balanced and thoughtful use of color, creating contrast and drawing the viewer’s eye. It’s crucial to take several shots, step away from the camera, and review your images critically before concluding your shoot for the day. There’s nothing more disheartening than dedicating an entire session to capturing your food, only to realize the next day that all your shots appear bland, uninspired, or lacking visual interest.
Strategic planning is key. Think ahead about how you can incorporate subtle bursts of color to breathe life into your photographs, even with dishes that are naturally more monochromatic. Garnishes are your best friends in this scenario. Microgreens, for instance, reliably provide a fantastic pop of fresh green, instantly adding vitality and a professional touch. Pickled onions or thinly sliced radishes can introduce a beautiful, delicate shade of pink or red, offering a lovely contrast against richer, darker dishes. Even a sprinkle of vibrant herbs, a drizzle of colorful sauce, or a scattering of toasted nuts can provide that essential spark of visual interest, transforming an otherwise dull photograph into an appetizing masterpiece. Remember, sometimes just a tiny splash of the right color is all it takes to make your food truly shine.
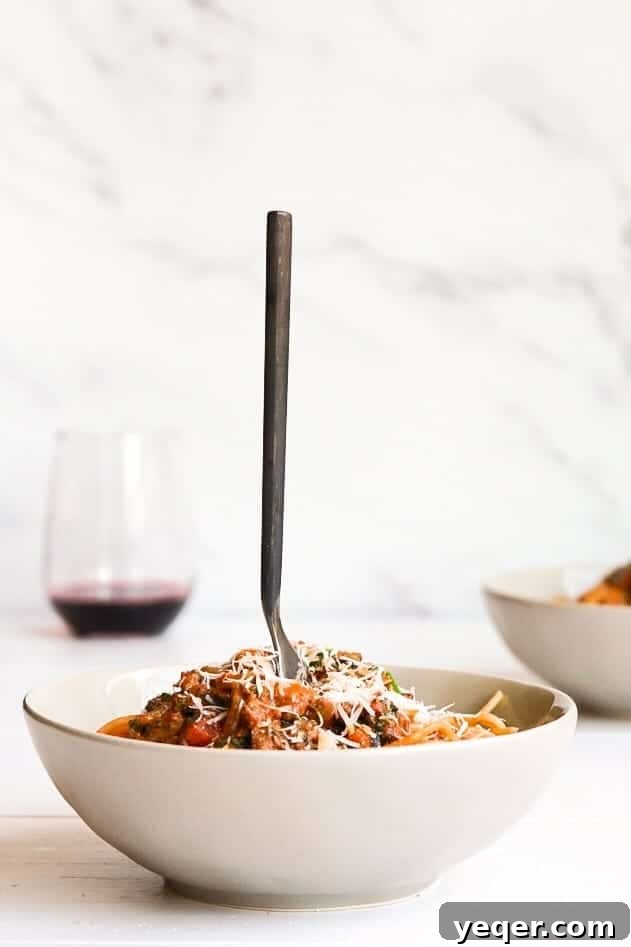
5. Edit, Edit, Edit: The Game Changer
If you’re capturing food photographs and not dedicating time to editing them, you are undeniably missing out on a significant game-changer that can elevate your images from good to truly exceptional. Editing isn’t about altering reality; it’s about enhancing the beauty that’s already there, correcting imperfections, and ensuring your food looks as delicious on screen as it does in person. I’ve experimented with numerous free editing applications on my phone over the years, and while many offer excellent basic functionalities, I genuinely can’t claim that any single one is vastly superior to the others for fundamental adjustments.
That said, for more advanced control and a professional workflow, I have thoroughly enjoyed using Adobe Lightroom for the past year. However, the specific editing program you choose is less critical than the fundamental commitment to edit every single photograph. This practice is especially crucial if you are consistently posting your pictures to an ongoing blog, an Instagram feed, or any visual platform. Why? For the sake of aesthetic appeal, continuity, and robust brand awareness.
If you’ve ever scrolled through Instagram or Tumblr, you’ve undoubtedly encountered feeds that flow together seamlessly. Each photograph in these curated collections shares harmonious hues, consistent color schemes, and a unified visual identity. It’s an almost magical experience for the viewer, incredibly eye-appealing, and leaves a lasting impression. But make no mistake; this captivating consistency is not accidental—it’s the direct result of deliberate and thoughtful editing!
This isn’t to diminish the immense hard work, artistic vision, and inherent skill that goes into creating such stunning visual narratives. Building a cohesive feed is challenging, but it becomes infinitely more achievable and polished with the strategic application of an editing tool. Start by experimenting with different free editing applications to discover what suits your style and workflow best. Focus on fundamental adjustments like brightness, contrast, white balance, saturation, and sharpening. Once you’ve made your edits, a crucial step before publishing new content is to review your photos as an entire album or grid. This allows you to ensure that the overall theme, color schemes, and visual tone are perfectly synchronized, creating a professional and engaging experience for your audience. Consistent editing not only makes your feed look polished but also helps build a recognizable brand identity, making your content stand out in a crowded digital landscape.
Before and After: The Impact of Lighting on Food Photography
Below, observe two images of the same dish. The first illustrates the challenges of poor, dark lighting, while the second highlights the dramatic improvement achieved with thoughtful, bright lighting. This side-by-side comparison underscores the paramount importance of light in bringing out the best in your food photography.
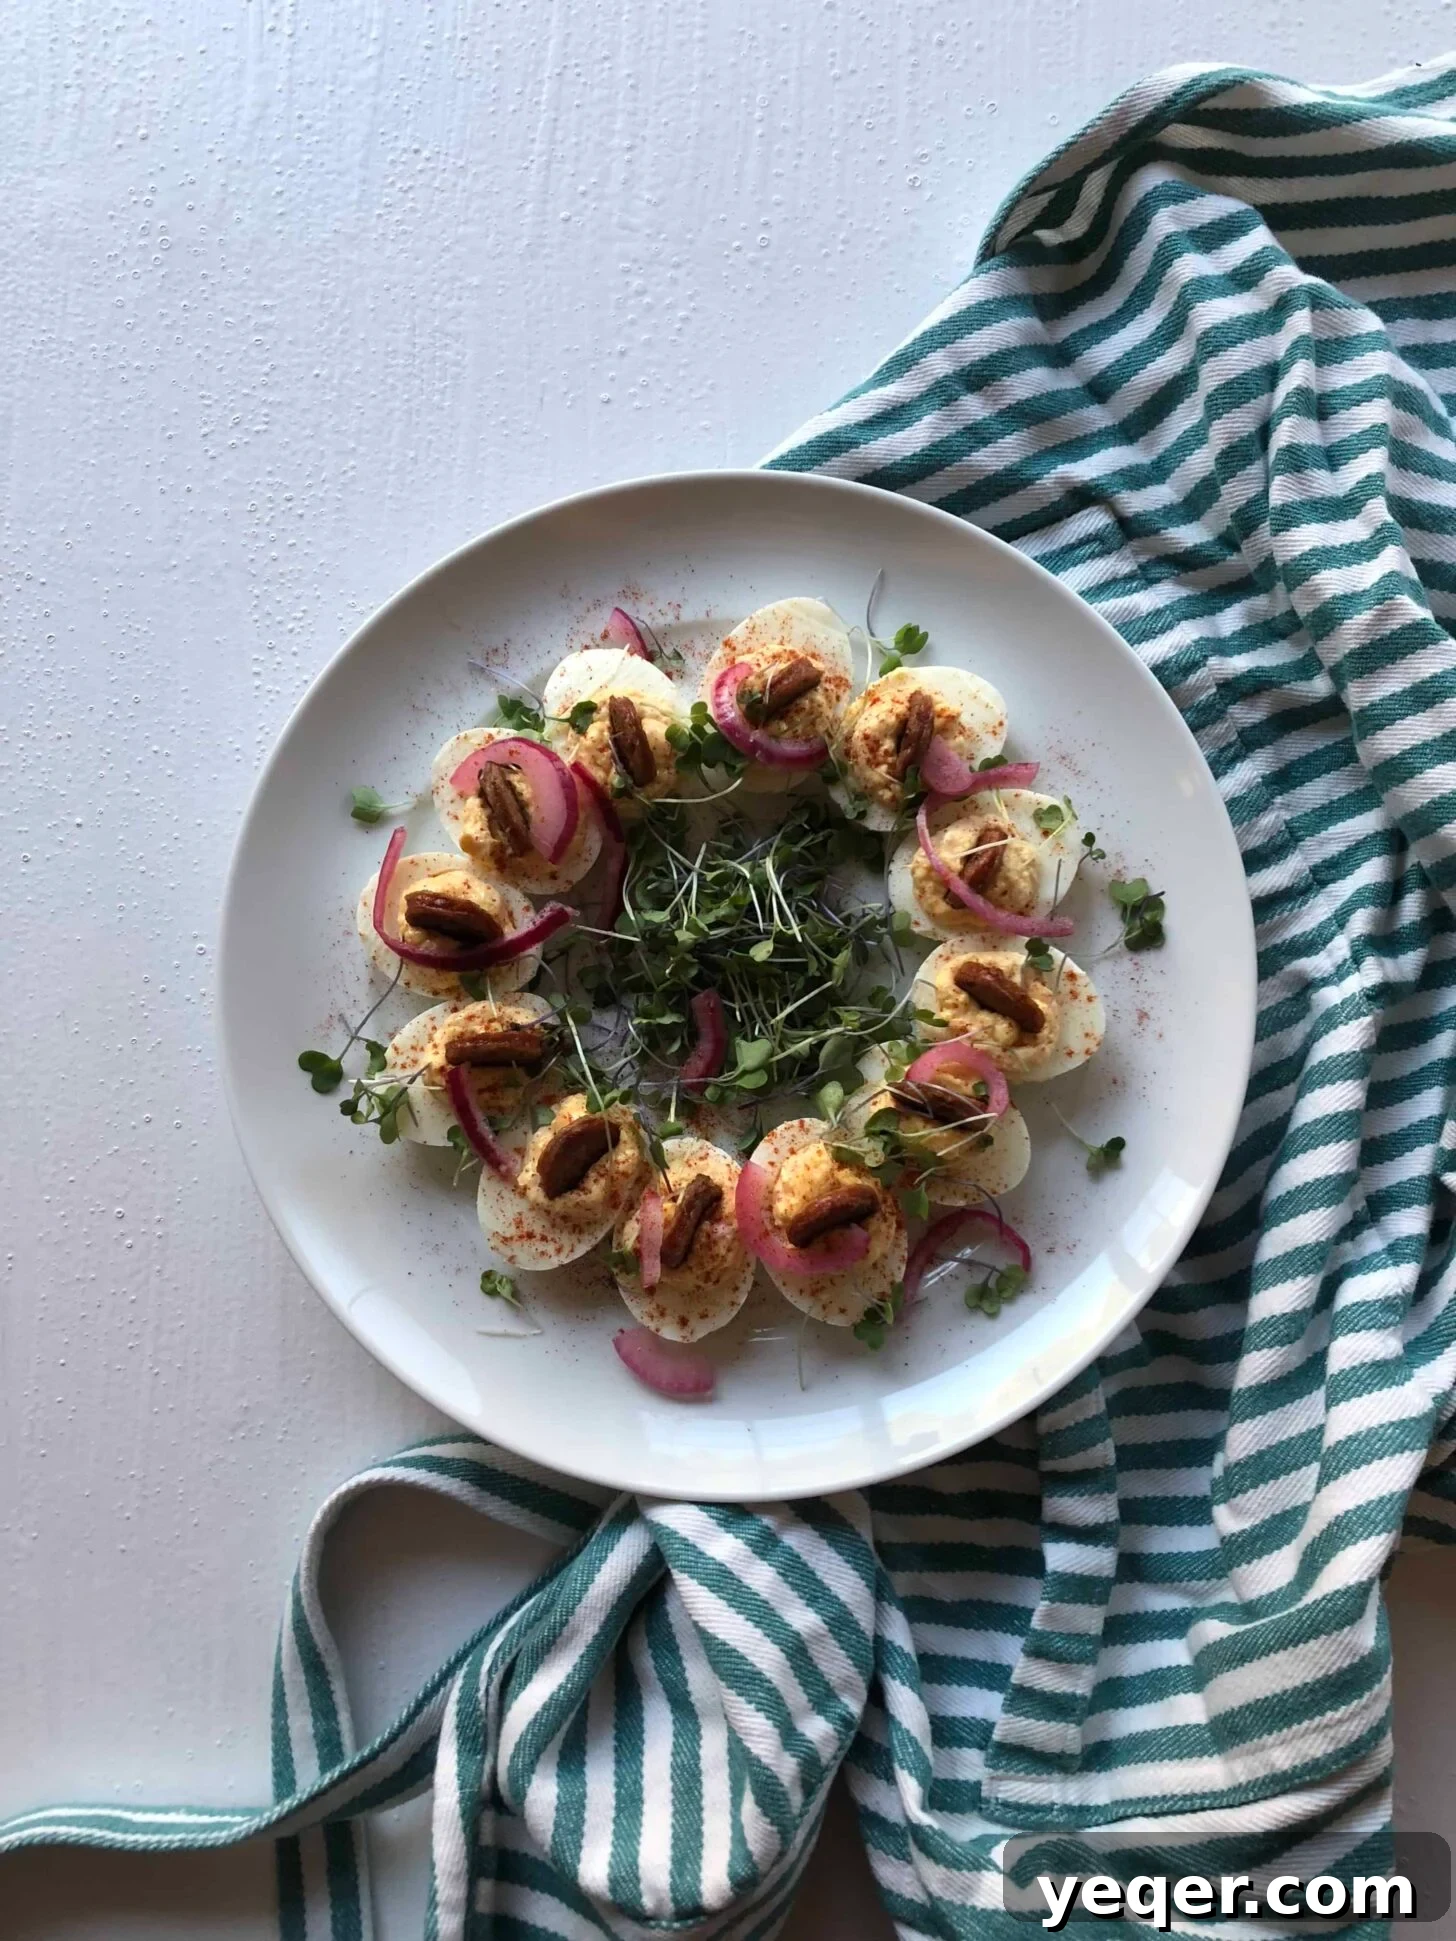
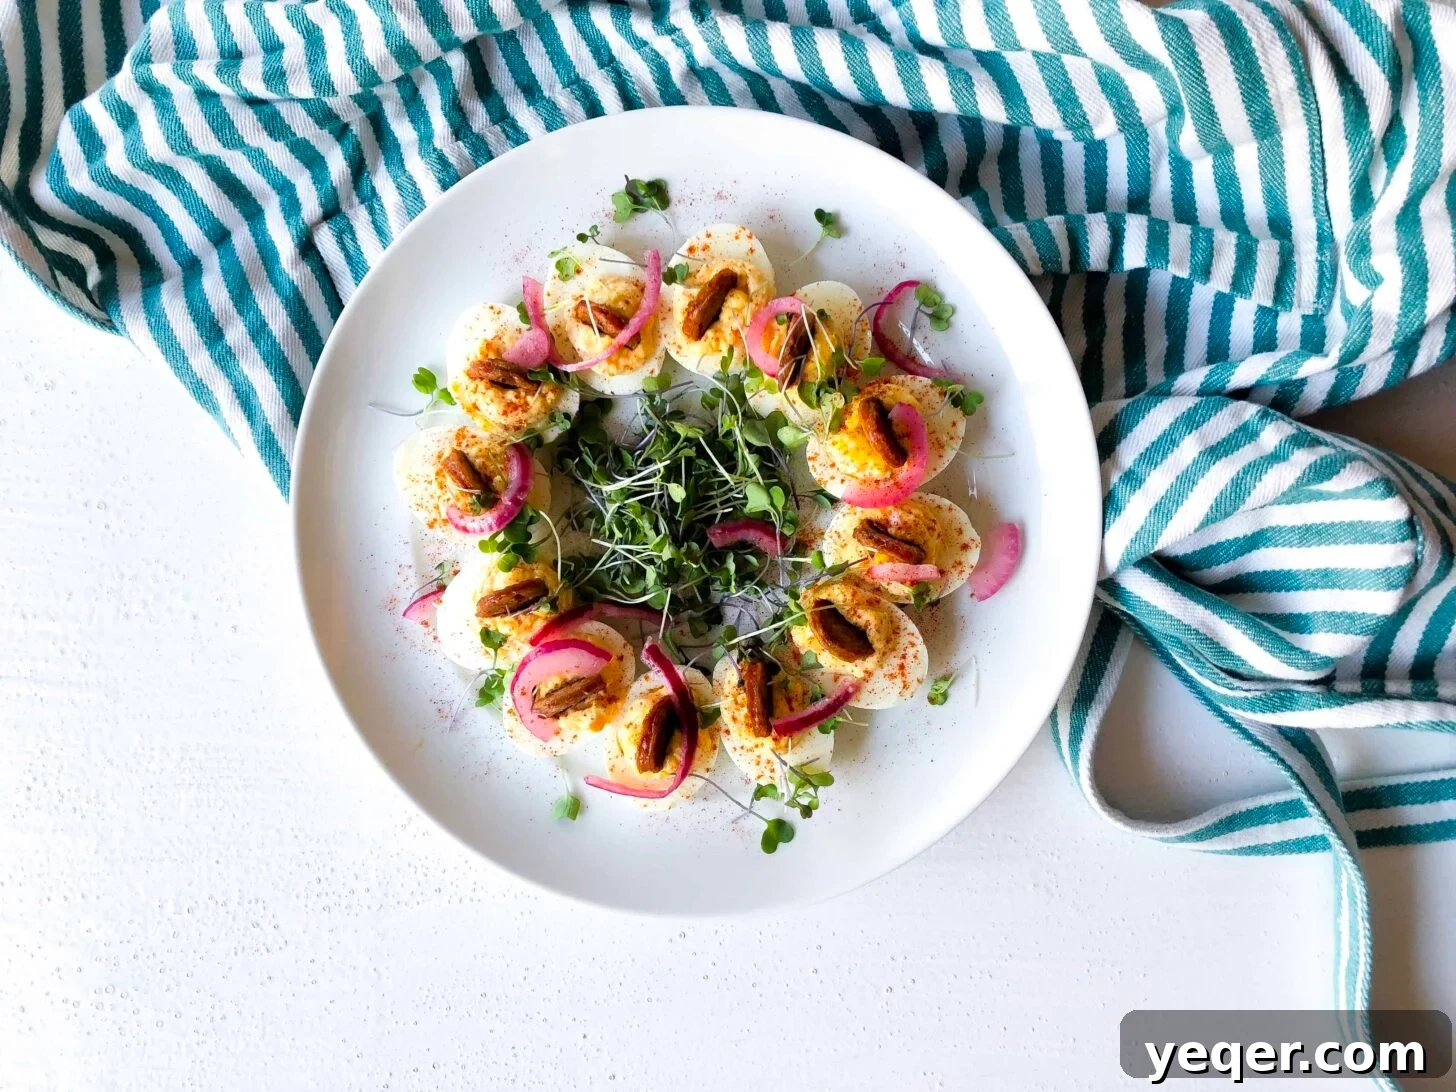
Implementing these five core principles will significantly enhance your food photography, allowing you to capture dishes that truly convey their flavor, texture, and artistry. Remember, practice is key, and every shot is an opportunity to learn and grow. Don’t be afraid to experiment, develop your own style, and let your passion for food shine through your lens.
Looking for a Professional Food Photographer?
While these tips offer a solid foundation for improving your food photography skills, there are times when professional-grade imagery is essential for your brand, business, or special projects. If you’re seeking to elevate your visual content to the highest standard and require expert assistance, I offer comprehensive food photography services tailored to your specific needs. From recipe development and styling to high-resolution shooting and post-production, I can help you create stunning visuals that captivate your audience.
Contact me here to get in touch, discuss your project requirements, and learn more about my rates and services. Let’s create something delicious together!