
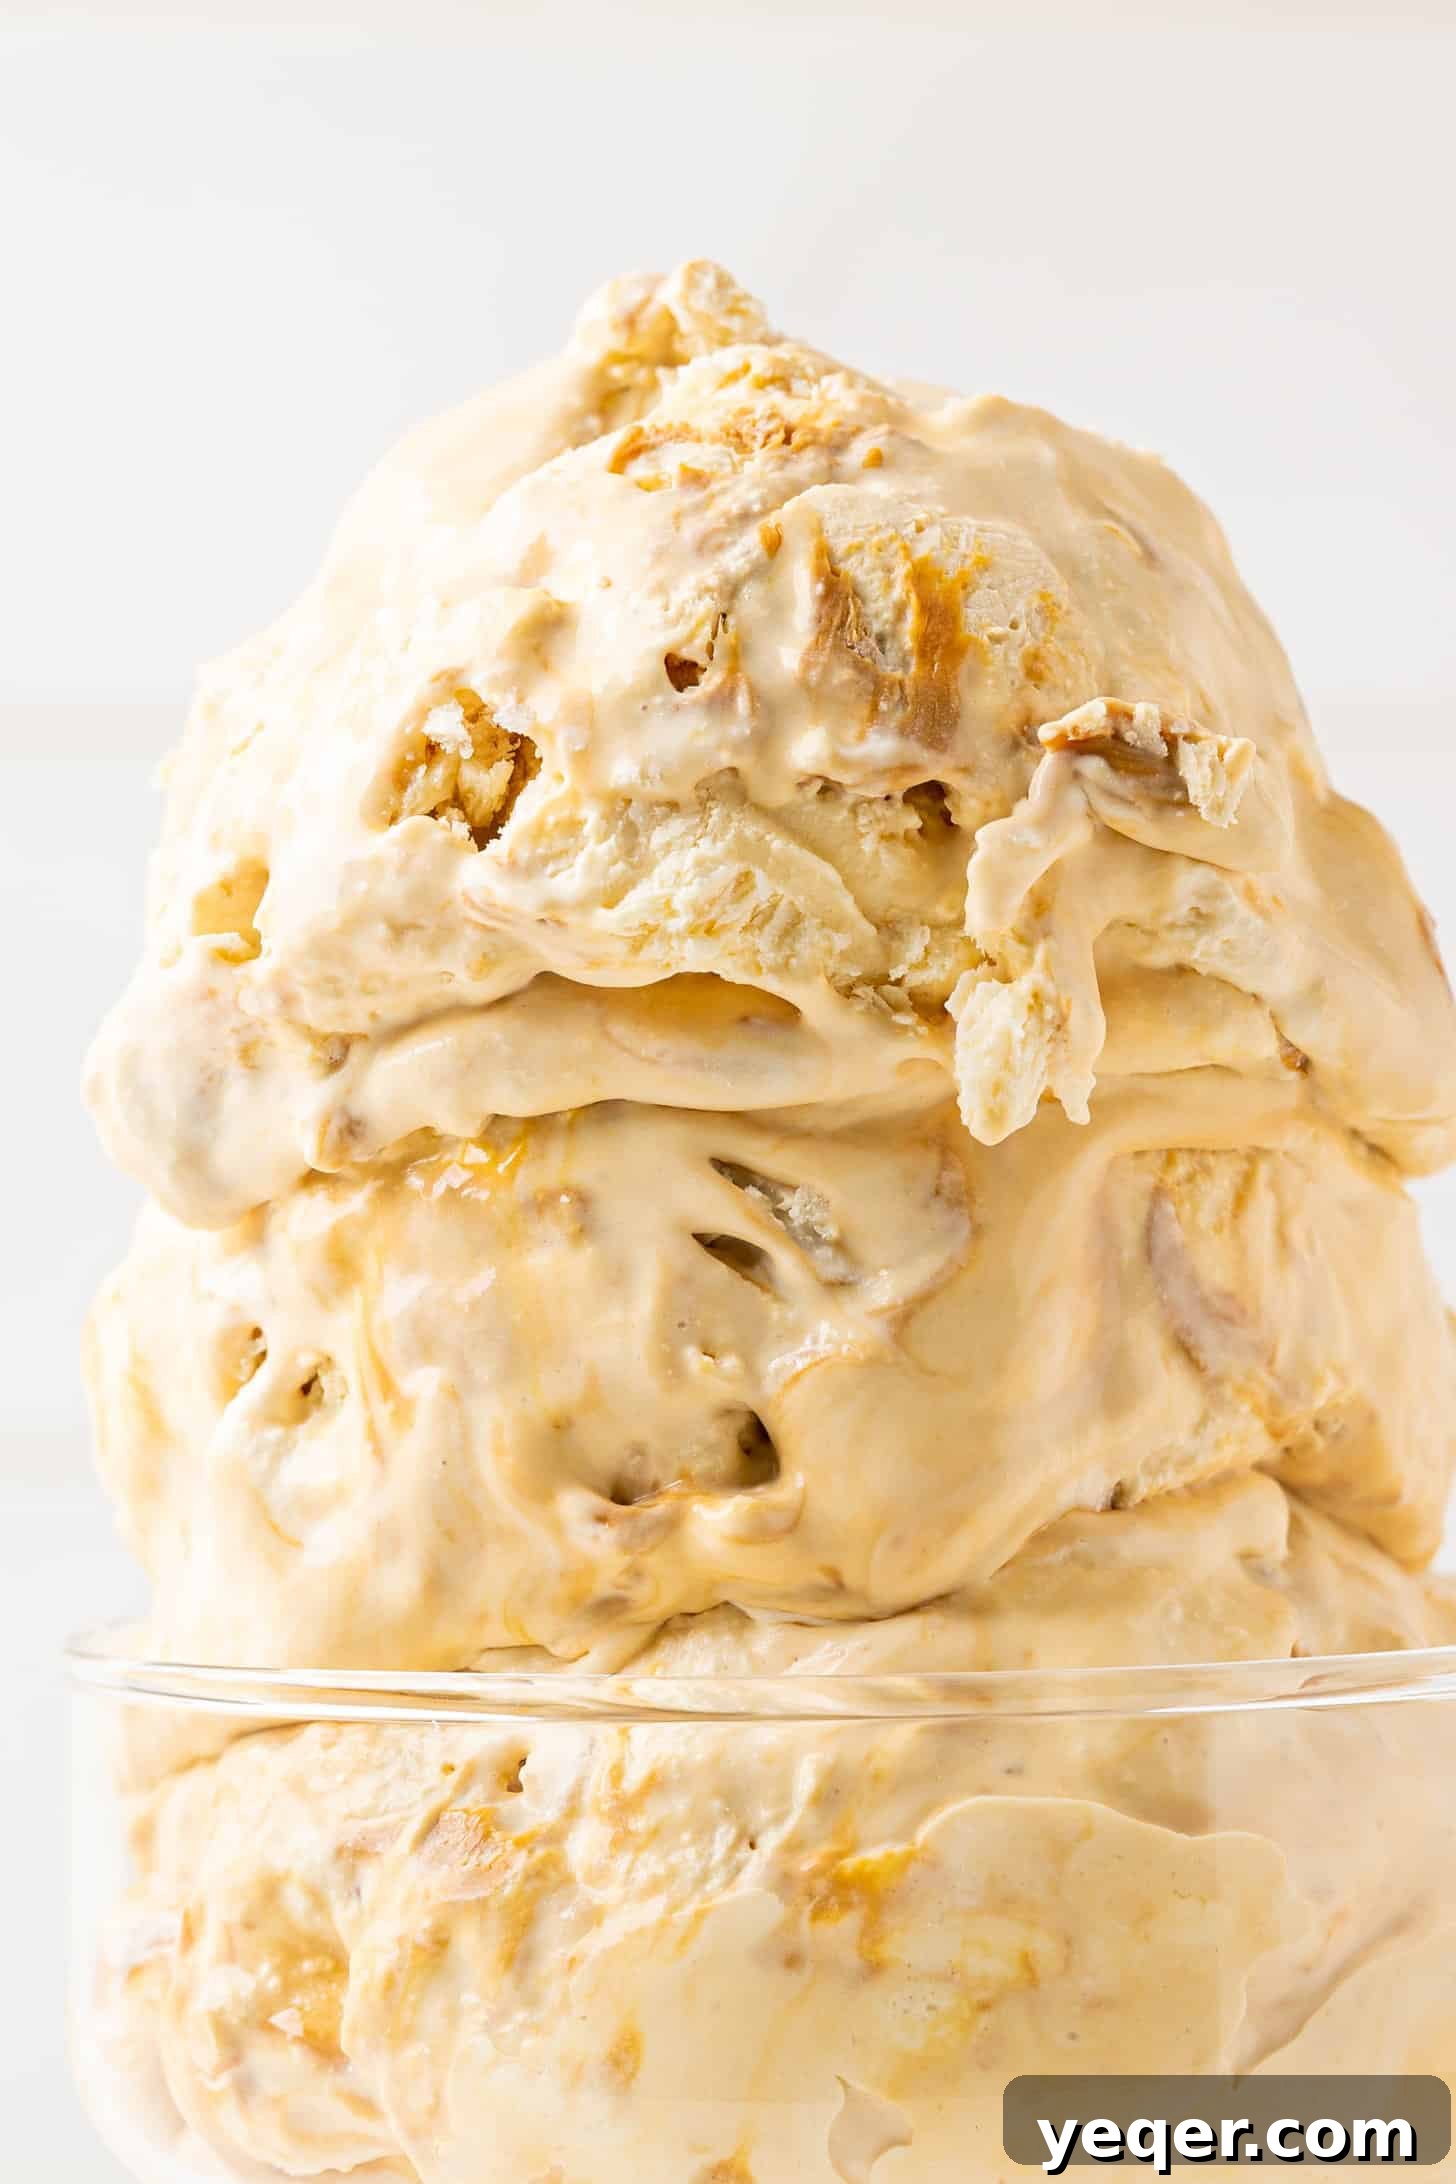
Indulge in the simplest pleasure with our incredible 3-Ingredient Dulce de Leche Ice Cream. This classic vanilla base is beautifully complemented by thick, luscious ribbons of authentic dulce de leche, creating a dessert that’s both rich in flavor and wonderfully easy to make. Forget about complicated gadgets or specialized machines – this recipe requires no ice cream maker and minimal effort, making it the perfect stress-free treat for any occasion.
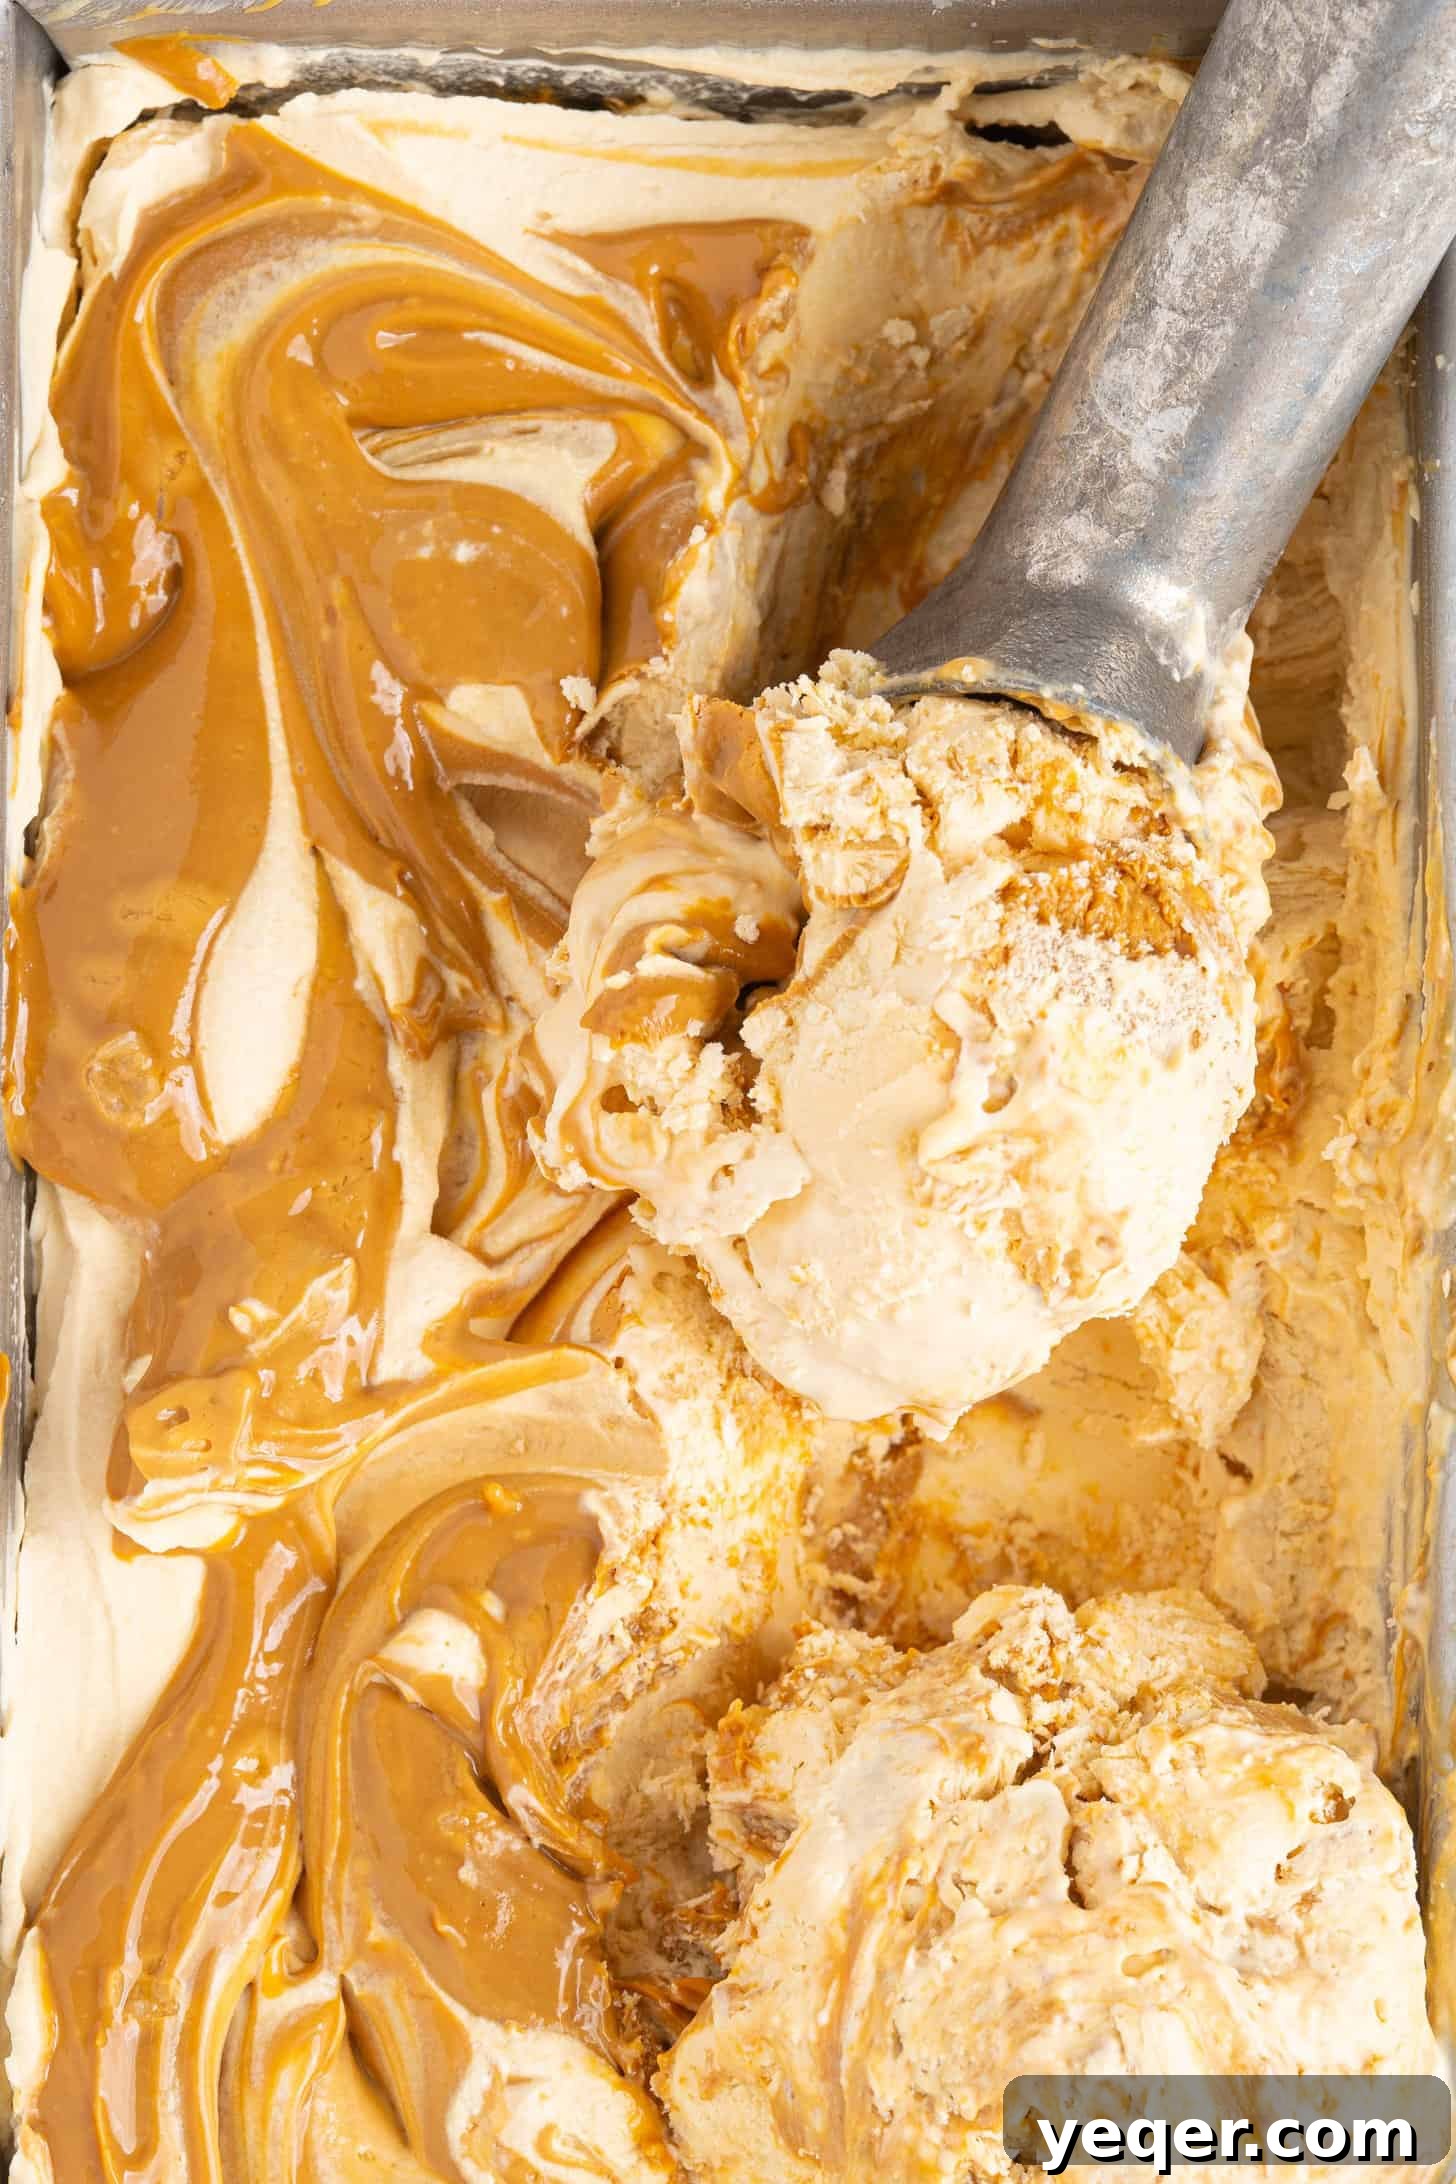
Dulce de leche is a beloved caramel confection with deep roots in Latin American cuisine, often used to sweeten a variety of desserts, from cakes and cookies to traditional Puerto Rican specialties. Its distinctive depth of flavor, a result of slowly cooking milk and sugar, transforms simple sweets into extraordinary delights. Swirled into this easy no-churn ice cream, it becomes an irresistible addition that truly elevates the vanilla base.
For those familiar with the magic of no-churn ice cream, you already know the secret to its effortless preparation. It’s a revelation for home cooks, bypassing the need for expensive equipment while still delivering a remarkably creamy and luxurious texture. Whether you opt for the convenience of store-bought dulce de leche or embark on the rewarding journey of making your own from a can of sweetened condensed milk, its smooth, sweet presence is what makes this dessert so exceptionally delicious.
Why No-Churn Ice Cream is a Game-Changer
The concept of no-churn ice cream revolutionized homemade frozen desserts, offering a simple alternative to traditional methods that require an ice cream machine. The secret lies in the magical properties of heavy cream. When whipped to stiff peaks, heavy cream incorporates air, creating a light and airy base. This aerated cream, combined with a sweetened condensed milk (or in this case, dulce de leche, which serves a similar sweetening and thickening purpose), freezes into a remarkably creamy consistency without the need for constant churning to break up ice crystals. It’s a foolproof method that delivers delicious results every time, opening up the world of homemade ice cream to everyone, regardless of their kitchen gadget collection.
The 3 Magic Ingredients Explained
This recipe truly lives up to its “3-ingredient” promise, showcasing how a few quality components can create something spectacular. Here’s a closer look at what makes each ingredient essential:
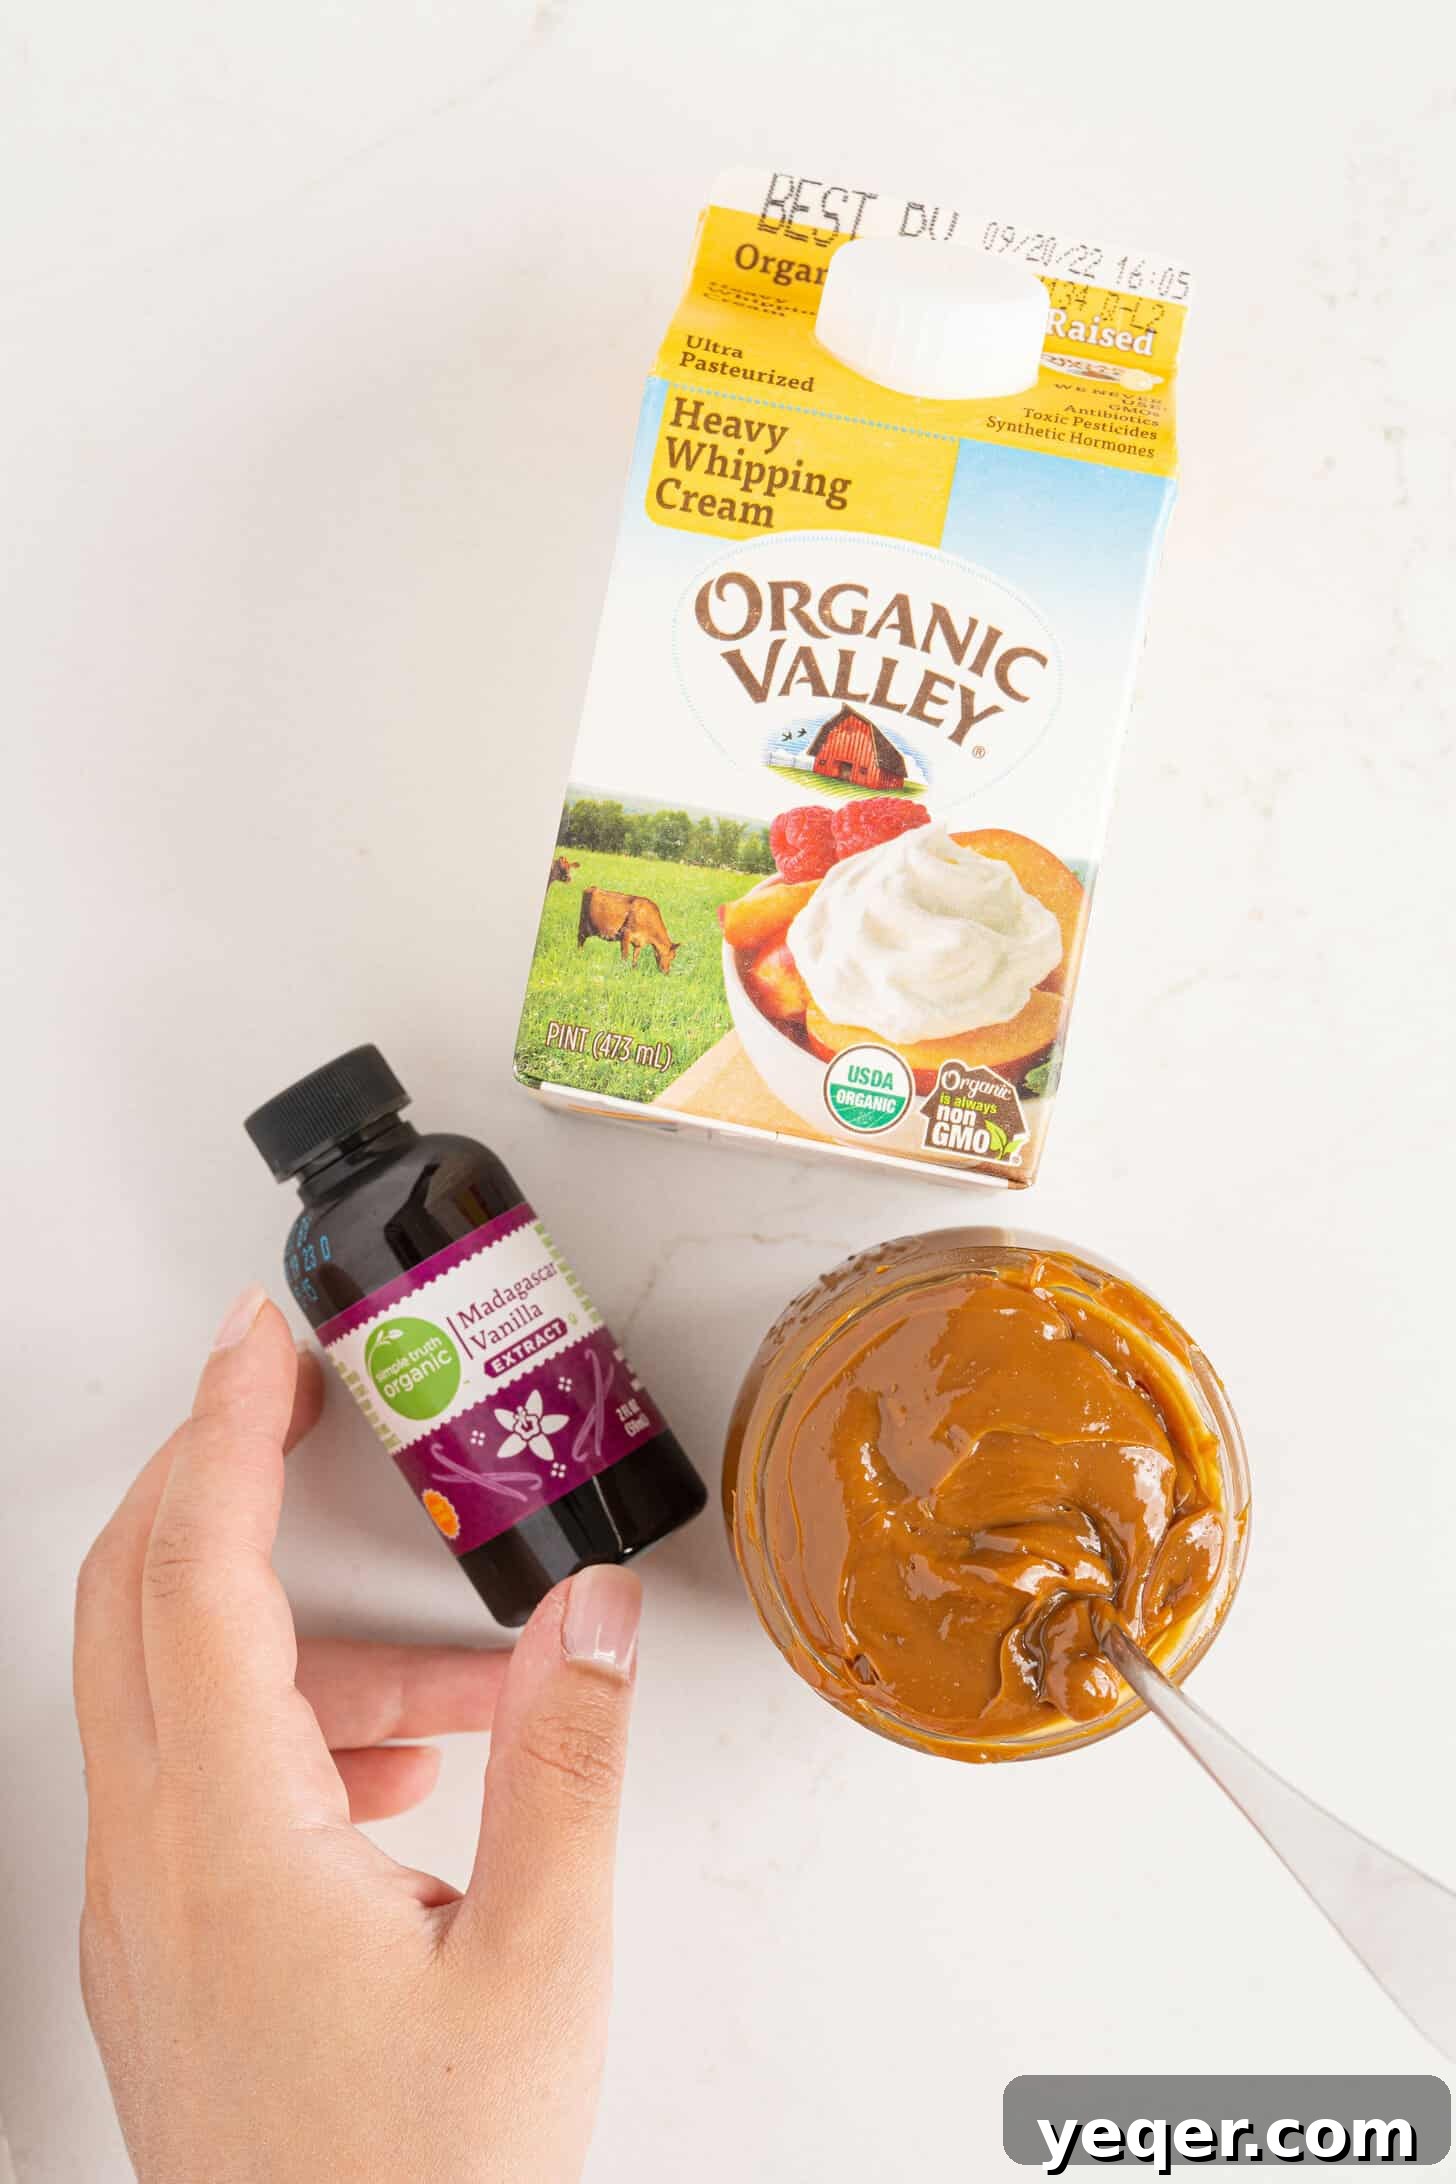
Dulce de Leche: The Star Sweetener
With a name that literally means “candy of milk,” dulce de leche is a thick, caramel-like sauce originating from Argentina, though variations are cherished across Latin America and beyond. Traditionally, it’s made by slowly heating sweetened milk until it thickens and caramelizes, developing a deep, complex flavor that is richer and often less sharp than traditional caramel. This slow reduction process gives it a unique, creamy texture and a distinctive sweet, milky flavor.
Across the globe, you might encounter similar confections under different names: “cajeta” in Mexico (often made with goat’s milk), “confiture de lait” in France, or “manjar blanco” in Peru and Chile. Each boasts its own subtle nuances, but all share that irresistible caramelized milk essence. While you can often find ready-made dulce de leche at most grocery stores or online retailers, the truly adventurous can make it themselves with just a can of sweetened condensed milk, yielding a deeply satisfying homemade version.
Heavy Cream: The Creamy Base
Heavy cream is the unsung hero of no-churn ice cream. Its high fat content (typically 36% or more) allows it to whip up beautifully, trapping air and creating a stable, fluffy base. This aeration is crucial for achieving that characteristic light and creamy ice cream texture, preventing it from freezing into a solid, icy block. It eliminates the need for eggs (as in traditional French-style ice cream) or continuous churning. Always ensure your heavy cream is very cold before whipping for the best results.
Vanilla Extract: The Flavor Enhancer
While dulce de leche provides the primary flavor, a good quality vanilla extract adds a foundational warmth and depth that complements the caramel notes perfectly. It rounds out the sweetness and adds that familiar, comforting ice cream parlor taste. Opt for pure vanilla extract over imitation for the best flavor.
Step-by-Step Instructions for Your No-Churn Masterpiece
Creating this decadent dessert is surprisingly simple. Follow these steps for perfect results:
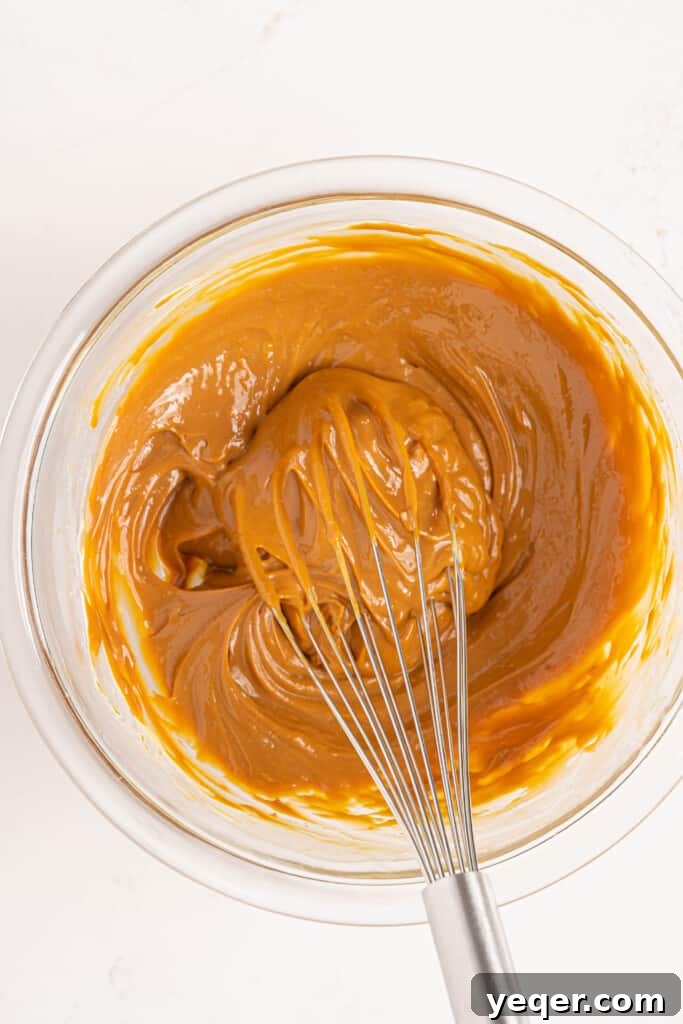
Step 1: Prep the Dulce de Leche. Begin by transferring your dulce de leche into a medium-sized bowl. To achieve a smoother, more pourable consistency perfect for swirling, add a few tablespoons of heavy cream (about 4 tablespoons) to the dulce de leche. Whisk this mixture until it’s completely smooth and beautifully creamy. This step ensures the caramel blends seamlessly into the ice cream base.
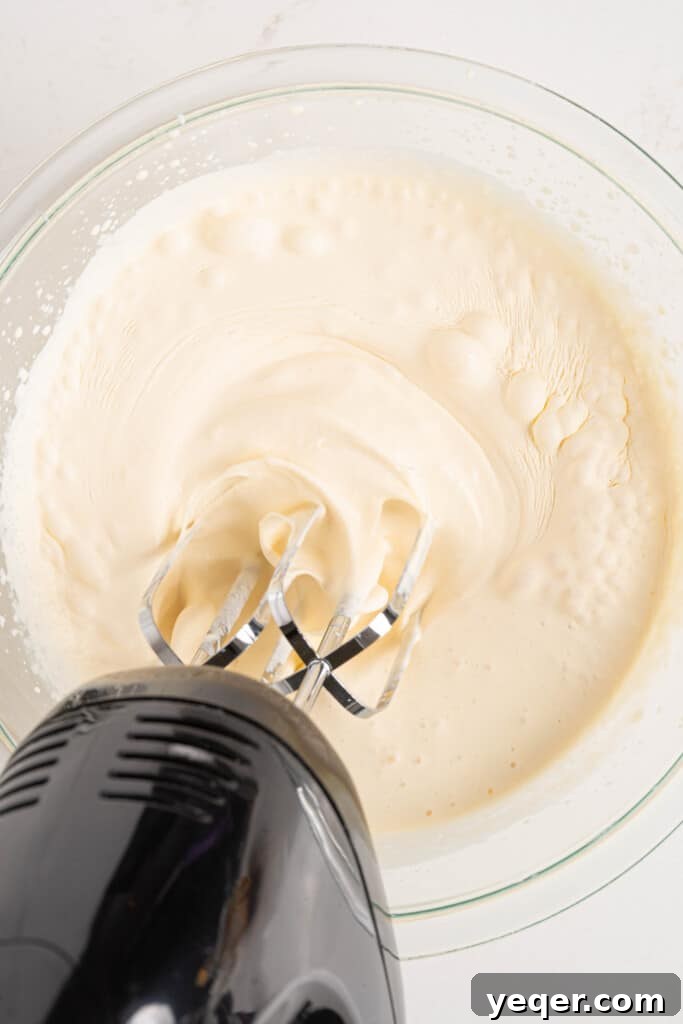
Step 2: Whip the Cream. In a separate, larger mixing bowl, combine the remaining heavy cream with all of the vanilla extract. Before you start whipping, take about 5 tablespoons of your prepared dulce de leche mixture and add it to the heavy cream. This infuses the entire base with a delicate caramel flavor. Using an electric mixer (or a whisk and a lot of arm strength!), beat the cream mixture until soft peaks form. Soft peaks hold their shape but still have a gentle curl at the tip. Be careful not to overbeat, as this can result in a grainy texture.
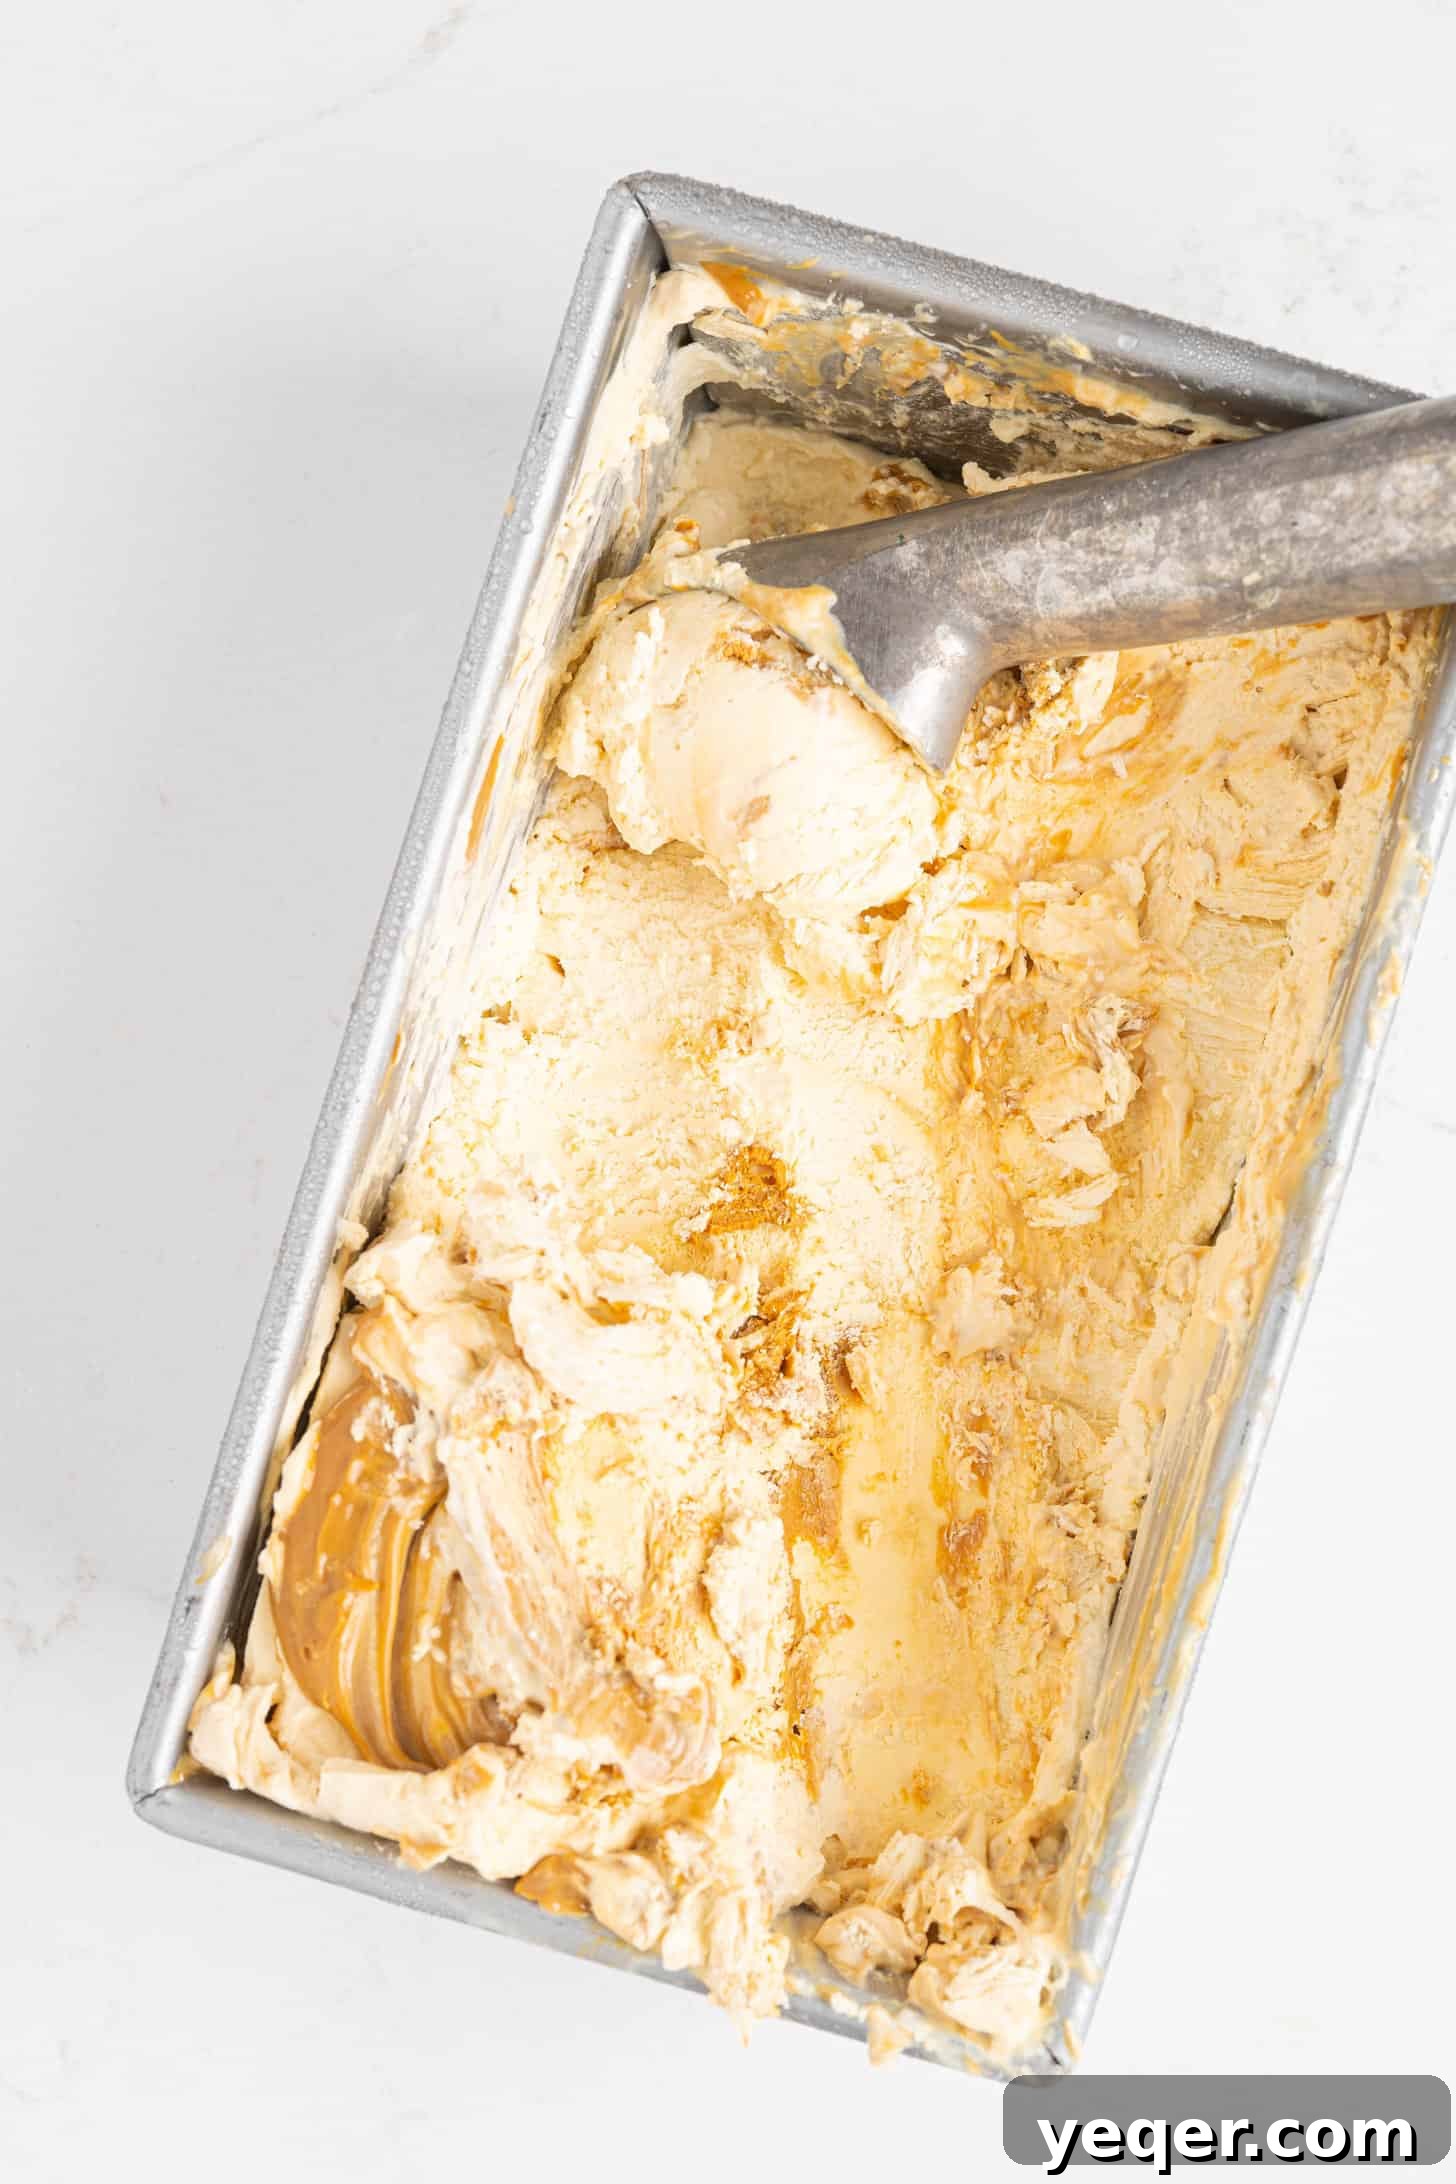
Important Reminder: Always use a container that is certified safe for the freezer. Excellent choices include sturdy aluminum pans, durable plastic boxes with airtight lids, or reliable glass Pyrex dishes. An ideal size is a 9×5-inch loaf pan, which works perfectly for freezing and serving.
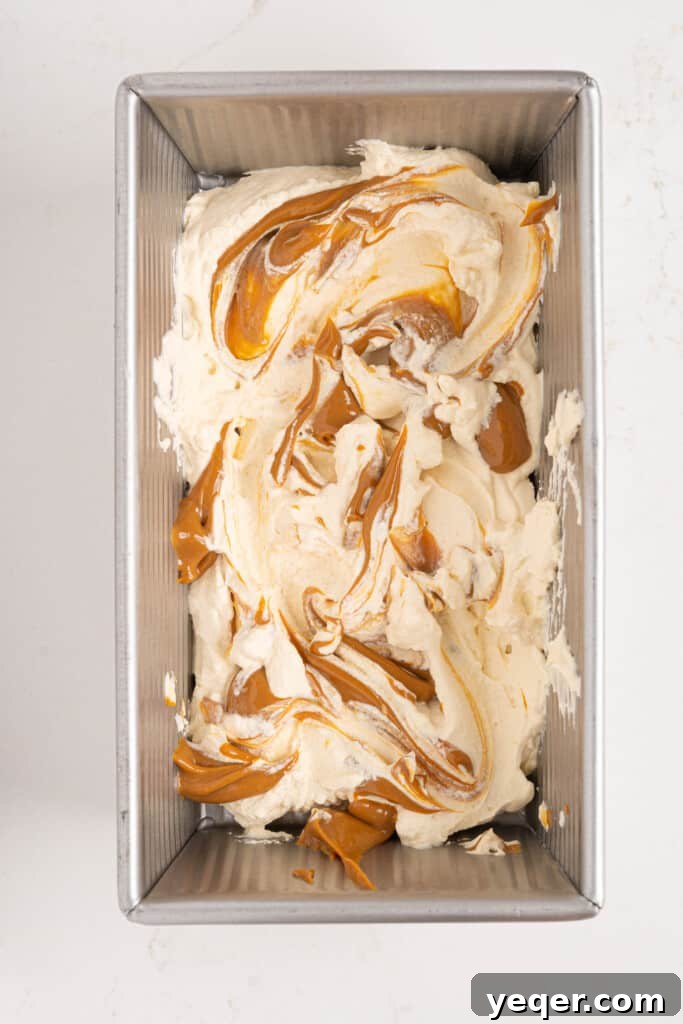
Step 3: Layer the Ice Cream. Now comes the fun part! Take your chosen freezer-safe container or loaf pan. Gently add a layer of the whipped cream mixture to the bottom. Then, dollop a spoonful or two of the pure dulce de leche mixture on top of the cream layer. Using a knife or skewer, gently swirl the caramel through the cream. Repeat these layers until your pan is full, ensuring you finish with a generous final layer of the caramel mixture on top. For an extra gourmet touch and a delightful contrast, sprinkle with a pinch of flaky sea salt if desired.
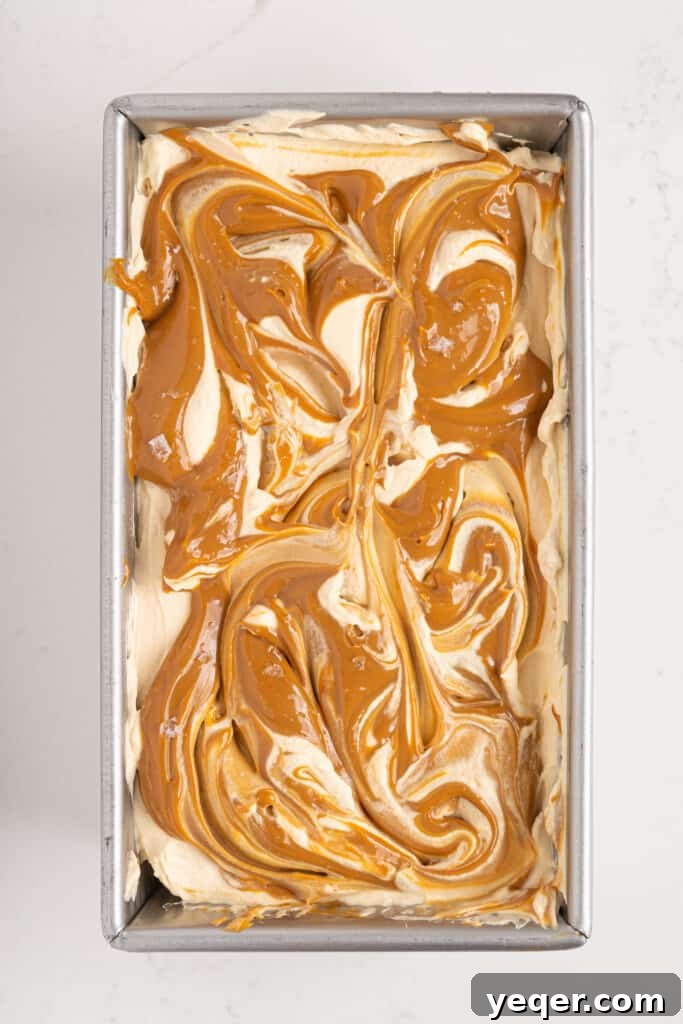
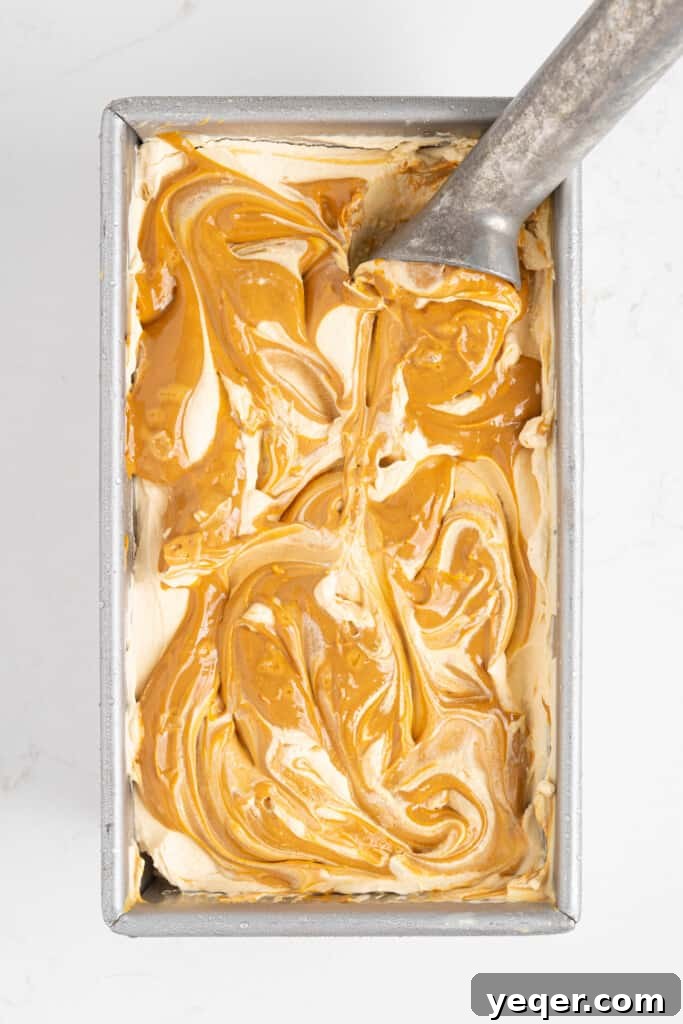
Step 4: Cover and Freeze. Once all the layers are complete, cover the container tightly with plastic wrap or an airtight lid. This prevents ice crystals from forming on the surface and keeps your ice cream fresh. Transfer it to the freezer for at least 4 hours, or preferably overnight, to allow it to firm up completely. Then, scoop, serve, and enjoy your homemade delight!
Tips for Perfect No-Churn Ice Cream
- Cold Ingredients Are Key: Ensure your heavy cream is very cold before whipping. This helps it achieve maximum volume and stability.
- Don’t Overmix: When whipping the cream, stop as soon as soft peaks form. Overmixing can lead to a grainy texture.
- Achieve the Perfect Swirl: For distinct caramel ribbons, don’t over-mix the dulce de leche into the whipped cream layers. A few gentle swirls with a knife or skewer are enough.
- Airtight Storage: Always cover your ice cream tightly in the freezer. Exposure to air can cause ice crystals and freezer burn.
- Serving Temperature: For the best texture, let the ice cream sit at room temperature for 5-10 minutes before scooping, especially if it’s been frozen for a long time. This allows it to soften slightly and become easier to scoop.
Add-Ins and Flavor Variations
As with most ice cream recipes, the opportunity to customize with add-ins is truly the best part! Because dulce de leche ice cream boasts such a broadly sweet, creamy, and universally appealing flavor profile, the possibilities for customization are virtually limitless. Here are some fantastic ideas to spark your creativity and tailor this dessert to your taste:
- Chocolate Lover’s Dream: Mix in chopped pieces of your favorite chocolate bars (milk, dark, or even white chocolate), chocolate chips, or shaved chocolate. The combination of rich caramel and decadent chocolate creates a heavenly paradise. You could even drizzle with chocolate fudge sauce before freezing!
- Warm Spice Infusion: Add a sprinkle or two of ground cinnamon (or even a pinch of nutmeg or cardamom) to the heavy cream before whipping. This infuses the ice cream with a subtle, sweet spice that beautifully complements the dulce de leche, reminiscent of churros or Mexican hot chocolate.
- Fruity Caramel Combo: Fold in macerated fresh strawberries, raspberries, or even sliced bananas with the dulce de leche when adding to the loaf pan. The bright, tangy fruit provides a wonderful contrast to the sweet caramel.
- Nutty Crunch: Stir in chopped toasted pecans, walnuts, or almonds for an added layer of texture and a nutty, earthy flavor that pairs wonderfully with caramel. Candied pecans would be especially delightful.
- Coffee Kick: For coffee aficionados, dissolve a teaspoon of instant espresso powder in a tablespoon of hot water, let it cool, then swirl it into the whipped cream base along with the vanilla extract. This creates a sophisticated coffee-caramel flavor.
- Coconut Bliss: Introduce shredded toasted coconut for a tropical twist, adding both flavor and chewiness.
Storage and Serving Suggestions
Once frozen, this dulce de leche ice cream will keep well in an airtight container in the freezer for up to 2-3 weeks. Beyond that, the texture might begin to degrade slightly, though it will still be delicious. For optimal enjoyment, always ensure it’s tightly covered to prevent freezer burn.
When serving, consider pairing it with:
- A sprinkle of flaky sea salt (if not already added).
- A drizzle of extra dulce de leche or chocolate syrup.
- A dollop of whipped cream and a cherry.
- As an accompaniment to warm brownies, apple pie, or a slice of cheesecake.
Common Questions About No-Churn Ice Cream
Can I use light cream instead of heavy cream?
No, heavy cream is essential for this recipe. Its high fat content is what allows it to whip up into a stable, airy base that freezes without becoming icy. Lighter creams won’t achieve the same volume or texture.
What’s the difference between dulce de leche and caramel?
While similar in appearance and sweetness, dulce de leche and traditional caramel are distinct. Caramel is typically made by heating sugar until it liquefies and browns, sometimes with added cream or butter. Dulce de leche is made by slowly cooking milk and sugar together until it thickens and caramelizes, resulting in a milkier, often richer, and less intensely “burnt sugar” flavor than caramel.
Can I make this recipe vegan?
It’s challenging to replicate the exact texture with just 3 vegan ingredients. However, you can make a vegan version using full-fat canned coconut cream (whipped) and a vegan dulce de leche alternative (often made from coconut milk or cashews). The flavor and texture will be slightly different, but still delicious.
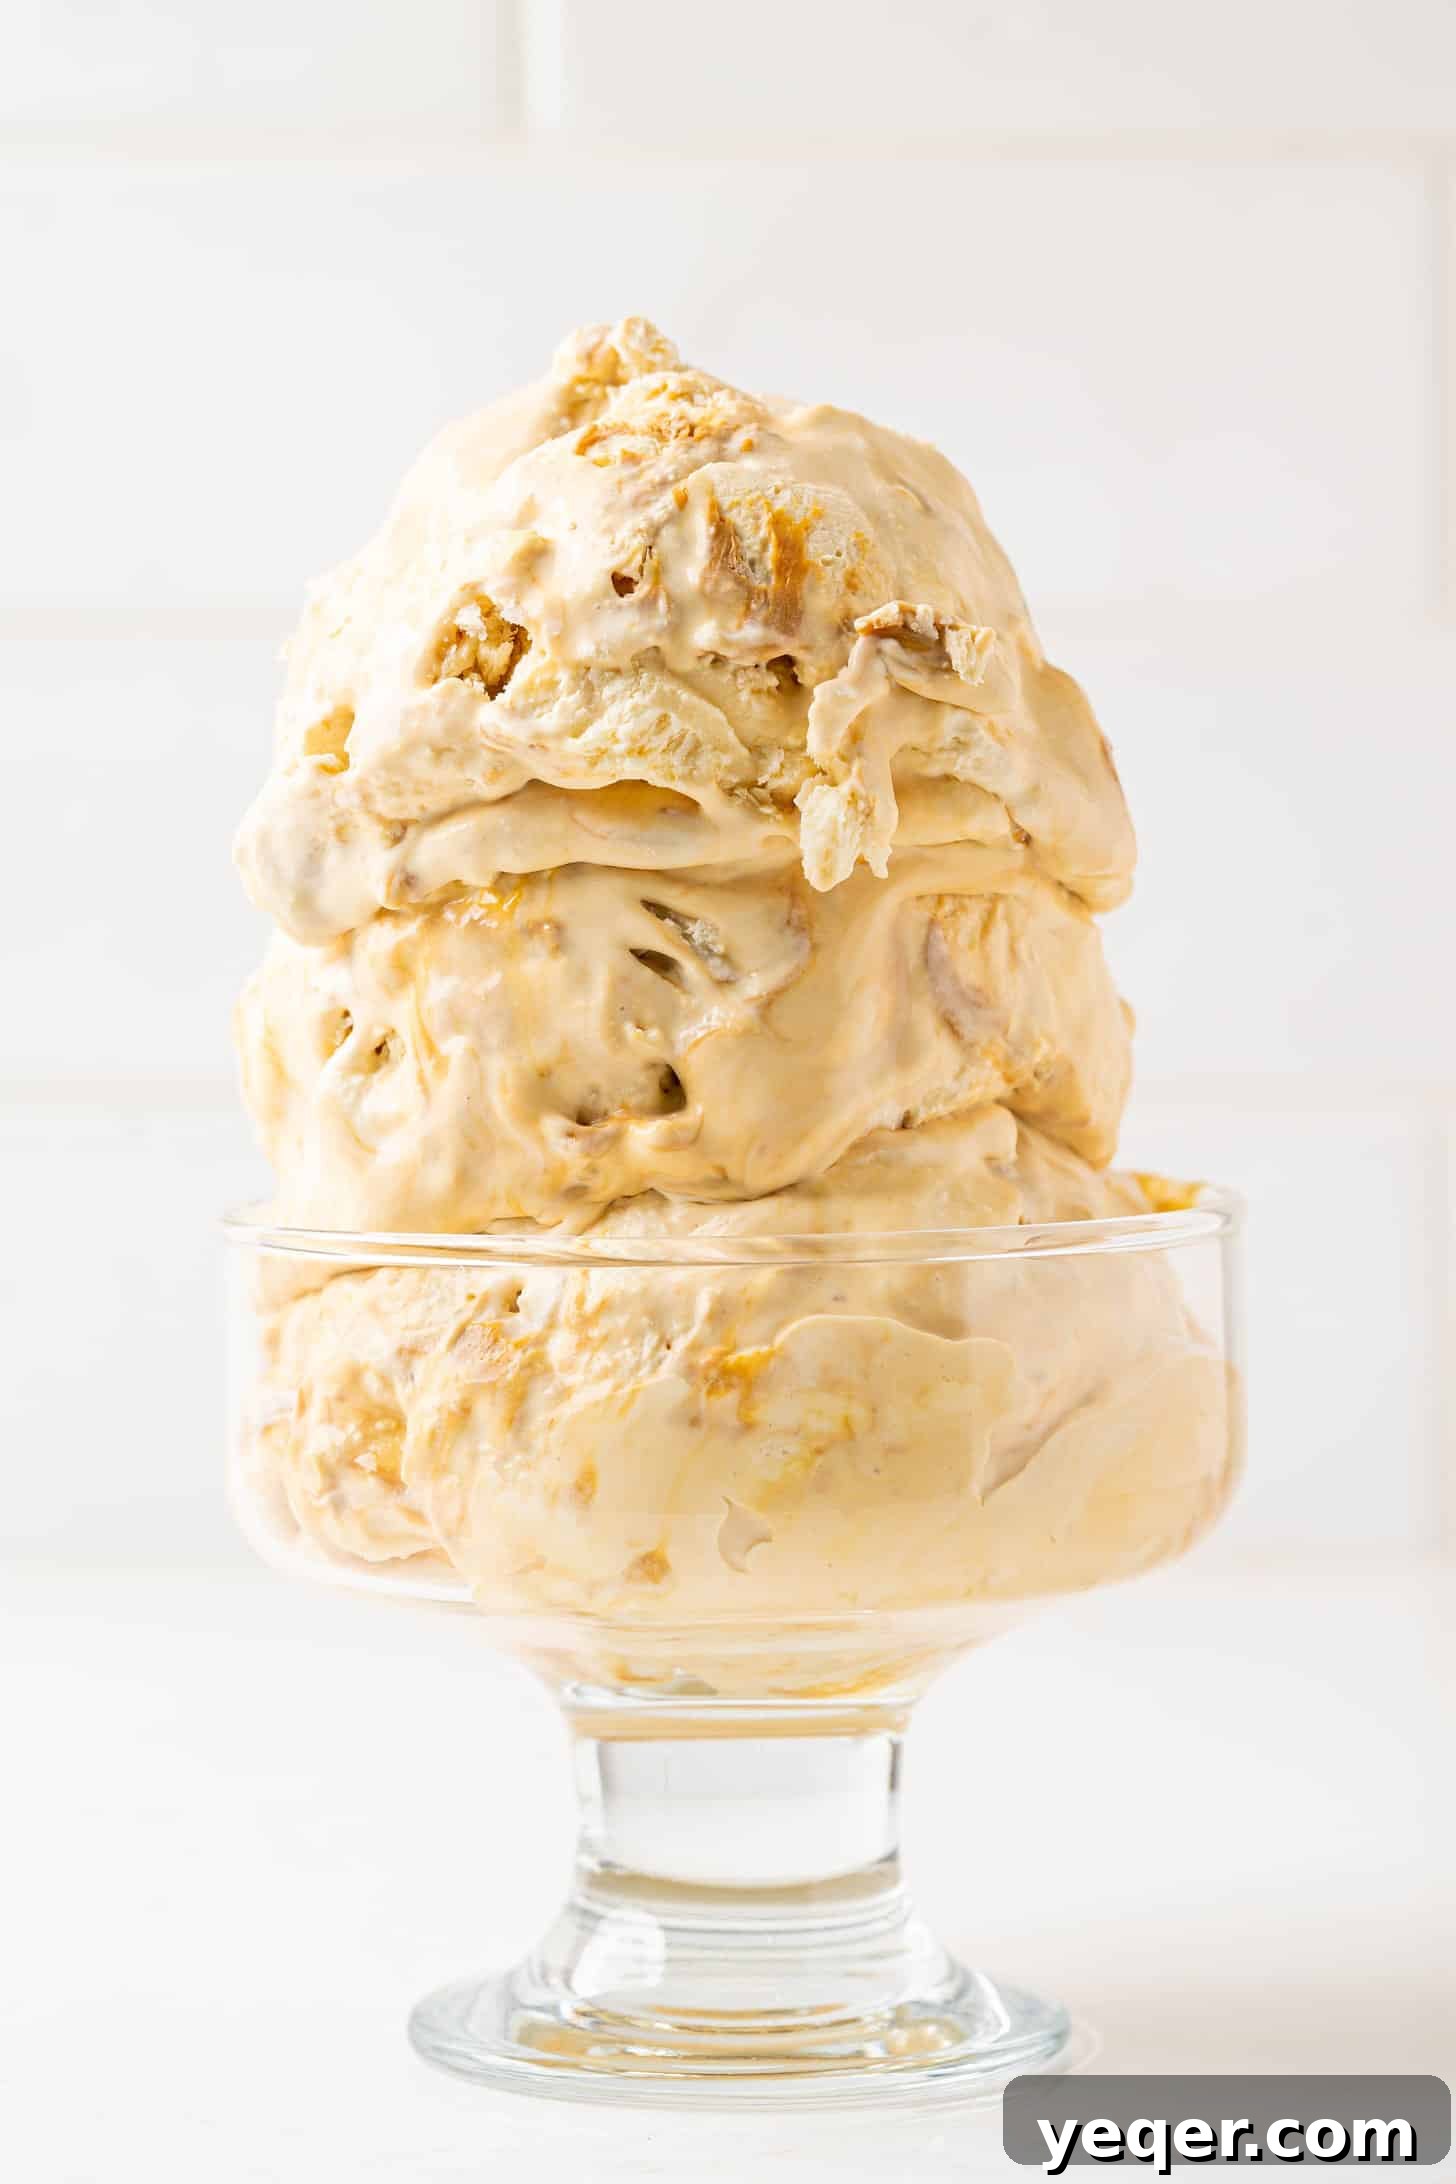
This 3-ingredient Dulce de Leche Ice Cream recipe is a testament to the fact that extraordinary desserts don’t always require extraordinary effort. With its rich, creamy texture and irresistible caramel swirls, it’s bound to become a favorite in your household. Perfect for a summer day, a quick treat, or an impressive finish to any meal, this no-churn delight promises pure satisfaction with every spoonful.
Enjoy this simple yet sensational creation!

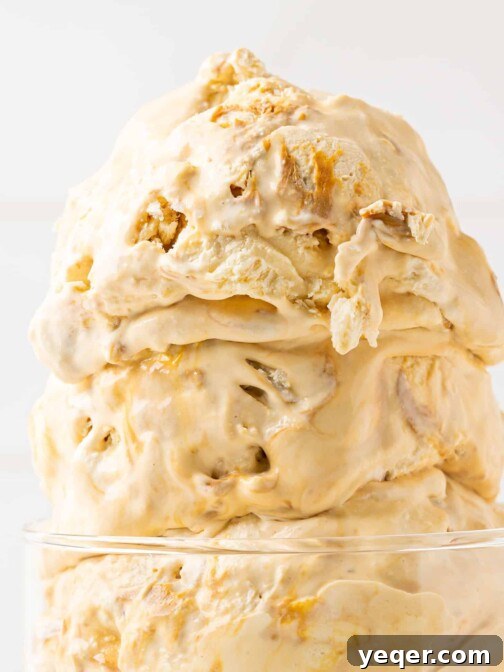
3-Ingredient Dulce de Leche Ice Cream
5 Stars
4 Stars
3 Stars
2 Stars
1 Star
No reviews
-
Author:
Salima Benkhalti -
Prep Time:
30 minutes -
Total Time:
5 hours -
Yield:
6 servings
1x
-
Category:
Dessert -
Method:
Frozen -
Cuisine:
Hispanic, Latin, Mexican -
Diet:
Vegetarian
Description
This delectable 3-ingredient dulce de leche ice cream features a classic vanilla base generously layered with luxurious ribbons of thick, sweet caramel. It’s a no-fuss recipe that requires no ice cream machine or special tools, making it the perfect easy dessert for any occasion.
Ingredients
Units
Scale
-
1 (14 oz) can dulce de leche -
4 cups heavy cream -
1 tsp vanilla extract
Instructions
- Prep the dulce de leche. Add the dulce de leche to a bowl with 4 tablespoons of heavy cream. Whisk until smooth and creamy.
- Whip the cream. In another large mixing bowl, whisk 5 tablespoons of the dulce de leche mixture in with the remaining heavy cream and all of the vanilla extract and beat until soft peaks form.
- Layer the ice cream. In a freezer safe container or loaf pan, gently add a layer of the whipped cream mixture, then swirl gently with a spoonful of the dulce de leche mixture. Continue this until the pan is full, finishing with a final layer of caramel. Top with flaky salt if desired.
- Cover and freeze for 4+ hours before enjoying!