
Ultimate Guide to Foolproof Homemade Empanada Dough: Easy 5-Ingredient Recipe
Welcome to the definitive guide for crafting the most exquisite homemade empanada dough! This versatile recipe, perfect for making pastelillos, empanadas, and an endless array of other delightful hand-held treats, requires just 5 fundamental ingredients: all-purpose flour, rich butter, a pinch of salt, a binding egg, and pure water. What’s even better? You can whip up a batch of this tender, flaky dough in less than an hour, making it an ideal choice for both seasoned bakers and kitchen newcomers alike.
If you’ve ever savored the vibrant flavors of Latin American or Puerto Rican cuisine, you inherently understand the magic and cultural significance of empanadas. These savory or sweet turnovers are more than just food; they are a celebration, a comfort, and a staple in countless households.
Our family’s cherished recipe for empanada dough is remarkably simple to prepare, transforming the culinary process into a joyous activity. There’s immense satisfaction in rolling out each disc and filling it with whatever your heart desires, from savory meats to sweet fruits.
The result? A wonderfully fun, portable treat that’s perfect for any occasion. Serve them as is for a quick snack, or elevate the experience with your favorite dipping sauce – we highly recommend pairing them with this homemade chimichurri for an explosion of fresh flavor.
Beyond the dough itself, discovering the perfect filling is half the adventure. We’ll dive into an array of irresistible filling ideas shortly, ensuring your empanadas are always a hit.
Rave Reviews for This Empanada Dough
I prepared this dough yesterday after multiple unsuccessful attempts to find good empanada discs/wraps at local stores. I filled them with beef and cheese, then brushed them with an egg wash before air frying in batches. They turned out absolutely fantastic, and I was so pleased with how much dough this recipe yielded! It’s now a permanent fixture in my recipe notes – truly my new go-to for empanada dough!
Olivia
Mastering Empanada Dough with Just 5 Simple Ingredients
Creating perfect empanada dough doesn’t require a pantry full of exotic items. In fact, its beauty lies in its simplicity. Our foolproof recipe hinges on just five humble ingredients, each playing a crucial role in achieving that sought-after flaky, tender texture. Understanding these components is the first step to empanada perfection:
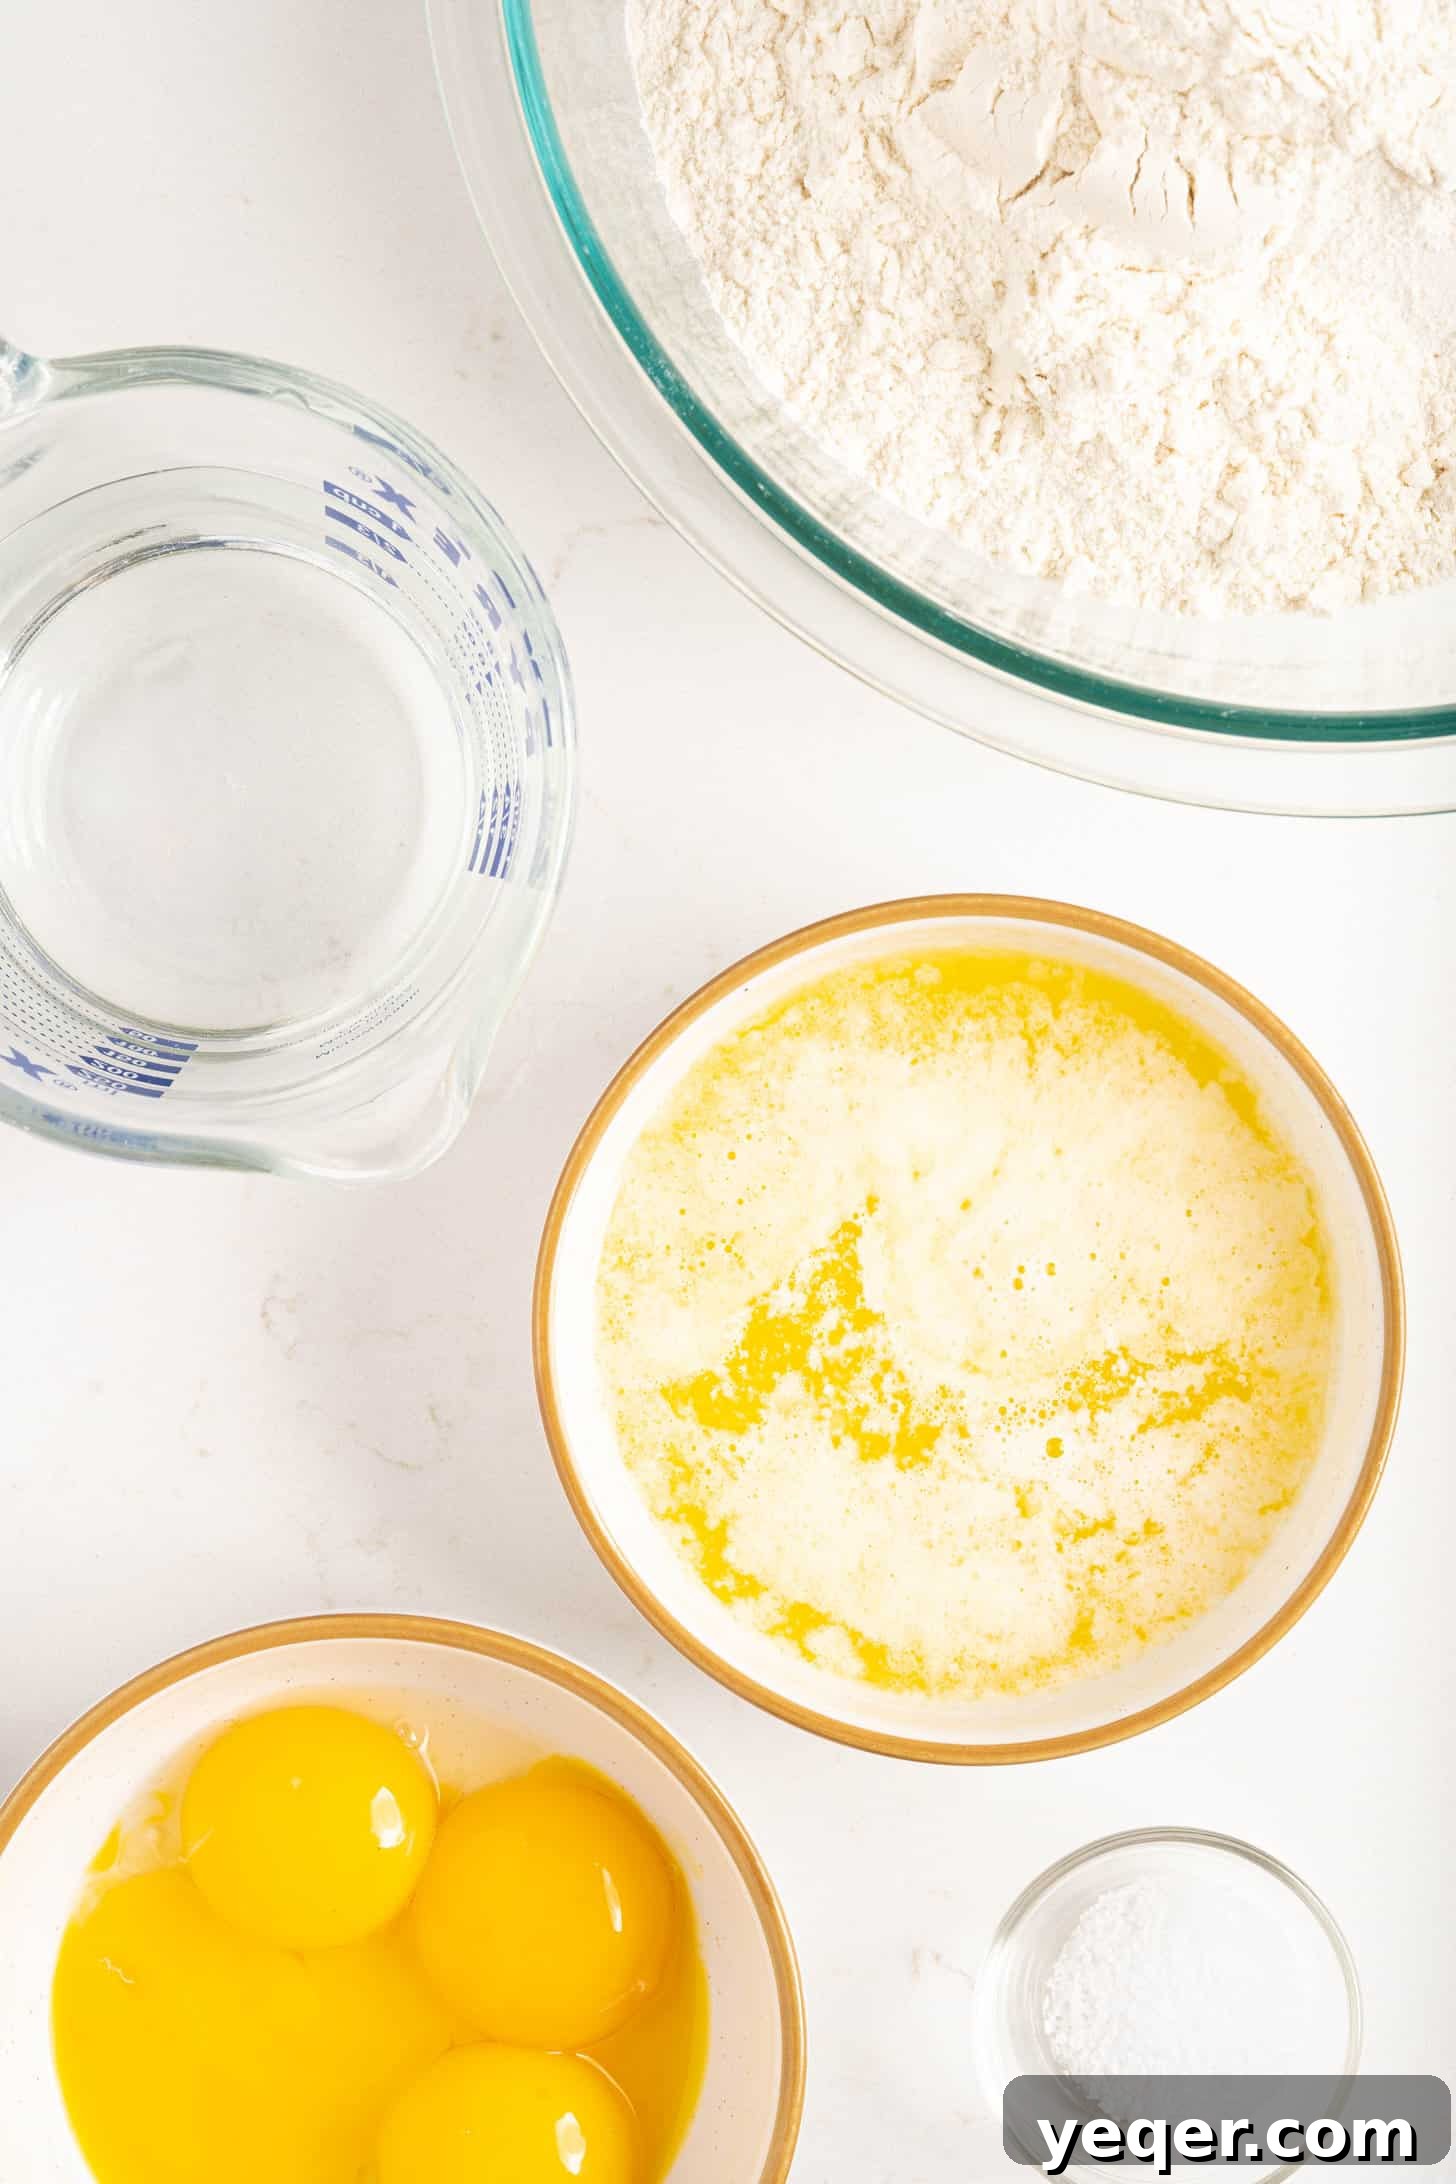
1. All-Purpose Flour: This forms the foundational structure of our dough. Using good quality all-purpose flour ensures a tender crumb and excellent workability. It’s robust enough to handle kneading without becoming tough, making it ideal for shaping.
2. Unsalted Butter: The secret to truly flaky empanadas is cold butter, which creates pockets of steam during cooking, resulting in layers. We use melted butter in this recipe for ease of incorporation, which still yields a wonderfully rich and tender dough. Make sure it’s good quality butter for the best flavor.
3. Salt: More than just a seasoning, salt enhances the flavor of the flour and balances the richness of the butter and egg. It’s a non-negotiable ingredient for a well-rounded taste.
4. Egg Yolks: While some recipes use whole eggs, we specifically call for egg yolks. The yolks contribute richness, a lovely golden hue, and act as a superb binding agent, contributing to the dough’s tender texture and preventing it from being too crumbly.
5. Water: Water is essential for hydrating the flour and bringing the dough together. The exact amount can vary slightly depending on environmental factors like humidity, so always be prepared to adjust slightly. Using cold water is often recommended to help keep the butter from melting too quickly during mixing, which aids in flakiness.
With these five simple components, you are well on your way to creating homemade empanada dough that rivals any store-bought alternative, offering superior flavor and texture.
Step-by-Step Instructions for Your Perfect Empanada Dough
Crafting this incredible empanada dough is a straightforward and enjoyable process. Follow these detailed steps to achieve a perfectly pliable and delicious dough every time.
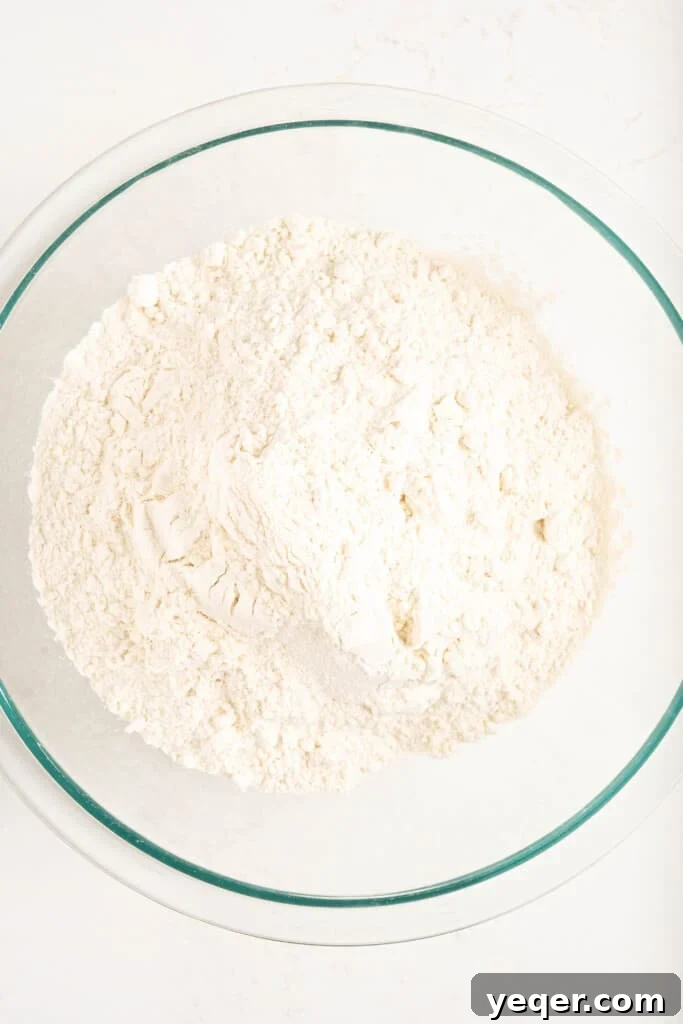
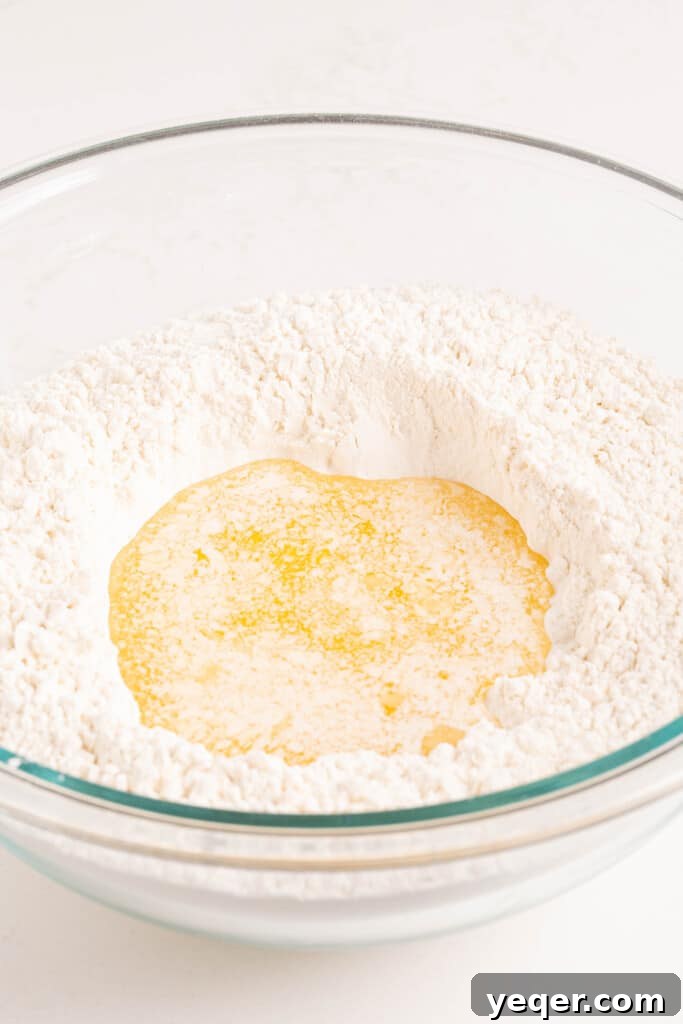
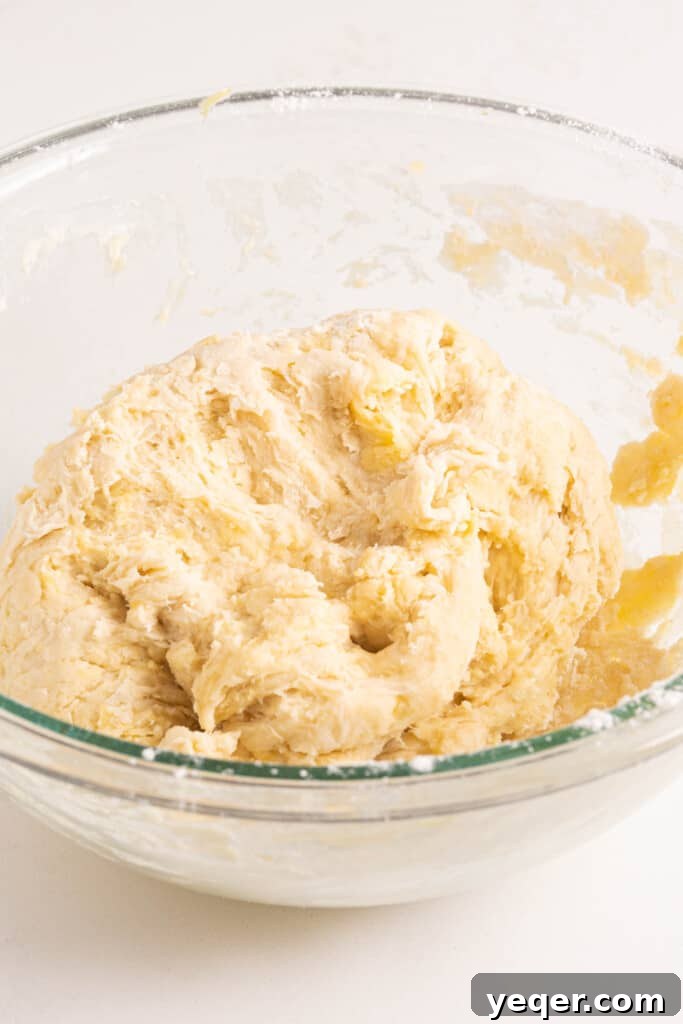
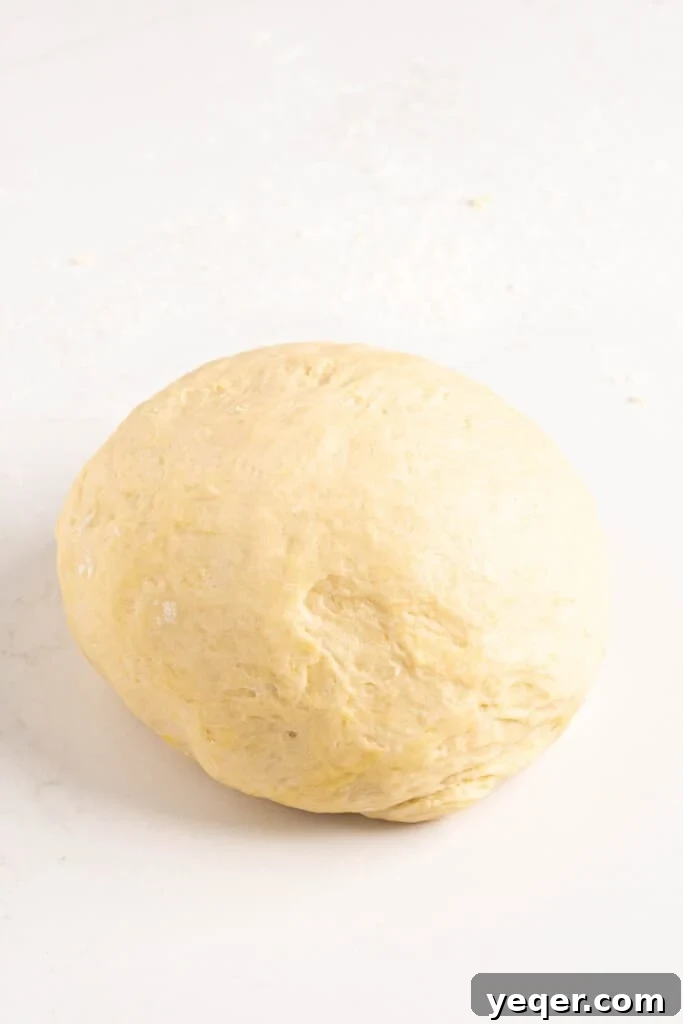
Baker’s Tip: If your dough feels excessively wet or sticky after initial kneading, gradually add flour, one tablespoon at a time. Knead it in until the dough reaches a manageable consistency that no longer adheres to your hands. Conversely, if your dough feels too dry and crumbly, add water in half-teaspoon increments until it comes together smoothly. Patience is key!
Inspiring Empanada Filling Ideas: Sweet & Savory
The beauty of homemade empanada dough lies in its incredible versatility. Once you’ve mastered the dough, your creativity can truly shine through the fillings. Here are some of our absolute favorite ideas, ranging from time-honored classics to delightful sweet treats:
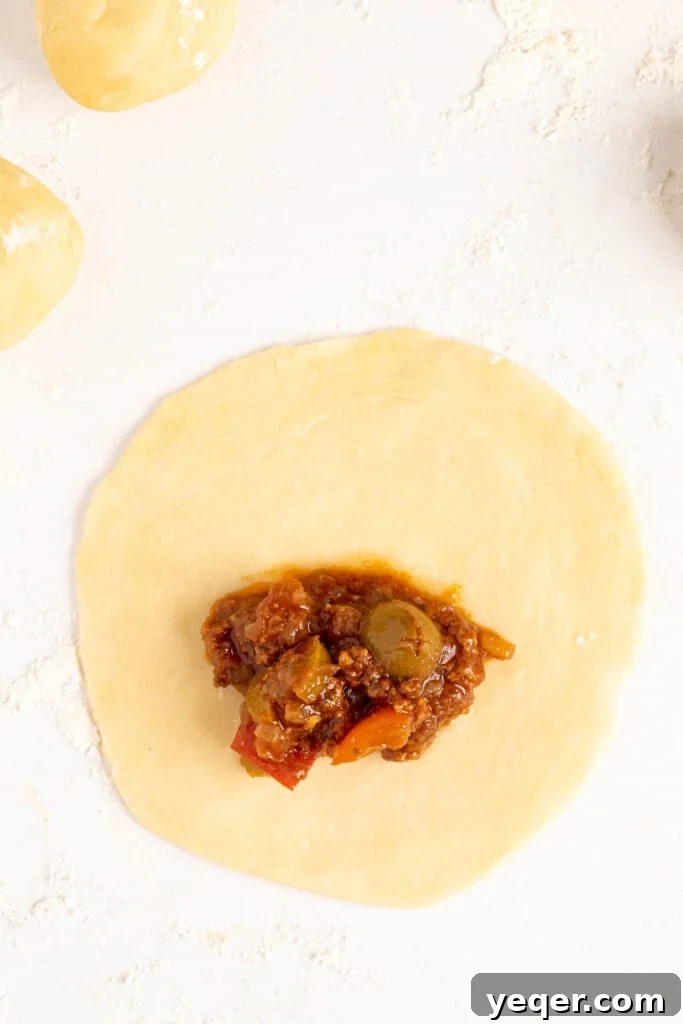
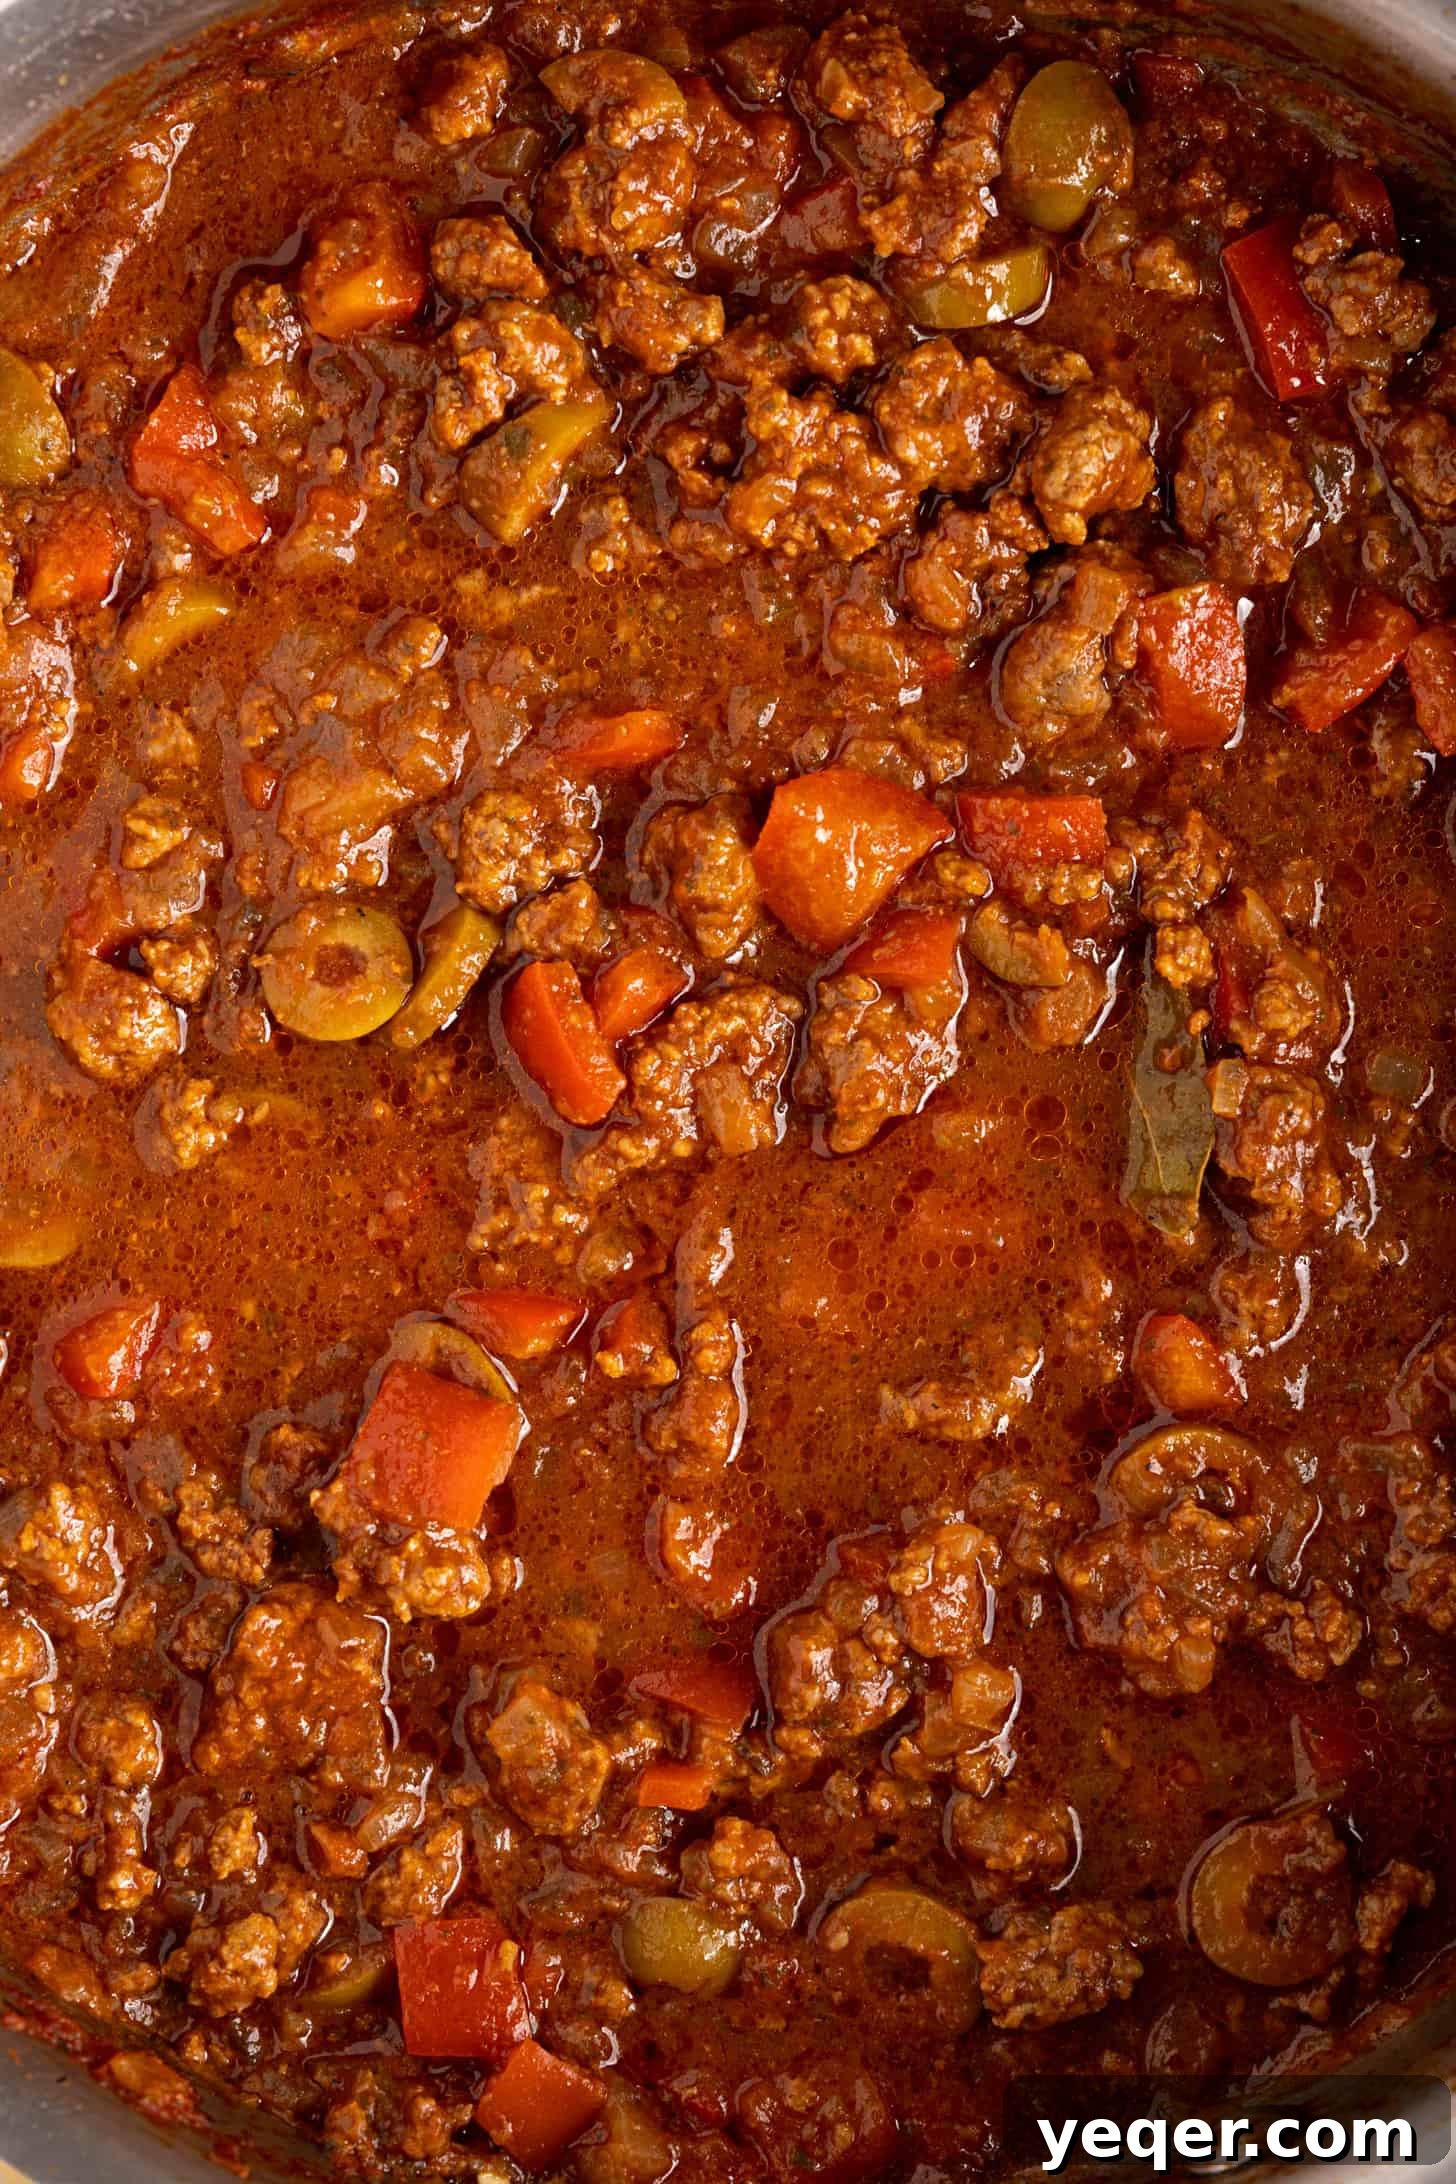
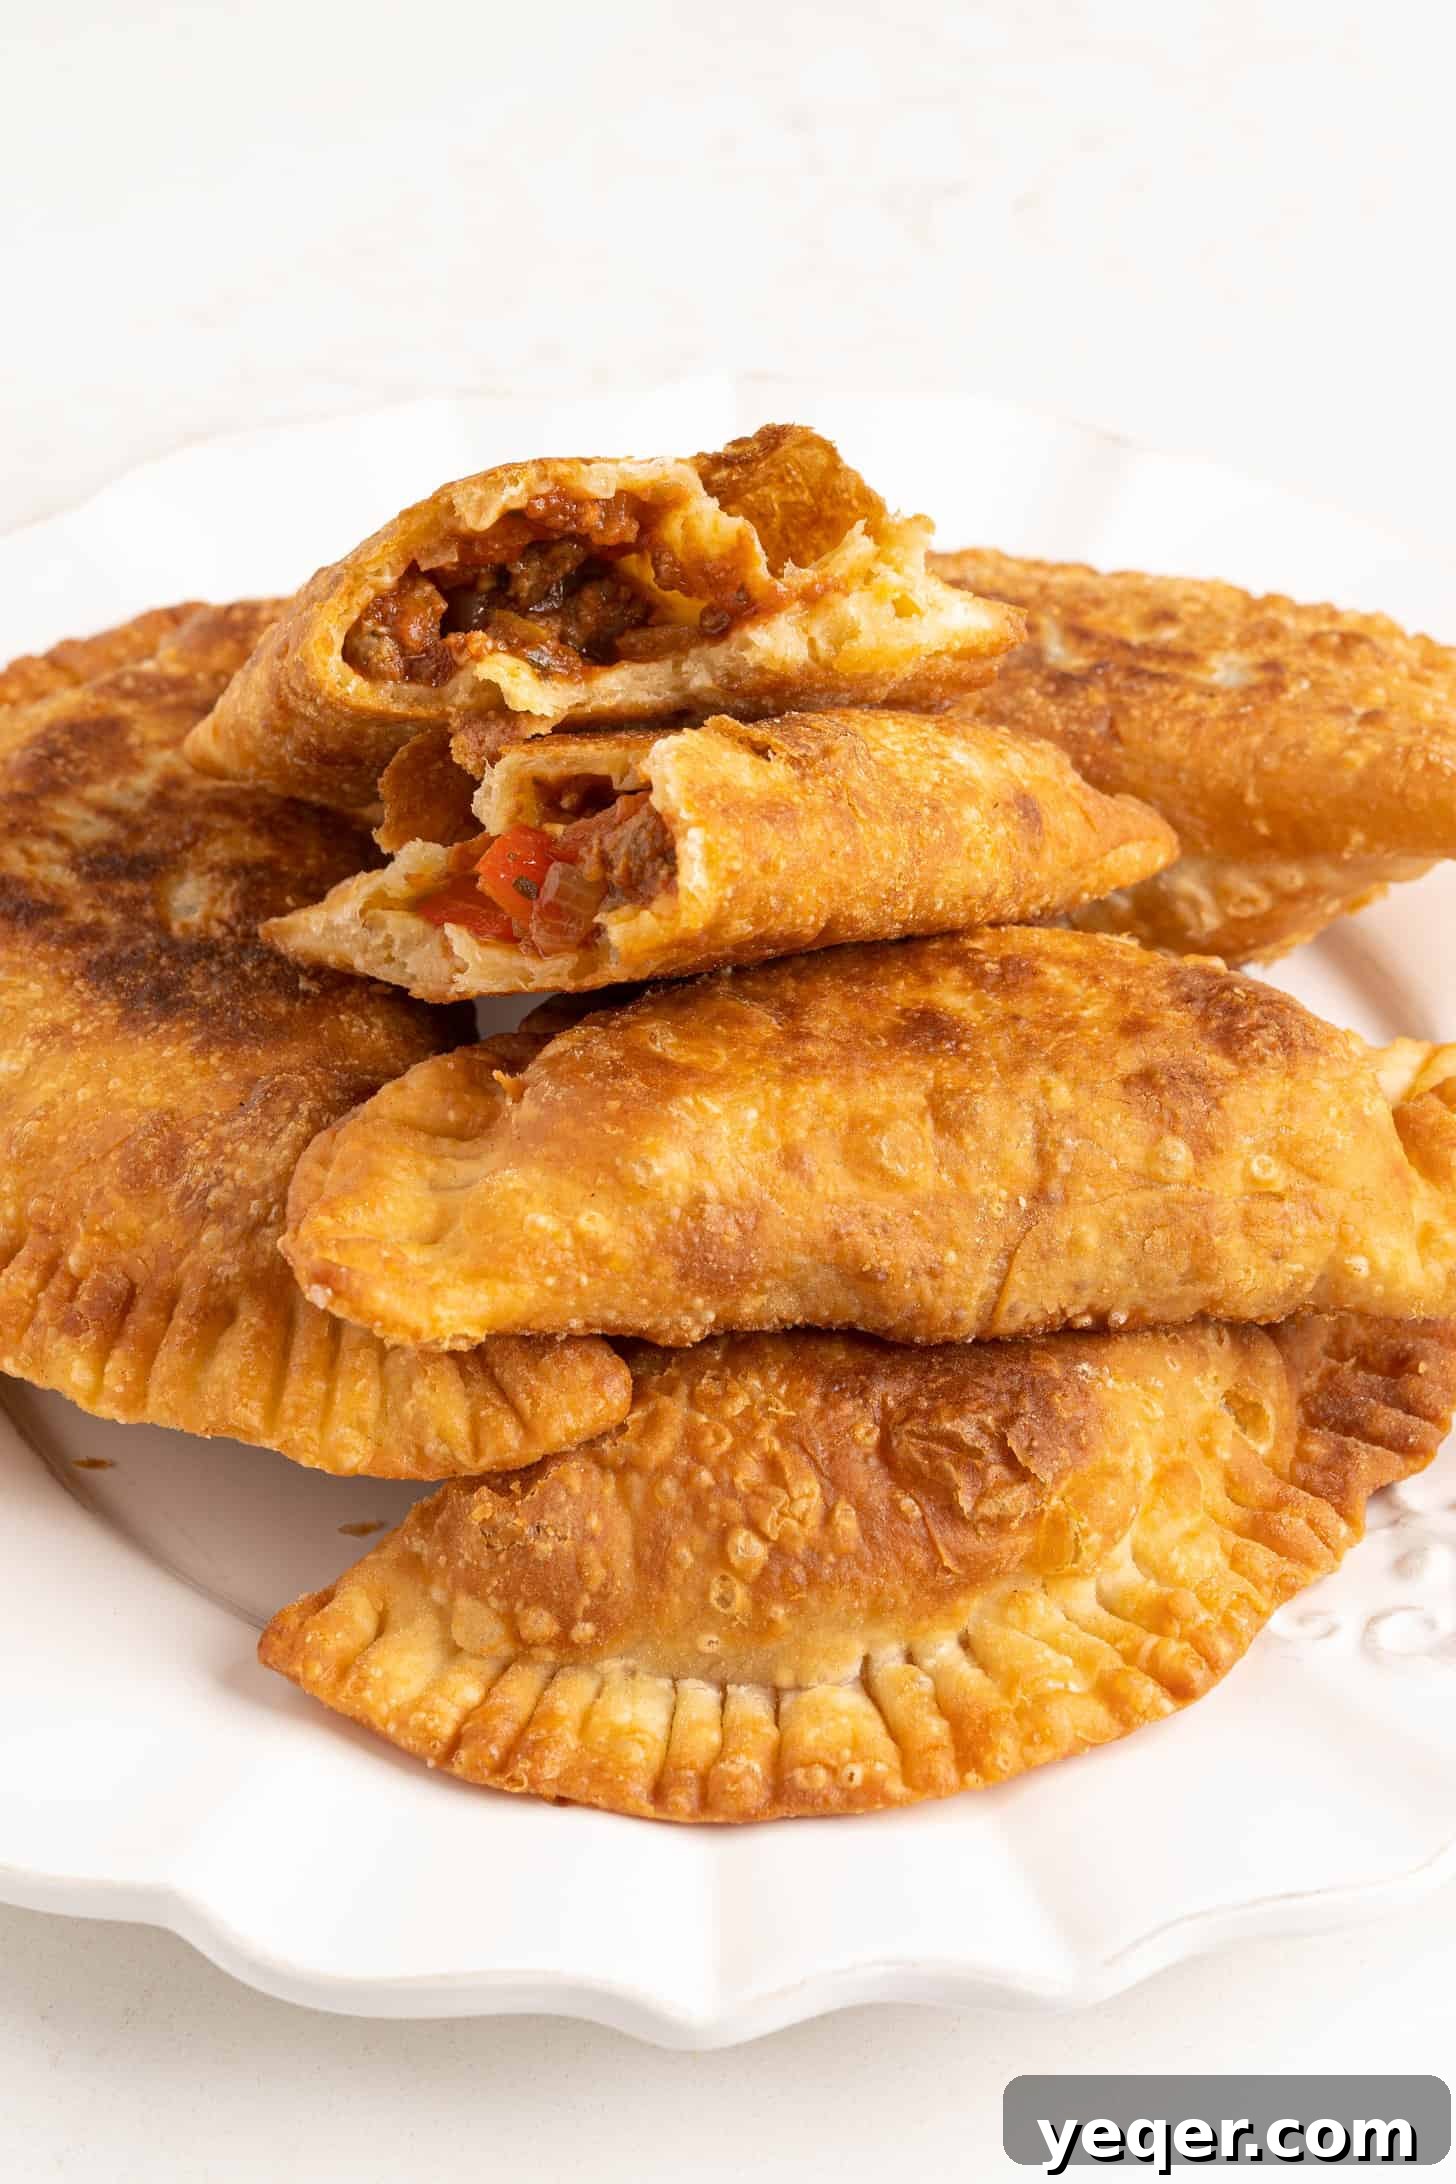
- Keep it Classic with Savory Picadillo – For a truly authentic taste of Puerto Rico, a classic ground beef picadillo filling is a must-try. This savory mixture typically includes seasoned ground beef, olives, potatoes, and sometimes raisins, offering a delightful blend of textures and flavors. It’s a traditional choice for a reason – it’s utterly delicious and incredibly satisfying.
- Tropical Delight: Guava & Cheese – If you’re seeking a taste of the tropics, the sweet and tangy combination of guava paste and cream cheese is an absolute winner. This pairing is known to work wonders in many desserts, and it’s absolutely divine when generously stuffed inside this tender empanada dough. The creamy, fruity, and slightly salty notes create an unforgettable experience.
- Sweet Indulgence: Apple, Cherry, or Seasonal Fruit Pie – As a huge fan of sweets, I can confidently say that using any kind of fruit that’s in season makes for an incredible dessert empanada. Imagine warm, spiced apple or cherry pie filling encased in a flaky pastry. Simply add a generous scoop of your favorite pie filling to the middle of your empanada dough discs, seal, and bake or fry. Consider seasonal fruits like peaches in summer or pumpkin in fall for year-round variety.
- Chicken Empanadas: Shredded chicken, often mixed with sautéed onions, peppers, and various spices, makes for a hearty and flavorful filling. It’s a great way to use up leftover roast chicken.
- Cheese Empanadas: A simple yet universally loved option. A blend of cheeses like mozzarella, cheddar, or even a spicy pepper jack can create a gooey, comforting center.
- Vegetarian Options: Explore fillings like black bean and corn salsa, sautéed mushrooms and spinach with feta, or a rich potato and pea curry for a plant-based twist.
Don’t be afraid to experiment! Your kitchen is your canvas, and these empanada dough discs are the perfect vehicle for any culinary creation you dream up.
More Empanada Inspiration:
Art of Sealing: Folding & Closing Your Empanadas
Sealing your empanadas properly is key – it prevents the delicious filling from escaping during cooking and adds to the overall aesthetic appeal. There are several ways to achieve a perfect seal, ranging from simple to more intricate, traditional techniques.
In our family, we typically place the filling in the inner section of one half of the circular dough disc. We then apply a dab of water to the outer edge of that half-circle before folding the other half over to create a crescent shape. This water acts as a natural glue, helping the dough edges adhere tightly.
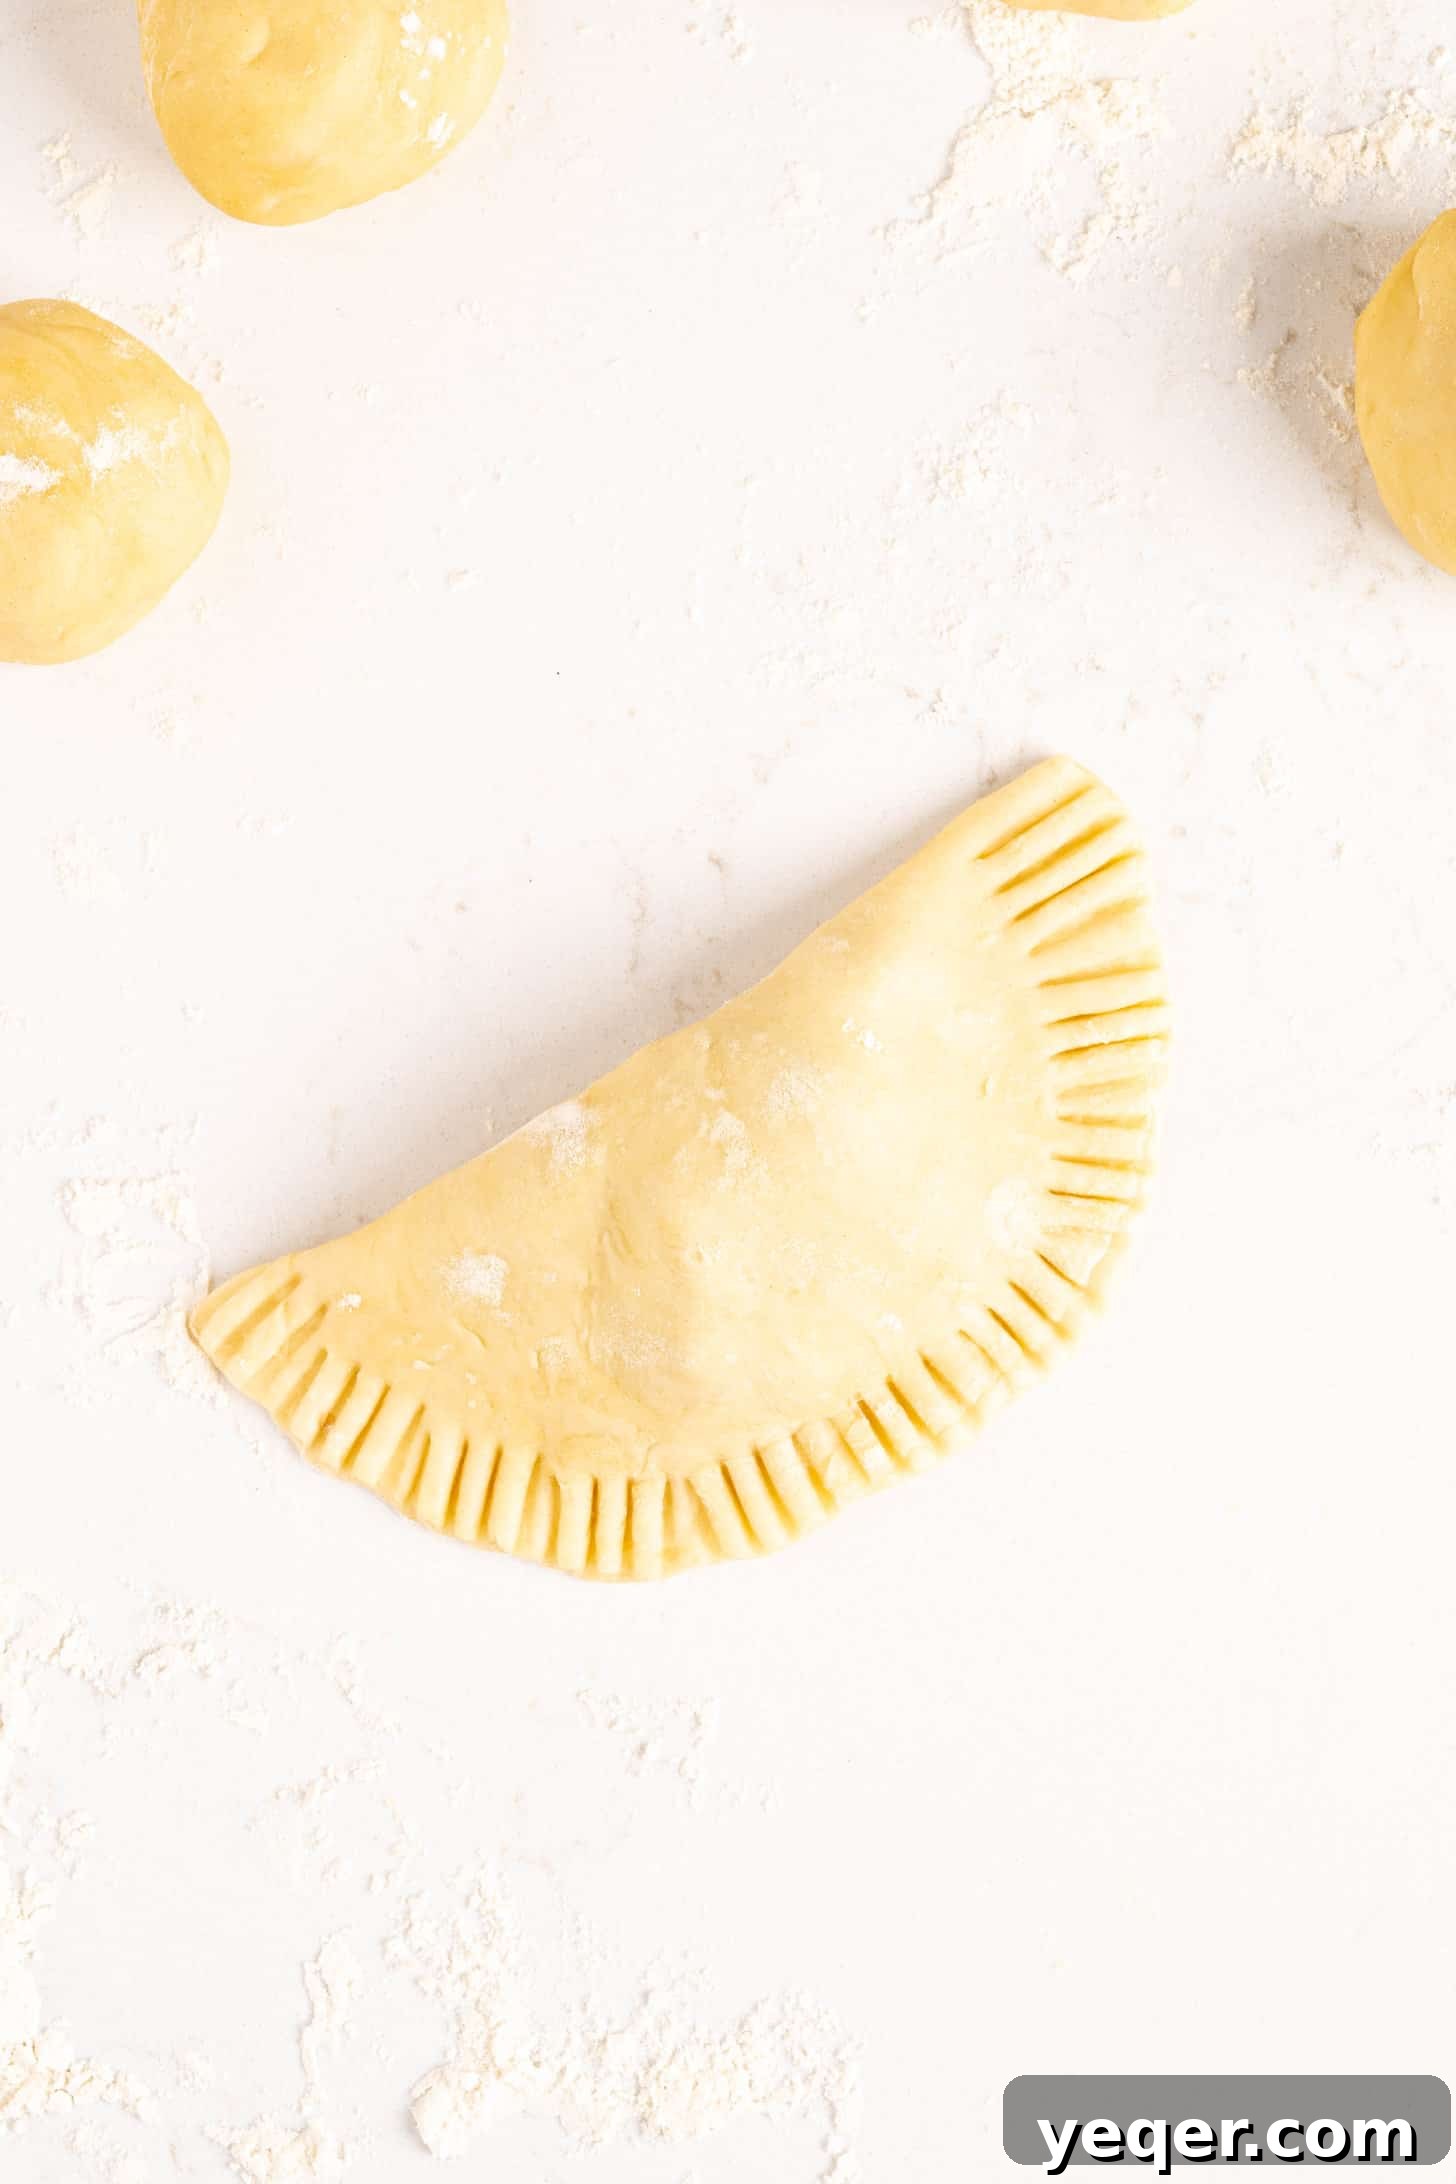
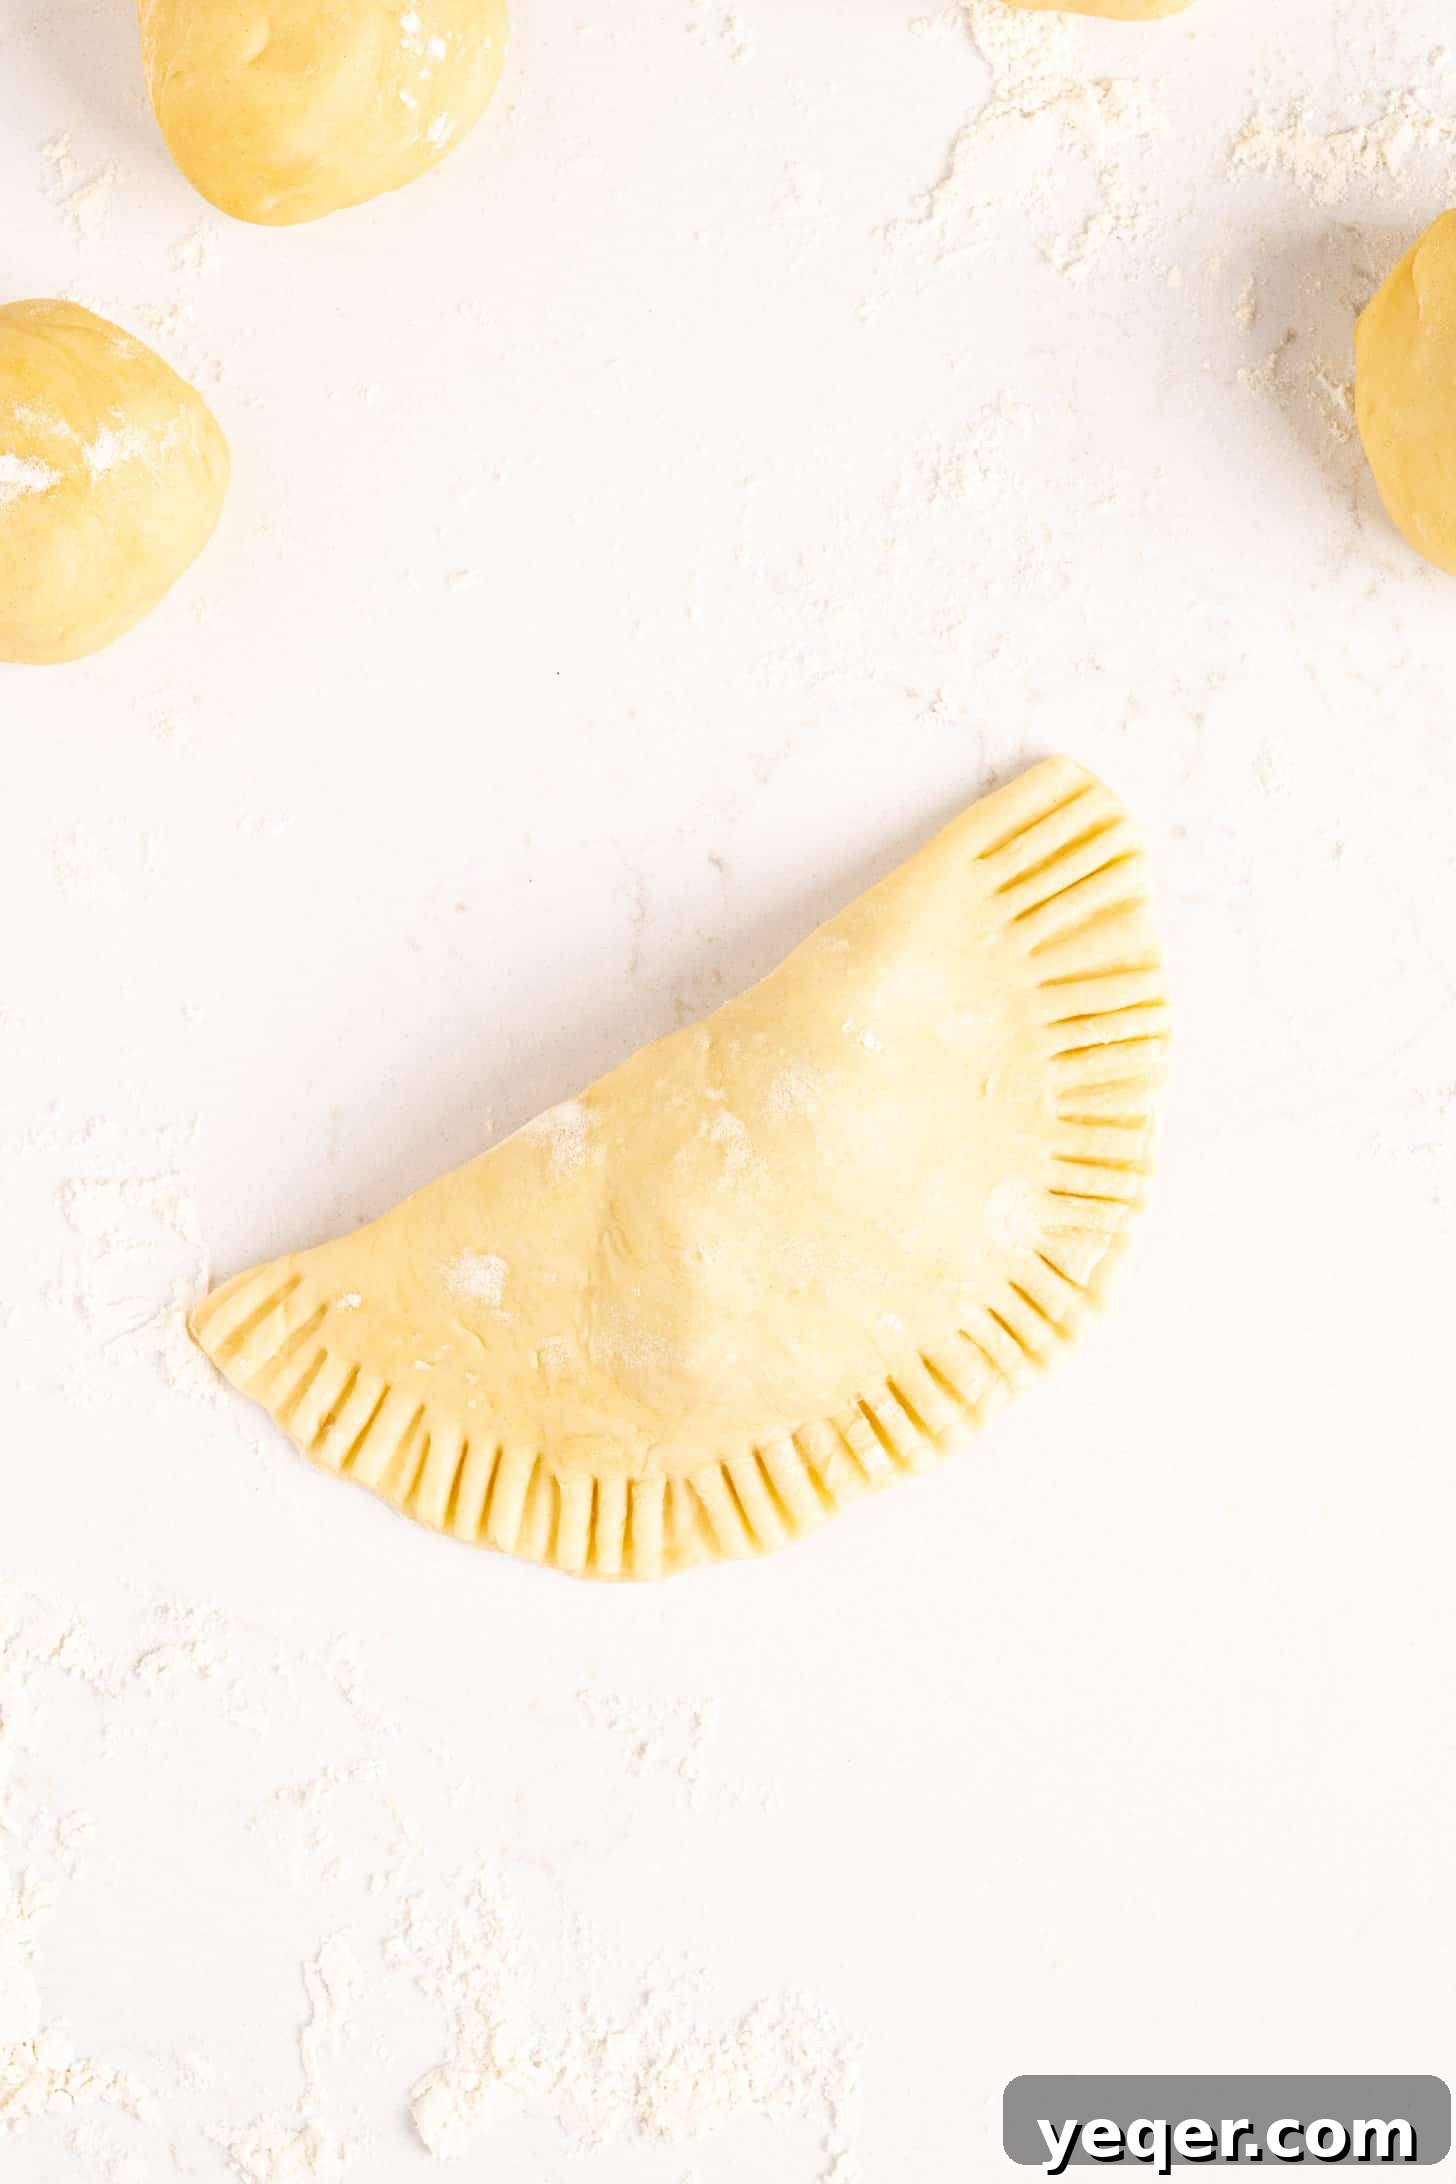
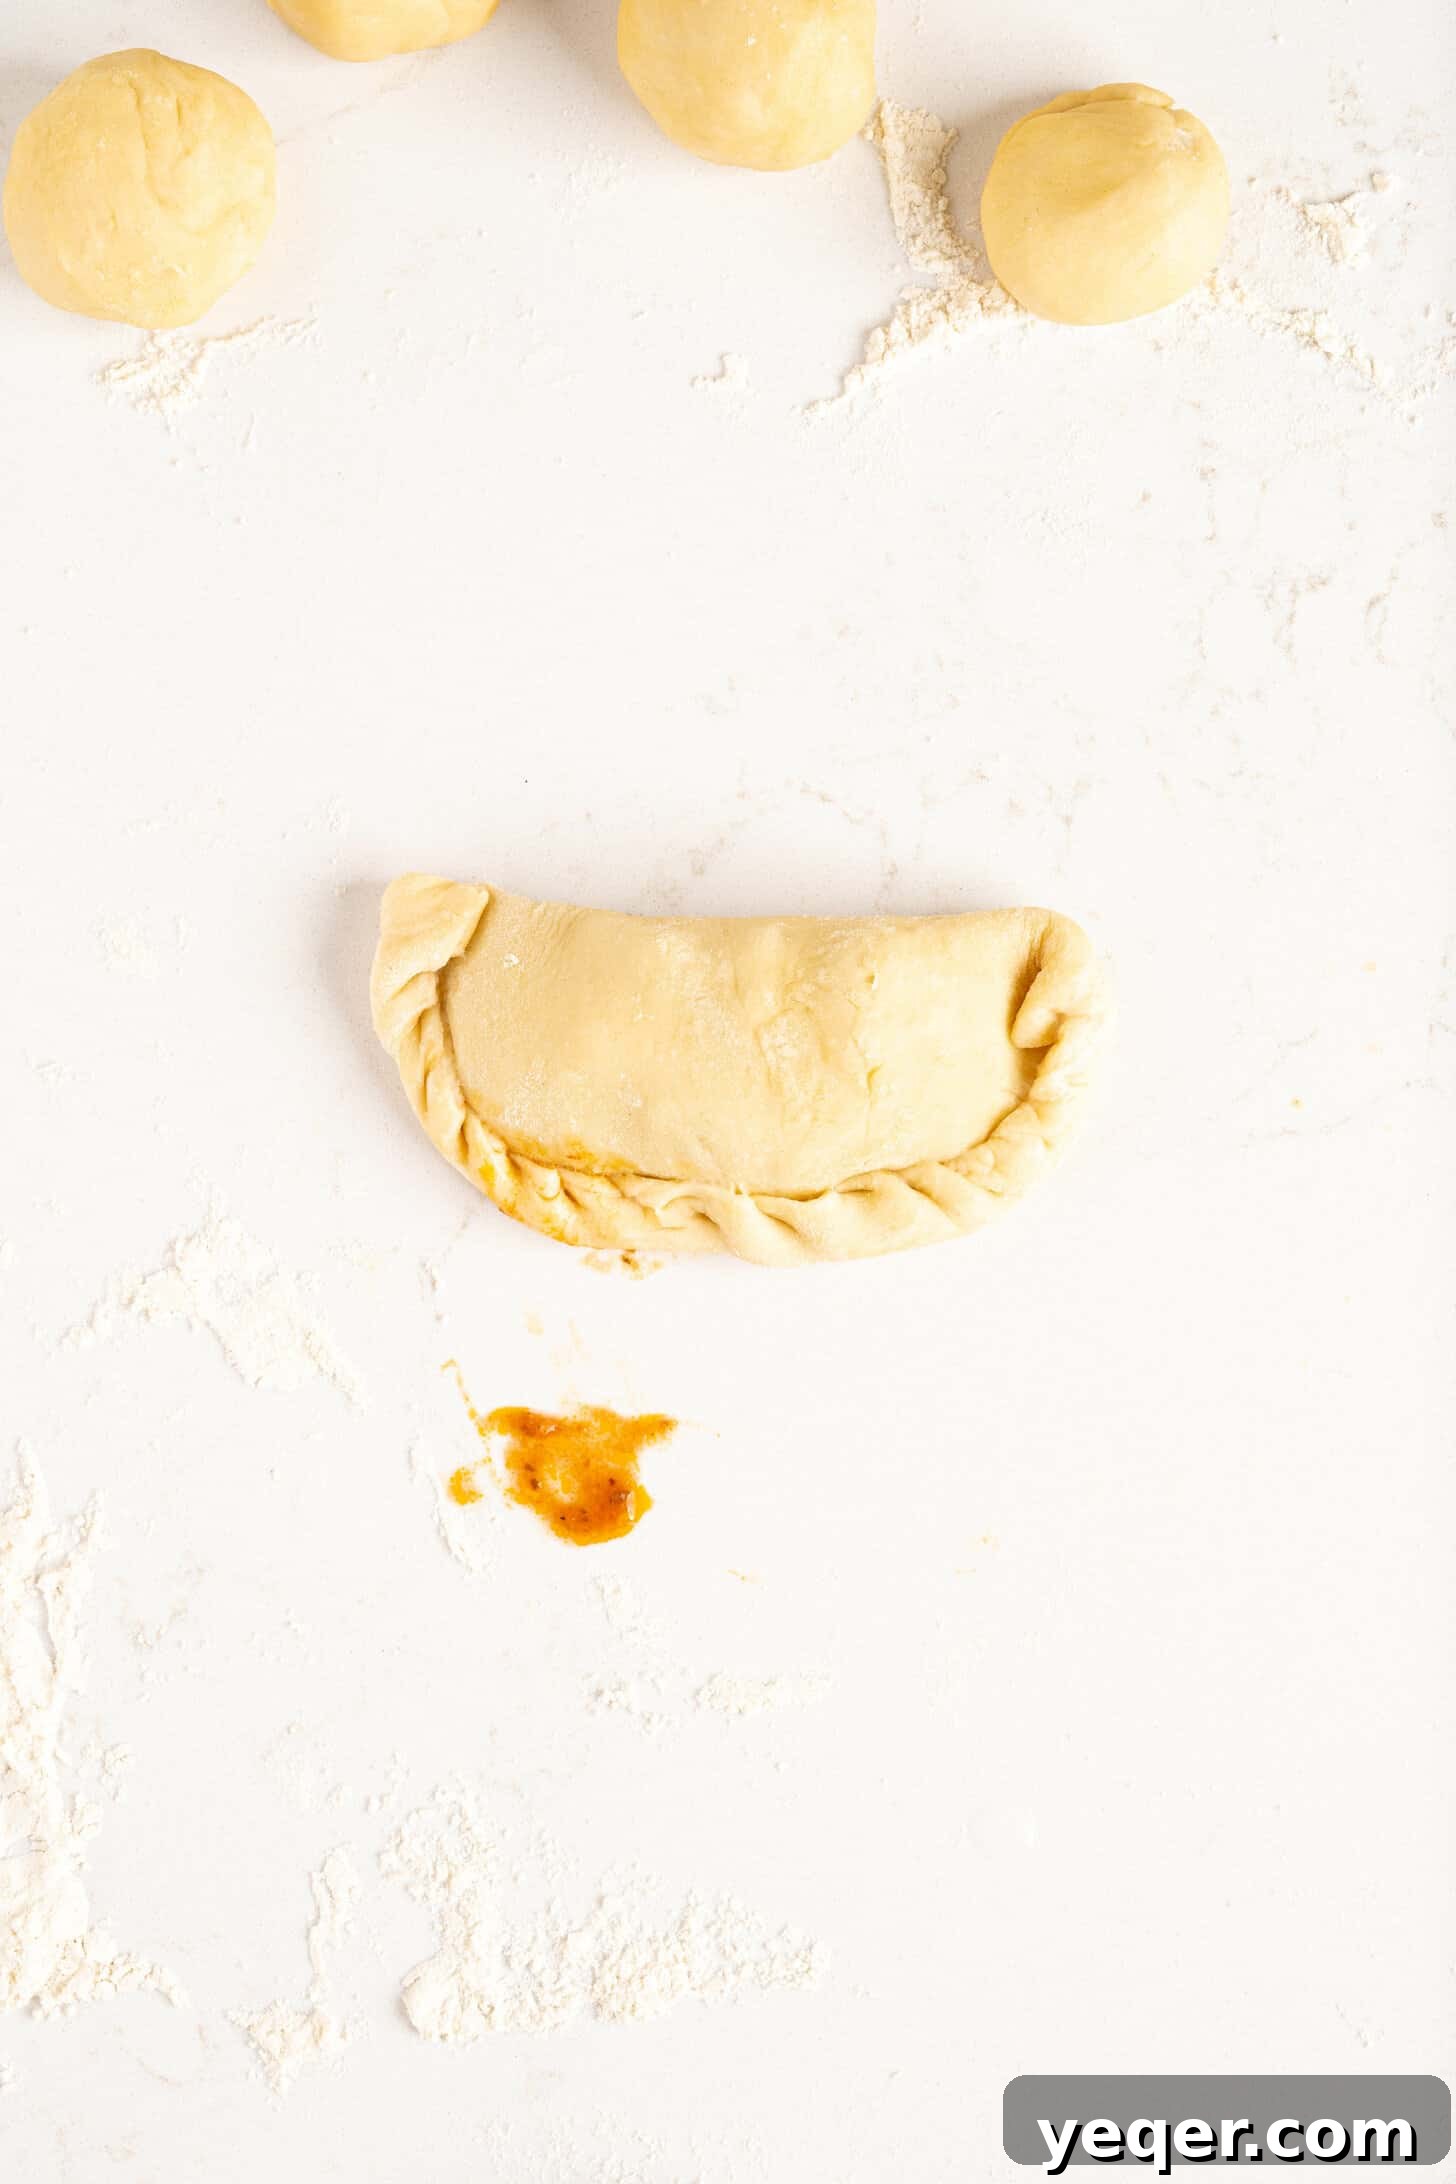
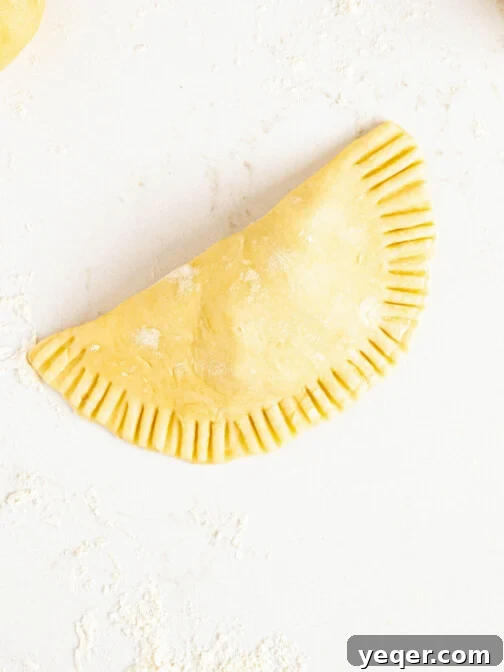
If you’re feeling adventurous and want to master a beautiful, traditional design, try the ‘repulgue’ method. This involves starting at one end of the sealed edge, folding a small piece of the extra dough over your finger, and then continuing this motion all the way around until the entire empanada is securely sealed with a decorative rope-like edge (as pictured above). This method not only looks impressive but also creates a very strong seal.
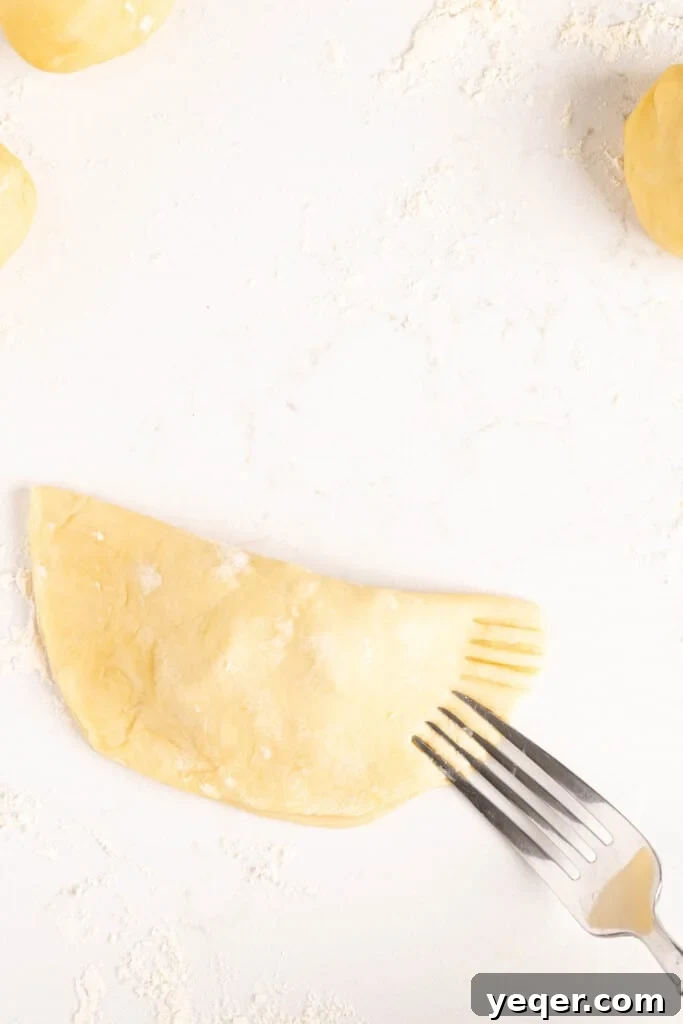
This traditional folding technique does take a little practice to perfect, but it’s a lot of fun to create and adds a rustic charm to your empanadas! For an easier, equally effective method, simply stick to pressing the edges firmly together and then crimping them shut using the tines of a fork. Both methods will ensure your fillings stay put and your empanadas look fantastic.
Cooking Your Empanadas: Baked, Fried, or Air-Fried?
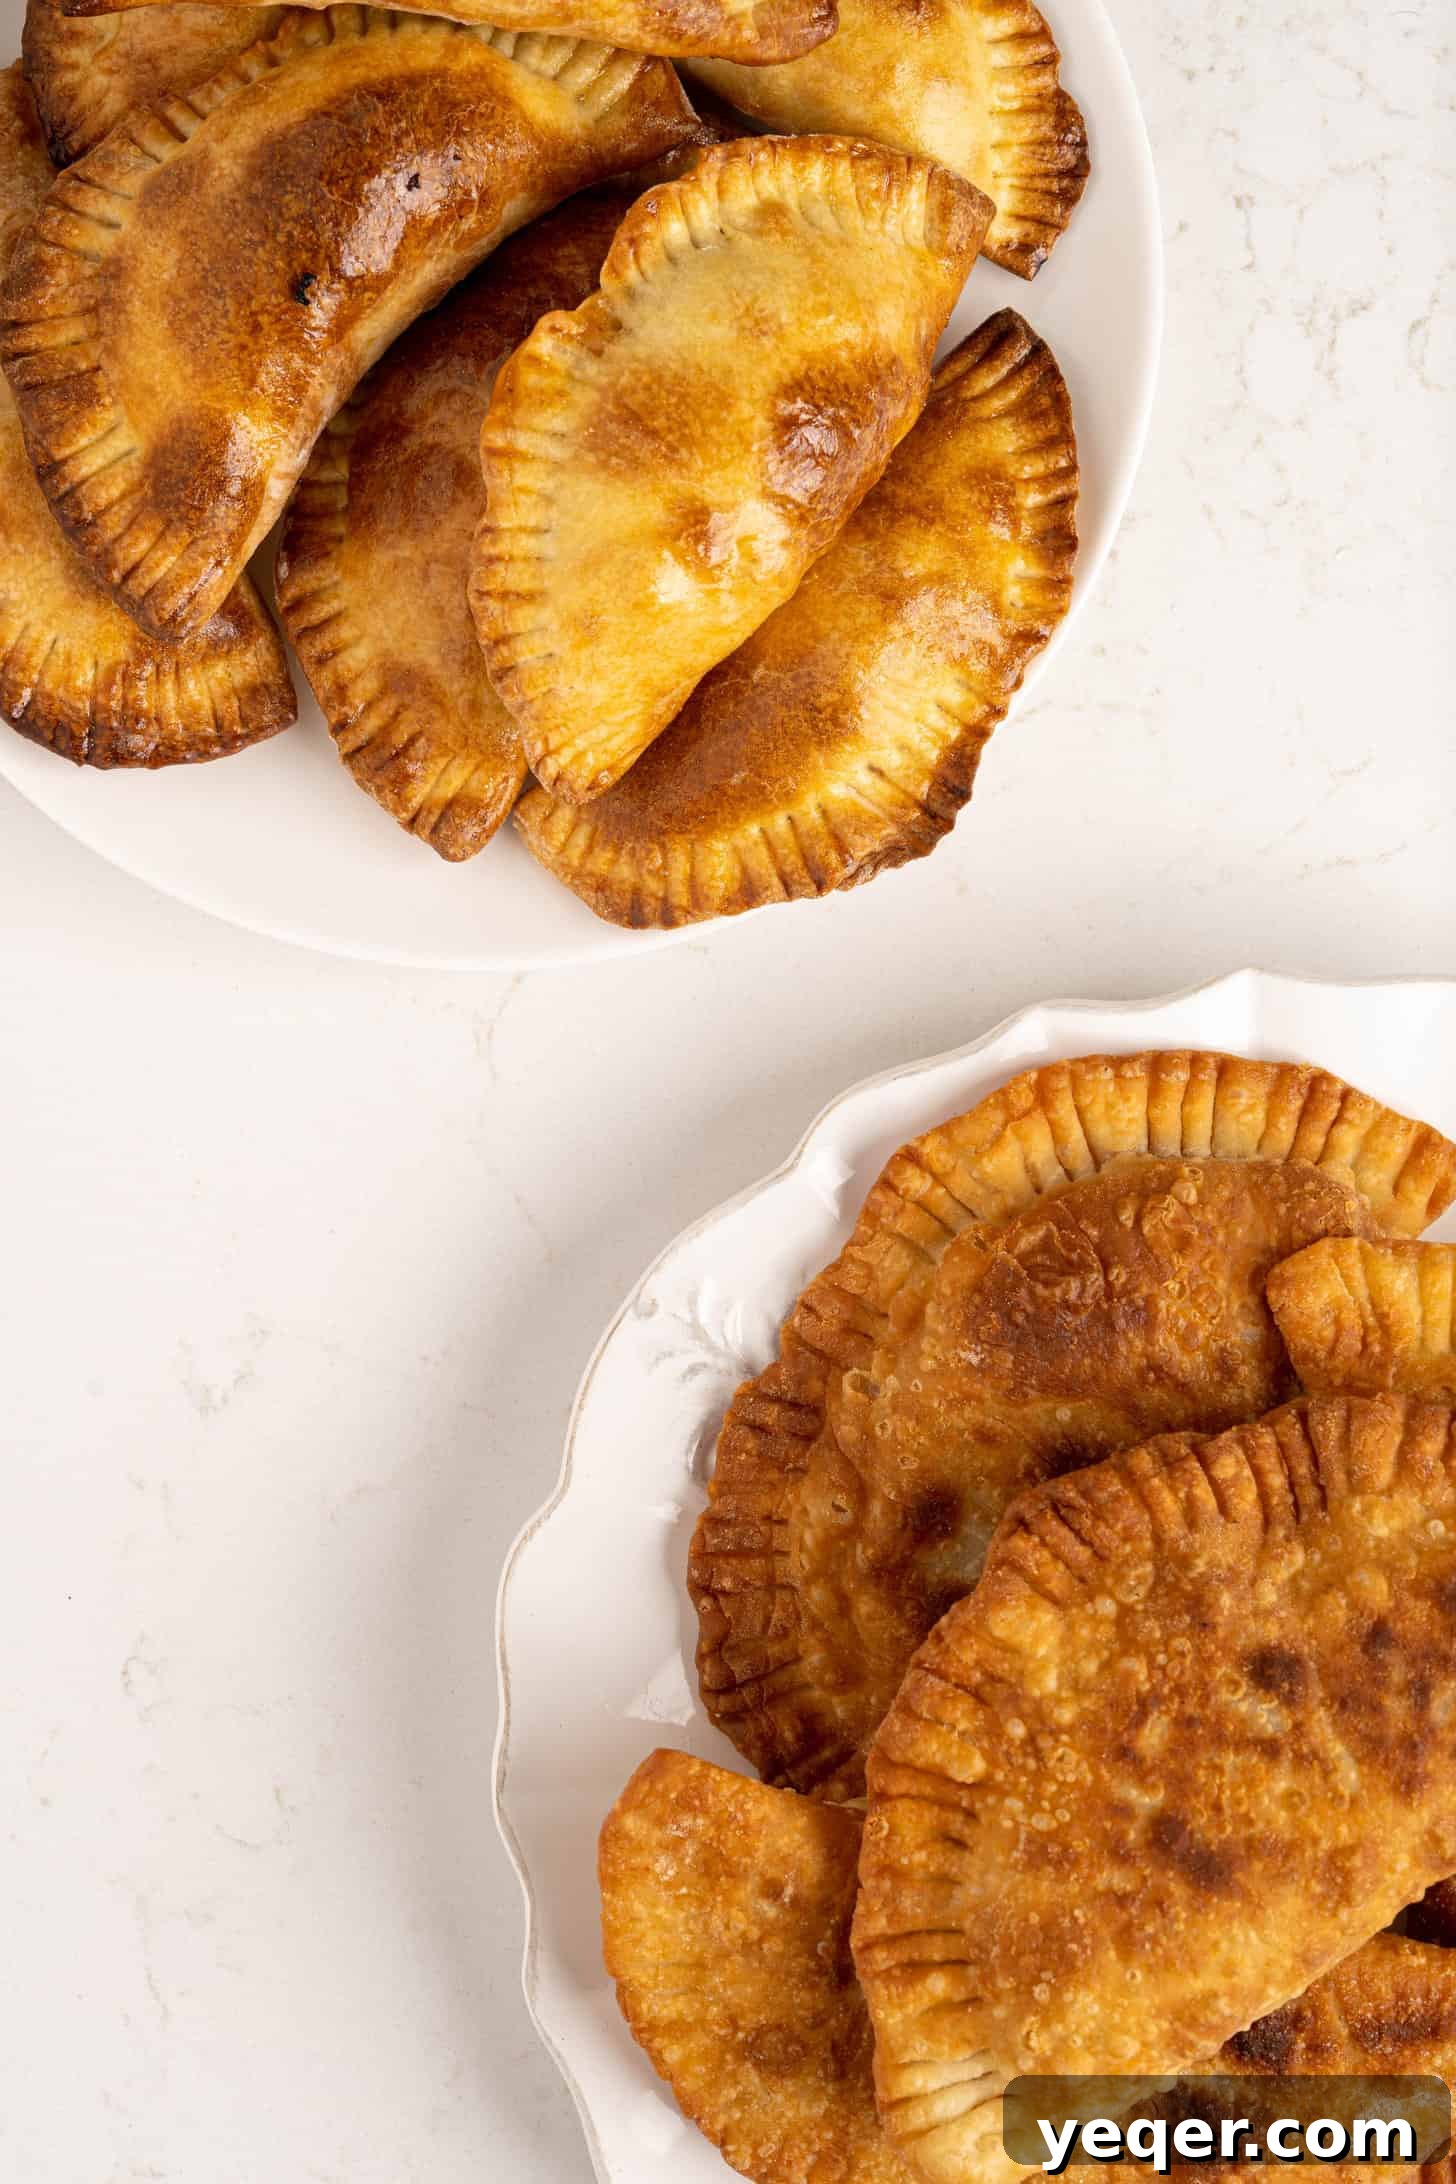
Once your empanadas are filled and beautifully sealed, it’s time to cook them to golden perfection. You have several versatile methods at your disposal, each offering a slightly different texture and flavor profile. Choose the one that best suits your preference and equipment:
Baking in the Oven:
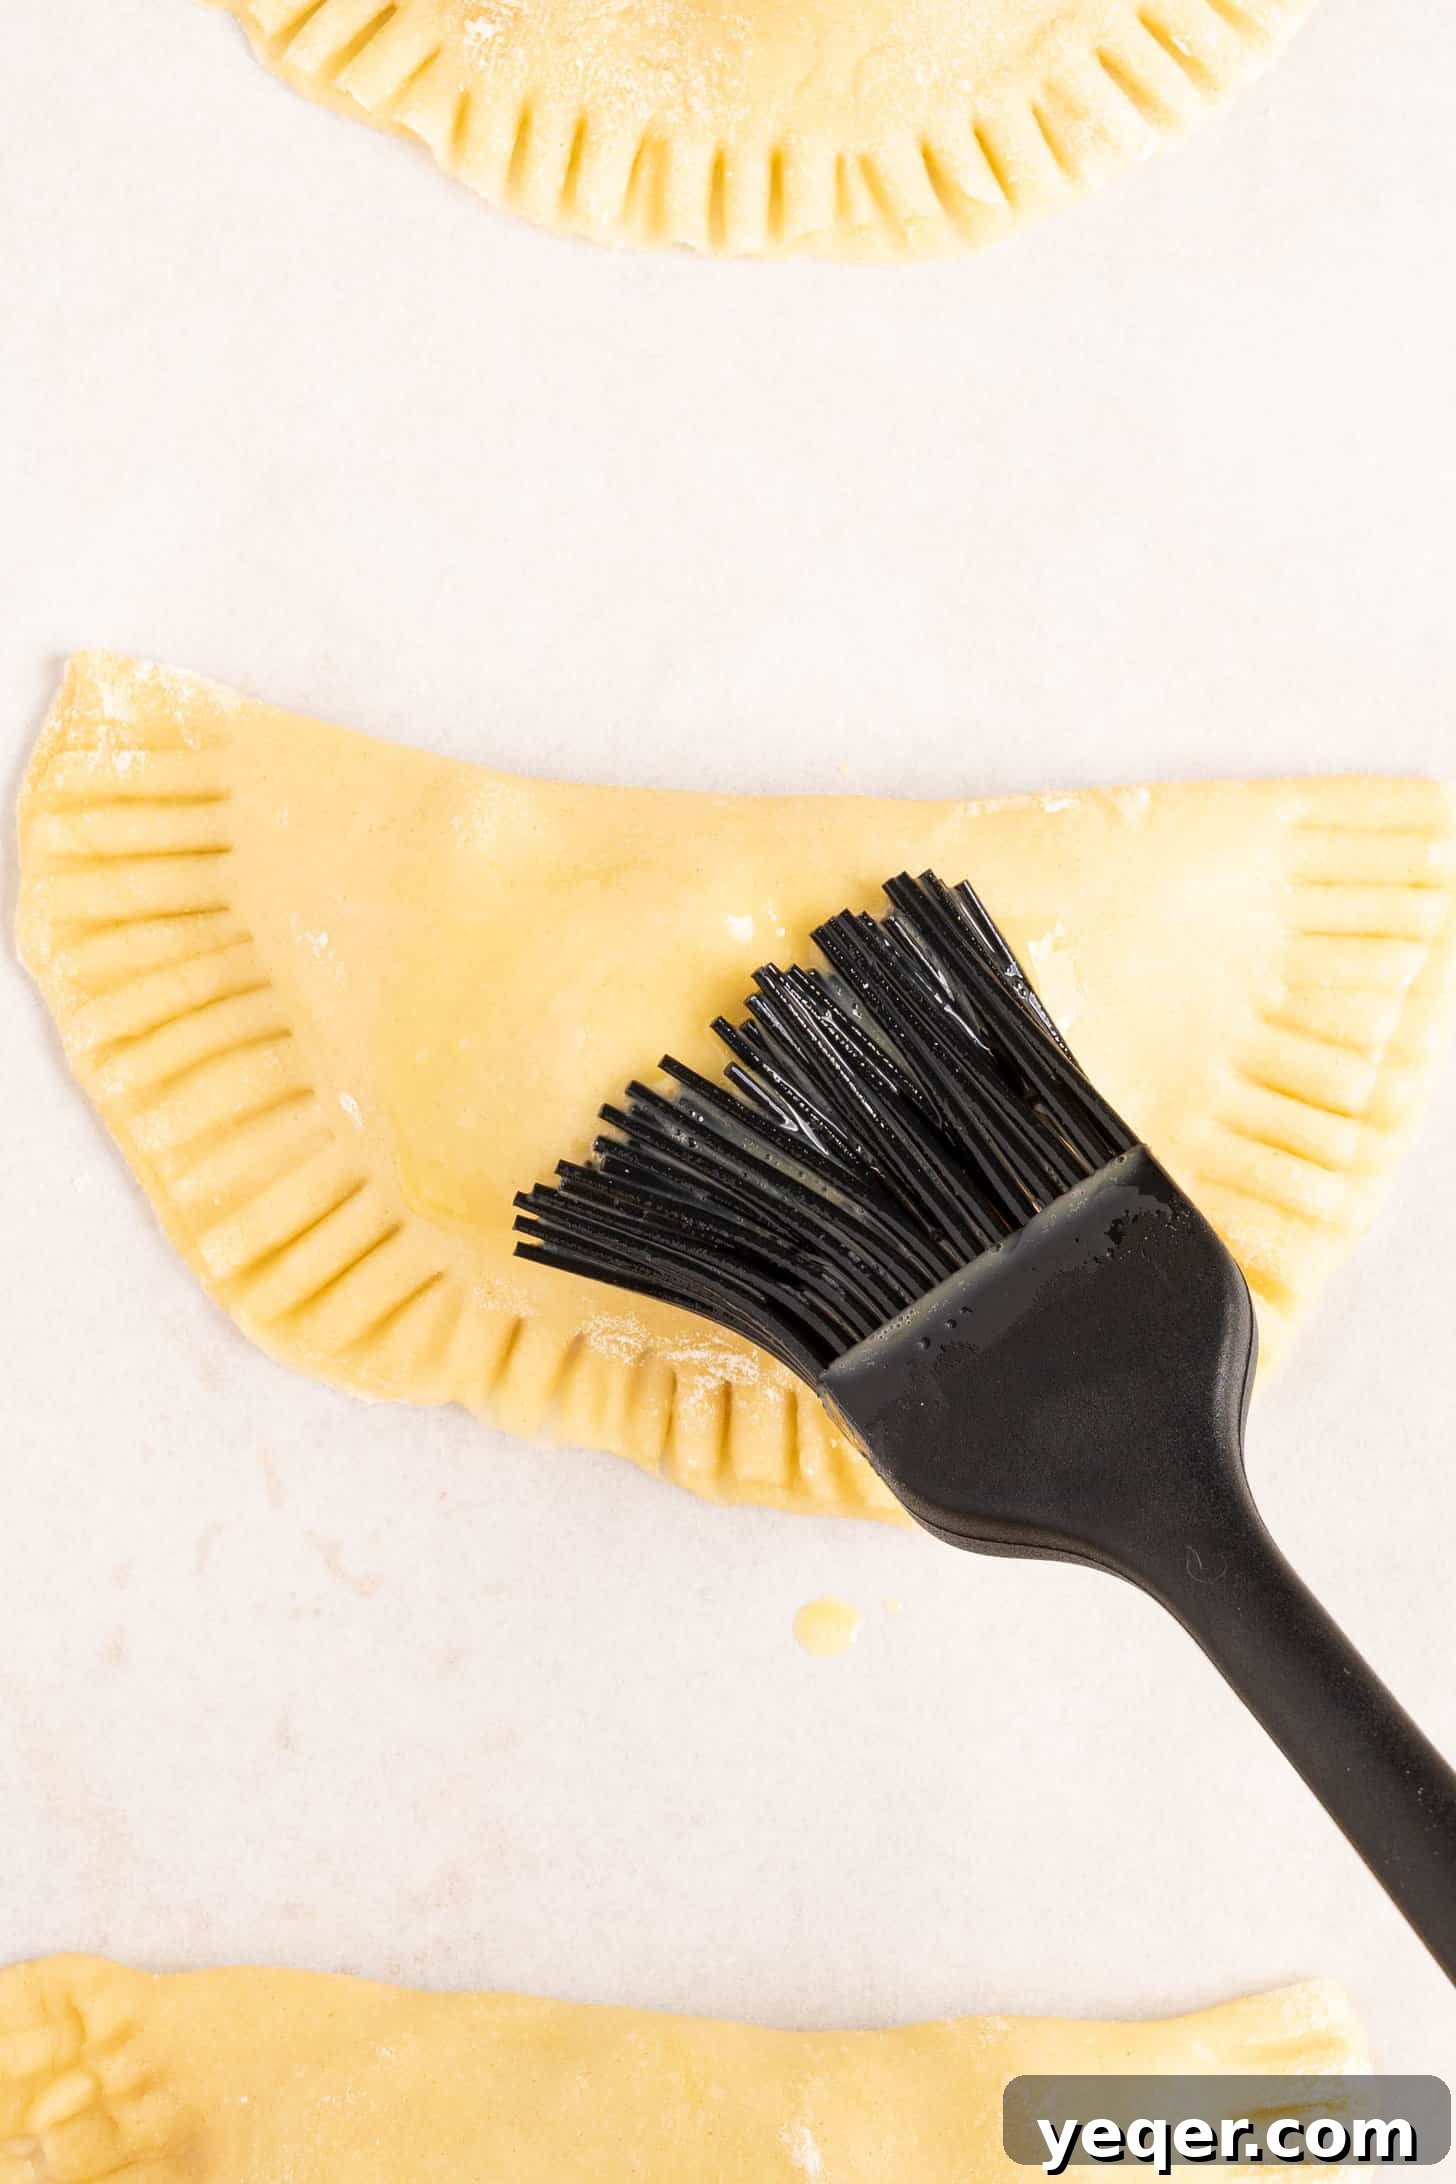
For a lighter, less greasy option, baking is an excellent choice. If you opt for the oven, you’ll need to brush the surface of each empanada with an egg wash. This simple mixture of equal parts whisked egg and water (or milk) will give your empanadas that beautiful, glossy golden-brown finish and contribute to a slightly crisp exterior. I like to bake them at a steady 400°F (200°C) for approximately 20-30 minutes. Keep an eye on them, as baking times can vary slightly depending on your oven.
Air Frying for Crispy Goodness:
The air fryer has become a popular method for achieving crispy results with less oil. I’ve successfully tested this empanada dough in the air fryer, also at 400°F (200°C). They typically crisp up beautifully in anywhere from 10-15 minutes, making it a quick and convenient option. Just like baking, a light egg wash will enhance their color and texture.
Frying (Pan-Frying or Deep-Frying):
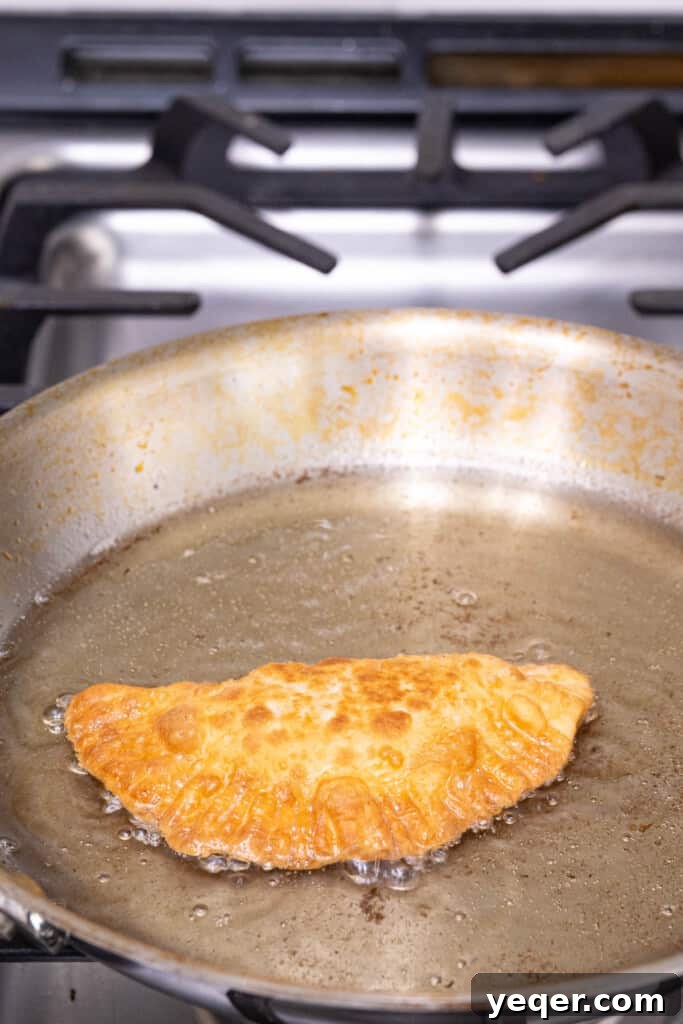
For that classic, rich, and undeniably crispy exterior, frying is the traditional method. You can pan fry them in shallow oil over medium-high heat, flipping them once each side is golden brown. Alternatively, for ultimate crispness, you can deep fry them, submerging them fully in hot oil, as I do in my empanadilla recipe. Ensure your oil is at the right temperature (around 350-375°F or 175-190°C) for best results – too cool and they’ll be greasy, too hot and they’ll burn before cooking through.
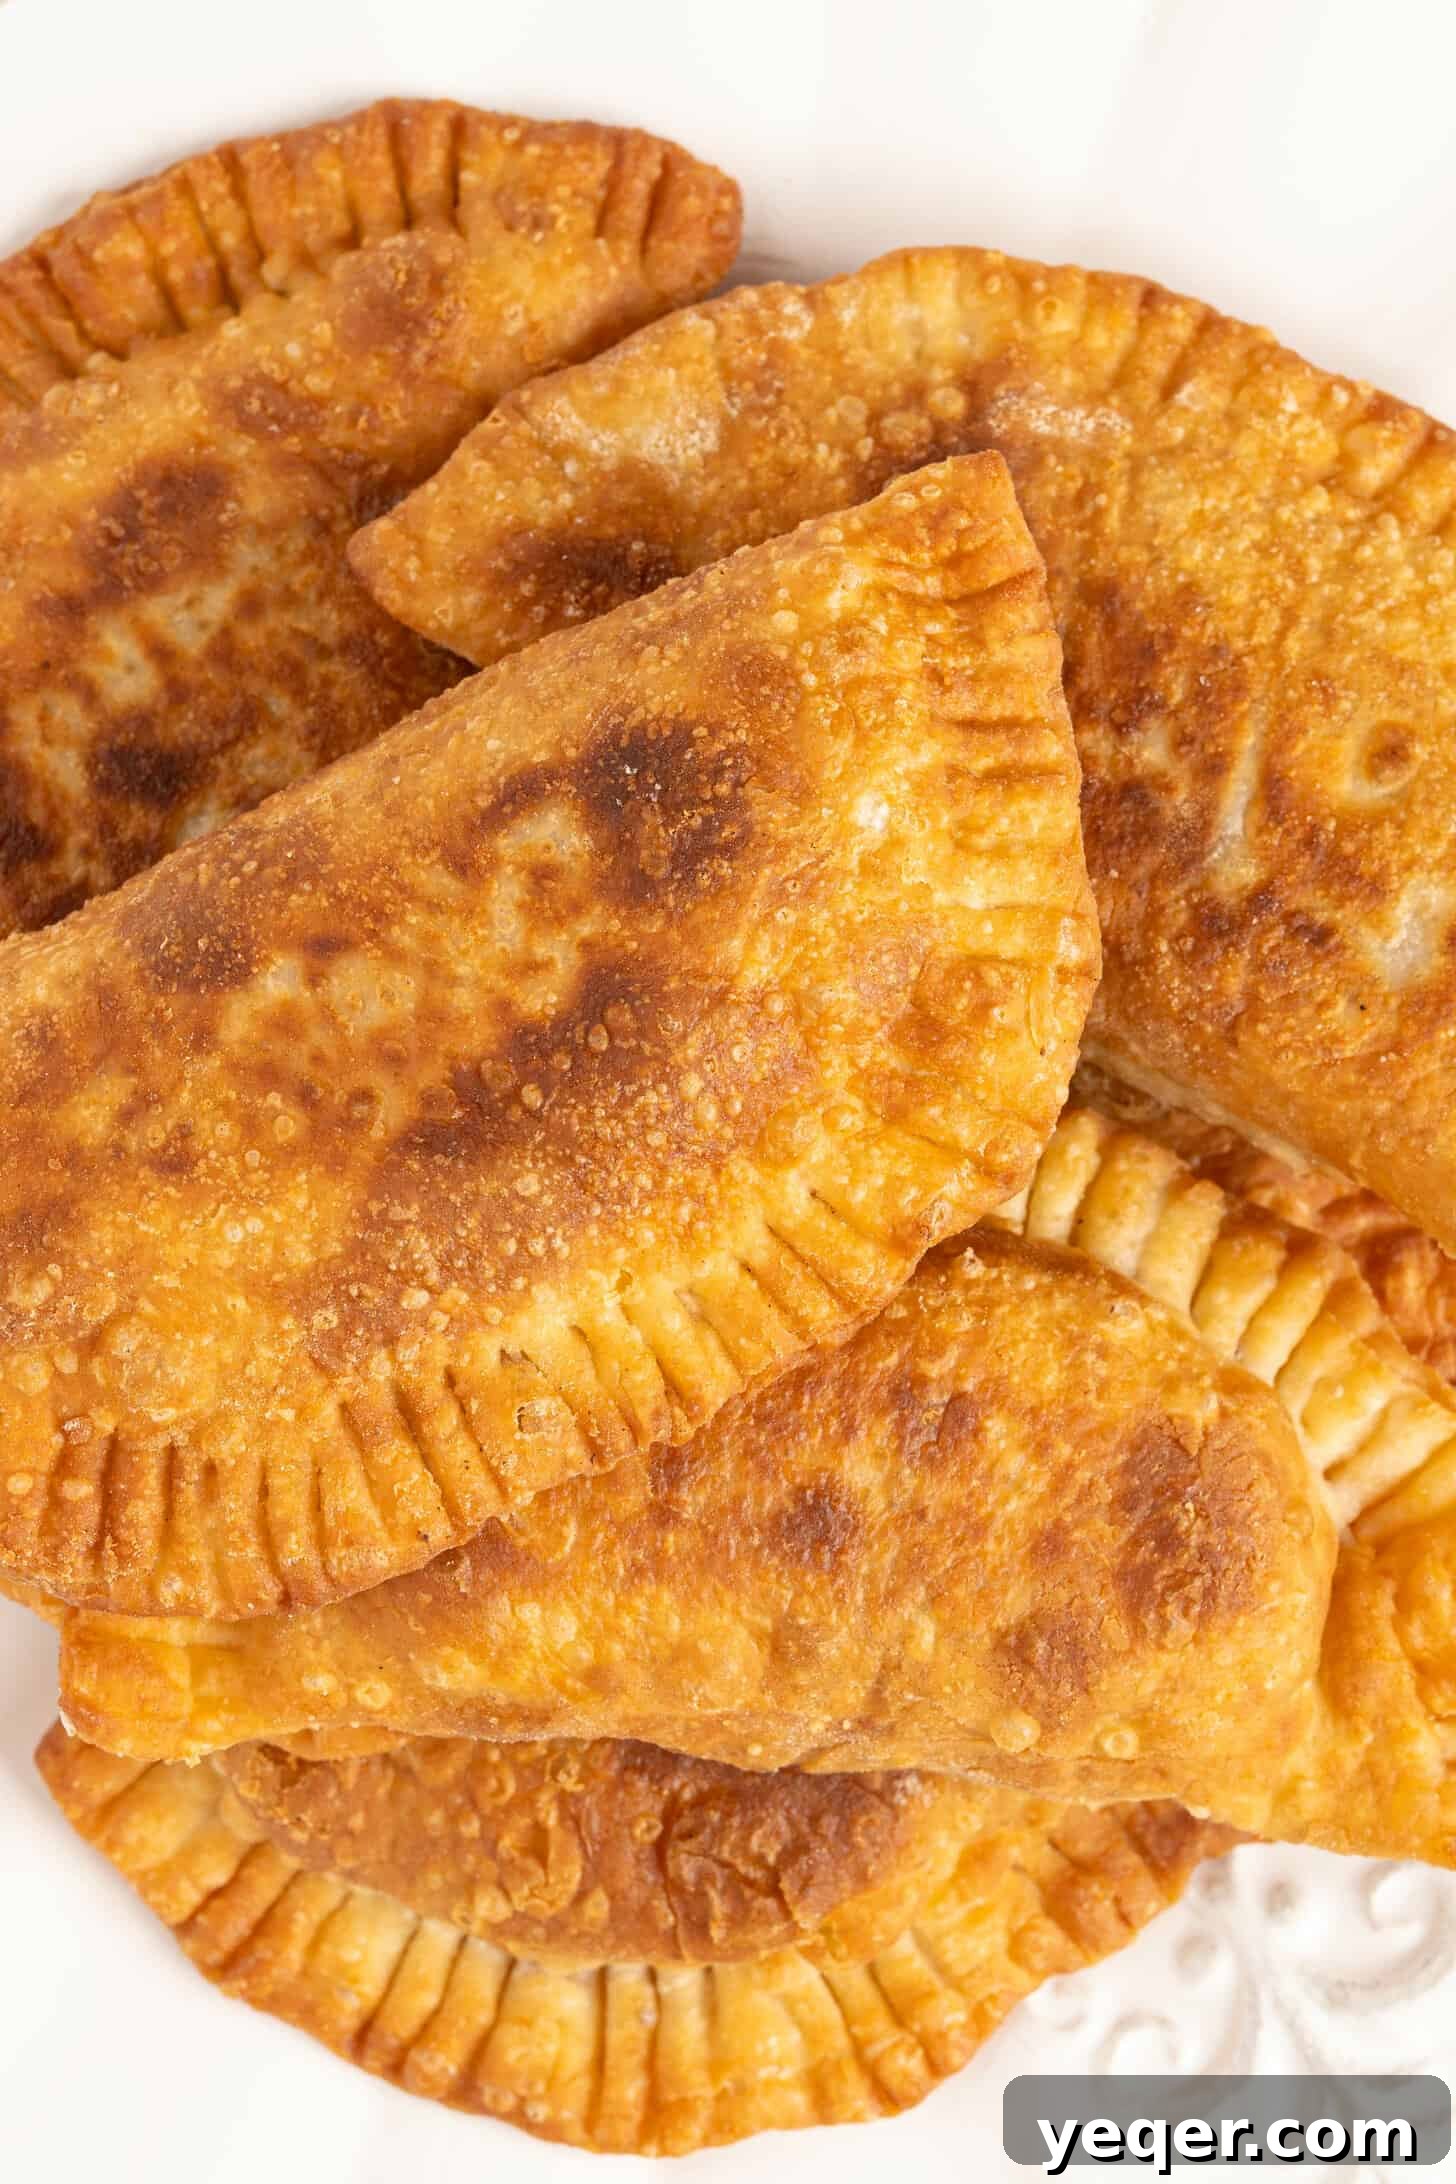
Universal Doneness Indicator: In all instances, whether baking, air frying, or pan frying, you’ll know your empanada dough is perfectly cooked when it achieves a lovely golden-brown color and appears delightfully flakey. The filling should also be thoroughly heated through.
Essential Equipment for Empanada Success
While making empanada dough is relatively simple, having a few key pieces of kitchen equipment can make the process even smoother and more enjoyable. You don’t need a professional setup, but these tools are highly recommended for best results:
- Large Mixing Bowl: Essential for combining your dry ingredients and then integrating the wet components to form the dough. A sturdy bowl will make the initial mixing and kneading much easier.
- Rolling Pin: This is arguably the most critical tool for shaping your empanadas. A good rolling pin allows you to roll out the dough evenly and thinly, which is crucial for a tender and flaky crust. If you don’t have one, you can get creative and use a clean, heavy bottle or even your hands, though it might take a bit more effort to achieve uniform thickness.
- Pastry Brush (if baking): If you plan to bake your empanadas, a pastry brush is indispensable for applying an even layer of egg wash. This ensures a consistent golden-brown color and a lovely sheen.
- Baking Sheets (if baking): You’ll need one or two baking sheets, preferably lined with parchment paper, to bake your empanadas evenly and prevent sticking.
- Deep Skillet or Deep Fryer (if frying): For frying, a heavy-bottomed skillet or a dedicated deep fryer is necessary to safely and effectively cook your empanadas in hot oil.
Investing in these basic kitchen tools will not only aid in your empanada-making journey but also prove useful for many other baking and cooking endeavors.
Freezer-Friendly Empanada Dough: Make Ahead and Save for Later
Excellent news for meal preppers and spontaneous snackers alike – this homemade empanada dough is remarkably freezer-friendly! This makes it an ideal recipe to prepare in advance, ensuring you always have a batch of delicious, homemade dough ready when cravings strike.
Through extensive testing, I’ve discovered this recipe is a fantastic candidate for make-ahead convenience. Having a stash of frozen empanada discs is a game-changer. They’re perfect for quickly whipping up a meal with leftover picadillo, utilizing overripe fruit for a sweet treat, or satisfying those unexpected late-night snack urges.
How to Freeze Your Empanada Dough Discs:
- Portion and Roll: Follow steps 1-6 of the instructions to mix, knead, chill, portion, and roll your dough into individual discs.
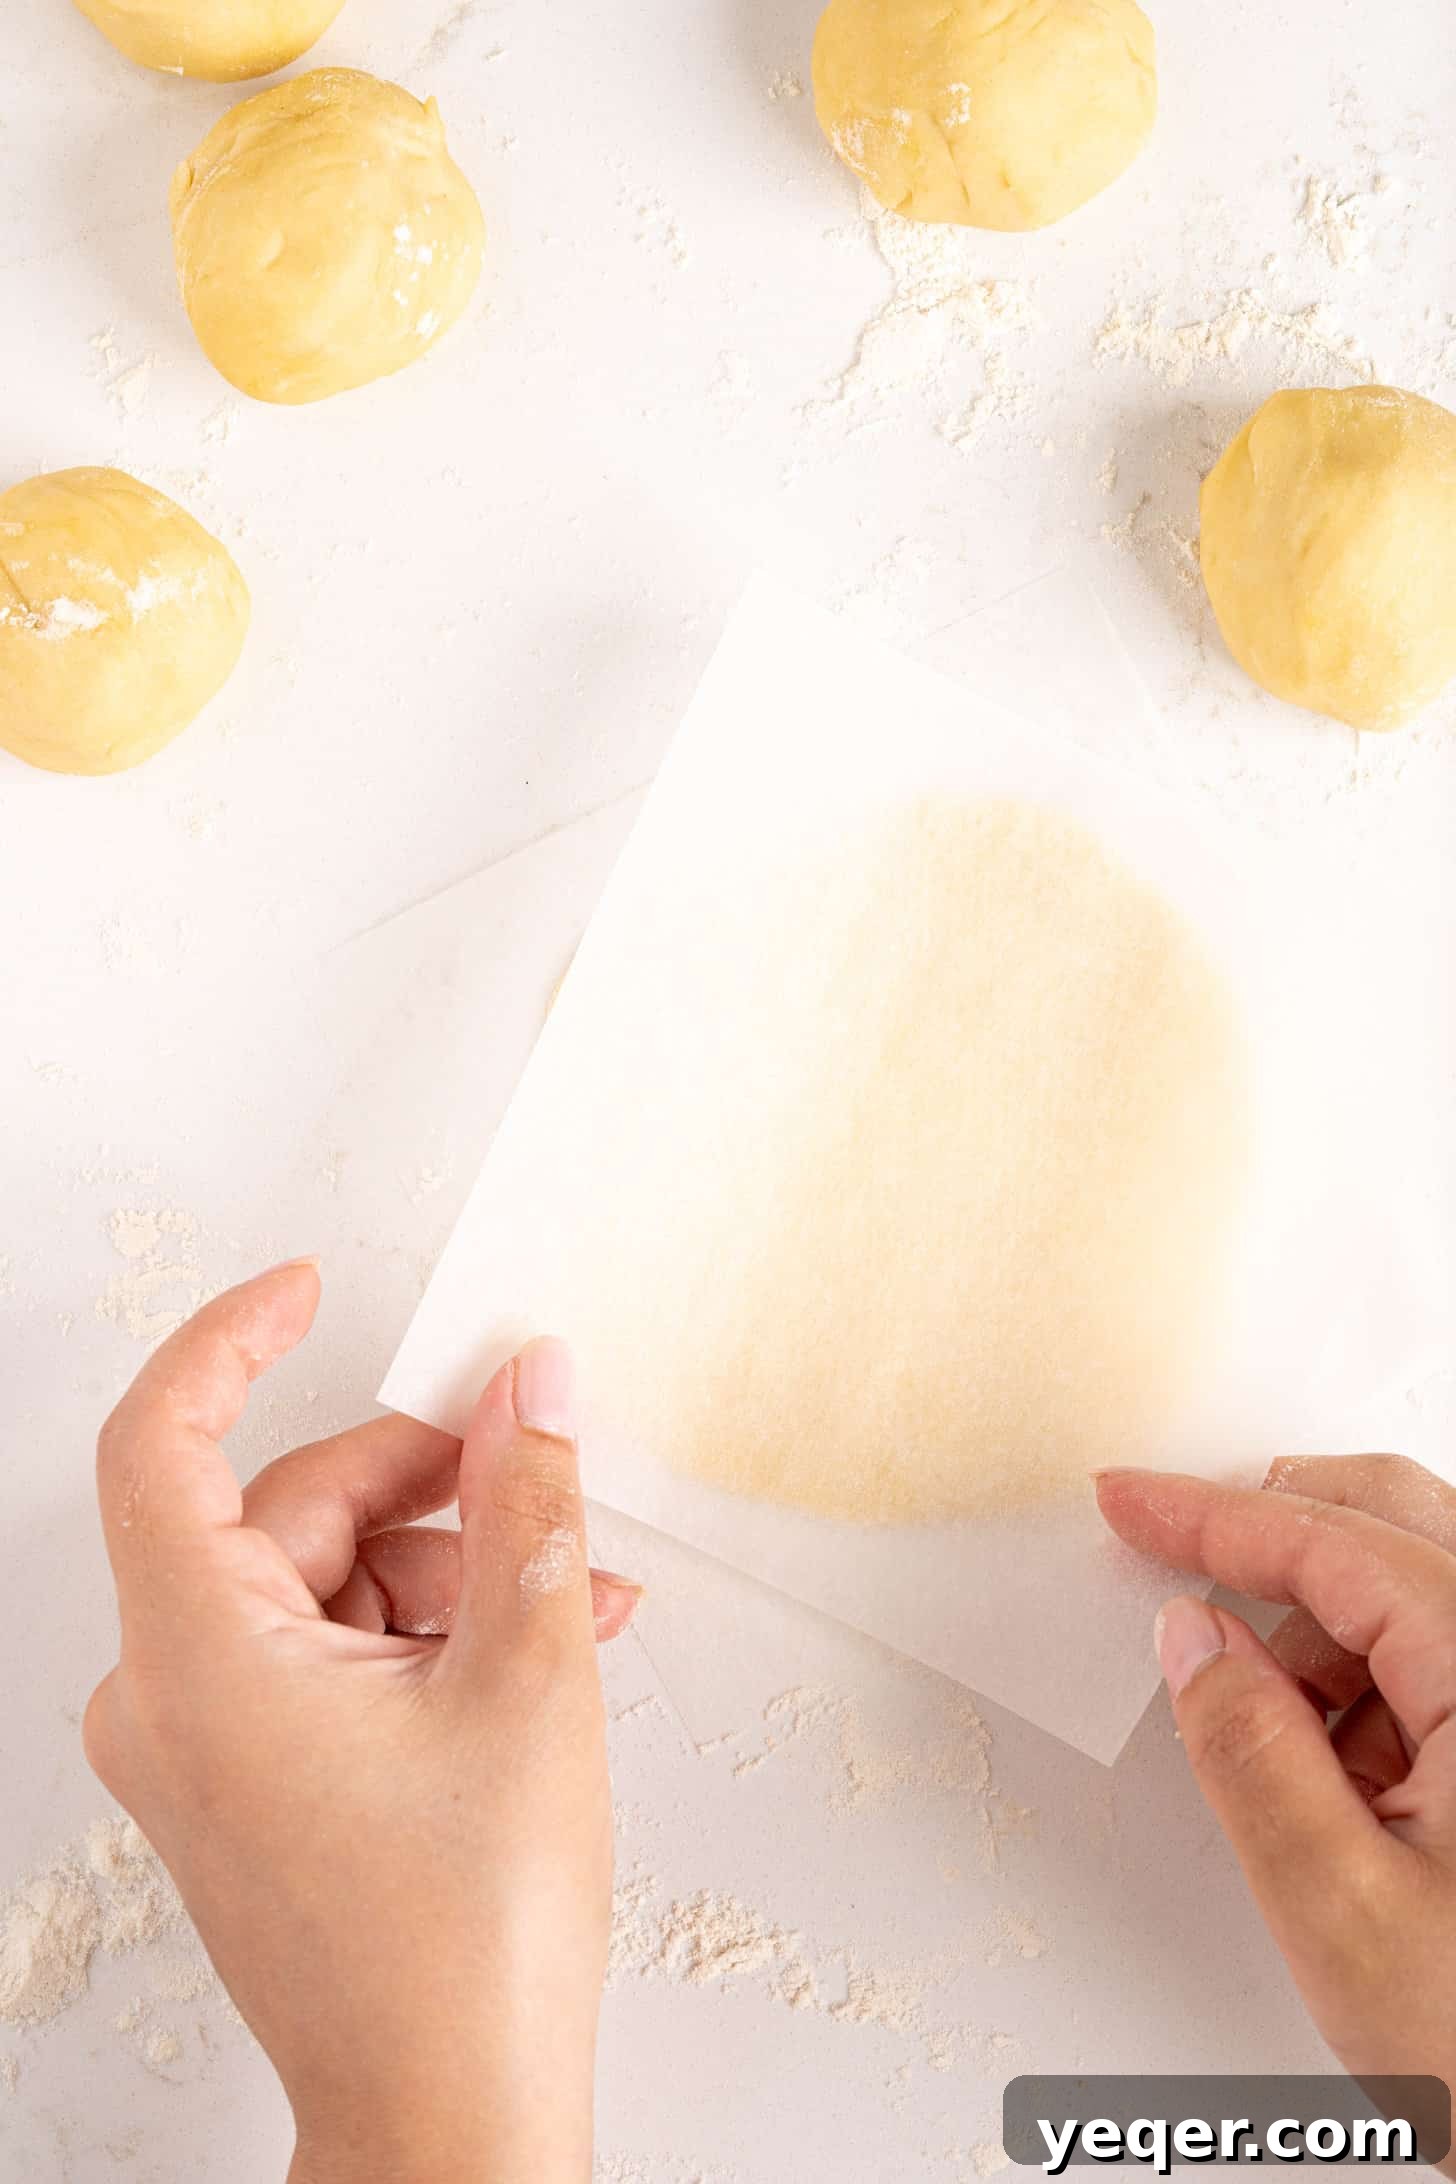
- Prevent Sticking: To prevent the discs from sticking together in the freezer, stack them with squares of parchment paper placed in between each one. This creates a barrier that allows for easy separation later.
- Wrap Tightly: Once stacked, wrap the entire pile tightly, but gently, in several layers of plastic wrap. Ensure there are no air gaps, as exposure to air can lead to freezer burn.
- Store: Place the wrapped stack in a freezer-safe bag or an airtight container. Label with the date. The dough can be stored in the freezer for up to 2-3 months.
Thawing and Using Frozen Dough:
When you’re ready to use your frozen dough, simply transfer the desired number of discs (still separated by parchment paper) from the freezer to the refrigerator. Allow them to thaw completely, which typically takes several hours or overnight. Once thawed, the dough will be ready to fill, seal, and cook according to your chosen method.
Having frozen empanada dough on hand is a true culinary convenience, allowing you to enjoy fresh, homemade empanadas with minimal effort any day of the week.
Buen provecho,

Print
Foolproof 5 Ingredient Empanada Dough
5 Stars 4 Stars 3 Stars 2 Stars 1 Star
4.8 from 63 reviews
- Author: Salima Benkhalti
Prep Time: 15 minutes
Cook Time: 30 minutes
Total Time: 45 minutes
Yield: 16 servings
Category: Entree, Dinner, Lunch
Method: Processed
Cuisine: Puerto Rican
Description
Today we’re making homemade empanada dough that can be used to make pastelillos, empanadas, and so much more! It’s made with just 5 ingredients (flour, butter, salt, egg, and water) and comes together in less than an hour.
Ingredients
- 4 cups all purpose flour
- 1 tsp salt
- 1/2 cup butter (unsalted), melted
- 4 egg yolks
- 1 cup water
Instructions
- Mix dry ingredients. In a large bowl, thoroughly mix the all-purpose flour with the salt to ensure even distribution.
- Add wet ingredients. Pour the melted unsalted butter, separated egg yolks, and water into the flour mixture.
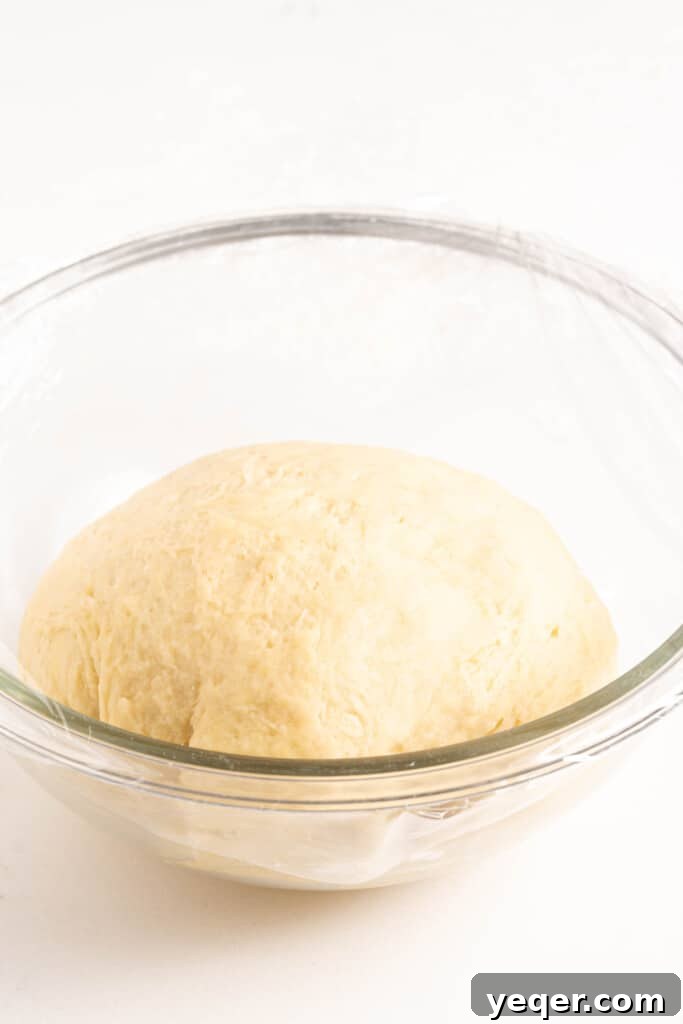
- Work the dough. Mix all ingredients together using your clean hands until a cohesive dough begins to form. Transfer the developing dough to a lightly floured surface and continue to knead by hand until a smooth, consistent, and elastic ball of dough is achieved. If the dough feels too wet, incorporate additional flour one tablespoon at a time until it no longer sticks to your hands; if too dry, add water in half-teaspoon increments.
- Chill. Cover the formed dough ball with a clean kitchen towel or plastic wrap and place it in the refrigerator to chill for a minimum of 30 minutes. This resting period is essential for the dough’s texture and ease of handling.
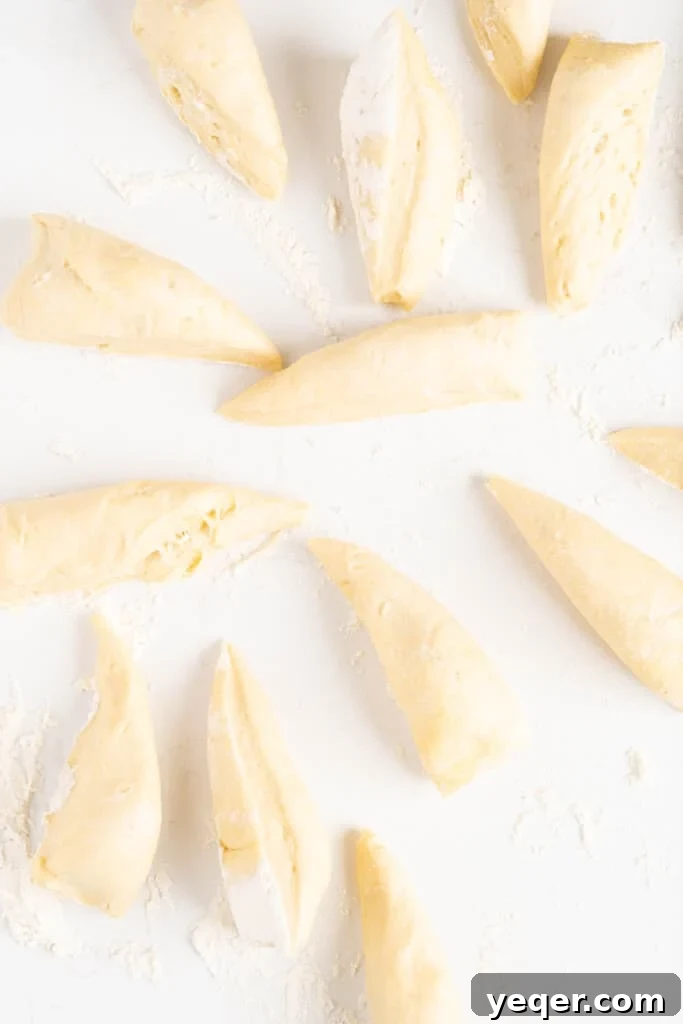
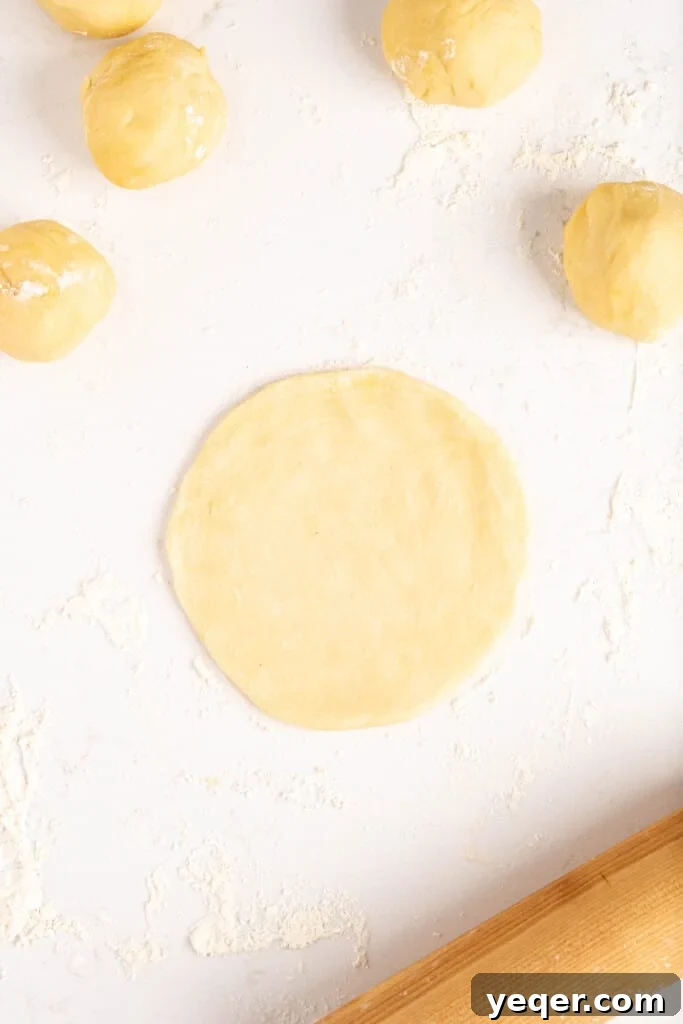
- Roll. Once thoroughly chilled, return the dough to a lightly floured surface. Divide the dough into quarters, then eighths, then sixteenths, and finally into 32 equal pieces for smaller empanadas, or 16 pieces for larger ones. Roll each piece into a small ball. Using a rolling pin, flatten each ball into a round, even circle on your floured surface.
- Fill & Cook. You are now ready to fill your empanada dough discs with your chosen savory or sweet fillings. Be mindful not to overfill. Lightly brush the inner edges of the dough with water before folding and firmly crimping the dough shut using a fork or a decorative folding technique. Refer to the ‘How to Cook the Dough’ section for detailed directions on baking, air frying, or pan/deep frying your empanadas to golden perfection.
Equipment
Glass Mixing Bowls
Buy Now →
Rolling Pin
Buy Now →
Notes
- This recipe yields approximately 16 large empanadas or 32 smaller ones, depending on how you portion the dough.
- To bake: For a healthier option, brush the filled empanadas with an egg wash (one whisked egg with a tablespoon of water) and bake at 400°F (200°C) for 20-30 minutes, or until they achieve a beautiful golden brown color and flaky texture.
- To fry: For traditional crispness, heat oil to 350°F (175°C). Fry the empanadas on both sides until they are golden brown and wonderfully flaky.
- To air fry: For a quick and convenient method, brush with egg wash and air fry at 400°F (200°C) for 10-15 minutes, or until golden and crispy.
- To freeze dough discs: Stack the rolled empanada dough discs with individual pieces of parchment paper in between them to prevent sticking. Wrap the stack tightly in plastic wrap and store in a freezer bag. Thaw completely in the refrigerator before filling, sealing, and cooking.
- To freeze filled (unbaked) empanadas: Arrange the filled and sealed empanadas in a single layer on a baking sheet and freeze until solid. Once frozen, transfer them to a freezer-safe bag or container. You can bake or air fry them directly from frozen (adding a few extra minutes to cooking time) or thaw first for frying.